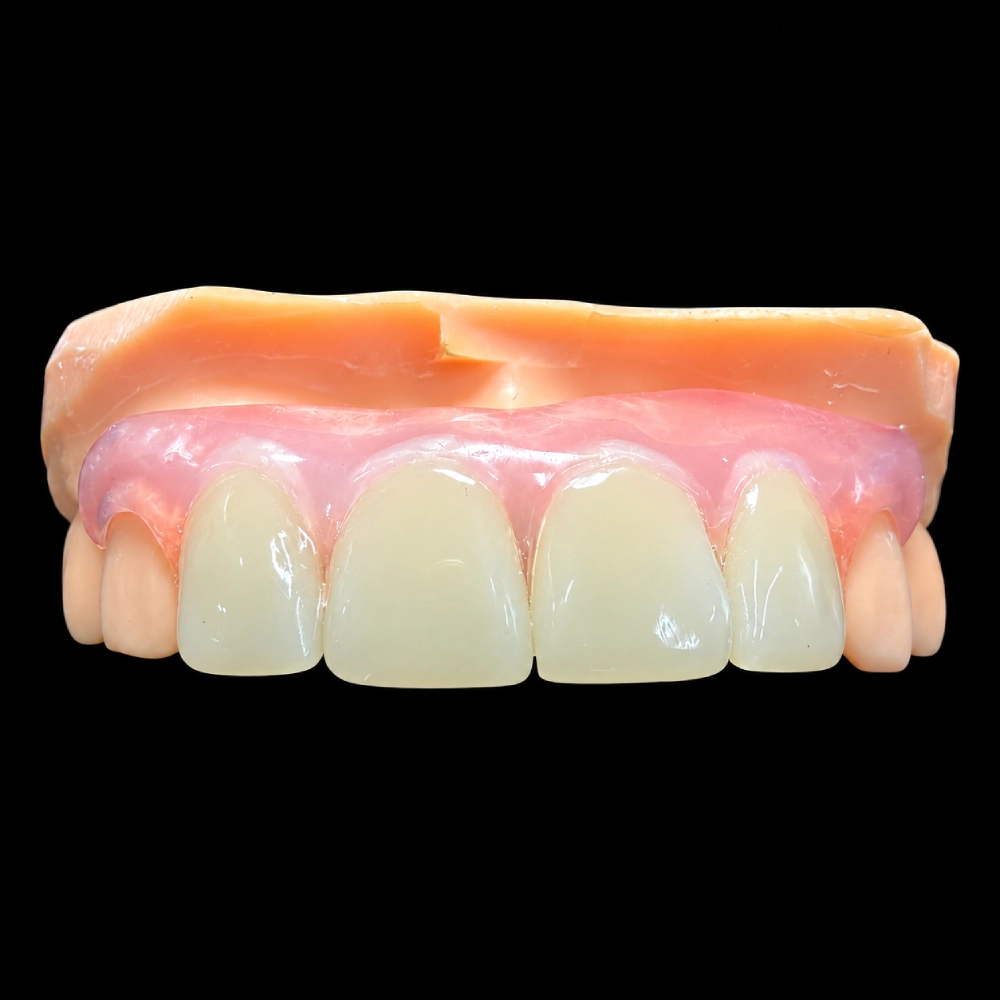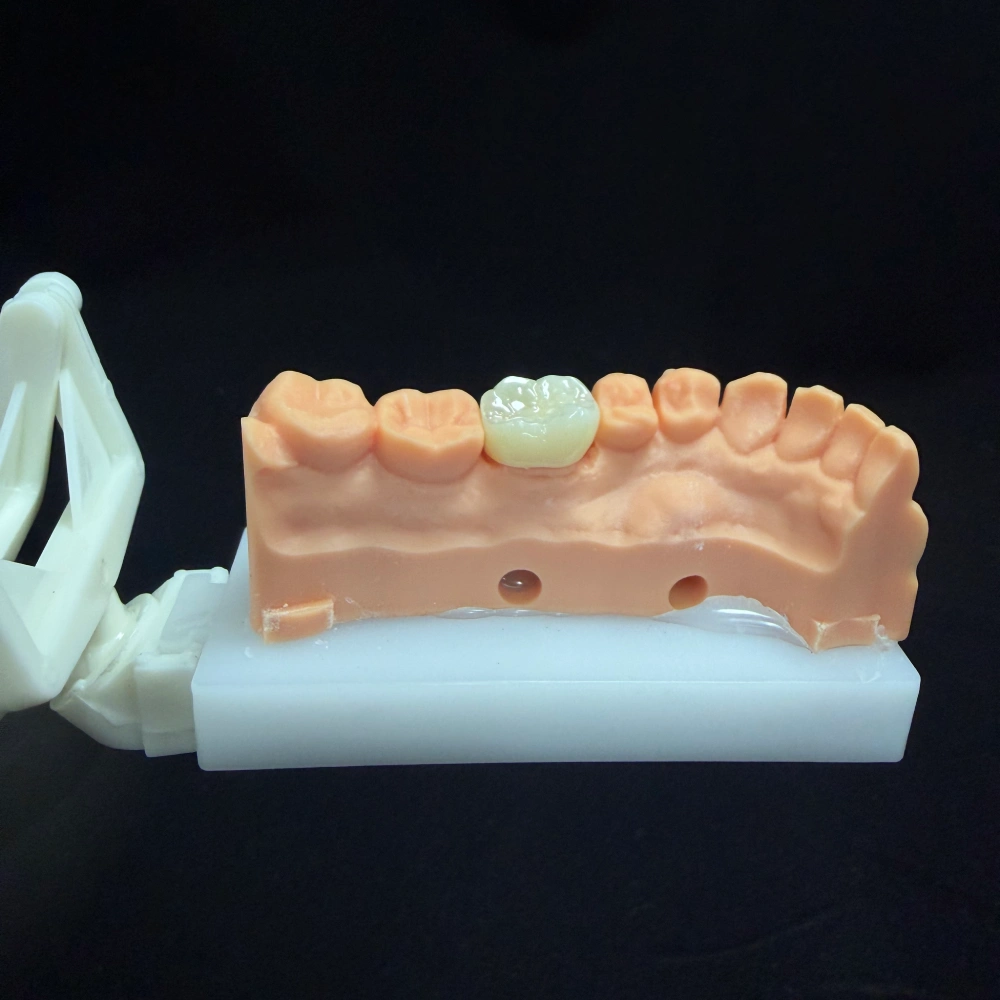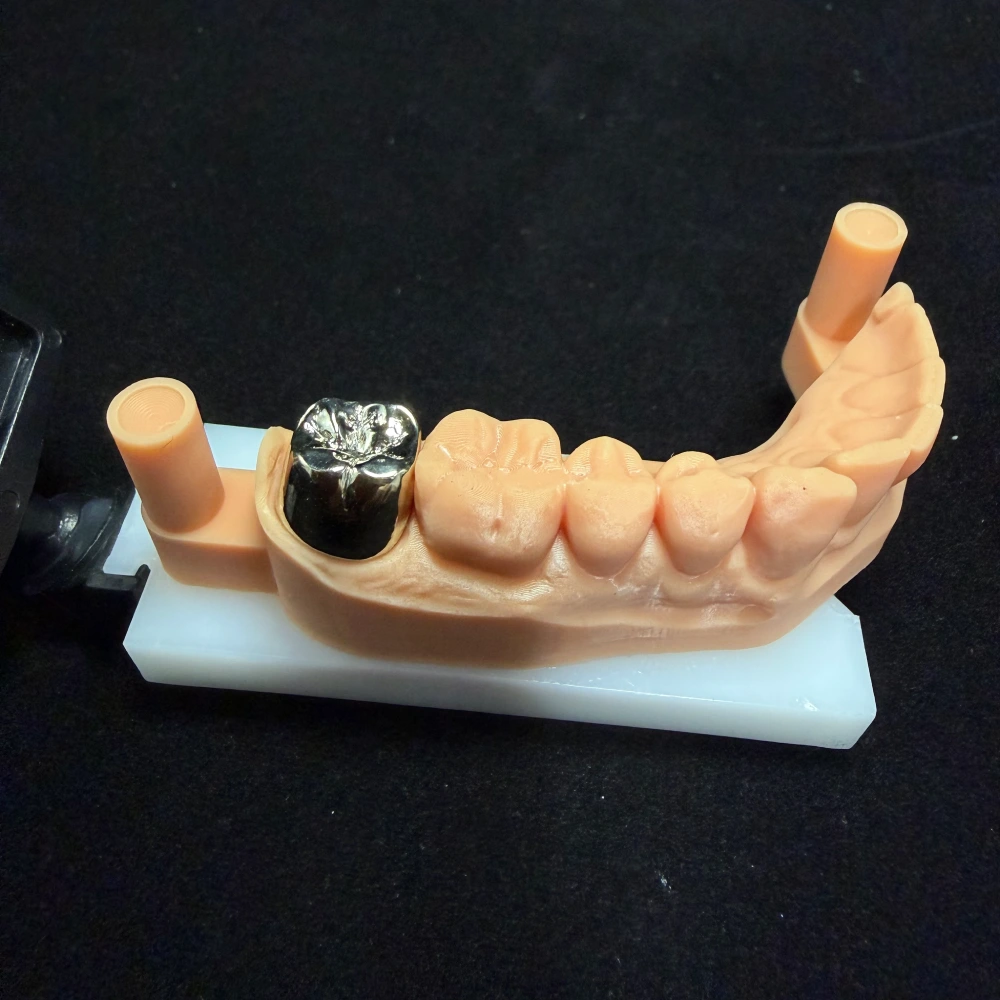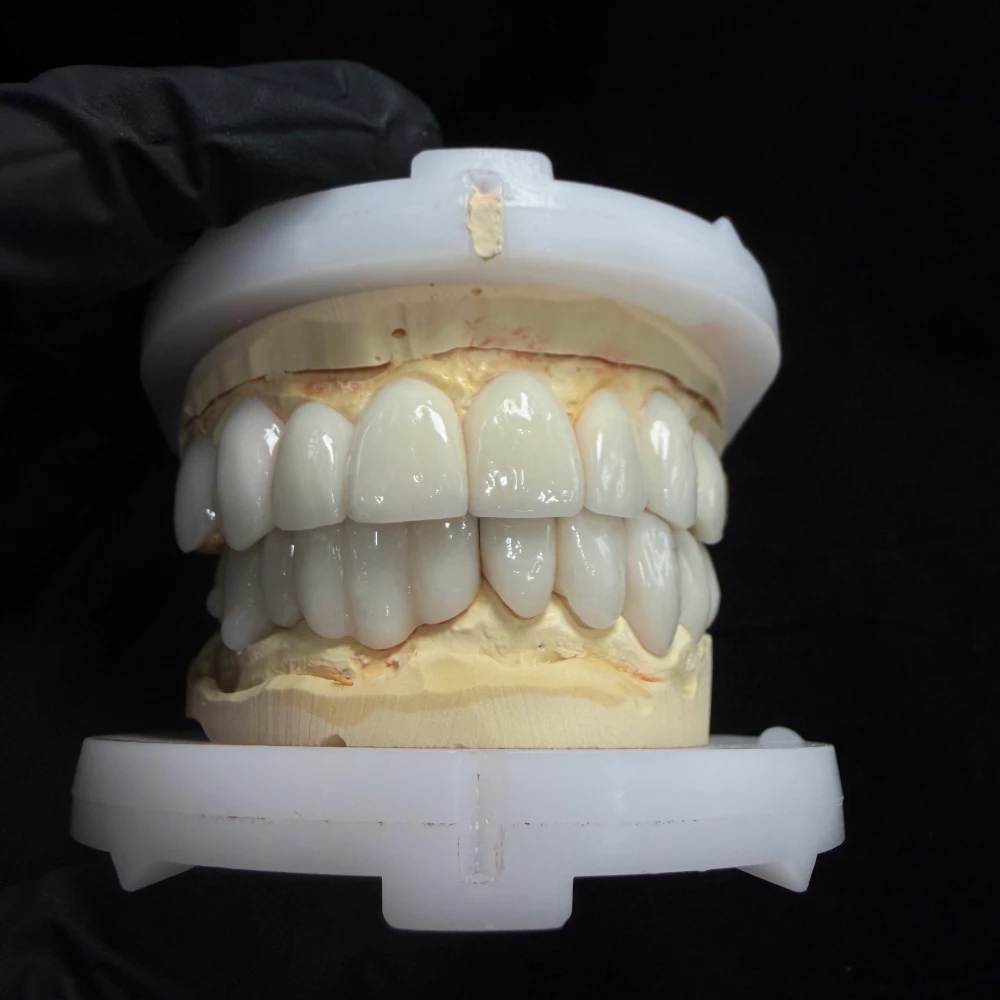
Implant E.max Crown

An Implant E.max Crown, screw-retained as a lithium disilicate hybrid abutment crown, made in our Shenzhen and Huizhou factory. Built for dentists, clinics, and prosthodontic specialists who need predictable fit and direct communication with the technician who actually mills it.
Product Features: What You Get on the Bench
Our Implant E.max Crown is a lithium disilicate restoration seated on an implant or custom titanium base. We build it in two retention modes — screw-retained hybrid abutment crown and cement-retained on a custom abutment — and in one standard finish (stain-and-glaze).
| Feature | Specification |
| Material | IPS e.max lithium disilicate (Ivoclar Vivadent) |
| Design types | Hybrid abutment crown (one-piece bonded to Ti-base) or separate abutment + crown |
| Retention modes | Screw-retained (default) or cement-retained |
| Build | Stain-and-glaze (standard finish) |
| Translucency tiers | e.max High Translucency, plus lower-translucency MO shades for masking Ti-base or dark substrates |
| Shade matching | VITA Classical + photographic shade mapping |
| Working span | Single units, 2-unit, or up to 3-unit (lithium disilicate ceiling) |
| Restorative space needed | ~7.5 mm total (screw-retained) / ~4–5 mm above the implant platform (cement-retained) |
| Minimum abutment height | ≥ 4 mm above the crown margin, minimal taper |
| Minimum ceramic thickness | 1.0 mm (incisal / occlusal), 1.5 mm recommended |
| Marginal / chamfer width | ≥ 1.0 mm |
| Ti-base wall thickness | ~0.5 mm minimum |
| Manufacturing origin | Shenzhen and Huizhou, China (single facility, in-house production) |
Why Choose This Product
If you have a single-unit implant case in the esthetic zone, screw-retained lithium disilicate on a titanium base is what we reach for. Here is why.
It gives you a serviceable restoration. A screw-retained hybrid abutment crown can be unscrewed, re-tightened, or replaced without destroying the abutment or the implant underneath. That matters when something goes wrong years down the road, and it matters now when a margin needs rechecking.
It removes the cement question. Excess cement around an implant platform is one of the main biological risks you can avoid at the design stage. With screw-retained, there is no cement seal to worry about. With cement-retained, we work to a margin-depth protocol and verify cement cleanup before the case leaves our factory.
It is the esthetic answer for the anterior and premolar zone. Lithium disilicate mimics natural dentition’s optical behavior better than zirconia or metal-ceramic. For anterior single units and premolars where shade match and translucency drive the case, it is the material we recommend. For posterior molar load where thickness is at the boundary or parafunction is present, we steer you toward layered zirconia — and we say so at the design review, not after.
The build keeps going without surprise edits. Because design review, CAD, milling, crystallization, staining, and QC all run inside our own factory, no step is handed off to a third-party lab. If we need to call you about a margin or a screw-channel angle, the technician who made the call is the one who picks up.
The cost levers are visible up front. The quote varies by abutment type (stock Ti-base, custom-milled Ti abutment, or zirconia hybrid), retention mode, build tier, shade tier, turnaround, and span. We do not bury the variables in a single line number — they are itemized at the design review.
How We Make It: The Production Process
Every Implant E.max Crown passes through the same chain inside our Shenzhen and Huizhou factory. Here is the workflow, step by step.
Step 1 — Case intake and clinical review. Photos, intraoral scans, Rx, and abutment selection are checked against the design brief. The implant system, Ti-base platform, and retention mode are confirmed before any design work begins.
Step 2 — Design review with the technician. For screw-retained hybrids, the Ti-base type, angulation, emergence profile, and screw-channel position are confirmed before milling. For cement-retained, the custom abutment margin depth and cement protocol are set.
Step 3 — CAD design. Designed in-house by the implant department — 80 designers on this line alone. Emergence profile, proximal contacts, occlusion, screw-channel position, and material thickness are all controlled digitally.
Step 4 — CAM milling and crystallization. Lithium disilicate is milled in pre-crystallized state and then fired. Final thickness is checked against the IPS e.max CAD instructions and the implant manufacturer’s Ti-base spec [1].
Step 5 — Bonding and finishing. The ceramic structure is bonded extraorally to the titanium base. We use Multilink Hybrid Abutment self-curing luting composite with Monobond Plus primer, following the current manufacturer-specified protocol [1]. The implant connection and screw channel are protected from cement and glaze contamination during this step.
Step 6 — Stain and glaze. Standard finish is stain-and-glaze to match the prescription. Translucency tier is set per case (High Translucency for natural shade work; MO shades for masking).
Step 8 — QC pass. Every case goes through the same checklist before it ships. If any item fails, the case is reworked, not sent out.
Step 9 — Pack and ship. Cushioned in a labeled box with the case ID, design notes, and a photo of the finished piece.
Most cases ship in 5 working days from approved design, rush options on request. Multi-unit and complex cases run longer — we quote the turnaround before you confirm.
QC Checklist: What We Verify Before a Case Ships
The 8-item checklist below is run on every restoration. If we cannot verify an item, we call you before shipping, not after.
- Margin fit on the master model (or printed verification model)
- Proximal contact tightness to the prescription
- Occlusal clearance per the opposing-arch record
- Shade match against the provided photo or shade tab
- Screw access channel clearance (screw-retained)
- Ti-base seating verified under microscope for hybrid abutment crowns
- Emergence profile reviewed against the gingival record
- Internal label check: case ID, doctor name, restoration type, retention mode
Cooperation Process: What Happens After You Reach Out
Here is what a typical first case looks like, end to end.
1. Send us the case. Email us the intraoral scan (STL from any major scanner), clinical photos, the Rx, and either the Ti-base you want us to use or the implant system and platform so we can pick the matching Ti-base.
2. Design review within one working day. A named case coordinator picks up the case. They confirm the design brief with the implant technician on shift and come back to you with either an approval to start, a clarification question, or — if the case is not buildable in lithium disilicate — a redirection to the right material before any milling starts.
3. Production in our Shenzhen and Huizhou factory. Design → milling → crystallization → bonding → stain and glaze → QC. The technician who reviewed the design at step 2 is reachable through the coordinator for any clarification during the build.
4. Delivery. Standard turnaround is 5 working days from approved design. Multi-unit or complex cases are quoted up front. You get the case in a labeled box with the case ID, design notes, and a photo of the finished piece.
5. Post-delivery support. Design revisions, margin feedback, shade adjustments, and remake requests are tracked with the case ID. Failures traced to our bench are remade. Failures traced to preparation, occlusion, or material selection in the clinic are reviewed case-by-case.
What to Send With a Case
| Item | Format | Required? |
| Intraoral scan of the implant site | STL from any major scanner | Yes |
| Scan of opposing arch and bite registration | STL | Yes |
| Clinical photos (frontal, occlusal, shade tab in shot) | JPG / PNG | Yes |
| Prescription (Rx) — abutment, shade, retention, finish | PDF or form | Yes |
| Implant system + platform | Text | Yes |
| Ti-base (if you want us to use a specific brand) | Physical | Optional |
| Photographic shade mapping for anterior cases | JPG / PNG | Recommended |
What Goes Into Your Quote
We do not list prices on the product page. Lab fees vary by region, case complexity, and the variables below. What we publish are the levers that drive the quote:
- Abutment / Ti-base type — stock Ti-base, custom-milled Ti abutment, or zirconia hybrid abutment
- Retention mode — screw-retained or cement-retained
- Finish tier — standard stain-and-glaze
- Shade and translucency tier — standard A–D shade match or full photographic shade mapping
- Turnaround — standard 5 working days or rush
- Span and unit count — single, 2-unit, or 3-unit (3-unit is the lithium disilicate ceiling)
For US lab scale and generic reference only — contact us for an actual quote on your case.
Common Questions from Clinicians
Can I send an intraoral scan directly?
Yes — STL files from any major scanner work with our CAD setup. We do not require a specific scanner brand.
Do you supply the Ti-base, or do I send one?
Either works. We stock major implant system Ti-bases; if you have a preferred brand or platform, send it with the case.
What if the case needs a custom abutment?
We mill custom titanium abutments in-house. Same 5-day turnaround if it is part of a crown case, longer as a standalone abutment-only order.
What if the case has limited restorative space?
If the total restorative space is under ~7 mm or the abutment height is under 4 mm, we flag it at the design review and propose a cement-retained design or an alternative material (zirconia or metal framework) before milling starts.
What about warranty?
If a case fails under normal clinical conditions and the failure is on our side of the bench, we remake it. Failures traced to preparation, occlusion, or material selection in the clinic are reviewed case-by-case. We do not warranty third-party Ti-bases.
Do you handle full-arch or All-on-X?
Yes — that runs through our All-on-X department, separate from the single-unit line. Send the case over and we will route it.
Send Us a Case
Send the scan, the photos, the Rx, and the abutment (or tell us the implant system), and we will come back with a design review and a quote within one working day.
📩 Request a quote or send a case →
📞 Direct line to the implant coordinator
Sources
The clinical and material references behind this page. All links open in a new tab; external sources are marked to keep this page commercially neutral.
[1] Ivoclar Vivadent. IPS e.max CAD Product Information and Processing Parameters. Manufacturer documentation for lithium disilicate CAD blocks, including indication list, minimum thickness, bonding protocol, and Ti-base compatibility. → https://www.ivoclar.com/en_us/products/digital-processes/ips-e.max-cad
[2] American Dental Association. Ceramics in Dentistry — Mechanical Properties Review. Peer-reviewed flexural strength ranges for lithium disilicate across processing methods. → https://www.ada.org/resources/research/science-and-research-institute
[3] U.S. Food and Drug Administration. 510(k) Premarket Notification — IPS e.max CAD Abutment Solutions (K132209). FDA clearance for lithium-disilicate ceramic structure bonded extraorally to a titanium base as a two-piece abutment for single cement-retained or hybrid abutment crown restorations. → https://www.accessdata.fda.gov/scripts/cdrh/cfdocs/cfpmn/pmn.cfm?ID=K132209
[4] PubMed Central / Journal of Prosthodontics. Survival and Complication Rates of Implant-Supported Lithium Disilicate Crowns: A Systematic Review. Peer-reviewed review of complication categories for implant-supported lithium disilicate restorations, including screw loosening, screw-channel composite loss, and ceramic fracture management. → https://pubmed.ncbi.nlm.nih.gov/