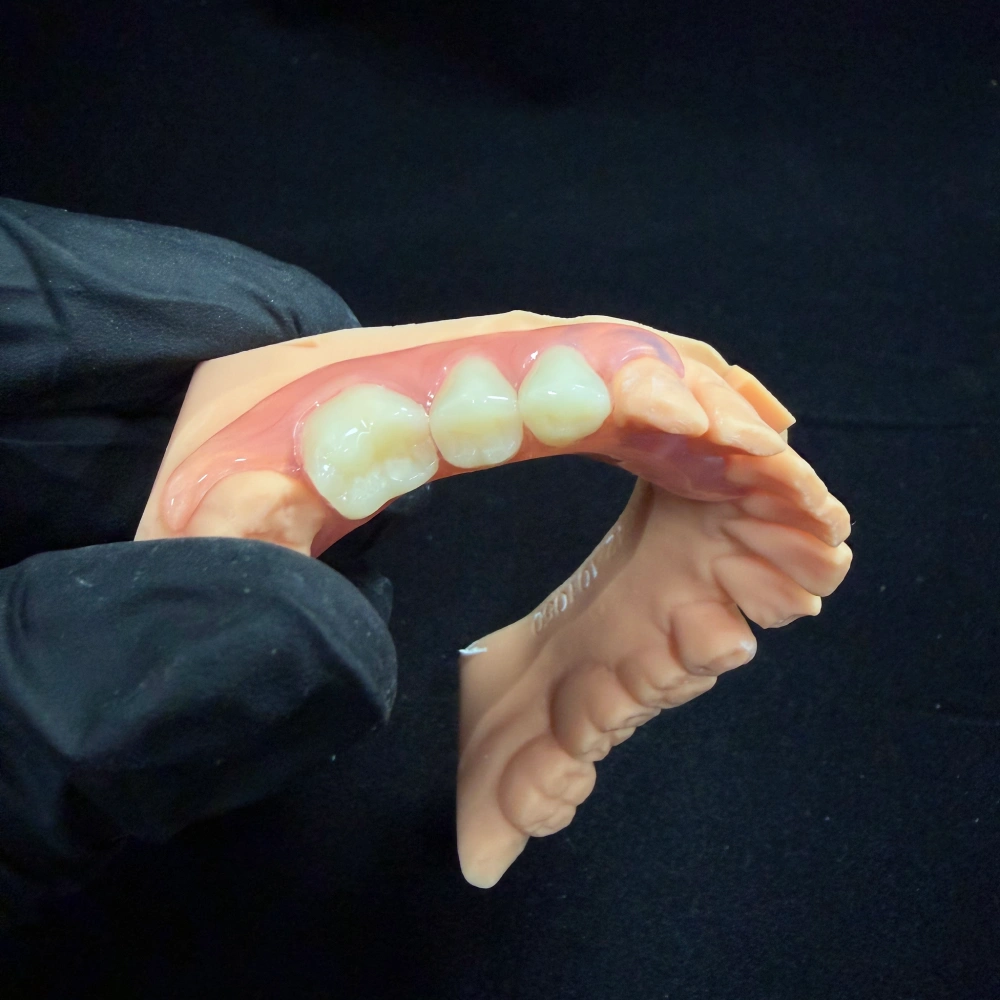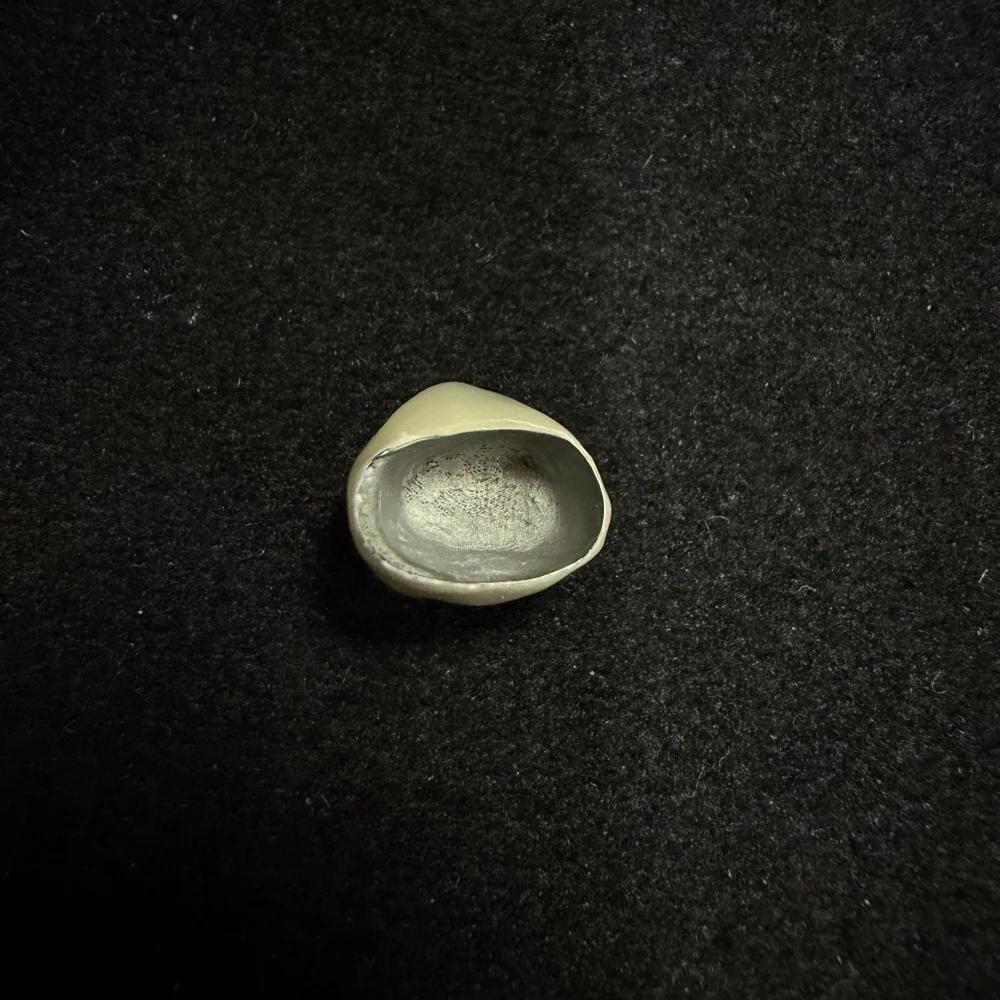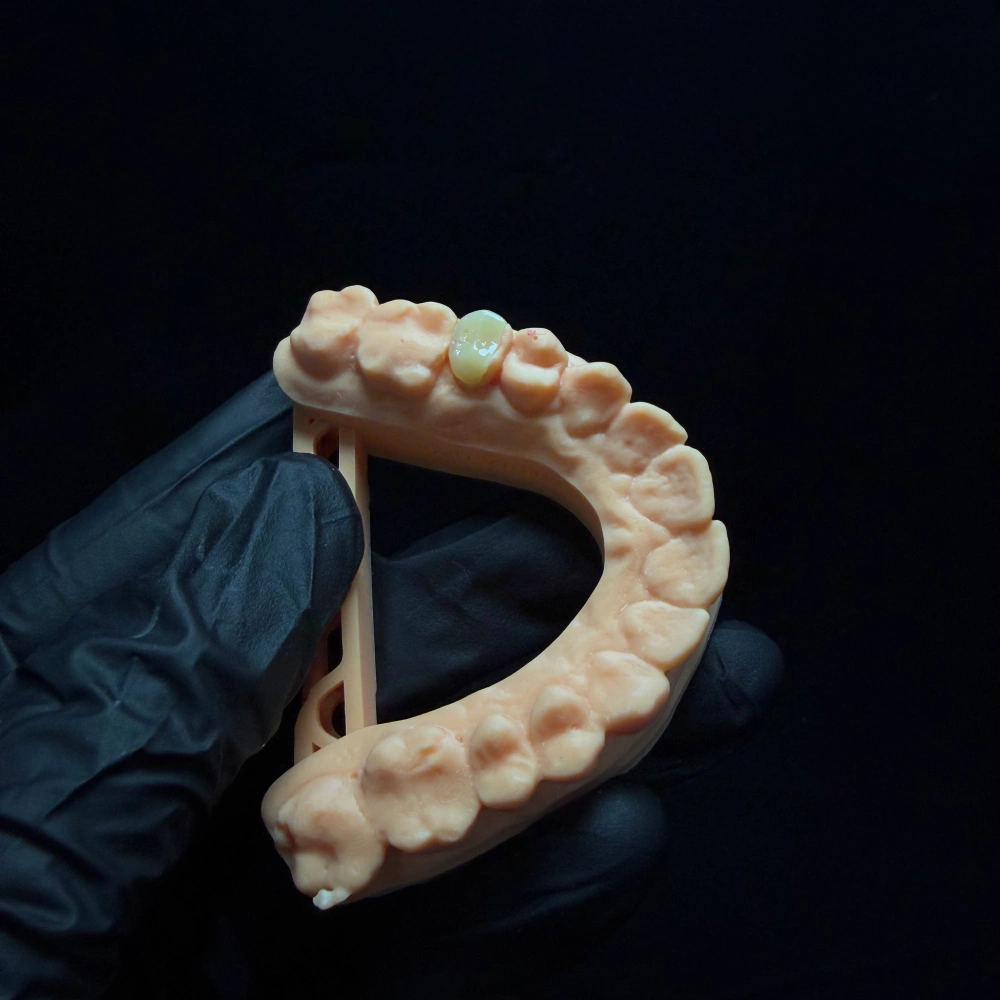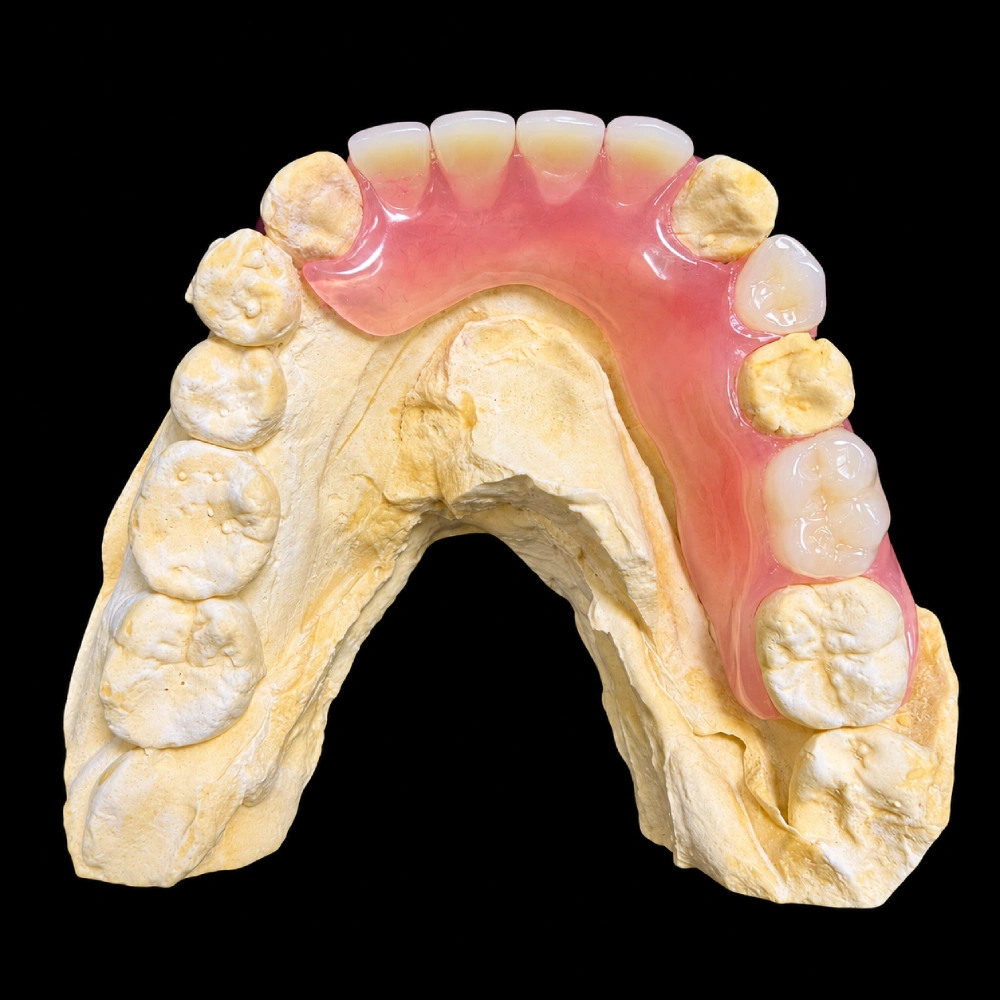
Implant Layered Zirconia Crown
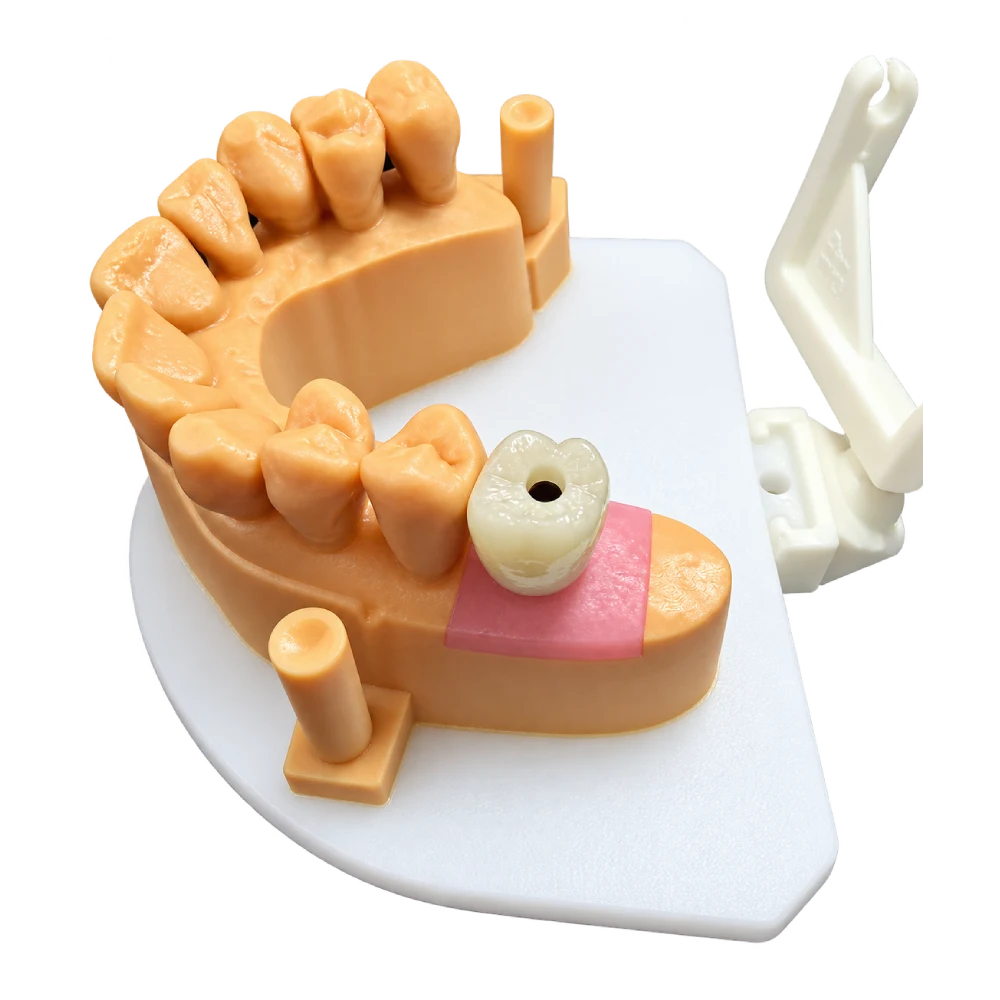
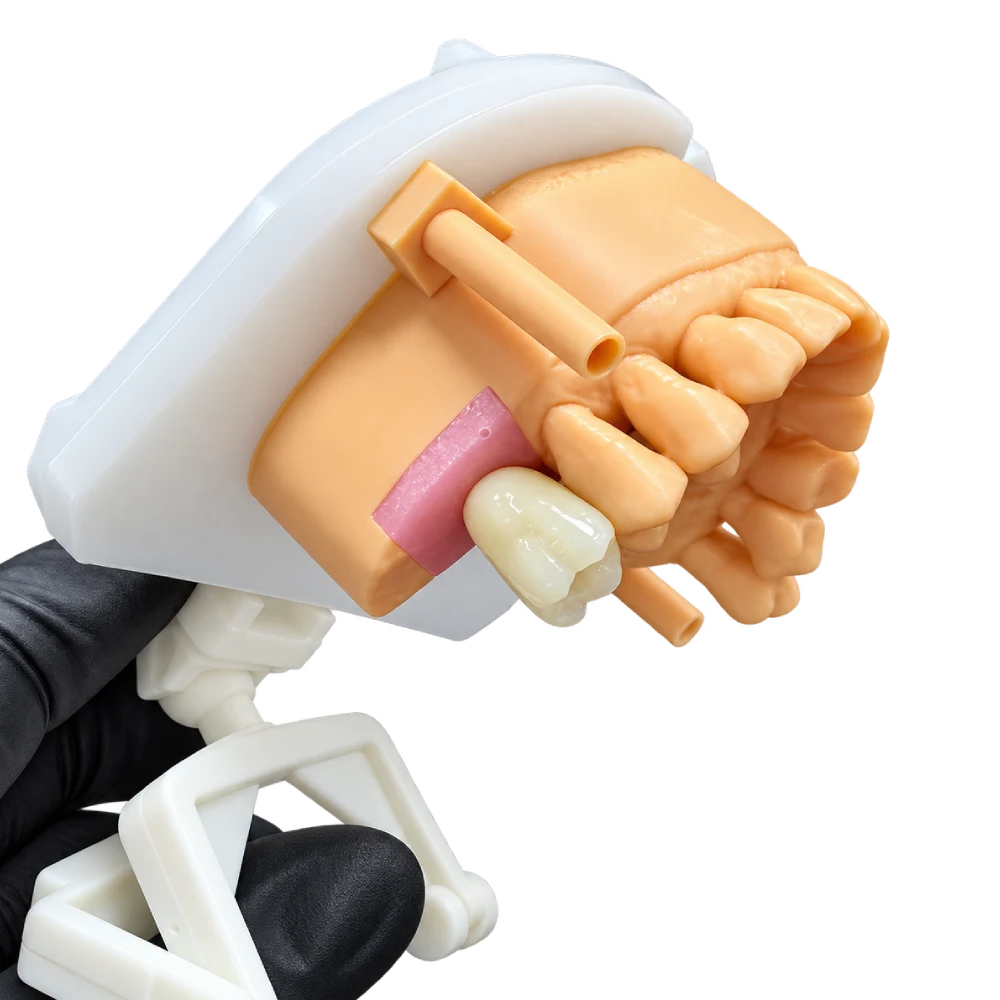
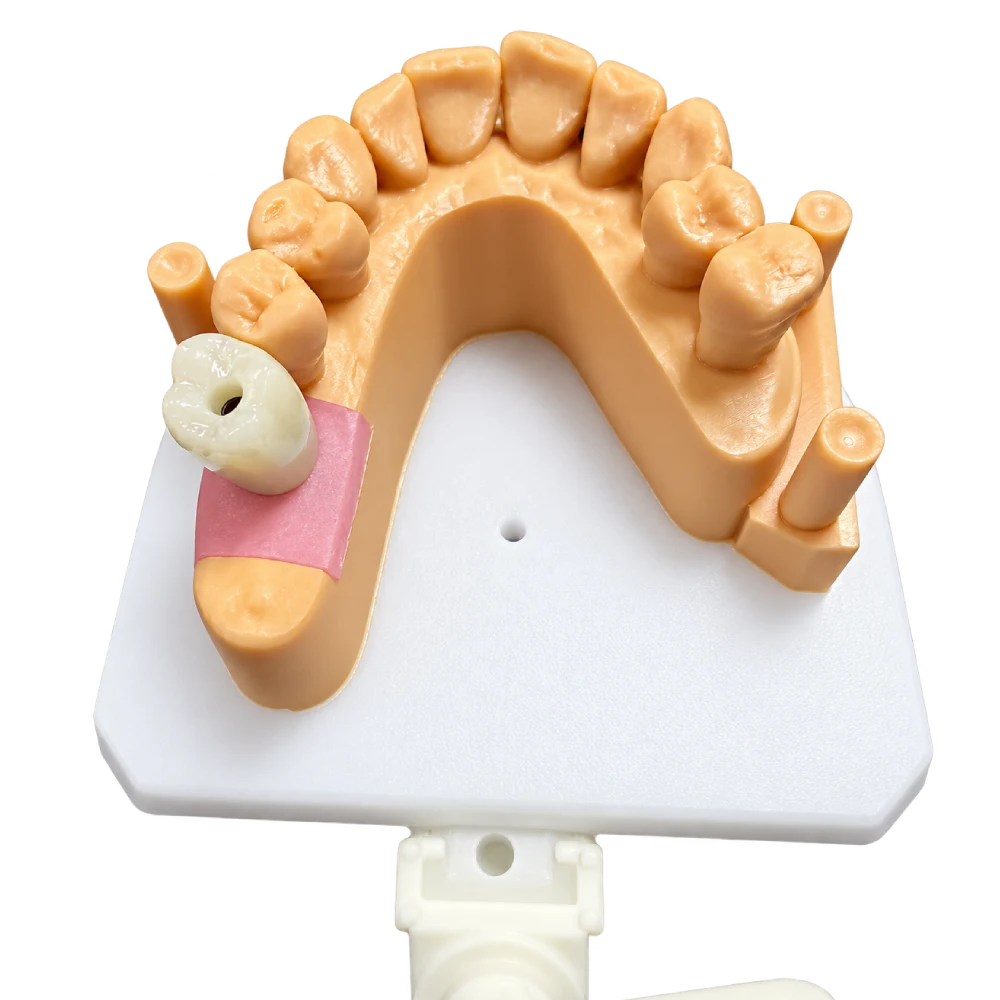
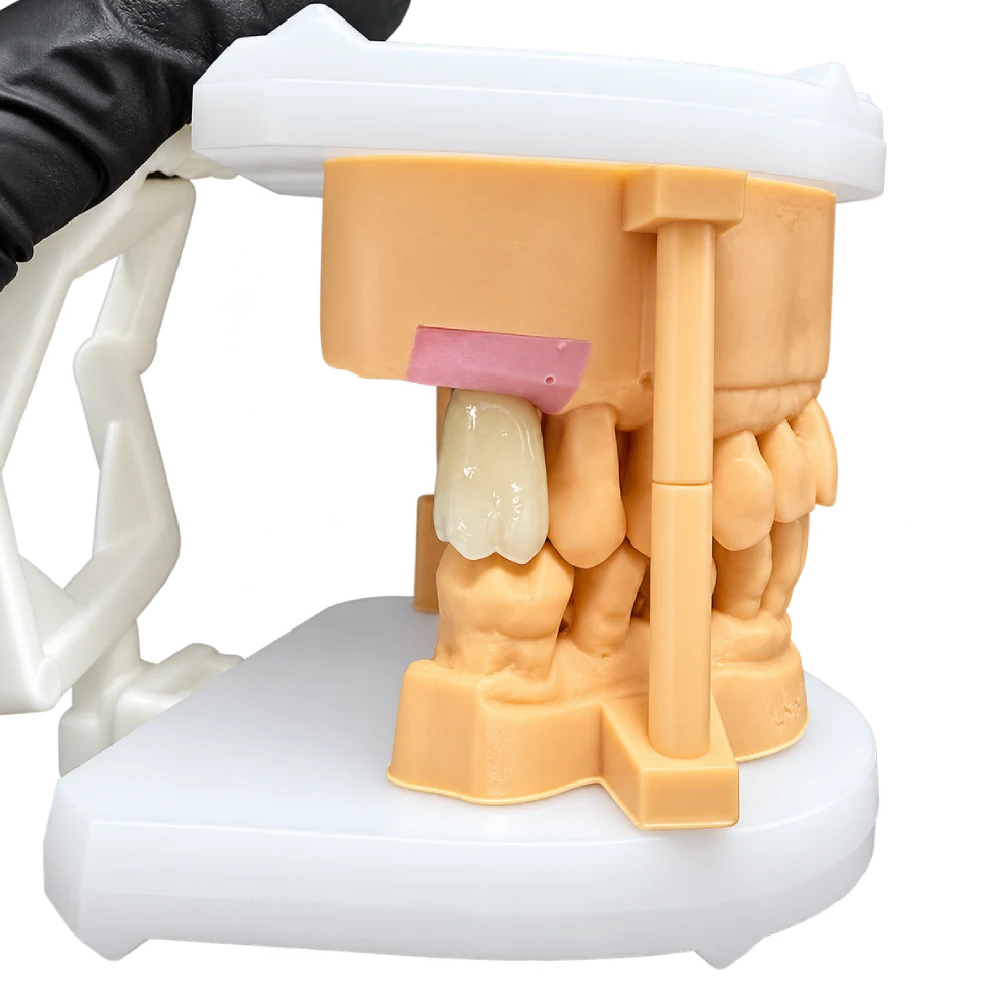
Anterior single-unit implant restoration. CAD-milled zirconia framework + hand-layered feldspathic veneer. Made in-house at ASD Dental Lab (founded 2012, Shenzhen + Huizhou).
Features
An implant layered zirconia crown from ASD is what you actually get when you order this restoration:
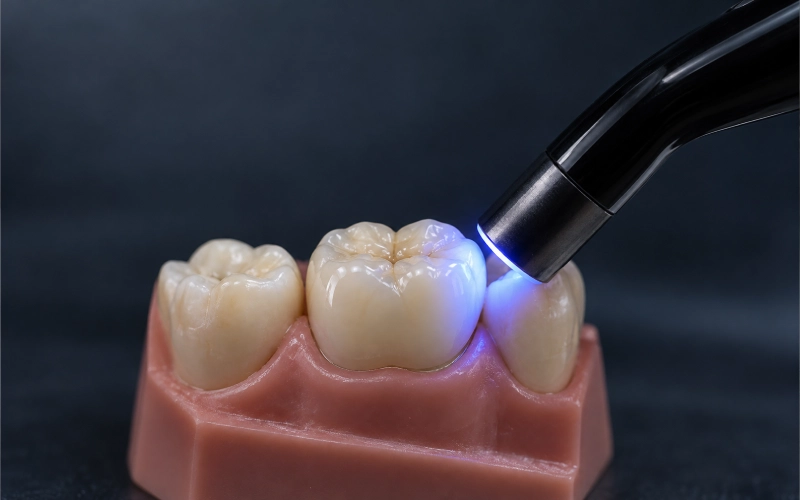
- Two-layer build, hand-finished. A yttria-stabilized zirconia framework is CAD/CAM-milled, sintered to full density, then a senior ceramist hand-layers feldspathic ceramic on the labial and incisal surfaces. The aesthetic depth comes from the layering — translucency, incisal halo, mamelon structure — not from a printed stain.
- Screw-retained by default; cement-retained when indicated. Default to screw-retained onto a Ti-base or custom abutment; switch to cement-retained when the screw channel would exit through the facial surface of an anterior crown.
- Validated scan-body library per implant system. We match the OEM library on file — Straumann, Nobel, MIS, and most other major systems — so the framework fits the analog without shimming.
- Hand-applied characterization when you send photos. White-spot patterns, perikymata, micro-texture — if you send clear reference photos of the adjacent tooth, our ceramists reproduce them on the final.
- Documented workflow with logged sintering. Every sintering cycle is logged with its temperature curve; shrinkage compensation is set per material batch and verified with test blocks before production cuts.
- Multi-gate quality control. Margins, contacts, occlusion, shade, and analog fit are each checked at a separate gate. Final release is signed off by a senior inspector before packing. [ISO 6872:2015 — Dental ceramics] applies to the materials we use.
Why choose an implant layered zirconia crown
Three honest reasons, and one reason to walk away.
It’s the right call when the case demands it.
- Shade match is the deciding factor. A single anterior crown next to a natural central that has lived in the mouth for 20 years needs the layered ceramic to fake that depth. A monolithic block, even a multi-layer one, will read flatter under operatory light.
- The soft-tissue story was developed on a provisional. When you’ve already shaped the emergence profile on a temp crown and need the final to carry that contour into the aesthetic zone, a layered crown gives you the ceramic space to do it.
- The patient has a thin gingival biotype. The hand-layered ceramic helps mask the gray of a Ti-base showing through thin tissue.
Walk away when the case doesn’t fit.
- Posterior molar region. The chewing forces are higher than the veneer-to-framework interface wants to absorb.
- Full-arch or long-span (5+ units). Connector leverage climbs fast.
- Documented parafunction (bruxism, clenching).
- Limited interocclusal clearance (under ~1.0 mm).
- Feather-edge margin prep — the veneer has nowhere to terminate cleanly.
If you’re unsure which side of the line a case falls on, send the scan. We’ll come back in writing with what we recommend, and we’ll say no if layered isn’t the right call.
Craftsmanship
Every step below happens inside our Shenzhen and Huizhou facilities — design, milling, sintering, layering, QC, packing. We don’t subcontract any of it.
- Intake and prescription check — scan quality, implant ID, shade photos, design notes. Anything missing gets flagged before we start cutting.
- CAD design — a senior CAD designer lays out the framework, emergence profile, connector geometry, and veneer space. We send a design preview for sign-off on complex cases.
- CAM milling — 5-axis dry milling of the zirconia blank with shrinkage compensation per the material batch.
- Sintering — locked temperature curve, validated per batch, each cycle logged. Test blocks verify dimensional accuracy before production runs.
- Hand layering — a senior ceramist (10+ years on aesthetic anterior cases) stacks dentin, enamel, and incisal layers.
- Stain, glaze, micro-characterization — custom staining to match the prescription; surface texture and perikymata replicated from your reference photos when supplied.
- Quality control — multiple inspection gates (margins, contacts, occlusion, shade, framework fit on the analog). Senior QC before packing.
- Pack and ship — case-numbered bag; implant screws packaged separately to prevent transit loss.
Materials and standards:
| Layer | Material | Reference standard |
| Framework | Yttria-stabilized zirconia (3Y / 4Y / 5Y selected by case) | ISO 6872:2015 |
| Veneer | Feldspathic layering ceramic | ISO 6872:2015 |
| Ti-base / abutment | Grade 5 titanium (Ti-6Al-4V) | ASTM F136 |
| Lab-side alloy / ceramic testing | — | ISO 22674 |
| Implant interface | OEM-validated scan bodies and libraries | Per implant manufacturer (Straumann, Nobel, MIS, etc.) |
5-year veneer chipping in published cohorts sits in the 5%–15% range; framework fracture rates stay low. [PMC9293296]
Preparation
These are the lab-side requirements that show up again and again in fit complaints. Meeting them shortens turnaround and improves the final seat.
| Parameter | Requirement |
| Occlusal reduction | 1.5–2.0 mm |
| Axial reduction | ≥ 1.0 mm |
| Margin | Shoulder (1.0 mm width) or deep chamfer — never feather edge |
| Emergence profile | If shaped on a provisional, send the provisional scan or impression |
| Implant ID | Brand, platform, diameter, connection — packaging label or scan-body photo |
| Shade | Stump shade + body shade + incisal notes; a photo of the adjacent tooth under natural light |
If the prep doesn’t match the indication (e.g., a 0.6 mm margin with a layered crown), we’ll flag it in the design review before any cutting starts.
Collaboration
How we work with you, end to end.
1. Discovery call (first case, optional after that). If this is your first case with us, we set up a 20-minute call to walk through your typical implant workflow — preferred implant systems, common prep conventions, shade protocol, scanner model. We use what we learn to pre-configure your account.
2. Case submission. Upload via your account portal, share through WeTransfer, or send files to your assigned case coordinator. We accept STL/PLY from Trios, iTero, Medit, Primescan, Panda, Shinning 3D, DS Core, Dexis, and most other open scanners. Physical impression with bite registration also works.
3. Design review. Within one business day of receiving a complete case, we send a written quote and a digital design preview. For complex cases we hold production until you’ve signed off on the design.
4. Production and tracking. Each production stage (intake → CAD → CAM → sintering → layering → QC → packing) is logged. You can ask your case coordinator for a status update at any point.
5. Delivery. Single-unit anterior implant case: 2–3 working days in-lab. Complex implant or full-arch case: 5–7 working days. Shipping time depends on your region.
6. Try-in and rework. If something doesn’t seat at try-in, send the crown back with a photo of the seating surface and the analog. We’ll diagnose it (usually a margin, contact, or analog mismatch) and re-cut if needed. We don’t charge rework fees for fit issues that originated on our side.
7. Standing relationship. After your first 3 cases, your account gets a dedicated case coordinator, a pre-set material preference, and access to rush turnaround when our production calendar allows.
Cases
Here’s the shape of the cases our implant department handles each month. Specific patient cases aren’t published — for sample work, photos with patient consent, or to discuss a case similar to yours, ask your coordinator.
Volume we run:
- Roughly 8,000 zirconia single-unit crowns per month at normal capacity, scaling to 15,000 in peak season.
- Implant-specific work sits inside a dedicated implant department of about 80 technicians, supported by ~100 CAD designers and ~70 milling operators across the facility.
Case types we deliver regularly:
- Anterior single-unit implant crowns — maxillary centrals and laterals, custom abutment + layered crown, shade-matched to adjacent natural dentition.
- Implant crowns with provisional-driven emergence profile — cases where the doctor shaped the soft tissue on a temp and the final needs to carry that contour.
- Multi-implant anterior cases — two or more adjacent implants in the smile zone, with veneer space and connector geometry reviewed before cutting.
- Screw-retained aesthetic cases — where the screw channel was rerouted via angled screw channel abutment or multi-unit abutment to keep it out of the aesthetic zone.
Client base that sends these:
- More than 50 dental laboratories outsourcing implant work.
- More than 100 dental clinics and group practices.
- Over 400 dentists working directly with us.
For a sample case discussion (similar shade challenge, similar prep, similar implant system), send a one-line note to your coordinator and we’ll come back with what we can share.
Indications
Recommended for:
- Anterior single-unit implant crowns — maxillary centrals, laterals, canines, mandibular anteriors.
- Custom abutment + layered crown combinations in the smile zone where soft-tissue emergence profile was developed on a provisional and needs to carry into the final restoration.
- Cases with sufficient interocclusal clearance (we need 1.5–2.0 mm of occlusal space for the framework plus the veneering layer).
- Patients with thin gingival biotype where hand-layered ceramic helps mask the gray of a Ti-base showing through.
Contraindications
We do not recommend this restoration for:
- Posterior implant crowns (premolars, molars).
- Full-arch or long-span restorations (5+ units).
- Documented parafunction (bruxism, clenching) — even with a night guard, cyclic loading on layered zirconia in these patients is a known risk factor. [PMID 35848628].
- Limited interocclusal clearance (under ~1.0 mm).
- Feather-edge margin. The veneer has nowhere to terminate cleanly.
Specifications
| Spec | Value |
| Best indication | Anterior single-unit implant crown |
| Framework material | Yttria-stabilized zirconia (Y-TZP) |
| Veneering ceramic | Feldspathic, hand-layered |
| Retentions | Screw-retained (default), cement-retained (when indicated) |
| Implant systems | Straumann, Nobel, MIS, and most major systems — OEM preferred |
| Standard turnaround | 2–3 working days in-lab (single unit) |
| Complex-case turnaround | 5–7 working days in-lab |
| Lab location | Shenzhen + Huizhou, China |
| Founded | 2012 |
| Subcontracting | None — fully in-house |
FAQ
Does layered zirconia chip easily on implants?
It chips more often than a non-layered alternative — typically 5%–15% over 5 years in published cohorts — because the veneering layer is bonded to a stiffer substrate. Most chips are small and repairable. To stay on the low end, keep the restoration anterior, respect occlusal clearance, and screen out parafunctional patients. [PMC9293296]
Screw-retained or cement-retained?
Screw-retained when access permits and the screw channel doesn’t land in the aesthetic zone — retrieval is cleaner if anything has to come off later. If the channel exits through the facial surface of an anterior crown, we move to a cement-retained design on a custom abutment.
Which implant systems are supported?
Most major systems on the market. Send the packaging label or a scan-body photo so we match the correct library. OEM parts are preferred for marginal fit; validated compatible parts are available when OEM isn’t, and we’ll flag the trade-off in the quote.
How fast is a single-unit anterior implant case?
2–3 working days in-lab once we have a usable scan, a written Rx, and implant identification. Add a day or two if a diagnostic wax-up or provisional is requested. Complex full-arch or multi-implant cases: 5–7 working days.
Are custom abutments and Ti-bases available?
Yes. Ti-bases, angled screw channel abutments, and multi-unit abutments are part of our standard implant offering. Custom abutments are recommended in the aesthetic zone for soft-tissue matching.
What happens if the crown doesn’t seat at try-in?
Don’t force it. Send it back with a photo of the seating surface and the analog; we’ll diagnose it (usually a margin, contact, or analog mismatch) and re-cut if needed. We don’t charge rework fees for fit issues that originated on our side.
How is this different from a full-contour crown?
A layered zirconia crown pairs a milled zirconia framework with a hand-stacked feldspathic veneer — that’s where the aesthetic depth comes from, and that’s where the chipping risk lives. A full-contour crown is one piece of graded or uniform zirconia with no porcelain overlay. We make both, and we’ll recommend one over the other depending on the case.
Submit a case
The fastest path to a written quote:
- Export the scan from your intraoral scanner (STL or PLY).
- Include the implant packaging label or scan-body photo with the case.
- Attach stump shade, target shade, adjacent-dentition photos, and any design notes.
- State the desired turnaround (standard or rush).
Submit via your account portal, WeTransfer, or your assigned case coordinator. We’ll come back with a written quote and a design timeline within one business day.
This page describes a manufactured dental prosthetic and our internal workflow. Clinical case management remains the responsibility of the prescribing clinician.