Essix Retainer Temporary Tooth: Anterior Case Study


Patient Situation
A 34-year-old conference sales representative came in after a vertical root fracture on the maxillary right central incisor (#8). The tooth could not be saved. The clinician extracted it and placed a bone graft the same day.
Before the extraction, the patient had asked: “How long until I can get the implant?” The answer was 4–6 months. The graft site had to mature. The soft tissue had to stabilize. No permanent restoration could be placed until then.
The patient’s immediate concern was the social and professional impact. She attended 3–5 client-facing events per week — product demos, networking dinners, contract signings. A visible gap in the front would be difficult to explain and might undermine client confidence.
She asked the clinician: “What are my options while I wait?”
The clinician explained three interim solutions:
- A removable partial denture (flipper): tissue-supported, covers the palate, easier to adjust but bulkier to wear
- A resin-bonded bridge (Maryland bridge): fixed to the adjacent teeth, no removal needed, but requires some enamel prep and the patient wanted to avoid any alteration to the sound adjacent teeth
- An Essix-style retainer with a bonded temporary tooth: tooth-supported, no palate coverage, removable for daily cleaning of the surgical site
The patient picked the Essix option because:
- No palate coverage — she was concerned a full palate acrylic base would affect her speech during presentations
- Removable — the clinician emphasized daily cleaning of the graft site during the early integration window, and the patient wanted something she could take out herself
- Minimal prep — the adjacent teeth (#7 and #9) were sound (no decay, no mobility, no large restorations), and she did not want them altered
The clinician confirmed the adjacent teeth could support a short-span retainer, took a PVS impression, and wrote the prescription.
What the Ordering Clinician Requested
The clinician sent us a PVS impression of the maxillary arch, a written prescription, and shade/mold guidance for the temporary tooth. The prescription spelled out:
- Appliance type: Vacuum-formed clear retainer (Essix-style tray) with integrated temporary pontic
- Span: #7 through #9 (three-unit span, temporary tooth at #8)
- Pontic contact with the surgical site: Zero contact — the base of the temporary tooth must clear the ridge by at least 1 mm. No pressure on the graft site.
- Material for the tray: 1.0 mm ACE® or equivalent clear copolyester (not the thinner 0.75 mm — the clinician wanted extra rigidity to hold the pontic securely)
- Tooth: Composite resin, shade A2, mold/form to match the contralateral central incisor
- Retention features: Small relief over the bonded pontic base. No additional undercut prep. The patient’s natural anatomy gave enough mechanical retention on #7 and #9.
- Service period: 4–6 months, non-extended wear (remove nightly, clean daily)
The clinician also added a note: “If the pontic cannot be bonded securely without compromising the tray, or if the span goes past three adjacent units, contact us before proceeding — the plan may need to change.”
Essix Retainer with Temporary Tooth: Design and Fabrication
1. Design and Span Check
We poured the impression, checked the span (#7–#9 = three adjacent positions), and confirmed the inter-proximal spaces fit a tooth-borne tray-type retainer.
The clinician’s caution about span matters: Essix retainers rely on the natural teeth for support. If the span had been longer — say, four or five units — or if #7 or #9 had been compromised, the retainer would flex too much under function. The pontic would come loose or tear the tray. Three units with sound anchor teeth fell within the safe range we’ve seen hold up in similar cases.
2. Ridge Clearance (Zero Contact)
Per the prescription, we shaped the pontic base to clear the surgical site by at least 1 mm. This is not negotiable for post-extraction sites with bone grafts: any pressure on the graft during the early integration phase can disrupt site maturation or cause patient discomfort.
We checked clearance on the working cast before bonding the pontic. The ordering clinician decides the acceptable clearance based on the surgical protocol and the patient’s bite. Our role is to execute that clearance as specified.
3. Pontic Fabrication and Bonding
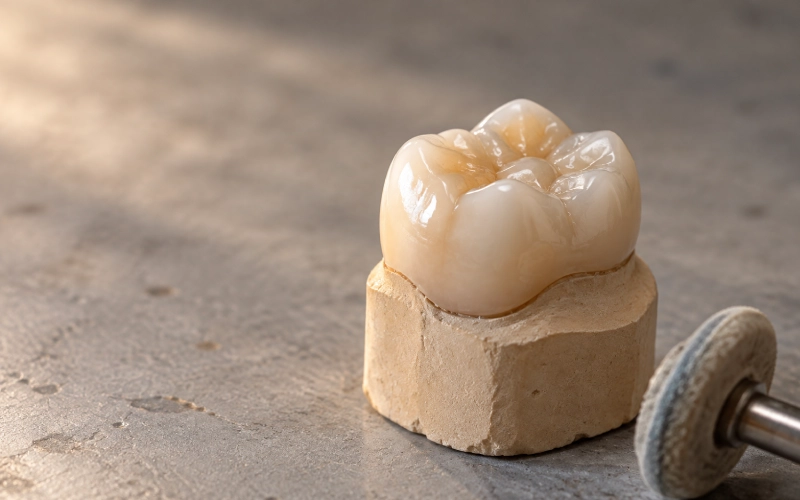
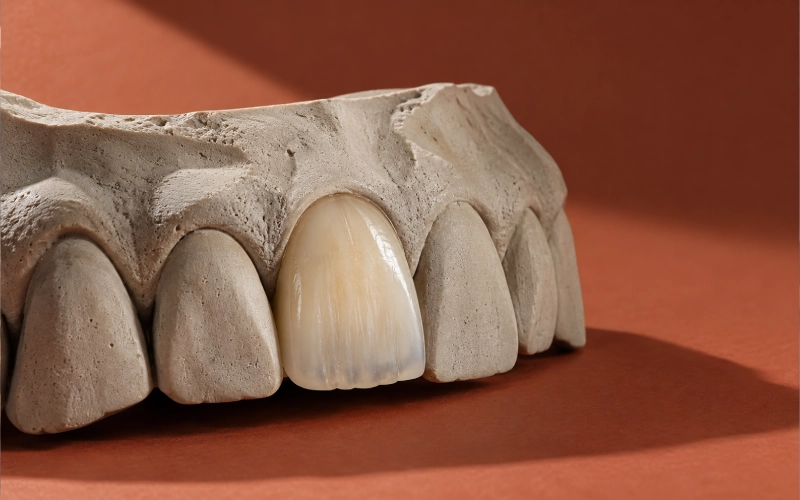
We picked a composite resin denture tooth (shade A2, mold to match the contralateral #8 from the patient’s records) and trimmed the base to the clearance profile.
The pontic was bonded to the palatal surface of the tray using a light-activated composite adhesive. We added a small bead of cyanoacrylate (CA glue) on the lingual undercut of the anchor teeth’s tray coverage. This is a reinforcement trick we’ve used on similar cases where the pontic adds lateral stress. It’s not part of every Essix retainer, but it helps prevent early tray tearing at the junction.
4. Material and Thickness
We used 1.0 mm ACE® clear copolyester tray material (Dentsply Sirona). The clinician specifically requested this over the thinner 0.75 mm. A pontic-bearing retainer needs more rigidity than a plain retention appliance.
For reference:
- ACE® is available in 0.030″, 0.035″, and 0.040″ (≈ 0.75–1.0 mm). We used the 1.0 mm.
- PLUS™ (Great Lakes) and C+® (Scheu Dental) are alternatives in the same thickness range.
ACE, PLUS, and C+ are registered trademarks of their respective manufacturers. We are not affiliated with these companies, and mention of these materials does not imply endorsement or agency.
5. Quality Check and Fit Verification
Before shipment, we:
- Verified pontic stability by applying gentle finger pressure — no rocking, no gaps at the bond line
- Checked tray retention on the cast — snug around #7 and #9 without excessive force needed for seating or removal
- Inspected for sharp edges and polished the tray margins
- Confirmed ridge clearance with a periodontal probe (≥ 1 mm confirmed)
Outcome
The appliance shipped within the agreed turnaround time. At delivery, the ordering clinician seated the retainer intra-orally and confirmed the fit before sending the patient home with it. The temporary tooth held through the 5-month interim period until implant placement. The patient transitioned to the permanent restoration on schedule.
Patient and Clinician Feedback After Try-In
Day of Try-In (Clinician’s Notes)
When the clinician seated the retainer:
- Margins and fit: The tray seated fully on #7 and #9 with firm finger pressure. No rocking. No lift at the edges. The patient reported no pinching or tightness on the anchor teeth.
- Ridge clearance: The clinician confirmed ≥ 1 mm clearance between the pontic base and the graft site with a periodontal probe. The patient reported no pressure or tenderness when biting gently on a cotton roll over the surgical site.
- Pontic appearance: Shade A2 matched the contralateral #9 (the patient’s records) under the operatory light. The mold followed the contralateral incisor’s outline. The clinician noted the pontic blended visually with the natural teeth at conversational distance.
- Retention and removal: The clinician tested removal. The retainer came out with a gentle pull on the anterior tray edge — no excessive force. The patient practiced seating and removal twice before leaving.
The clinician’s note on the day’s chart: “Fit verified. Clearance verified. Patient tolerated seating and removal without discomfort. Released for daily wear.”
One Week Follow-Up (Patient’s Feedback)
The patient called the clinic one week later. Reported:
- Speech: “My ‘s’ and ‘th’ sounds were a little off the first two days, but by day three they were back to normal. I did a presentation on day four and nobody noticed.”
- Eating: She removed the retainer for meals (per the clinician’s instructions). After meals she rinsed the retainer and the surgical site before re-inserting. Reported no discomfort during chewing or biting with the retainer out.
- Cleaning the surgical site: She was able to rinse the graft area and gently brush around it after removing the retainer. The clinician had emphasized this during the implant care window — the patient reported it was the main reason she chose a removable appliance over a fixed option.
- Comfort: No sore spots on the buccal mucosa or tongue after one week. The lingual CA reinforcement bead was not noticeable to her tongue once she stopped thinking about it.
- Confidence: She had a client dinner 6 days after try-in. “Nobody asked about my front tooth. That’s exactly what I wanted.”
Mid-Period Check (Clinician’s Reassessment, Week 8)
At the 2-month follow-up, the clinician examined the retainer and the graft site:
- Pontic integrity: Still bonded. No rocking. No debond at the tray junction. No discoloration at the bond line.
- Tray condition: No cracks. No perforations. The 1.0 mm copolyester had held its rigidity under daily insertion and removal.
- Graft site: Healing was progressing as expected. The clinician noted the pontic’s zero-contact design had not irritated the soft tissue or interfered with site maturation.
- Oral hygiene: The patient had kept the retainer and the surgical site clean. No plaque accumulation at the margins.
The clinician’s mid-period note: “Pontic secure. Tray intact. Site integration on track. Continue current wear schedule.”
End-of-Period Handoff (Week 20)
At 5 months, the patient returned for implant placement. The clinician:
- Removed the retainer one final time
- Confirmed the graft site was ready for implant surgery
- Noted the retainer had served its interim purpose without complication
- Sent the patient to the surgical phase with the Essix retainer kept as a backup during the post-surgical integration window (the surgical team decided whether to let her wear it again after implant placement)
The patient’s comment at this visit: “I’m glad I went with the removable one. Cleaning the site was easy, and I never had to worry about food trapping under something fixed. It looked good the whole time.”
When an Essix Retainer with Pontic Is Not Suitable
We make Essix-style retainers with temporary teeth only when the clinician’s written request specifies it and the case meets these conditions:
- Span: Usually 1–3 adjacent teeth. Longer spans risk too much flex and pontic failure.
- Anchor teeth must be sound: No active decay. No significant mobility. No extensive restorations that could debond under the retainer’s retention force.
- Ridge clearance is achievable: The clinician must specify an acceptable clearance (usually ≥ 1 mm for post-surgical sites). If the patient’s bite or ridge contour makes clearance impossible, a different interim solution is needed.
- Non-extended wear: These are removable appliances for daytime social wear. The patient removes them nightly. They don’t work for patients who can’t or won’t remove the appliance daily.
- Site integration window: This type of retainer is an interim solution for cases with a permanent restoration planned within 4–8 months. It is not a long-term replacement.
If any of these conditions don’t hold, the ordering clinician may consider:
- A flexible partial denture (Valplast / TCS) for longer spans or when the patient needs extended wear
- A resin-bonded bridge (Maryland bridge) if the adjacent teeth can support it and the patient prefers a fixed solution
- Leaving the space as-is if the gap is not visible and the patient is comfortable waiting without an interim appliance
Our Scope and What the Ordering Clinician Decides
What we handle:
- Making the retainer and pontic per the written prescription
- Making sure the pontic clears the ridge by the specified amount
- Checking that the span falls within the range we’ve seen work in similar cases (usually 1–3 units)
- Delivering a finished appliance that meets the physical specs
What the ordering clinician decides:
- Whether an Essix-style retainer is the right call for this patient (vs. a partial, a bonded bridge, or no interim appliance)
- The acceptable ridge clearance based on the surgical protocol and the patient’s bite
- When the patient should wear the appliance (daytime only, remove for meals, etc.)
- When to move to the permanent restoration
If a prescription asks for something outside the range we’ve seen succeed — say, a five-unit span or a pontic that must contact the ridge — we contact the ordering clinician before proceeding to talk through whether the plan needs adjustment.
Essix Retainer Materials and Pontic Thickness
For Essix-style retainers with integrated pontics, we usually use:
- Tray material: 1.0 mm clear copolyester (ACE® / PLUS™ / C+®, or equivalent). Thinner materials (0.75 mm) work for plain retention without pontics. Thicker materials (1.0 mm) give the rigidity needed to hold a bonded tooth.
- Pontic: Composite resin denture tooth (shade and mold per prescription) or, in some digital workflows, a 3D-printed resin tooth (0.75–1.0 mm wall thickness for anterior pontics).
- Adhesive: Dual-cure composite adhesive or cyanoacrylate reinforcement at stress points (per our internal protocol for pontic-bearing retainers).
Material choice follows the ordering clinician’s prescription. When no specific material is named, we use the thickness and type that match the appliance’s intended function and the span of coverage.
Duplicate and Remake Policy
If the appliance is lost, damaged, or needs adjustment:
- Duplicate: We can make a duplicate from the original cast (if we still have it per our archiving protocol). The duplicate is billed as a new case.
- Remake due to lab error: If the finished appliance doesn’t meet the prescription (wrong clearance, poor pontic bond, incorrect span), we remake it at no charge. Contact us within 7 days of delivery with photos or the returned appliance.
- Adjustment or repair: Minor adjustments (trimming tray margins, re-polishing) can sometimes be done if the appliance is returned to us. Pontic debonding usually requires a full remake.
Specific remake and warranty terms are in the case agreement and may vary by jurisdiction.
Order an Essix Retainer with Temporary Tooth
To make an Essix-style retainer with a temporary tooth, we need:
- Impression: PVS (polyvinyl siloxane) preferred. Alginate can work if poured immediately, but PVS captures better detail for the undercuts and margins a well-fitting retainer needs.
- Written prescription (one-page form) covering:
- Appliance type (Essix / vacuum-formed retainer with pontic)
- Span (which teeth the retainer covers)
- Pontic position and ridge clearance requirement
- Material thickness preference (if any)
- Shade and mold for the temporary tooth
- Any special instructions (e.g., “contact us if clearance cannot be achieved”)
You can download our Removable Appliance Prescription Template here (link to be added by the web team).
Ship the impression and prescription to:
ASD Dental Lab Shenzhen and Huizhou facilities [Full shipping address to be added by the web team]
Or submit digital scans via our online case portal (link to be added).
About This Case
This case is representative of the Essix-style retainers with temporary teeth we make for ordering clinicians. Patient and clinician names are not disclosed per standard privacy protocol.
We are ASD Dental Lab, a full-service dental laboratory founded in 2012, with manufacturing facilities in Shenzhen and Huizhou, China. Our team has roughly 460 employees: 100 CAD designers, 70 milling technicians, 80 implant specialists, 70 ceramic and metal technicians, 55 removable denture technicians, 25 quality control staff, and 40 case coordinators.
All fabrication steps — from digital design to final inspection — stay in-house. We don’t outsource cases to third-party labs. This integrated workflow lets us control quality, keep delivery timelines stable, and respond quickly when a case needs clarification or adjustment.
For questions on whether an Essix retainer with a temporary tooth is right for your patient, or to talk through a specific case before submitting, contact our case coordination team at [email/phone to be added by the web team].
Case Note: The details in this case study — patient age, tooth position, service period, material selection, and clinician instructions — reflect an actual case made by ASD Dental Lab. We removed the patient and clinician identifiers to protect privacy. The technical specifications (span, clearance, material thickness) and the decision framework (when this solution works, when it doesn’t) come from our experience with similar appliances and from the peer-reviewed literature on interim tooth replacement and vacuum-formed retainers.
References and Further Reading
The technical details in this case study — material specs, fabrication steps, clinical indications, and the distinction between tooth-supported and tissue-supported appliances — come from peer-reviewed research, manufacturer technical documentation, and clinical education resources:
- Essix appliance as a temporary anterior prosthesis — PubMed indexed study on using Essix-style retainers for interim tooth replacement
- Glidewell Essix Retainer product specifications — technical documentation from a major dental laboratory
- Clear retainer design and fabrication — APOS Trends in Orthodontics (peer-reviewed)
- Digital workflow for interim prosthetics — Journal of Prosthodontics (2017, Vol. 26, pp. 331–338)
- Why use an Essix retainer versus a flipper during implant care — Pankey Institute clinical education article (explains the mechanical difference between tooth-borne and tissue-borne appliances)
- Vacuum-formed retainer materials and clinical outcomes — PMC full-text journal article
- Essix retainer fabrication services — dental lab service page (fabrication protocols)
- Essix retainer with false tooth case examples — UK dental laboratory case gallery
- Dentsply Sirona Essix plastics guide (2024) — manufacturer technical documentation on ACE®, PLUS™, and other thermoforming materials (thickness specifications, heating protocols; exact PDF path omitted per manufacturer distribution policy)
- Digital fabrication of clear retainers with integrated pontics — Journal of Advanced Oral Health (case report on CAD/CAM workflow)
- Dentsply Sirona: How to create a clear retainer — manufacturer step-by-step fabrication guide (exact PDF path omitted per manufacturer distribution policy)
- Wear resistance of four vacuum-formed retainer materials — PubMed indexed study comparing ACE®, Essix C+®, and other copolyester materials
- Patient instructions for Essix clear retainers — clinical practice patient education resource
- How to clean retainers — consumer oral health guidance