Cosmetic Dentures Case Study: Hiding the Clasps Without Sacrificing Repairability
🕢 [ Remplissez le formulaire et nous vous répondrons dans les 30 minutes ! ]
A case walkthrough from ASD Dental Lab — a dental laboratory, not a clinic.
We make the prosthesis. Your dentist does the diagnosis, the impressions and the delivery appointment. That split matters here, because this case turns entirely on a fabrication decision — how to get retention out of the smile zone without giving up a framework you can still repair.
The patient situation
A partially edentulous adult came to their dentist already wearing a cast metal removable partial denture. No urgent complaint. The framework worked. It fit.
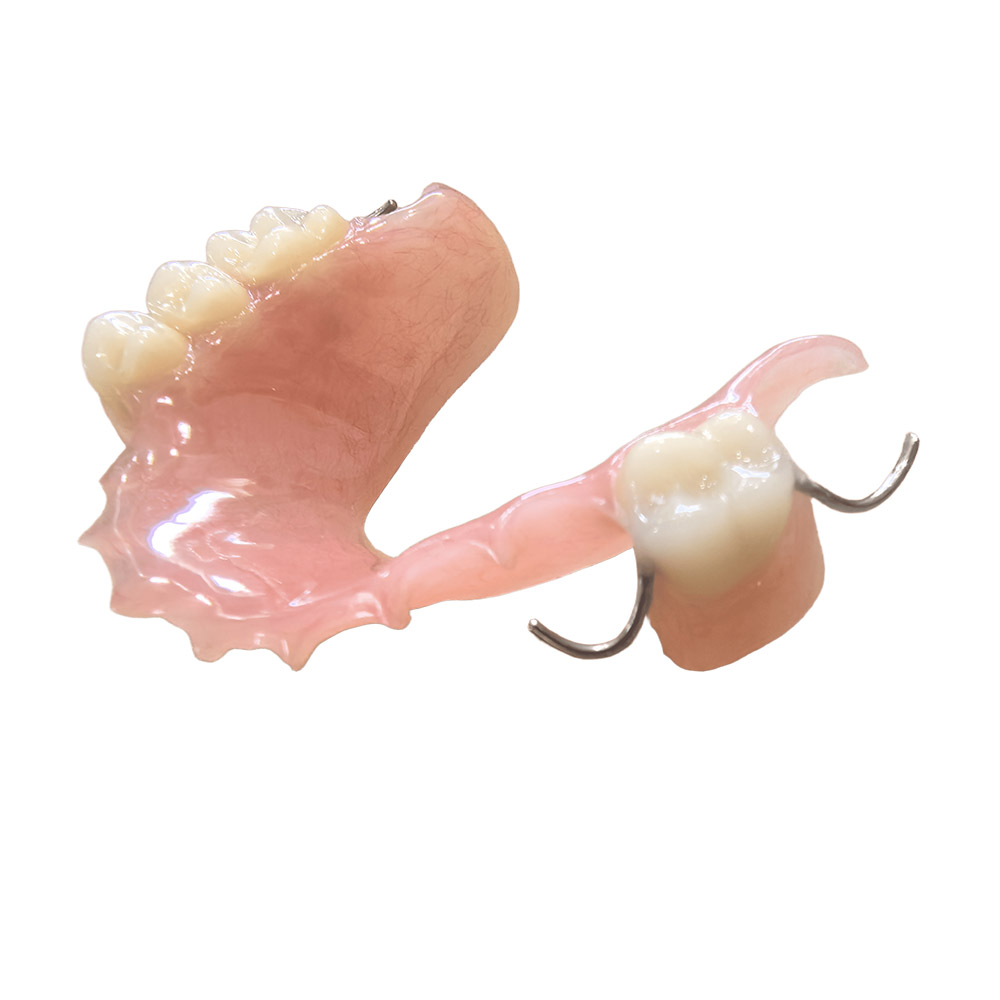
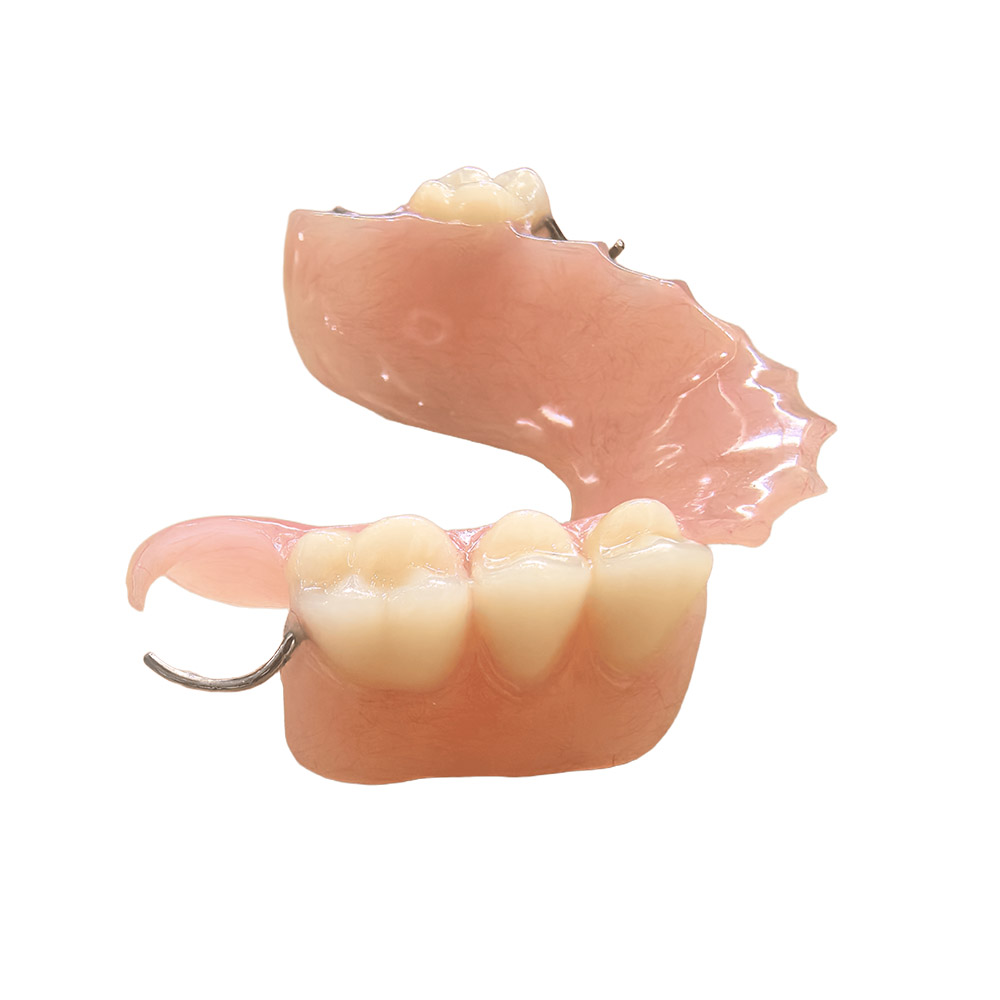
The problem was this: four clasps visible when the patient smiles. The patient stopped smiling.
A few other things shaped the case:
- Teeth worth keeping were worth keeping. The patient did not want full extraction.
- No dental insurance. Fixed implant options had been quoted well beyond what the household could carry.
- The ridge is going to keep changing. Bone loss after extraction is progressive and irreversible — it is one of the reasons a partial denture needs relining on a regular basis rather than once and never again.
- The patient said it himself: “If I was good at sticking to routines I wouldn’t be in this mess.” That line shaped how we designed the thing.
So the brief was not “make a better denture.” It was: hide the metal, keep the strength, and don’t make it impossible to fix later.
What the dentist asked us for
These are the requirements as we received them — each one traces back to a specific problem above.
| # | Requirement | Which problem it solves |
| R1 | No bare metal showing in the esthetic zone. Shade-matched clasp arms, or a precision attachment interface that hides the clasp behind a restoration. | Four visible clasps |
| R2 | Partial, not full. Preserve the abutments and the prepared surfaces. | Remaining teeth are worth keeping |
| R3 | Leave reline room. The tissue surface must be resurfaceable later without remaking the framework. | Ridge keeps changing |
| R4 | If the lower arch goes implant-assisted, deliver the attachment interface and its replaceable components as named parts. | Lower arch retention is harder than upper (tissue-supported overdentures carry more bone loss) |
| R5 | Ship a written cleaning and maintenance path with the case. | Maintenance compliance is the weak point |
| R6 | Write down the repairable / not-repairable boundary in advance. | An unrepairable prosthesis is the most expensive kind of failure |
| R7 | Shade matched in the correct order, while the teeth are still moist, and recorded. | A tooth added in two years still has to match |
| R8 | Give a tiered cost sheet, not one number. | Patient pays out of pocket |
How we built it
Concealed retention, not decorative retention
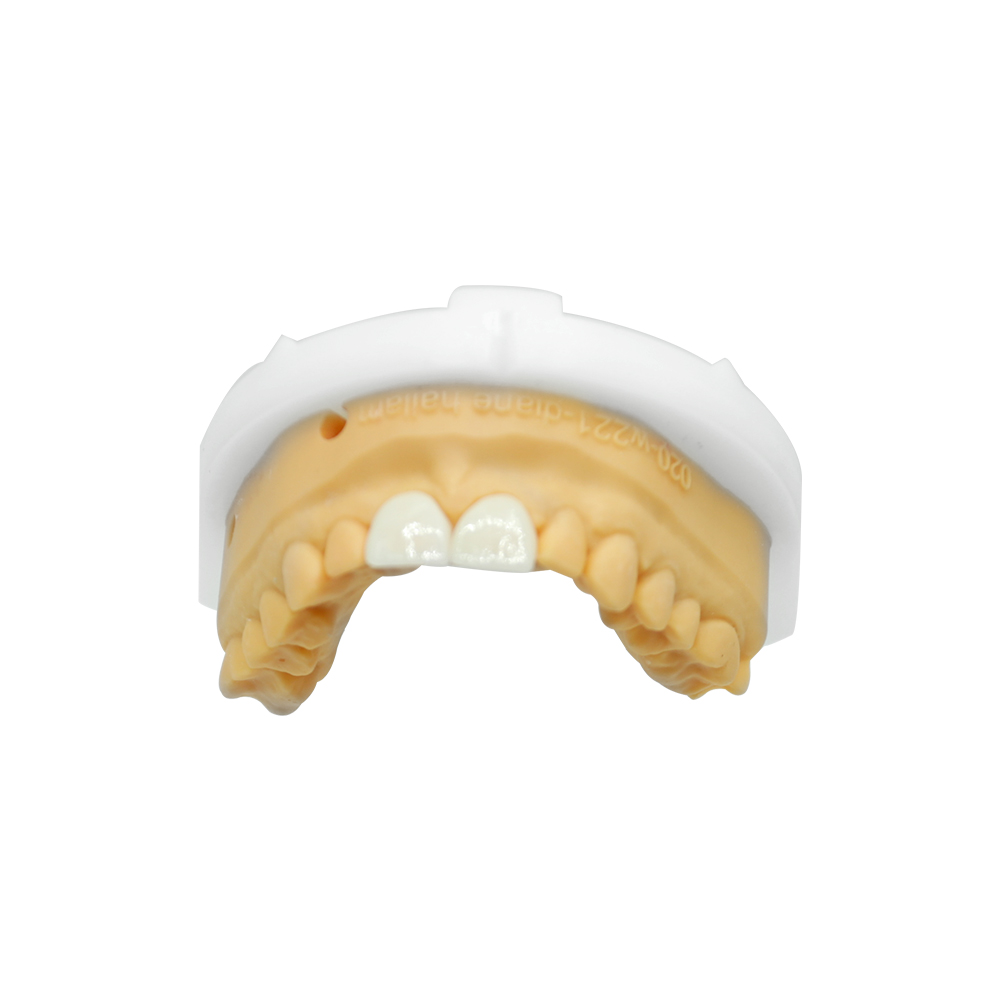
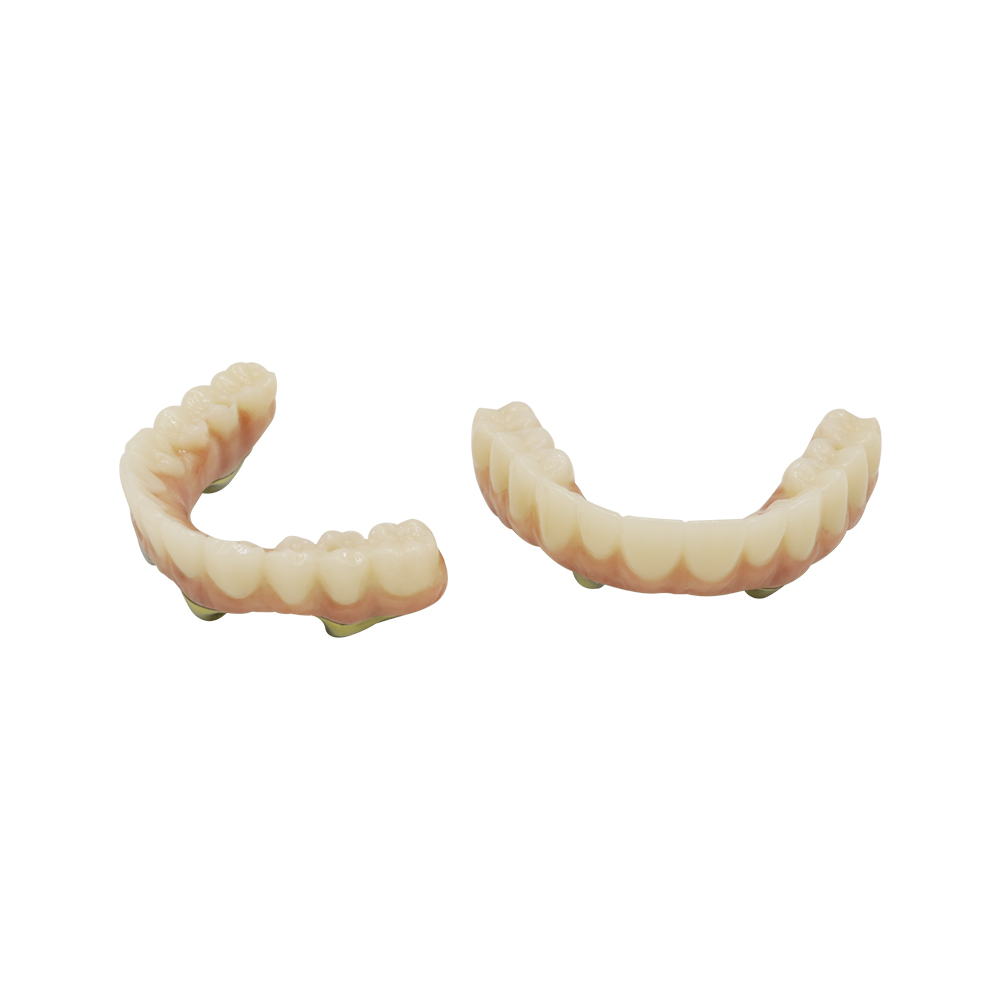
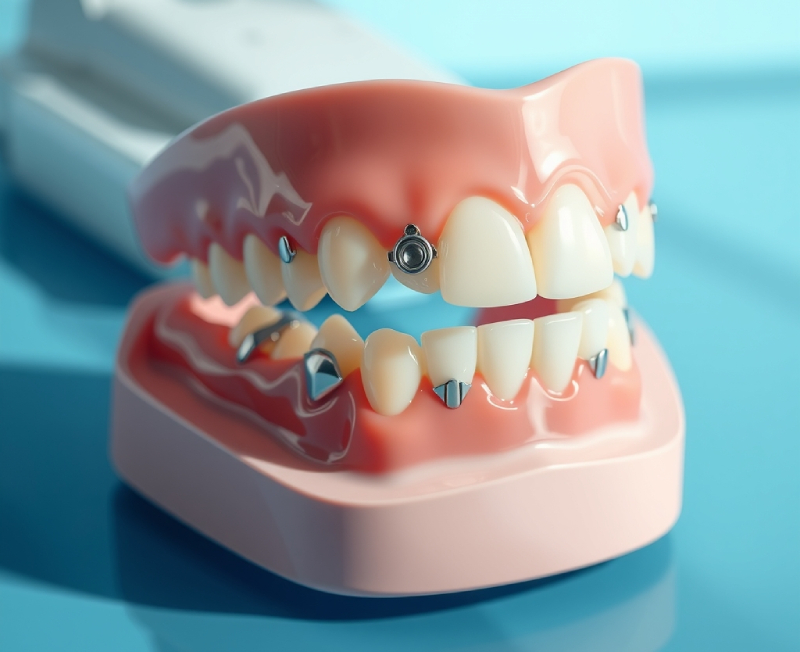
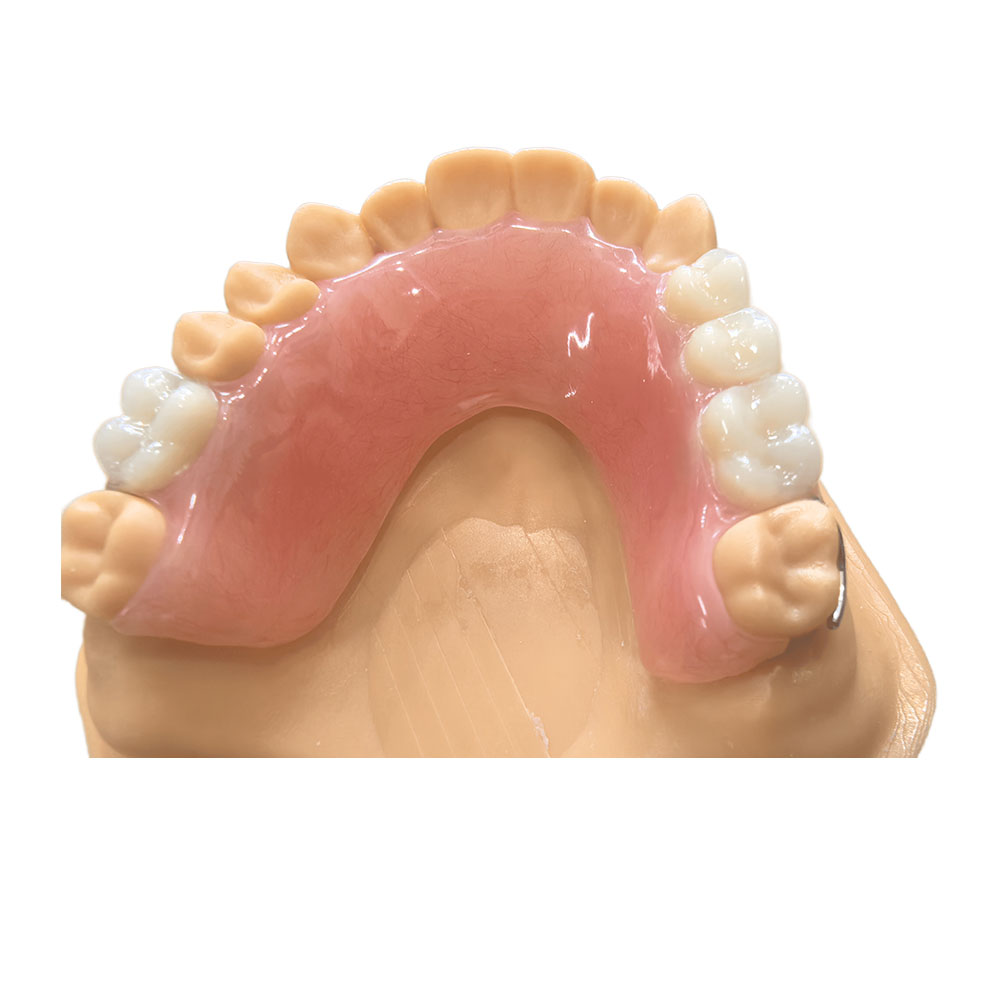
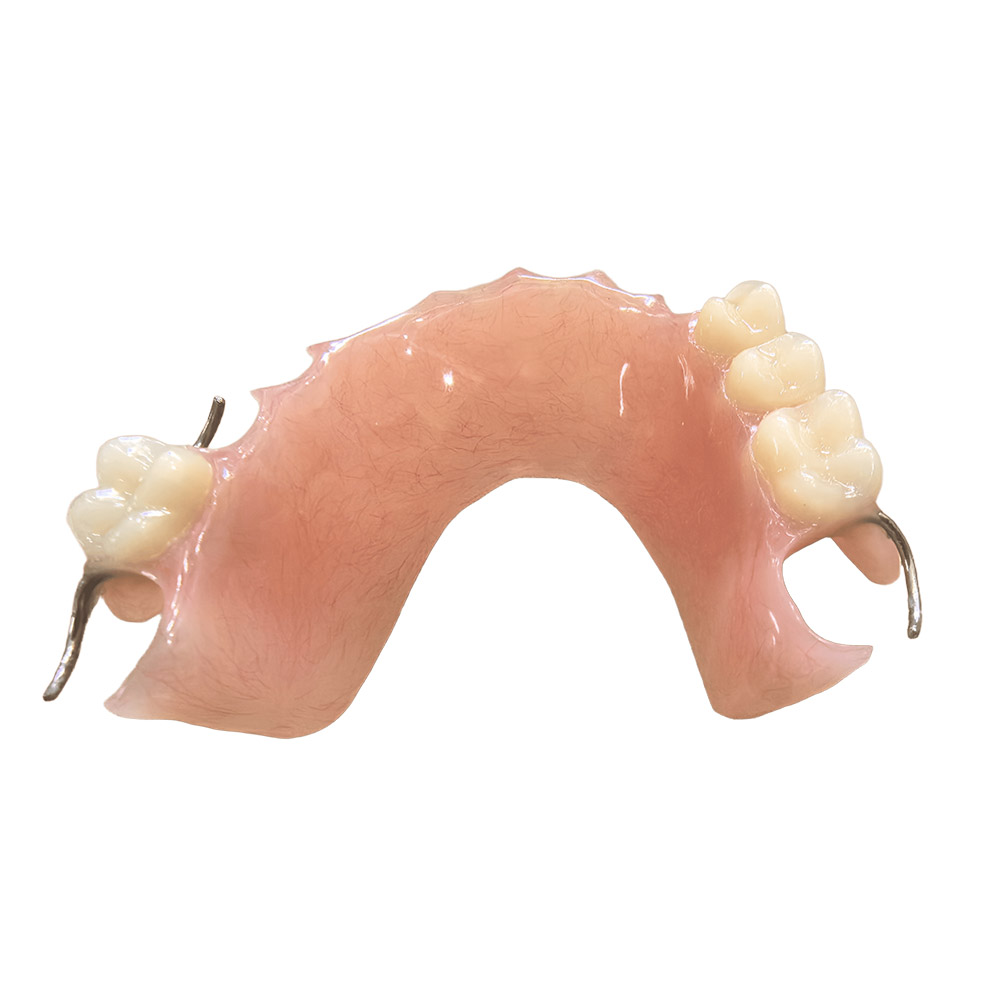
The esthetic zone gets shade-matched clasp arms, or the clasp sits behind a precision attachment interface on the abutment. Both routes keep the metal out of the smile. Neither route is new, and neither is a substitute for a proper abutment survey — that part stays with you.
Cast framework, deliberately
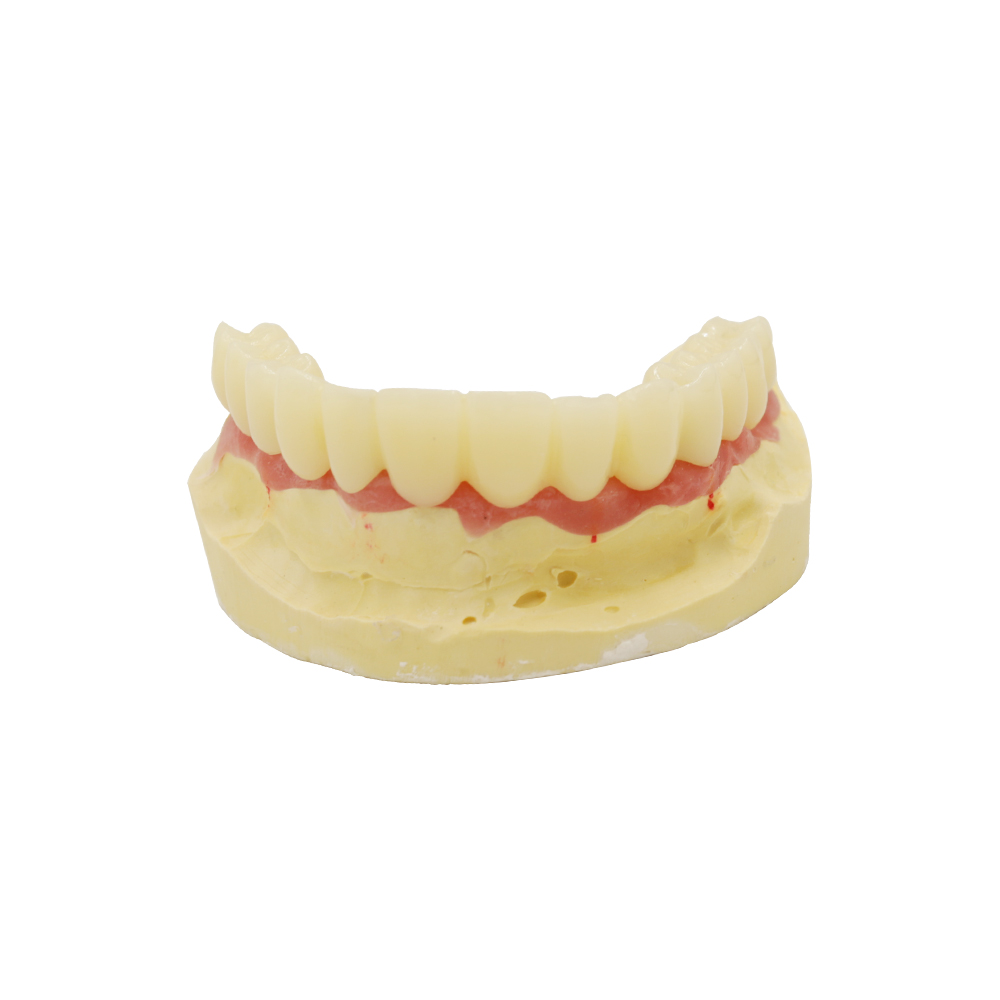
We went cast because of what a cast framework can do afterwards: add a tooth, adjust a clasp, reline the base. A flexible nylon partial was considered and set aside. The reason is not aesthetic — it’s that nylon cannot be repaired. The patient had already been warned about exactly this, and an unrepairable prosthesis fails in the worst possible way: you’re back to square one, and the money is already gone.
Attachment families (studs, bars, magnets) all carry a maintenance burden — the replaceable components are part of that burden, not an afterthought. That’s why R4 asks us to name them.
Reline allowance built in from day one
Because bone loss is progressive and irreversible, the tissue surface gets finished so it can be resurfaced without touching the framework. This is a design decision made before processing, not a repair made after. The ACP’s care and maintenance guideline is built around exactly that assumption: periodic evaluation, not a one-off fix.
Shade: value first, then chroma, then hue
The prosthodontic literature is specific about the order — value first, chroma second, hue last — and specific that teeth must be assessed wet, because dehydration makes them look whiter than they are. A standard shade guide covers roughly 85% of selections; the remaining 15% needs custom tabs.
We record the shade we used and the conditions we used it in, and it ships with the case. That’s what makes an addition in year two match.
Geometry the patient can actually clean
A partial denture has surfaces a patient cannot reach with a brush. That’s a design defect, not a patient failure — and given what this patient said about routines, it decides whether the case works. The cleaning path ships in writing with the case, not as a verbal reminder at pickup.
Try-in where the decisions actually happen
Nothing irreversible goes in until you have seen it. Esthetics, lip support, smile line, midline, canine line, occlusal plane and vertical dimension get checked at try-in — that checklist is standard in the digital and hybrid workflows documented in the literature. A documented four-appointment workflow — impressions and scan, rim try-in and jaw registration, trial evaluation, delivery with adjustments — is published as a case workflow, not a universal schedule. Your appointment count is yours to set; we will tell you what each stage needs.
What ships with the case
| Included | Why it’s on the list |
| Case data review — impressions or scan, records, photos | First thing we check, before anything is designed |
| The approved framework and base | The case itself |
| Shade record (tab, condition, operator) | R7 — so an addition later can match |
| Clasp / attachment specification sheet (material, arm position, shade match) | R1 and R4 — the “what exactly did I order” sheet |
| Reline allowance note (how much tissue surface is resurfaceable, and how) | R3 |
| Written cleaning and maintenance path | R5 |
| Written repairable / not-repairable boundary | R6 |
| Tiered cost sheet (ranges, not a single number) | R8 |
| Batch consistency record | A later add-on has to match the teeth it ships with |
| Fit and border inspection criteria | How we checked it before it left |
Materials and how they’re verified
Denture base resin. PMMA is the most-used denture base biomaterial in the reviewed literature — comparatively easy to process and pigment, economical, strong enough for the application, with known susceptibility to fracture, water absorption and color change (materials review). Milled pre-polymerized blanks start from a controlled temperature-and-pressure process, which associates with high density and low porosity (comparative workflow study).
Strength is a number we can point at. A systematic review and meta-analysis of in-vitro studies reports mean flexural strength of 120.61 MPa for milled CAD/CAM PMMA against 92.16 MPa for heat-polymerized PMMA. Read that correctly: these are laboratory strength values, not clinical fracture rates. (meta-analysis)
There are published thresholds. FDA performance criteria incorporating ISO 20795-1 set ultimate flexural strength at no less than 65 MPa for Types 1, 3, 4 and 5, residual methyl methacrylate at no more than 2.2% by mass, water sorption at no more than 32 µg/mm³. Type 2 has its own, lower set. (FDA guidance) The ISO 20795-1:2013 standard and ANSI/ADA Standard No. 139 set out the classification, test methods, packaging and marking requirements.
Framework. Cobalt-chromium for removable partial frameworks is the common choice; titanium is described as a lightweight, corrosion-resistant alternative. (materials review)
Regulatory identity. Denture relining, repairing or rebasing resin is a Class II device under 21 CFR §872.3760, and it is not for over-the-counter use. Preformed plastic denture teeth sit under FDA product code ELM. Knowing what device you are being shipped is part of the job.
The result
What the case was built to do: get the retention out of the smile zone, keep the framework repairable, and leave the tissue surface re-doable. A framework the patient can smile with, and a lab that can still add a tooth to it in three years.
What we can tell you about outcomes, honestly. Post-insertion problems are documented, not rare, and the pattern is consistent enough to plan around: in a retrospective study of 164 patients, post-insertion pain occurred in 32.9% of maxillary and 58.5% of mandibular dentures; retention and stability problems in 15.9% and 24.4%; occlusal problems in 17.1% and 23.2%; relines in 6.1% and 16.5%; replacement in 12.2% and 12.8%.
Working with us
Who we are. ASD Dental Lab is a dental manufacturing facility founded in 2012, running production in Shenzhen and Huizhou. We are a full-service dental lab — not a trading company, and we don’t hand cases to other labs. About 460 staff, including a removable denture department of roughly 55 technicians and designers, plus about 50 trained backup workers for peak season. Removable denture capacity runs around 4,000 cases a month normally and 6,500 in peak season. We’ve worked with 50+ labs, 100+ clinics and 400+ dentists, mainly across the US and Europe.
What to send us. For a digital workflow: intraoral scans (STL), photos, shade, and your prescription. For a conventional workflow: impressions, bite registrations, photos, and your prescription. Cases run through CAD design, CAM production, processing, inspection and packing in-house.
Turnaround. Ask us for a turnaround on your specific case — it depends on the try-in protocol you want and the complexity of the case, and we’d rather quote it accurately than quote a number that doesn’t apply to you.
Come see it. We host factory visits, production line tours and video inspections in Shenzhen and Huizhou. Clinics, labs and partners are welcome.