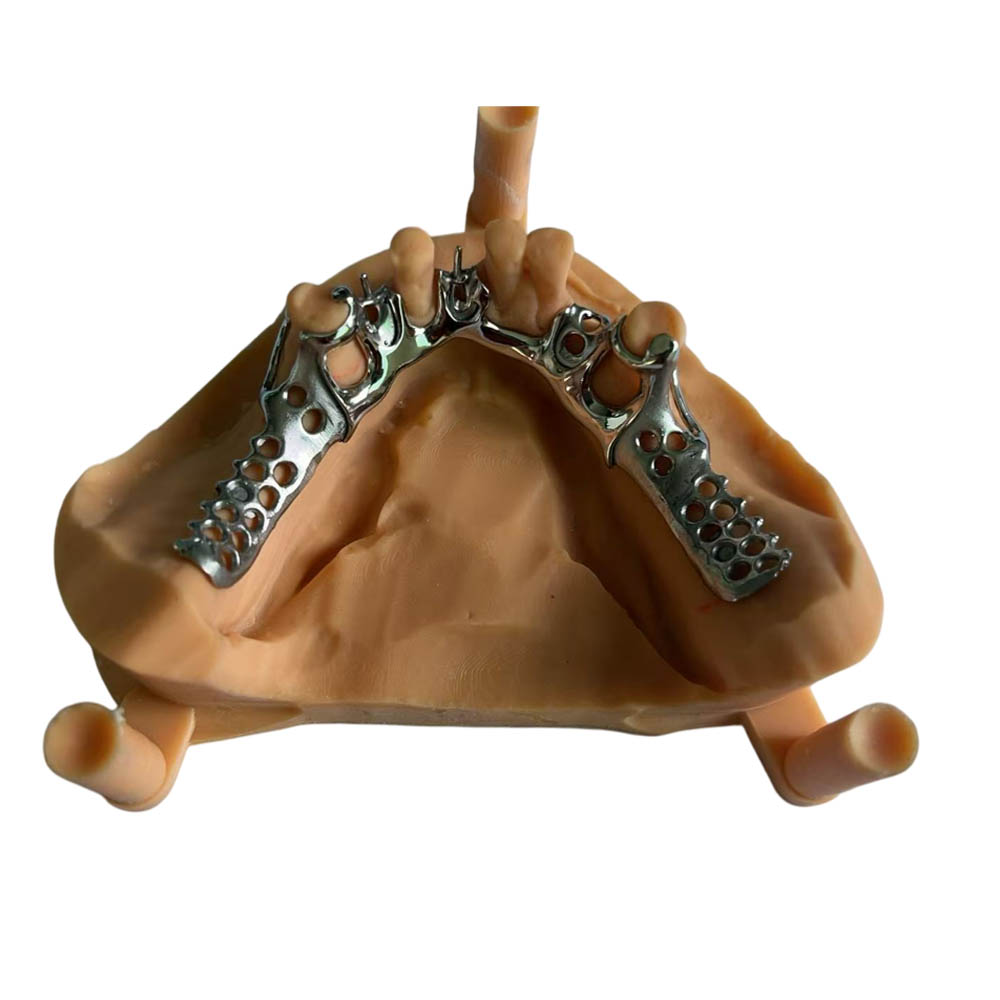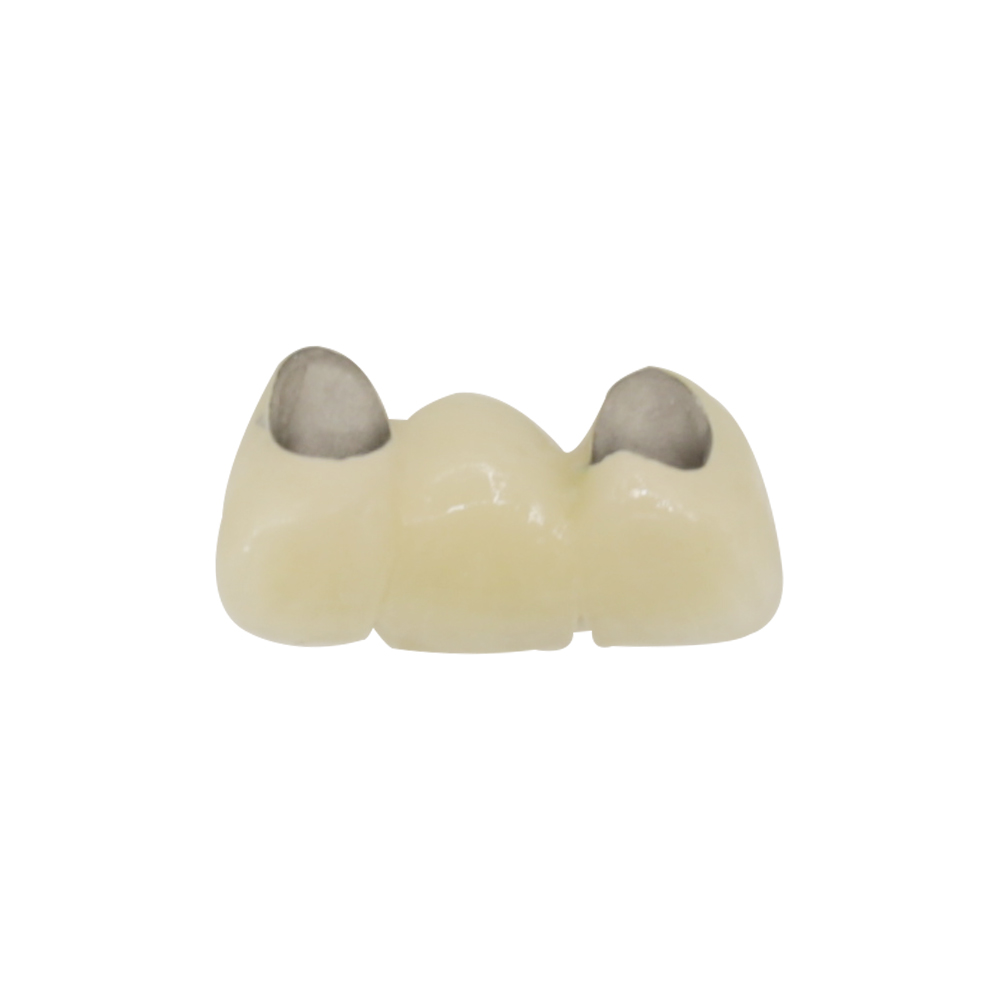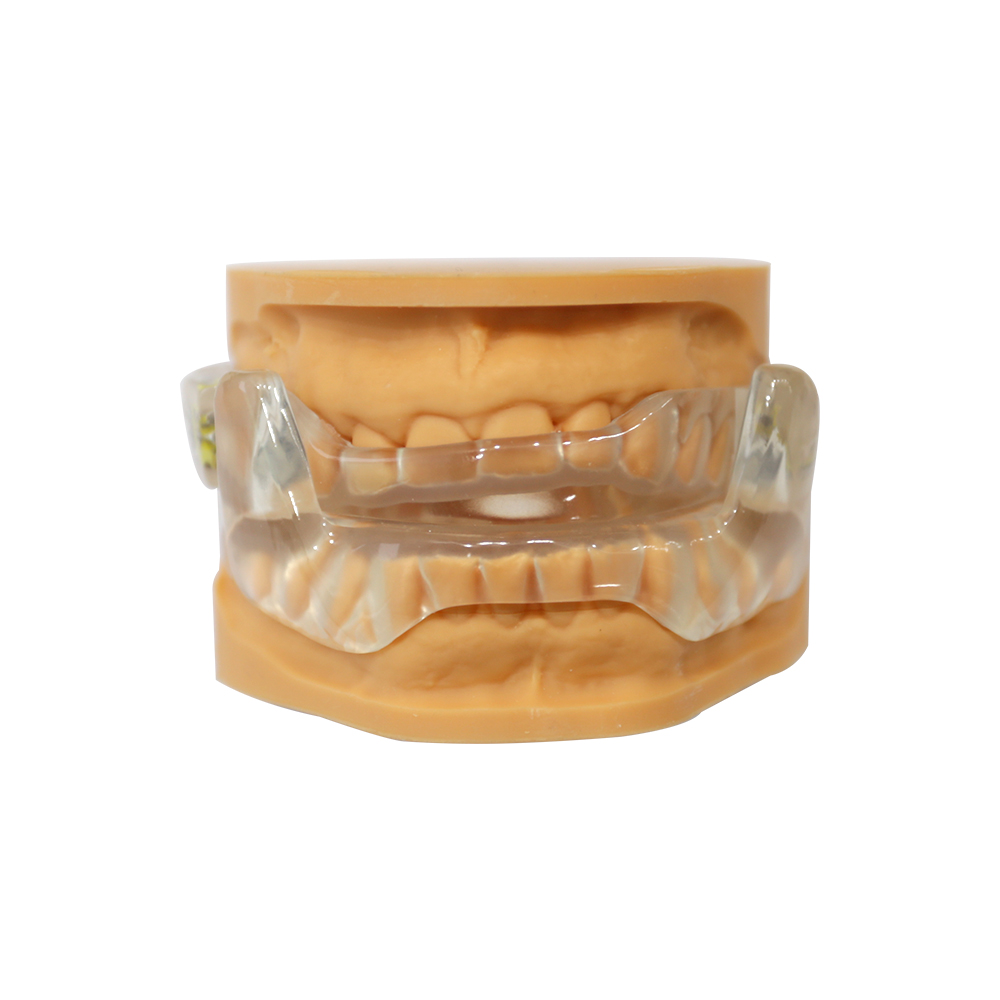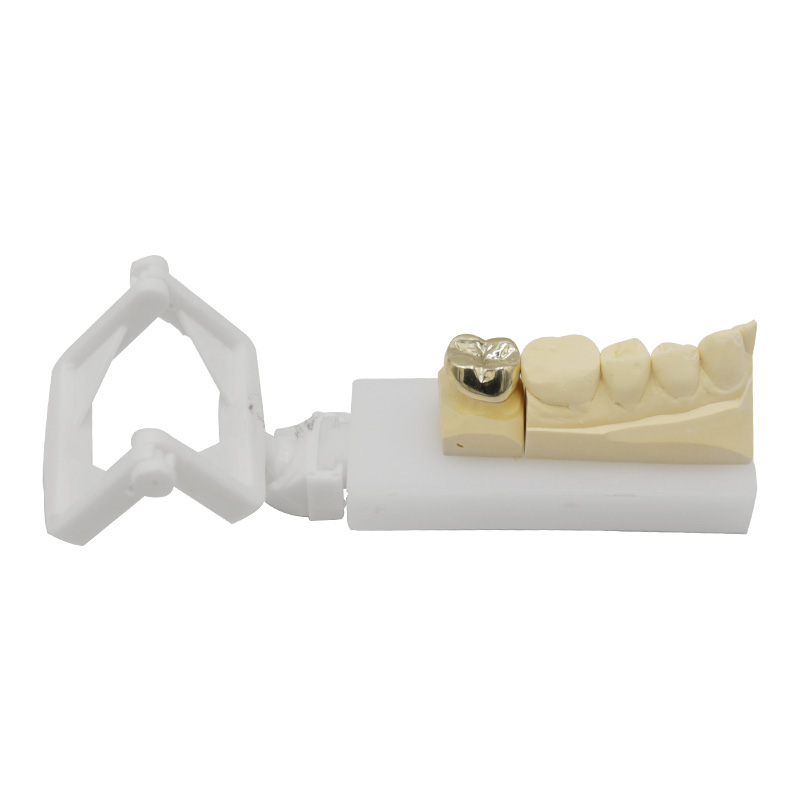
Temporary Crowns on Front Teeth: How We Deliver Form, Function & Future-Proof Design
🕢 [ Remplissez le formulaire et nous vous répondrons dans les 30 minutes ! ]
A synthesized teaching case from ASD Dental Lab
We’re a Lab Serving Dentists — Not a Treatment Guide
Before we dive in: ASD Dental Lab is a direct manufacturing facility (since 2012, Shenzhen & Huizhou). We make temporary crowns on front teeth and other restorations for dentists, clinics, and partner labs. This page shows how we handle the specific documentation, material choices, and coordination challenges that come with anterior temporary fabrication — it’s not patient advice.
When a practitioner orders temporary crowns on front teeth, they’re asking us to hold space, protect prepped structures, and give the patient a preview that matches the final plan. Simple on paper. Not always simple in reality.
The Clinical Situation (Teaching Case)
An adult patient needed 4 upper anterior units replaced — both central incisors plus adjacent teeth. The background: childhood trauma left one tooth with enamel wear, another had an old root-canal-treated crown that never quite matched. Previous attempts at a permanent crown were rejected by the patient at try-in because the shape and shade didn’t align with the adjacent tooth.
That rejection stretched treatment time. The patient stayed in a temporary longer than planned, and now the prescribing dentist wanted a replicable, approvable workflow before committing to final ceramics.
The practitioner’s question wasn’t “make it pretty.” It was: can you fabricate anterior temps that the patient will sign off on as a prototype for the permanent?
What the Dentist Needed From Us
Not all labs separate temporary work from final work. We do. When the case came in, the prescribing notes broke down like this:
R1 — Copy the contralateral tooth
The unaffected central incisor on the other side wasn’t perfect, but it was the patient’s reference. The request: mirror its form and incisal edge position. No “idealized” template — replicate what’s already accepted.
How we handled it: Our CAD team uses a mirror function to flip the contralateral scan. If there’s an old temp or pre-op model, we reference that shape too. Research on provisional fabrication techniques documents multiple approaches for replicating existing forms digitally.
R2 — Record the stump shade
One tooth had been root-canal-treated years ago. That means the dentin underneath might be darker. If we ignore it, even a well-contoured temp looks off.
Our workflow: We ask for a stump shade photo with a shade tab in frame. For this case, the prep showed slight graying — we noted it on the work order so the final crown can incorporate an opaque layer if needed. Temporary acrylic won’t mask it perfectly, but knowing it exists lets us set realistic expectations and prep the final Rx.
R3 — Minimum thickness check
Front teeth don’t always give you the luxury of 1.5mm all around. Thin veneers, tight occlusion, or conservative preps mean you’re working with <1mm in places.
What we did: Measured the thinnest cross-section in the CAD. For PMMA temps, we stay ≥0.6mm labially. Where we couldn’t hit that without bulking the contour, we flagged it back to the dentist: “Tooth #9 shows 0.5mm at mid-labial — options: slight additional reduction or accept minor translucency.” No surprises at delivery.
R4 — Gingival contour & emergence
A temp that doesn’t respect soft tissue = inflamed margins by week two.
Approach: The scan included healing abutment topography. We followed the gingival margin recorded there, kept the sub-gingival contour slightly undercontoured (not squeezing tissue), and transitioned from narrow (platform) to full width over 2–3mm. The evidence on interplay between provisional restorations and gingival health supports keeping margins hygienic and respecting soft tissue during provisional wear.
R5 — Occlusion & contact verification
Anterior temps still participate in excursive movements. If the protrusive contact is too heavy, either the temp fractures or the patient starts avoiding it (then you lose the space maintenance you fabricated it for).
QC step: After milling, we check lateral and protrusive on the articulator. Light contact in centric, disengagement on laterals. Interproximal contacts exist but not wedging-tight — gingiva needs space to recover.
R6 — Re-do boundary drawn in advance
Here’s the thing nobody says out loud: sometimes a temp volonté need adjustment or remake. But who pays? And when does “adjustment” become “remake”?
What we document: On the work order, we write the acceptable tolerance: ±0.3mm margin discrepancy, intact proximal contacts, and intact incisal form = adjustment. Fractured body, mis-fit >0.5mm, or mismatched tooth number = free remake within 30 days if we caused it.
How We Made It
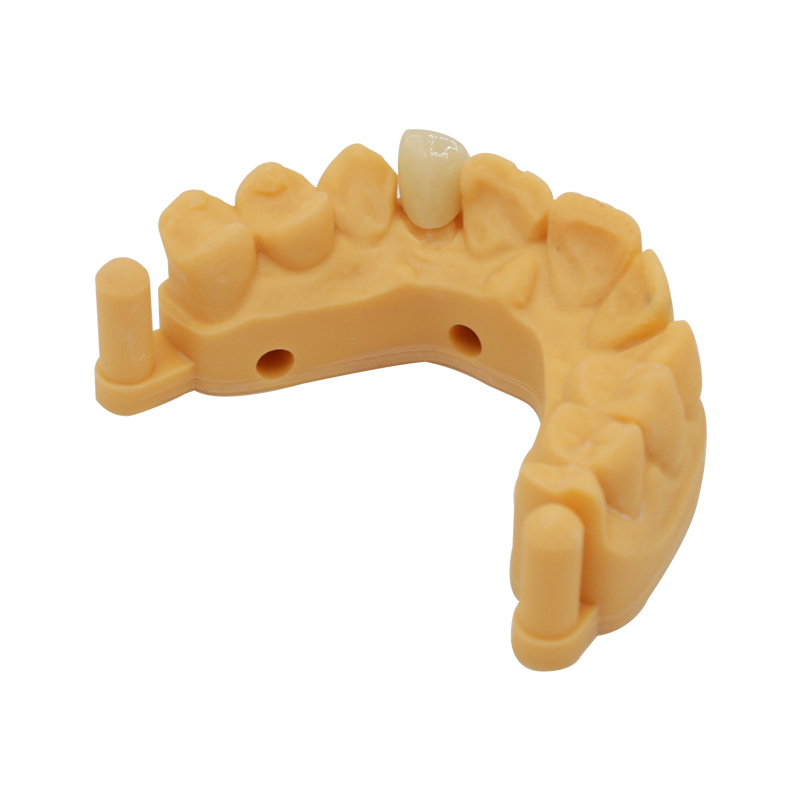
Material choice: PMMA (poly-methyl methacrylate), milled not hand-formed. Stronger than chairside bis-acrylic, better color stability than hand-mixed, and we can replicate it from the digital file if a remake is needed.
Fabrication steps:
- Case received — intraoral scan files + shade photos + Rx sheet
- CAD design — mirrored the contralateral, checked thickness map, adjusted emergence
- Approval render sent — 24-hour review window (dentist can request changes before we cut)
- Milling — 5-axis Weiland M5 (our ceramic department has 70 milling-team members)
- Characterization — surface texture, slight incisal translucency to match adjacent
- Polish & QC — margin fit checked on 3D-printed model, occlusion verified
- Packaging — shipped in protective case, not just a bag
Turnaround: ⟨contact for current SLA⟩ working days for anterior temps (your actual timeline depends on case complexity and shipping destination).
What Came Out
Four PMMA temps, shade A2 body / B1 incisal blend, matching the width and length of the contralateral. Emergence followed the healing-abutment scan. Margins stayed 0.2mm short of the finish line (room for final crown seating). Contacts present but not excessive.
Did it look like the final ceramic? No — PMMA doesn’t have the translucency or fluorescence of lithium disilicate. But it looked like what the final would become in shape and proportion. That’s the point.
The dentist reported the patient approved the form at try-in, which let them move forward with confidence to the permanent restoration.
Why Some Dentists Send Anterior Temp Work to a Lab
Chairside temps are faster. No argument. But here’s when practitioners loop us in:
- Shape replication from a reference — mirroring a contralateral or copying an old crown is easier in CAD than freehand
- Consistent material — batch-to-batch color match when you’re doing sequential units
- Documentation trail — if the final crown needs tweaking, we have the digital temp file to compare
- Capacity — DSO or high-volume practice might not have chairside time; outsourcing lets them keep the chair turning
How to Work With ASD on Anterior Temporary Cases
Minimum we need:
- Intraoral scan (STL or PLY if color mapping required)
- Opposing arch scan
- Bite registration
- Shade info: either a tab-in-frame photo or a written guide shade
- Prescription: tooth numbers, material preference (PMMA / bis-acrylic / composite), cementation type (temporary vs. semi-permanent)
Nice to have:
- Pre-op scan or photos (shows what the patient is used to)
- Contralateral reference if doing a single anterior
- Soft-tissue scan or healing-abutment topography (implant cases)
- Any prior temp that the patient liked
Communication: We have a 40-person case coordination team. You’ll get a render for approval before we mill. Changes at that stage = easy. Changes after shipping = remake.
Turnaround SLA: Varies by case volume and shipping destination. Typical anterior temp = ⟨contact for quote⟩ working days once we have complete records. Rush available if flagged upfront.
Closing Thought
Temporary crowns on front teeth sit at the intersection of functional placeholder et patient-facing preview. When they work, nobody notices. When they don’t, treatment stalls.
Our job isn’t to make them invisible — it’s to make them replicable, documented, and aligned with your final Rx. That’s what this case page is really about: not showcasing a “perfect” result, but showing the workflow that lets you move from temp to permanent with patient buy-in.
If your practice is stuck on a tough anterior case, or you just want to offload routine temp fabrication so your team can focus on higher-value work, we’re set up for it. ~460 people, in-house milling, digital design team, and a coordination structure built for international case flow.
Not the only way to make temporary crowns on front teeth. Just our manière.
ASD Dental Lab
Shenzhen & Huizhou, China
Full-service digital dental manufacturing since 2012
Serving 50+ labs, 100+ clinics, 400+ dentists globally
Références
All sources below are cited inline in the page body.
- Techniques of Fabrication of Provisional Restoration: An Overview – Contemporary Clinical Dentistry
- Interplay between Provisional Restorations and Gingival Health – Journal of Clinical & Interdisciplinary Dentistry
- Clinical performance of long-term temporary fixed dental prostheses – PubMed
- Shade Selection in Esthetic Dentistry: A Review – PMC/PubMed Central
Des délais d'exécution plus courts grâce à notre technologie de pointe
Recommandé