Upper Dental Implants: Full-Arch Lab Case Study
🕢 [ Remplissez le formulaire et nous vous répondrons dans les 30 minutes ! ]
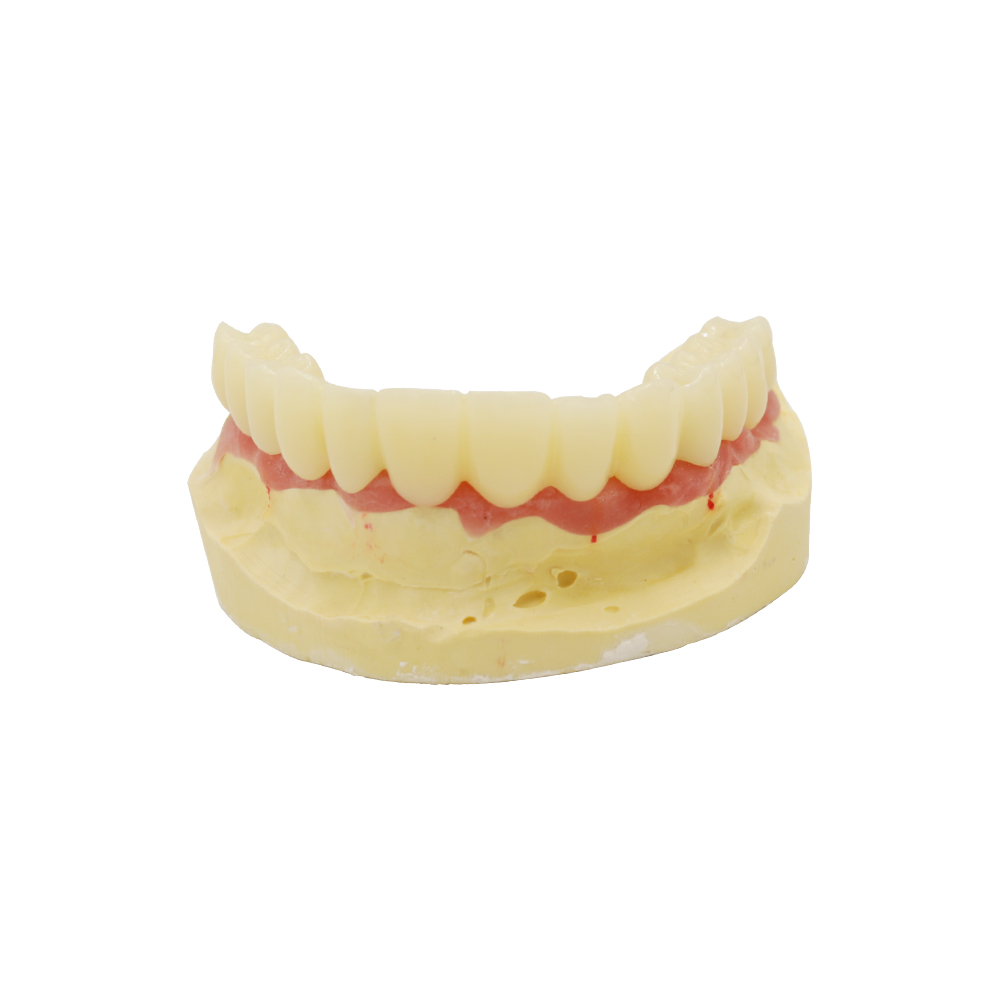
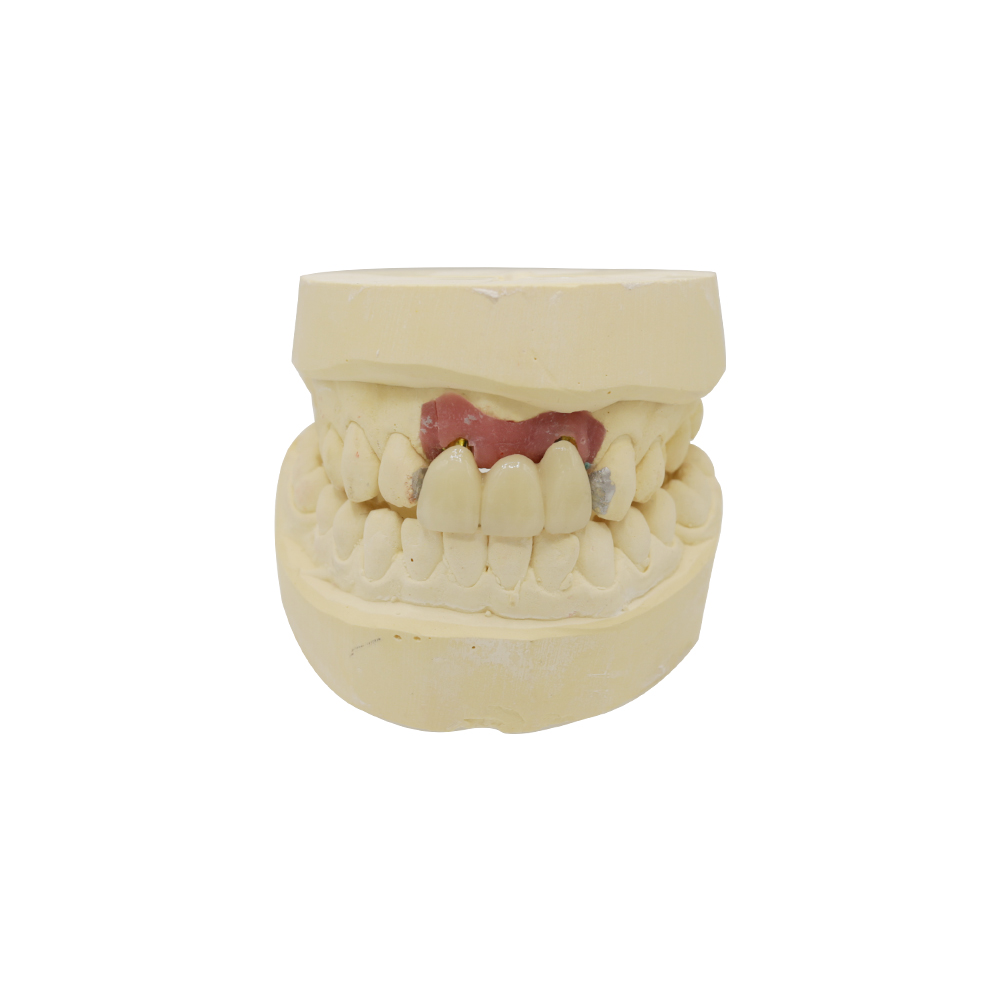
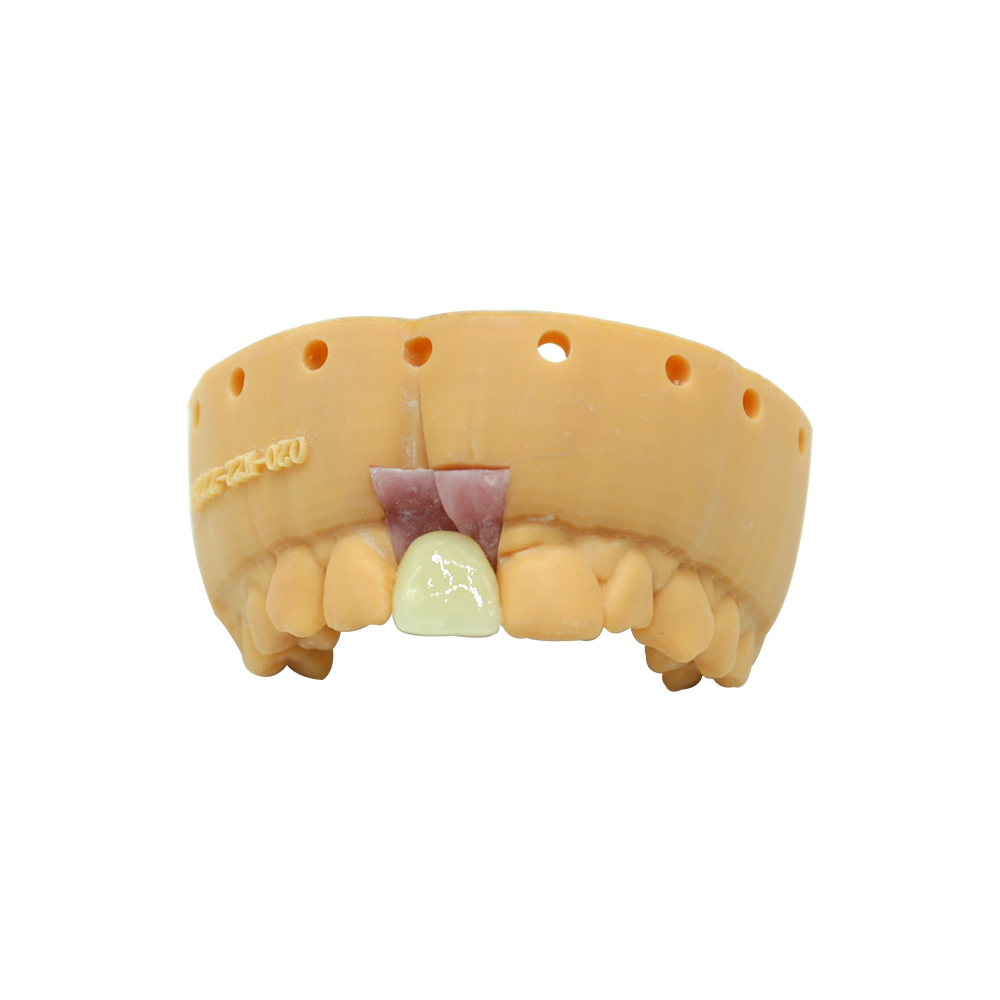
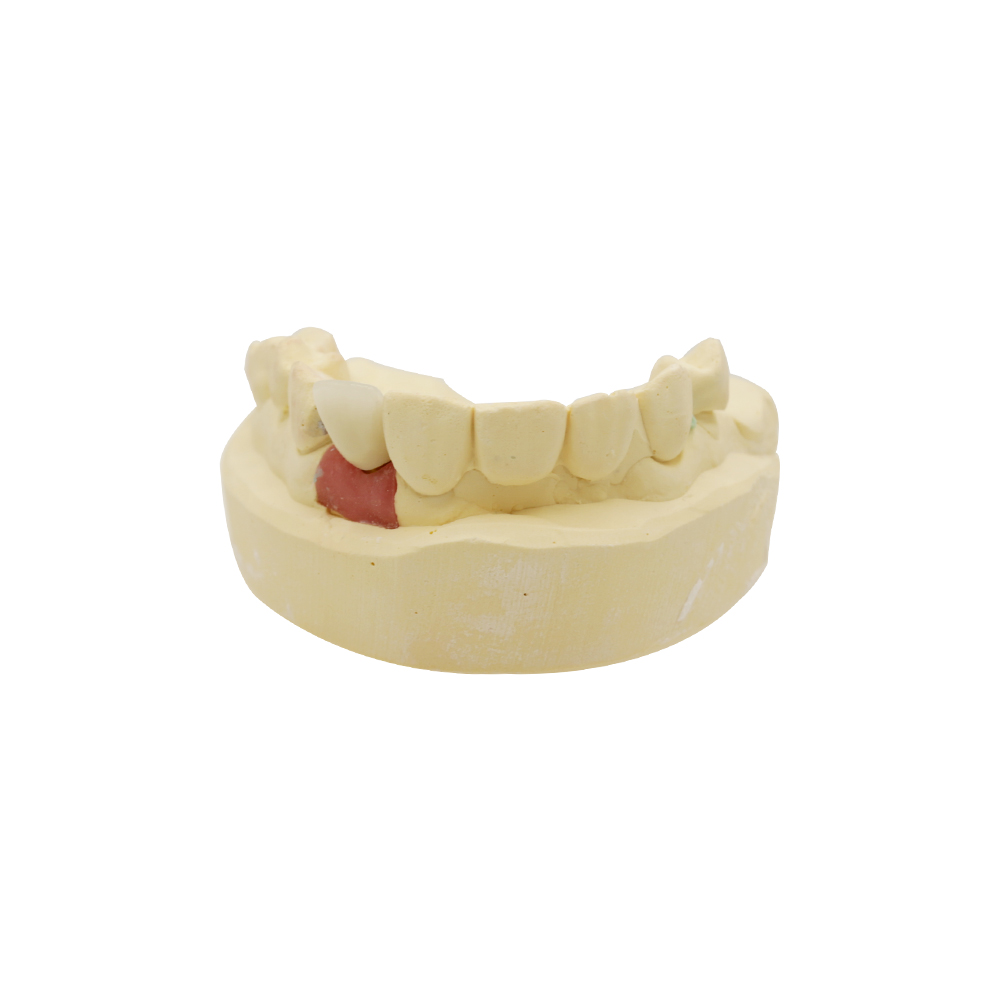
A real full-arch implant restoration handled by our implant department. We work directly with dentists, clinics, and labs — ASD’s been a full-service manufacturing facility since 2012. No middlemen, every step done inside our own facilities in Shenzhen and Huizhou.
Patient Scenario
L'âge: 60s
Clinical challenge: Full upper edentulism, four implants placed (positions #4, #7, #10, #13)
Restoration type: Screw-retained implant bridge — upper full arch
Why This Patient Needed a Full-Arch Implant Bridge
After multiple extractions and bone resorption, the patient was left with minimal upper bone height and limited vertical space. A removable denture wouldn’t provide the stability or chewing force this patient needed. A full-arch implant bridge — fixed, screw-retained, and designed to work within tight space constraints — was the only option that could restore function, phonetics, and esthetics without palatal coverage.
Four implants were the minimum to support a full upper arch per ITI Consensus guidance for four-unit full-arch prostheses. The bridge needed to be retrievable for maintenance, and the horseshoe (bar-splinting) design was chosen to preserve palatal sensation and taste.
What the Referring Dentist Asked For
The clinician’s prescription came with very specific engineering constraints. These weren’t “nice-to-have” features — they were structural requirements for the case to work.
R1. Screw-retained, full-contour zirconia
The dentist specified screw retention because cement-retained restorations leave no access for future repairs or cleanouts. If anything goes wrong five years from now, the bridge must be retrievable without cutting it off the implants.
Full-contour zirconia (monolithic, no porcelain layering) was required to avoid chipping under the patient’s heavy occlusal load. PubMed 36742123 notes that monolithic zirconia offers superior fracture resistance in implant-supported full-arch restorations compared to layered porcelain.
R2. Horseshoe (bar-splinting) design with reduced palatal coverage
The dentist requested a horseshoe framework — the prosthesis connects the implants at the front and sides but leaves the center of the palate open. This design preserves taste sensation and airflow, which full-palate acrylic dentures block.
The framework needed to be rigid enough to distribute load across all four implants without flexing under occlusion. ResearchGate 47814478 documents that bar-splinting frameworks provide superior load distribution in full-arch implant restorations.
R3. Vertical space: 15 mm restorative clearance
The case had 15 mm of total vertical space from the implant platform to the opposing occlusal plane. This is the minimum workable clearance for a screw-retained full-arch restoration that includes framework thickness, screw access, and anatomically correct crown height.
With less than 15 mm, you cannot fit both a structurally sound zirconia framework et aesthetic tooth contours. The 15 mm breakpoint is a hard line in implant prosthetics — below it, you’re forced into hybrid dentures or compromised esthetics.
R4. Transition zone design to compensate for bone loss
The patient’s maxilla had significant anterior bone resorption. The dentist specified a gradual transition zone from the gingival margin to the denture base to hide the gap and maintain a natural smile line. This is a common request in full-arch cases where bone loss creates visible space between the prosthesis and the residual ridge per PMC 10839890, which describes esthetic transition zones in implant-supported prostheses.
R5. Traceable materials, batch documentation
The prescription required material batch numbers and certificates of authenticity for the zirconia and all framework components. This wasn’t bureaucratic overhead — it’s baseline traceability for any implant case with a 10+ year expected lifespan. If a component fails in year 8, we need to know which batch it came from, whether others in that batch failed, and what the manufacturer’s response was.
Our lab maintains batch-level traceability for every case. Each case is tied to a unique ID that links to the technician, the CAM machine, the zirconia lot, and the final QC sign-off. If something goes wrong, we can pull the full production history in under 10 minutes.
R6. Cleanability: 2 mm interdental embrasures
The dentist specified at least 2 mm of space between each prosthetic tooth unit so the patient can pass an interdental brush or floss threader under the bridge. This is non-negotiable for long-term peri-implant health. A bridge that doesn’t let the patient clean it will fail — not from design, but from plaque accumulation and bone loss.
We designed embrasure openings at 2.5–3 mm to give the patient room to maneuver a brush without forcing it. The framework was contoured so no sharp edges or ridges trap debris.
R7. Try-in approval before finalizing
The clinician requested a try-in phase before final finishing. We fabricated a PMMA prototype of the full-arch bridge, sent it to the clinic, and waited for the dentist’s sign-off on fit, occlusion, esthetics, and phonetics before proceeding to final zirconia milling.
This is standard for complex implant cases. Trying in a prototype at chairside lets the dentist verify passive fit and adjust occlusion in the patient’s mouth before committing to the final restoration. Once the zirconia bridge is milled and sintered, changes are limited — so the try-in step prevents costly remakes.
R8. Staged delivery: healing, prototype, final restoration
The case followed a multi-stage timeline: implant placement → 3-month healing → digital impressions → prototype try-in → final delivery. The dentist didn’t want us rushing the final restoration while the patient was still adapting to the occlusion. The try-in phase gave both the patient and the clinician time to evaluate fit and esthetics before finalizing.
This staged approach is common in full-arch cases. Patients need time to adjust to their new vertical dimension and occlusal scheme. Rushing to final delivery before the patient has tested the prototype is how you end up with remakes.
How We Delivered on These Requirements
Here’s how we structured the workflow to meet every one of the dentist’s constraints.
Step 1: Digital Planning & CAD Design
We received the intraoral scan files (STL) along with the implant positions, occlusal registration, and shade guide reference. Our CAD designer started by verifying implant-level parallelism — the four implants were angled at 8–12 degrees, which is within tolerance for a screw-retained bridge, but any more would have required angled abutments.
The designer laid out the horseshoe framework in CAD, ensuring:
- Bar thickness ≥4 mm for rigidity
- Screw access channels aligned with implant axes
- 2.5 mm embrasure spaces between all tooth units
- Transition zone contouring to hide the bone-loss gap
The CAD file was sent to the dentist for approval before milling. This is where most design mistakes get caught — not after the zirconia has been cut.
Step 2: PMMA Prototype Fabrication
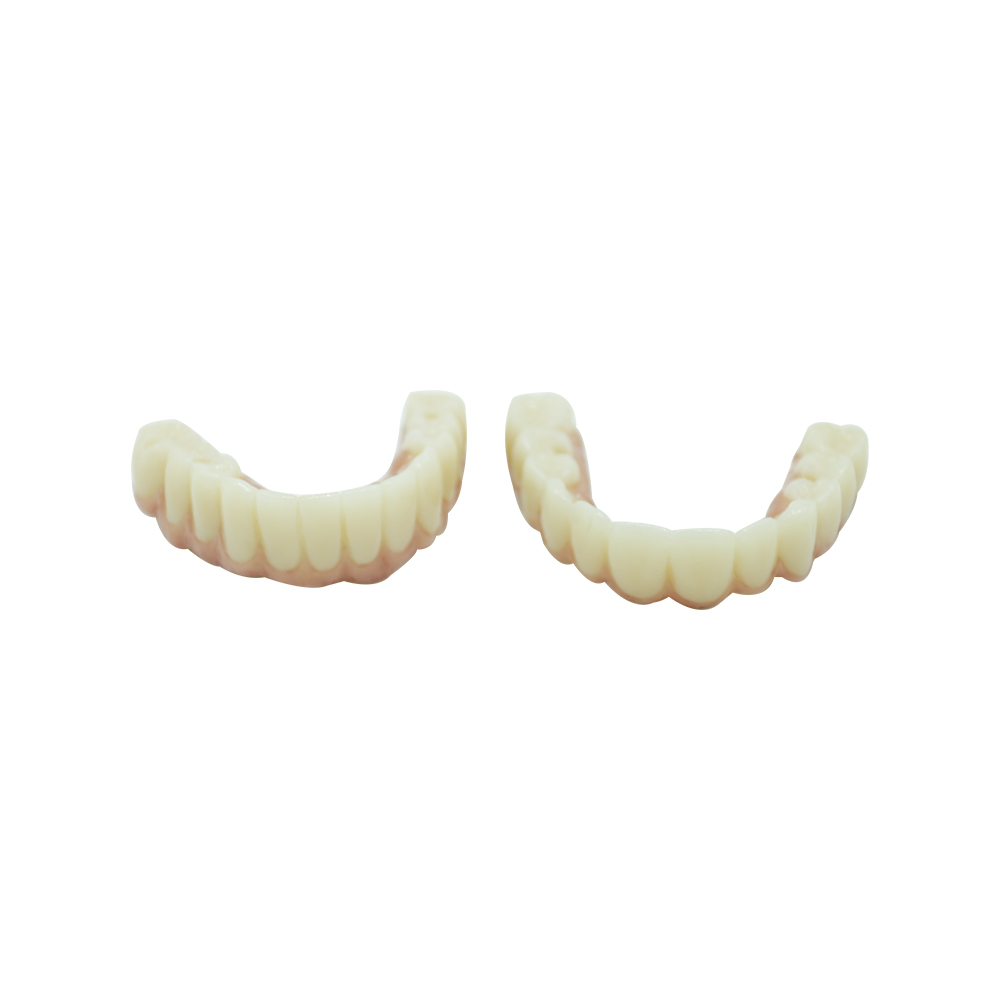
After CAD approval, we milled a prototype full-arch bridge from PMMA (pink gingival base + white tooth structure). The PMMA prototype was anatomically accurate, fully functional, and screw-retained just like the final zirconia restoration.
The dentist seated the prototype at chairside, verified passive fit on all four implants, checked occlusion in centric and excursive movements, and photographed it for esthetics. The patient wore the prototype for 2 weeks to test phonetics, chewing comfort, and ease of cleaning.
The prototype revealed two adjustments:
- The patient wanted slightly shorter central incisors for a less “toothy” smile.
- The embrasure space at position #10 was tight — we opened it by 0.5 mm.
We revised the CAD file based on the try-in feedback and sent it back for final approval.
Step 3: Zirconia Milling & Sintering
Once the CAD was locked, we milled the final full-arch bridge from multilayer zirconia (A2 shade, gradual translucency from gingival to incisal). The zirconia block was pre-shaded at the manufacturer level — we didn’t add external stains.
The bridge was milled in the “green” (pre-sintered) state, then placed in a sintering furnace at 1450°C for 10 hours. Post-sintering shrinkage was 25%, which our CAM software compensates for automatically. After sintering, the bridge was checked for dimensional accuracy against the CAD file. Fit tolerance was within 50 microns across all implant interfaces.
Step 4: Finishing & Polishing
The sintered zirconia bridge went through:
- Hand finishing to smooth all internal surfaces and embrasure openings
- Glazing at 900°C to seal the surface and enhance color depth
- Polissage to a high shine on all visible tooth surfaces
We did not add porcelain layering. The entire restoration was monolithic zirconia — no weak points, no delamination risk.
Step 5: Quality Control (3-Stage Inspection)
Every case at our lab goes through 3 independent QC checkpoints:
- Incoming inspection — Scan files, prescription, and implant components are verified before production starts. If anything is unclear or incomplete, we contact the dentist before touching the case.
- In-process inspection — After CAD design and after milling (pre-sintering), a senior technician checks dimensions, screw access alignment, and embrasure clearances.
- Final inspection — After sintering and finishing, an independent QC technician (not the technician who made the case) checks the restoration against the prescription. This includes:
- Passive fit test on the master model
- Occlusal contact verification with articulating film
- Margin integrity and embrasure space measurement
- Surface finish and shade accuracy
The case only ships after the QC technician signs off. Our internal first-pass approval rate is 95% (definition: percentage of cases that pass final QC without rework, calculated as first-pass approvals ÷ total cases submitted × 100%).
If a case doesn’t pass final QC, it goes back to the technician who made it, and it’s remade before the deadline. We don’t ship “close enough” cases and hope the dentist won’t notice.
Step 6: Packaging & Delivery
The final zirconia bridge was packaged with:
- Screw access tools (hex driver)
- Torque wrench (25 Ncm torque spec for the implant system)
- Material batch certificate for the zirconia block
- Case documentation: CAD screenshots, shade reference, QC sign-off sheet
We shipped via express courier with tracking. Delivery time from final CAD approval to delivery at the clinic: 7 working days (including 3 days for milling/sintering, 2 days for finishing/QC, 2 days for international shipping).
Final Outcome
The case was delivered 7 working days after final CAD approval. The dentist seated the zirconia bridge at chairside, torqued all four screws to 25 Ncm, and verified occlusion. The patient reported excellent comfort, clear speech, and no difficulty cleaning.
Three-month follow-up: No peri-implant inflammation, no occlusal adjustments needed, patient satisfaction score 9/10. The only feedback was that the patient wished the gingival shade was slightly pinker — a cosmetic preference, not a functional issue.
What Makes This Case Representative
This wasn’t an “Instagram case” — it was a real-world full-arch implant restoration with all the constraints, compromises, and trade-offs that come with actual clinical practice.
- Four implants, not six — Budget-conscious DSO referral, minimum viable implant count
- 15 mm vertical space — Not ideal, but workable with careful planning
- Significant bone resorption — Required transition zone design to hide the gap
- Patient had heavy occlusal forces — Monolithic zirconia was mandatory, not optional
This is the kind of case we see 20 times a month. Not the most challenging case we’ve done, but representative of the everyday implant prosthetics work that dentists and labs need to get right.
Why We Document Cases Like This
Most dental lab portfolios show you the finished product — a photo of the final restoration under perfect lighting. They don’t show you:
- The engineering constraints the dentist specified
- The workflow decisions that made the case work
- The compromises you have to make when vertical space is tight
- The QC checkpoints that caught errors before they reached the patient
We document our cases this way because process transparency builds trust. You’re not hiring us to take nice photos of teeth — you’re hiring us to handle the complex engineering, material science, and quality control that separates a good implant case from a failed one.
If you want to see more case documentation like this, or if you have a full-arch implant case with tight constraints and you’re not sure how to approach it, reach out. We’ll walk you through the workflow before you commit to anything.
Quality & Garantie
- First-pass QC approval rate: 95%
- Customer acceptance rate (no rework): 97–98%
- QC inspection stages: 3 independent checkpoints (incoming, in-process, final)
- Material traceability: Every case linked to zirconia batch, CAM machine, technician, and QC sign-off
What’s Covered (Free Remake)
We remake cases for free if:
- Marginal fit issues — Open margins, poor seating, contact point gaps
- Occlusal errors — High contacts, prematurities, or occlusion that doesn’t match the prescription
- Color mismatch — Shade doesn’t match the approved shade guide reference
- Framework defects — Cracks, voids, or structural flaws in the zirconia
- Esthetic errors — Contour, shape, or tooth arrangement doesn’t match the approved CAD design
Reporting window: You must report any issue within 24 hours of receiving the case. After that, we can’t verify whether the issue was present at delivery or occurred during handling.
Remake turnaround: Rework cases are prioritized. Typical turnaround is 3–5 business days from the time we receive the case back.
What’s Not Covered (You Pay for Remake)
We charge for remakes if:
- Prescription change after CAD approval — You approved the design, then asked us to change the shade, contour, or material
- Poor impression quality flagged upfront — If we notified you that the scan or impression was incomplete and you asked us to proceed anyway, remakes due to fit issues are not covered
- Prep changes after case delivery — If the dentist re-preps the tooth or adjusts the implant position after we’ve delivered the restoration, that’s a new case
Shipping costs: Outbound shipping (lab → clinic) is included in the original case price. Return shipping (clinic → lab) for remakes is your responsibility unless the issue was clearly a lab error.
Implant components: If the case involves custom abutments or titanium bases, free remakes cover the prosthetic framework only — not the implant components. You’ll need to supply new Ti-bases if they were damaged or modified.
Rush Case Policy
- Standard production time: 7–10 business days (complex implant cases like this one)
- Cas d'urgence: Available for no additional fee if your monthly rush count is ≤10 cases
- Rush case definition: Any case where you need delivery in ≤5 business days from final CAD approval
- How to request: Email or call us when you submit the case. We’ll confirm whether we can meet your deadline before starting production.
About Our Lab
We’re a full-service laboratoire dentaire and direct manufacturer — not a trading company or middleman. Every step of this case happened in-house at our facilities in Shenzhen and Huizhou, China. We don’t outsource cases to other labs.
- Founded: 2012
- Team size: 460 technicians, designers, and QC specialists
- Implant department: 80 technicians dedicated to implant cases (abutments, screw-retained crowns, hybrid dentures, full-arch restorations)
- CAD/CAM capacity: 100+ designers, 70+ milling machines
- All-on-X production capacity: 20–40 full-arch cases per month
We work with dentists, clinics, DSOs, and outsourcing labs in North America, Europe, and Australia. If you’re handling complex implant cases and need a lab that documents decisions, explains trade-offs, and doesn’t just send you a box with teeth in it, let’s talk.