Teeth Prepared for Veneers: Your Complete Guide to the Process, Pain, and a Perfect Smile
Taking that first step toward a brighter smile can bring up a lot of questions—and maybe a few jitters, too. If you’re thinking about getting dental veneers, you might be wondering: What does it really mean to have your teeth “prepared” for veneers? How much of my tooth will my dentist take off? Does it hurt? Will my smile look real and last a long time? If any of that sounds like you, you’re in the right place. We’ll walk through every part of the veneer prep process, explain what to expect, and help you feel at ease.
Table of Contents
What Does “Teeth Prepared for Veneers” Actually Mean?
Let’s start simple. Veneers are thin covers that stick to the front of your teeth, giving your smile a fast upgrade in color, shape, and even how your teeth line up. Before your dentist sticks on veneers, your real teeth usually need a small trim. This job—called tooth preparation—means a dentist will shave off a tiny bit of the hard outside layer (enamel) so your veneer sits right and looks like it belongs, not sticking out.
Regular vs. Minimal/No-Prep Veneers
- Regular veneers: Your dentist takes off a bit of enamel so the new cover isn’t too thick.
- Minimal-prep and no-prep veneers: Sometimes, only the lightest smoothing is done, or none at all—think of these as the least invasive but they don’t work for everyone.
The Main Aim
No matter which way they go, the dentist wants the veneer to fit well, look natural, and last a long time.
Why Do Your Teeth Need To Be Prepared?
Picture painting a wall that’s rough or bumpy—it just won’t look good. Same thing with veneers. Getting teeth ready is like putting a primer on that wall, so the end result looks smooth, even, and real.
Here’s why this step matters:
1. Making Room
Your teeth aren’t flat. If you put a cover on top without removing anything, the end result might look too thick or feel bulky. Prepping the tooth gives the veneer space to sit right where it should.
2. Looks Better
Prepping can fix small chips, uneven spots, or little alignments issues. It helps the dentist fine-tune the surface, so your smile looks even.
3. Sticking Power
Enamel is the best stuff for getting things to stick. Taking off just enough of it gives the glue (cement) the perfect surface, helping your veneer stay on strong.
4. Smooth Edges
Careful trimming means there’s no clear line or bump where the veneer and tooth meet—making it hard for anyone else to notice it’s not your natural tooth.
5. Fixes for Special Problems
- Got stains that won’t bleach away?
- Chipped edges?
- Small gaps?
- Weird-shaped teeth? Prepping lets your dentist fit the veneer to your smile.
How Much Tooth Gets Taken Off for Veneers?
Worried your dentist will “shave your teeth down to nubs”? Relax. It’s usually more like sanding than heavy carpentry.
How much comes off?
About 0.3mm to 0.7mm—about the thickness of your fingernail or a soft contact lens. Your dentist only removes enough so the veneer doesn’t stick out.
What Changes This Amount?
- Crowded or crooked teeth: Might need a bit more off.
- Really stained teeth: Deeper shades might need a touch more taken away to hide color.
- What your veneers are made of: Some materials are thinner or thicker than others.
- How your teeth bite together: Dentists always check your bite to make sure the veneers won’t break.
Is This a One-Way Street?
Yes. Once enamel is gone, it’s not coming back. That’s why good dentists take off the least amount they possibly can.
The “Keep It Simple” Approach
Great dentists want to leave as much healthy enamel as possible. It helps the veneer stick, keeps your tooth strong, and makes sure you can get other treatments later if you need them.
Step-by-Step: What Happens During Veneer Prep
Here’s exactly what you can expect, from the first chat to snapping those amazing “after” photos.
1. First Visit: Check-Up and Smile Design
- Full check-up: Your dentist looks at all your teeth, your gums, how your teeth line up, and your bite.
- Share what you want: Want whiter teeth? A straighter line? Smaller gaps? Let them know!
- Preview your smile: They might use a wax model or computer images to show what you’ll look like.
- Pictures and scans: These help plan your smile and keep a record.
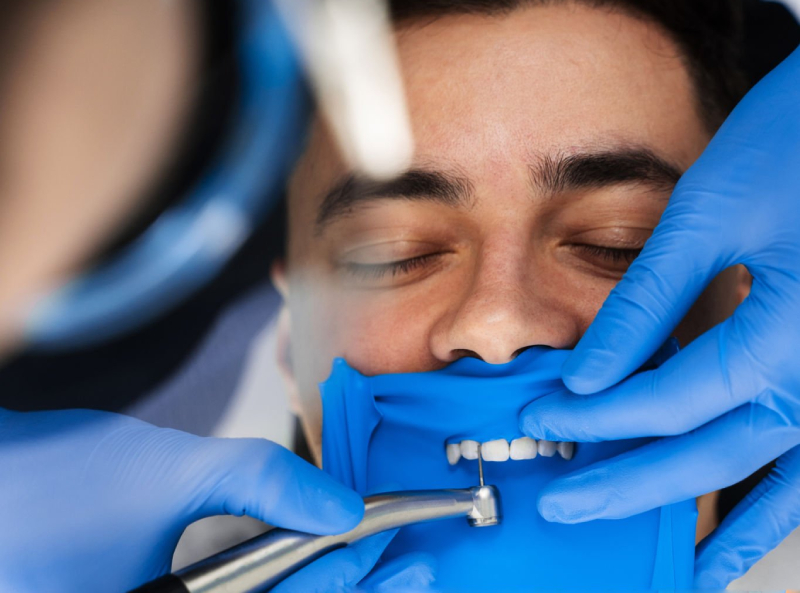
2. Numbing up and Tooth Smoothing
- Staying comfy: You’ll get numbing shots so you won’t feel pain, just maybe a little pressure or noise.
- Careful shaping: Special drills (burs) gently trim the outside layer.
- Front surface: The part people see when you smile.
- Biting edge: If the tooth needs a little off the top.
- Between teeth: Sometimes a bit is trimmed here, too, for a perfect fit.
- Edge design: The dentist makes sure the “border” of the prep is smooth and blends in.
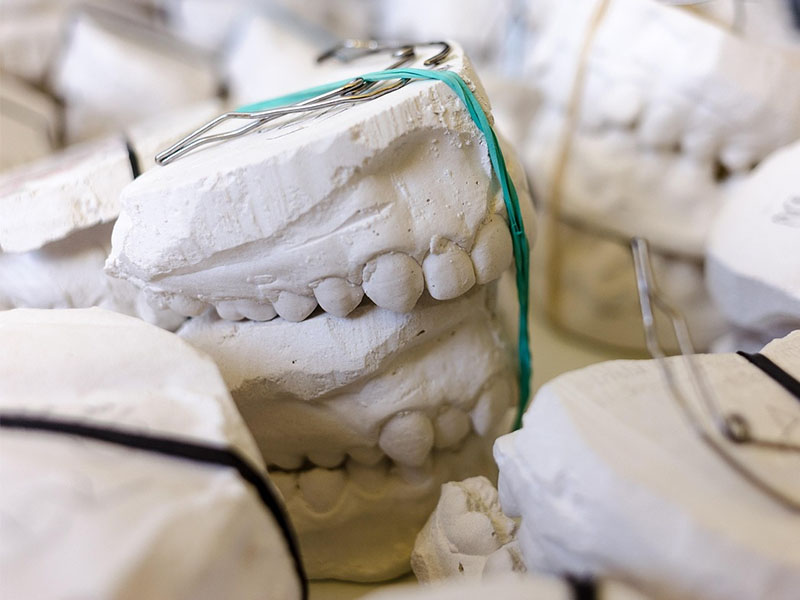
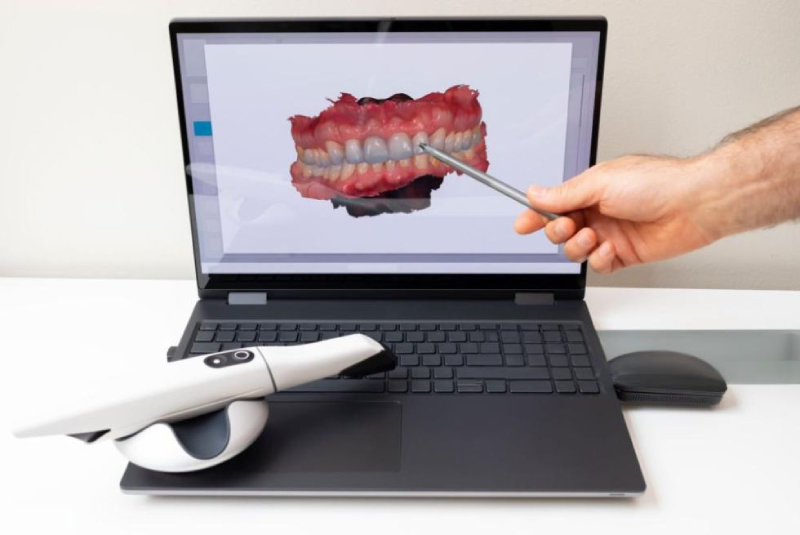
3. Impressions or Digital Scans
Your dentist takes a mold or a computer scan—think of it as a fingerprint for your new smile. This goes to the lab, where your real veneers are made.
4. Temporary Veneers
While you’re waiting for the real ones, your dentist puts on a temporary cover. This keeps your teeth from feeling weird and lets you eat and talk.
- What are these like? They won’t look as shiny as your final veneers, but they let you try out your new smile for a week or two.
How It Feels and Managing Any Pain During & After
It’s totally normal to wonder about pain. Most people are surprised by how easy it is.
During Your Visit:
You’ll be numb, so you feel pressure, not pain. Some people even chat or listen to music while the dentist works.
After Prep, With Temporaries:
You might notice:
- A little hot or cold sensitivity
- Gums feeling a bit sore, like you flossed too rough
- An “odd” feeling from the temporary veneer
Almost always, this goes away in a few days.
If you’re sore, stuff like Tylenol or Advil will help.
How Long Does It Last?
Any sensitivity should go away soon after your final veneers go on and the tooth is all sealed up again.
If It Keeps Hurting:
Let your dentist know! Ongoing pain is very uncommon and needs a pro to check it out.

Taking Care of Your Teeth Before the Final Placement
You got through your first appointment, now you just need to keep your mouth happy until your new veneers are ready.
Looking After Your Temporaries
- Watch what you eat: Avoid hard, chewy, or super sticky foods (just for a bit—your teeth will thank you).
- Gentle brushing: Be soft, and don’t yank the floss fast around your temps. Water flossers or floss threaders are great.
- Lost a temp? No big deal. Save it, call your dentist, and they’ll put it back.
Keep Up Good Brushing
- Brush and floss every day.
- Swish with mouthwash to keep your gums healthy.
- Keep your mouth clean for better-looking, longer-lasting results.
Final Veneer Time—What Happens?
You’ll come back in, your dentist will check the fit and color, and the real veneer gets glued in. There’s usually a big “wow” moment when you see your new smile.
Risks and Problems That Could Happen
Getting teeth ready for veneers is safe if you pick a skilled dentist, but, like anything, there are a few risks.
Common and Usually Not a Big Deal:
- Sensitive teeth: Probably the most common—about 1 in 5 people notice it, but it usually goes away fast.
- Gum soreness: If the edges are smooth and you keep your mouth clean, it doesn’t last long.
Rare, But Possible:
- Irritated tooth nerve: If a lot of tooth comes off and the nerve is close, it might get upset. Rare if your dentist is careful.
- Root canal needed: Happens in about 0.5% of cases.
- Hitting other teeth: Usually doesn’t happen with a skilled hand.
- Lasting sensitivity or a broken veneer: Good planning and gentle work make this super rare.
What About the Future?
Once you have veneers, you’ve got to stick with them. If one breaks or comes off, you’ll need a new one—not just a quick fix. So taking care of your teeth and seeing the dentist regularly is key.
When Do “No-Prep” or “Minimal-Prep” Veneers Work?
Maybe you’ve heard about “instant veneers, no drilling.” Can you really avoid having any enamel taken away?
Who Can Skip the Trimming?
- Teeth that look a bit too small or spaced out
- Slight color problems
- Tiny alignment troubles
What’s the Downside?
- Brands like Lumineers often don’t need much (or any) tooth removed.
- They don’t touch your natural tooth, which lots of people love.
- BUT: If your teeth are already big, crowded, or have tough stains, no-prep veneers might look clunky or fake.
No-prep is great for the right person, but for most people—around 80–90%—a little prep is still needed.
Picking the Right Dentist for Veneers
Your dentist is your artist, builder, and smile coach all rolled into one. Tooth preparation is part art, part science—choose someone who’s good at both!
What’s Most Important:
- Training & Experience: Look for board certification and membership in big dental groups like the American Academy of Cosmetic Dentistry.
- Photos & Reviews: Check out patient pictures and what other people say.
- Talking it through: A good dentist listens, explains everything, and answers all your questions.
Tips for Your Consult:
- Ask about how much they remove. Are they careful or “conservative” with drilling?
- Will your temporary teeth look nice?
- What are your choices for veneer types (porcelain, composite, etc.)?
Remember: Veneers are an investment in how you feel. Done right, they can make you smile for 10–20 years or more.
Conclusion: Love Your New Smile With Confidence
You made it! By now, you know what to expect with teeth prepared for veneers—why it’s done, how it’s done, and what it’s like.
What To Remember
- Prepping for veneers is gentle and meant to save as much of your tooth as possible.
- On average, less than 1mm comes off—usually less than your fingernail’s width!
- A little soreness or sensitivity is normal but doesn’t last.
- Temporary veneers protect your teeth and let you see your new look.
- No-prep veneers sound nice, but most people need a little smoothing for the best look.
- Picking a dentist who knows what they’re doing matters most for a great result.
- Brushing, flossing, and regular appointments help keep your smile bright for years.
So, what’s next? Book a visit with a trusted dentist. Bring all your questions. See what could work for your smile. With good info and a caring pro, you’ll feel ready to get started—confident that you’re making a smart choice for your smile and yourself.
Here’s to your new smile and all the confidence that comes with it. You deserve to feel great every time you grin.
Frequently Asked Questions
Q: Will I have to get my veneers replaced a lot?
A: Porcelain veneers usually last 10–20 years, and about 9 out of 10 people still have theirs at 10 years if they’re careful.
Q: Can I get my natural teeth back after prepping for veneers?
A: No—once enamel is gone, you’ll always need a veneer or another kind of cover.
Q: What if my temporary veneer falls off?
A: Keep it, don’t chew on that side, and call your dentist so they can glue it back in.
Q: Can getting veneers damage my teeth?
A: Problems are very rare if your dentist is careful. Most people have just mild, short-term soreness.
Ready for your next step? Schedule your own veneer appointment with a pro today—and get set for a smile you’ll love to show off.