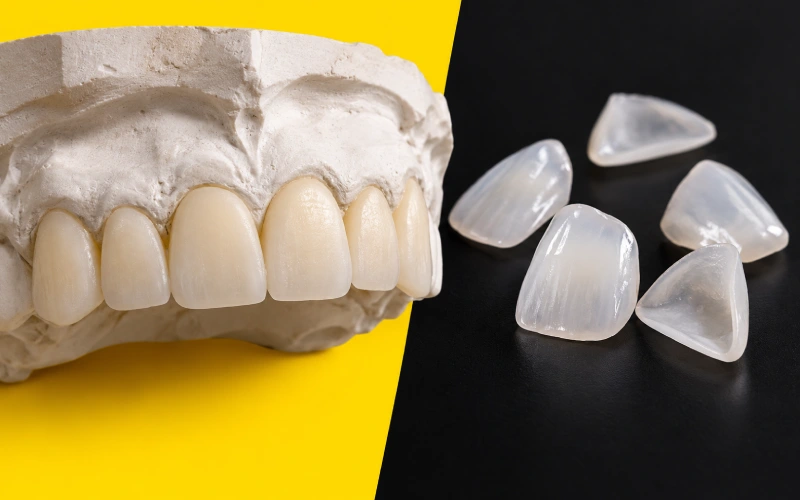
Single-Tooth Veneer Case Study: When One Anterior Tooth Needs Repair


🕢 [ ¡Rellene el formulario y le responderemos en 30 minutos! ]
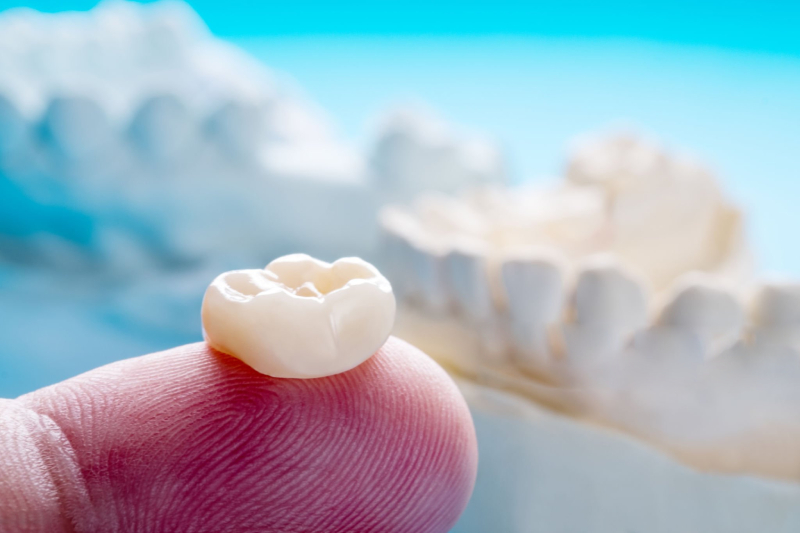
What this case covers: a veneer for one tooth — a single anterior restoration on a vital upper central incisor, where the hard part is shade matching, not strength.
Patient Situation
One of our cases started with a patient who chipped about 30% of their upper central incisor. The tooth was still alive — no root canal — and everything around it was healthy. They’d already seen two dentists who gave completely different advice, and both refused to do a crown because the tooth was still vital.
The first dentist suggested composite bonding with a veneer on top. The second said a veneer would tear off quickly and severely restrict biting into even soft things like burger buns.
Here’s what made this case harder: the patient had night grinding issues, already wore a guard, and had the lower teeth adjusted. But previous composite work still chipped off four times in less than two months — even while brushing.
And there was a color problem from before. An earlier composite repair came out more yellow than the neighboring tooth and was dragged toward the gum line, covering more tooth surface than it should have. The patient knew it didn’t match, and the practice admitted it later.
So the central question wasn’t “can you fix a chipped front tooth?” It was: can you fix one front tooth, match it to a healthy neighbor, keep it thin enough not to over-reduce enamel, and make it survive someone who grinds at night?
What the Dentist Asked Us to Do
The dentist sent us nine specific requirements. Every single one addressed a real obstacle from the patient’s case history.
1. Coverage Plan — Only Where It’s Needed
We were told: cover the fractured area with incisal wrap, but don’t run the restoration across the entire front surface. The tooth is vital and shouldn’t be reduced more than necessary.
In return, we had to state the minimum thickness this coverage plan could support. Because the constraint is real: less prep means the restoration has to be thinner, but it still has to survive function.
2. Single-Tooth Shade Mapping
Everyone in this field knows the honest truth: matching one restoration to a healthy adjacent tooth is one of the hardest esthetic challenges. You can’t just pick one shade tab and call it done.
We were asked for mapped shade photography of the neighboring central incisor, taken under standardized light, region by region. Not one overall shade number — actual zones, because anterior teeth have internal color variation that a single shade won’t capture.
3. Enamel Shades on Enamel
The earlier composite failure taught a clear lesson: don’t drag dentin shades up into the enamel zone. Toward the gum line, the material sits on enamel, so it gets built in enamel shades. Dentin shade belongs only where dentin actually shows — at the fractured, exposed area.
4. Full Shade Range, Photographed
Here’s a problem that shouldn’t exist but does: one patient was shown three shade options in the operatory, chose one, and later discovered at the ceramist’s lab that much whiter shades had been available all along. That’s a communication failure.
We were asked to supply the complete shade range relevant to this case, with photos under standardized light, so the choice is made against the actual neighbor tooth — not against a tiny tab under fluorescent light with incomplete options.
5. Occlusion Dictates Design
Any contact the patient can reach is a request to redesign. We were told: don’t add thickness to solve a shade problem. Propose incisal geometry and clearance instead.
This patient grinds at night, already wears a guard, already had the opposing teeth reduced — and the previous restoration still failed four times. Thickness won’t save it if the geometry is wrong. Clearance will.
6. If We Can’t Match One, We Say So in Writing
Where a single restoration genuinely cannot be matched acceptably without treating the neighbor, we state that condition in writing — and say what the alternative would involve — rather than deliver one unit and let the patient discover the mismatch afterward.
This is uncomfortable. It can reduce the size of a case. We’d rather it be uncomfortable and documented than invisible and disappointing.
7. Margin Placement, Explained
We were asked to specify where the margin sits and why, together with the bonding surface prep, and to name the risk associated with that position.
Stained margins, debonding, and recurrent decay at the margin are the known long-term failure modes. The dentist wanted the design rationale, not just the design.
8. Material Choice with Reasoning
Where the biting risk is high, we were asked to explain why the hardest available material isn’t automatically the right choice, and to justify what we recommend.
One of the dentists in these discussions put it plainly: the strongest material is not automatically the one to start with. Porcelain bonds more predictably to enamel than dentin, and if you’re keeping prep minimal, bond strength matters more than compressive strength.
9. Expectations That Travel with the Case
The restoration leaves our lab with a written page the clinician can hand over: the color difference that’s achievable, the maintenance interval, and the foods that will damage it.
The instruction every patient with anterior work should hear - don’t bite into anything hard with that tooth — should be written down, not mentioned once and forgotten.
How We Met Those Requirements
Delivery: What This Veneer for One Tooth Looked Like
By the time this restoration left our lab, it was:
- Partial facial coverage with incisal wrap — only covering the fractured zone plus the incisal edge, not the entire front surface. Thickness at the incisal edge: [specified per material choice]; cervical featheredge maintained maximum enamel bond area.
- Shade-mapped to three zones — cervical third matched to neighbor’s gingival enamel zone; body matched to mid-tooth value/chroma; incisal third reproduced translucency observed in adjacent tooth under standardized daylight photography.
- Margin placement documented — facial margin slightly subgingival for esthetics; interproximal margins at/above tissue line to preserve maximum enamel; all positions photographed and stated in delivery sheet.
- Material selected for bond strength, not just hardness — [material name] chosen because it bonds predictably to the available enamel surface, per clinician’s minimal-prep requirement.
The case shipped with:
- Try-in model (where requested)
- Shade map photography showing neighbor tooth zones vs. final restoration
- Margin and thickness spec sheet
- Patient expectation document (maintenance interval, foods to avoid, achievable color match range)
In-House CAD and Technician Review
At ASD Dental Lab, we handle the entire workflow in-house. Founded in 2012, we’re a full-service manufacturing facility in Shenzhen and Huizhou, China — not a trading company, not a middleman.
For a case like this, the workflow looks like:
- Case data receiving and evaluation — We confirm the coverage plan, thickness constraints, and occlusal clearance before design starts.
- CAD digital design — Our design department (~100 technicians) maps the shade zones and builds the restoration to the clinician’s specified coverage, not a standard template.
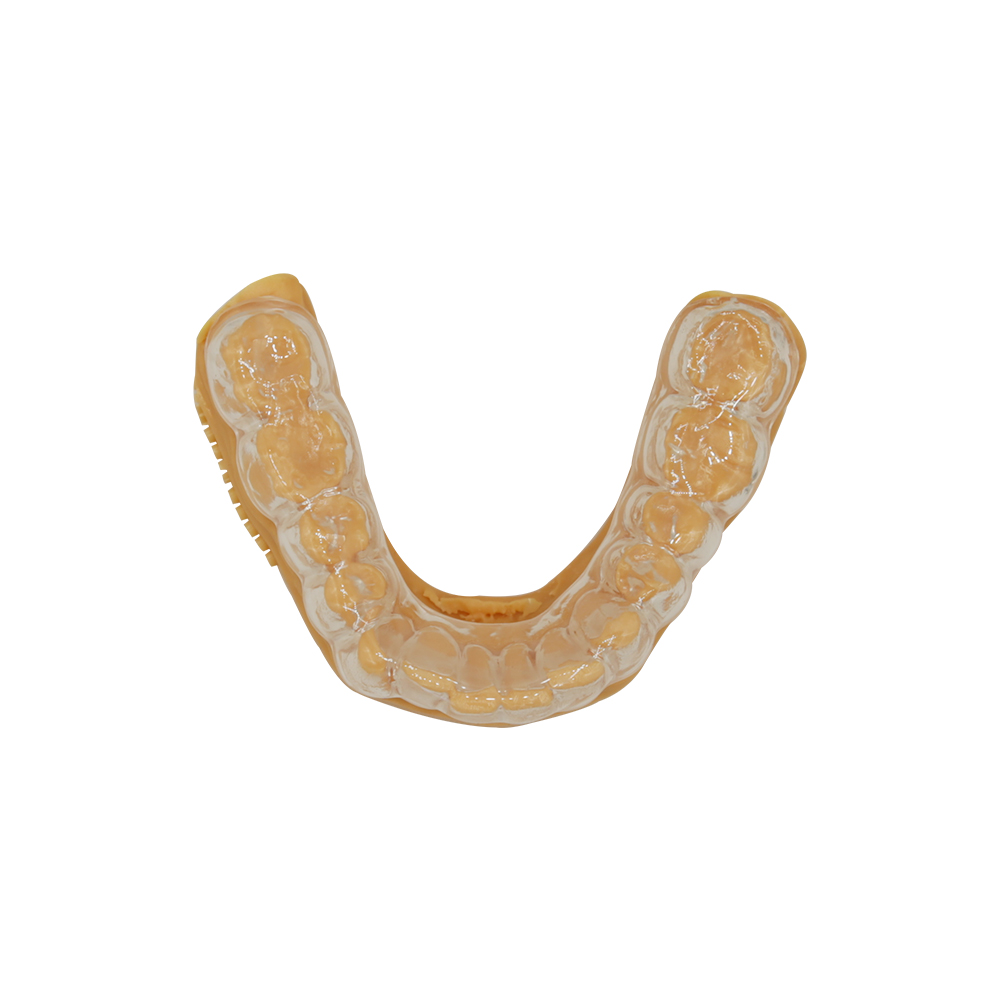
- 3D model printing — Where try-in is requested, we print a model for verification before milling the final.
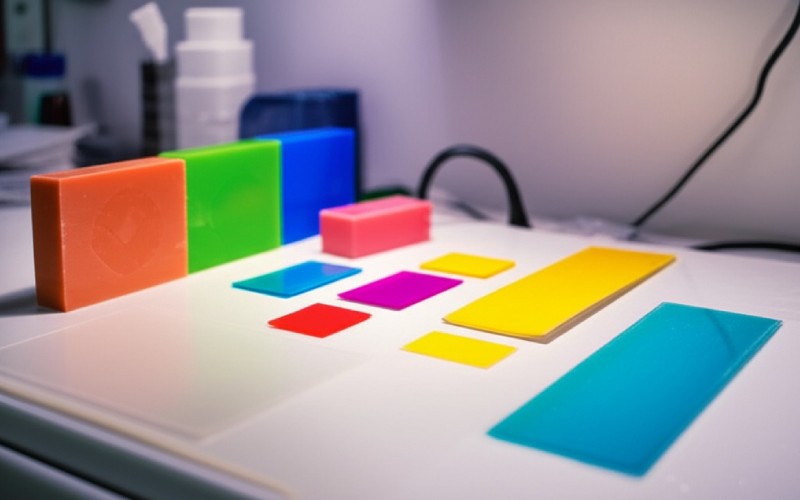
- CAM milling — Precision milling from the selected material block.
- Ceramic processing — For porcelain or layered restorations, this is where custom shade layering happens.
- Polishing and finishing
- Quality inspection — Our QC department (~25 staff) checks margin fit, shade map adherence, and occlusal contact against the clinician’s stated requirements.
- Packaging and shipment
Every step stays inside our facility. We don’t outsource to third-party labs, which means consistent quality control and stable delivery timelines. Our current capacity is around 8,000 zirconia single crowns per month in normal season, scaling to 15,000 during peak periods, with ~460 professional employees plus ~50 trained backup workers for surge support.
Shade Documentation
For single-tooth cases, we photograph the adjacent tooth under standardized light and map it by zone — cervical third, middle third, incisal third, plus any internal effects like incisal translucency or crack lines.
We supply the full shade range relevant to the case, not just three options. If the dentist and patient need to see what BL1 or OM3 would look like next to the actual neighbor, we provide that comparison photographed, not described.
Margin and Bonding Surface Spec
Our delivery documentation states:
- Where the margin sits (e.g., slightly subgingival facial, at or just above the gingival margin interproximally)
- Why (e.g., to hide the transition while preserving maximum enamel for bonding)
- The bonding surface prep (e.g., etched ceramic interior, no try-in paste contamination)
- Known risks at that position (e.g., marginal staining possible if oral hygiene lapses; debonding risk if insufficient enamel remains)
The clinician can verify every parameter before delivery.
Remake Boundary
We state in writing what we’re responsible for and what we’re not:
We remake at no charge if:
- The coverage plan we designed doesn’t survive normal function
- The shade map we executed doesn’t match the documented neighbor zones
- The margin placement causes an avoidable clinical problem
- The thickness we proposed proves inadequate for the material chosen
We do not remake if:
- Occlusal contact wasn’t adjusted per our clearance recommendation
- The patient doesn’t return for the stated maintenance interval
- Hard-object trauma occurs (biting pens, ice, etc.)
About ASD Dental Lab
We’re a direct manufacturing facility, not a trading company. Founded in 2012, with facilities in Shenzhen and Huizhou, China.
Team: ~460 professional employees (100 CAD designers, 70 milling technicians, 80 implant specialists, 70 ceramic & metal technicians, 55 removable denture technicians, 25 QC staff, 40 case coordinators) plus ~50 trained backup workers.
Compliance:
- FDA registration covering custom crowns, fixed bridges, inlays, onlays, veneers, custom implant abutments, implant superstructures, full/partial dentures, and temporary restorations
- MDR custom device notification for EU Class IIa custom dental restorations
- Full digital workflow from case data to final inspection
Traceability: We retain prescription records, design approvals, and production logs for three months standard (extendable on request). Materials, labels, and certificates conform to the destination country’s requirements.
Factory visits: Dental clinics, laboratories, and partners can arrange on-site visits or video factory inspections by contacting our sales team.