

Cosmetic Dental Implants: Anterior Crown Case Study
Wypełnij formularz, a my odpowiemy w ciągu 30 minut!
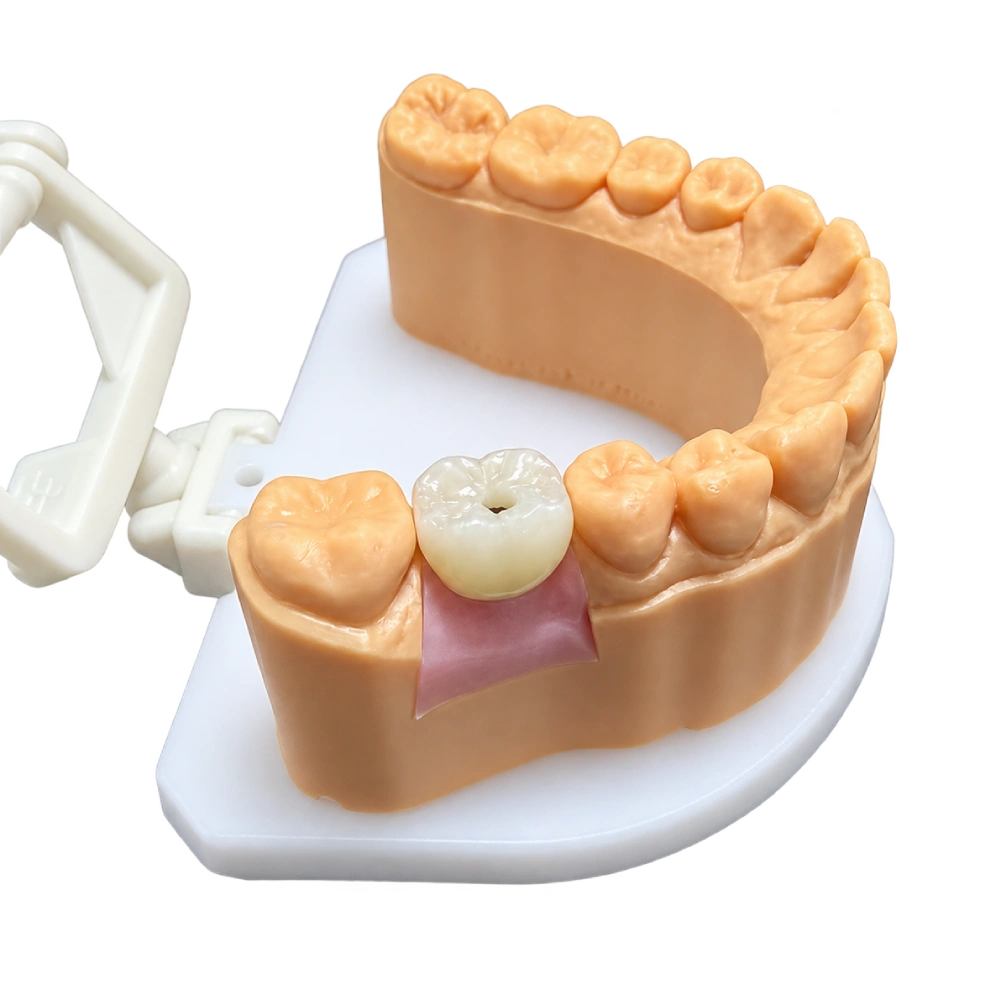
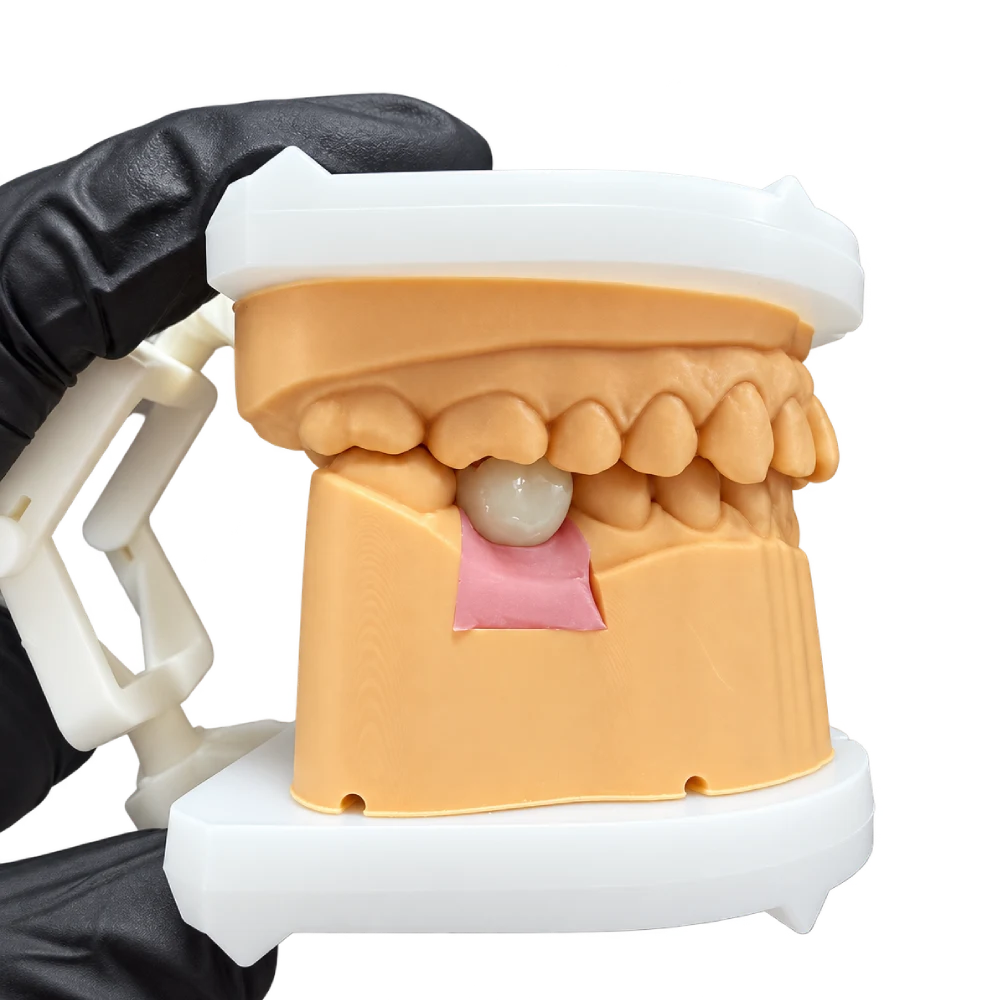
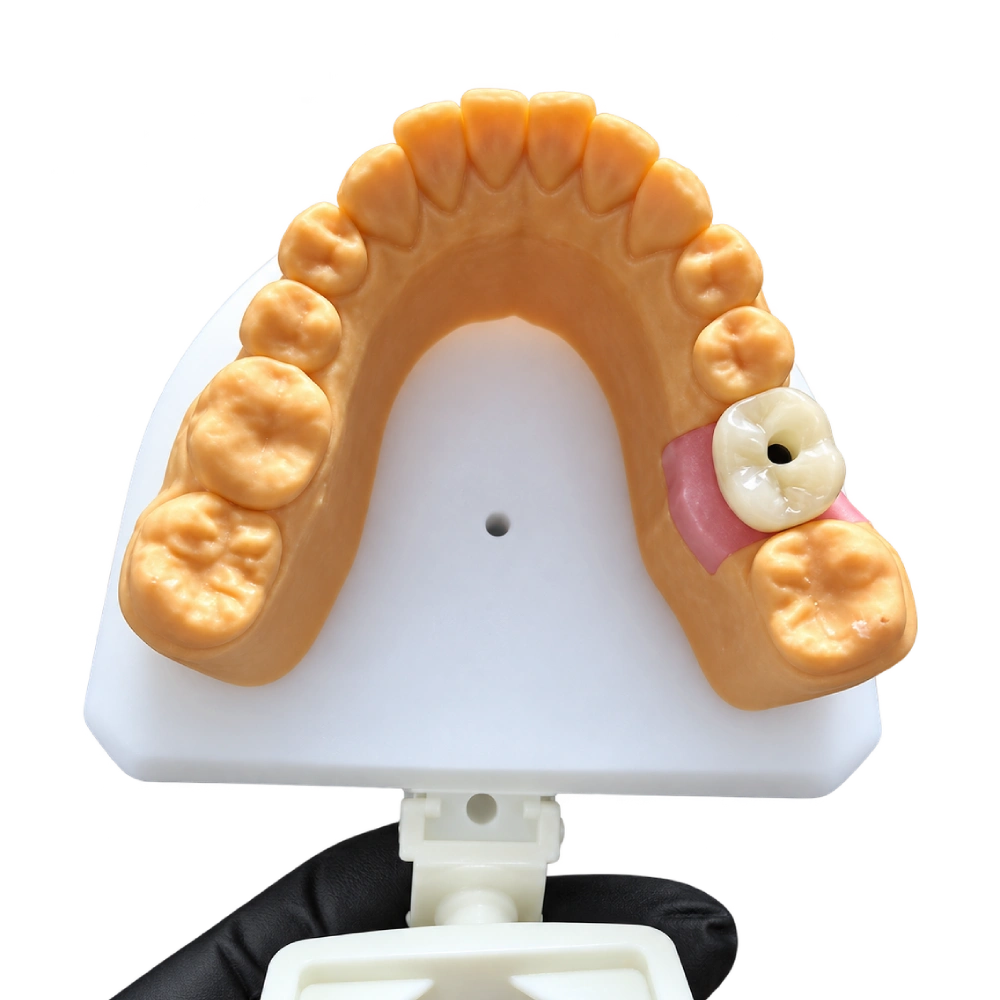
A single-crown implant case in the anterior esthetic zone — how we matched shade, supported the gum, and kept it looking real.
The Patient Situation
A 42-year-old professional came to us after a failed front-tooth root canal resulted in an untreatable fracture. The tooth couldn’t be saved, but the loss hit harder than the diagnosis — it was right in the smile zone, visible when talking, laughing, and meeting people.
Her concerns were clear: “I want it to look like my other teeth. I don’t want anyone to know it’s not real.”
She had:
- Good overall oral health, no active periodontal disease
- Adequate bone volume (confirmed via CBCT)
- A strong bite and functional occlusion
- No smoking or uncontrolled systemic conditions
The technical requirements:
- Match the neighboring teeth in color, translucency and surface texture
- Preserve and shape the gum contour — no flat or unnatural emergence
- Deliver a screw-retained implant crown positioned for hygiene, longevity and phonetics
What the Doctor Wanted
Her dentist submitted the case with the following clinical data:
- Intraoral scans z scan-body data, opposing dentition, and precise bite record
- Implant-system details: platform diameter, connection type, and scan-body brand/model — documented per our standard workflow to ensure exact fit
- Shade analysis: photos under controlled lighting (5500K, no natural light), showing cervical, body, and incisal zones — the goal was a layered match, not a single-tone block
- Soft-tissue records: gingival thickness, papilla height, and scallop symmetry with adjacent teeth
- Design objectives: profil powstawania to mirror the contralateral tooth, screw-channel angulation that wouldn’t compromise facial esthetics, and a natural transition from abutment to crown
The doctor’s priority: “Make it disappear.” No gray show-through at the gum line, no bulky contour that traps food or looks artificial. The implant had integrated well, so the challenge was entirely restorative and optical.
How We Designed the Cosmetic Implant Restoration
1. Shade Matching — Layered, Not Literal
A single shade tab can’t capture what makes a natural tooth look natural. We built the color in three zones:
- Cervical (neck): Slightly warmer and more saturated — where the tooth meets the gum
- Body: The main transition color that anchors the overall match
- Incisal (cutting edge): Translucent with controlled opalescence
We used the dentist’s reference photos and neighboring-tooth scans to map these gradients. Our ceramist cross-checked against adjacent teeth at every firing stage — color under controlled lighting (5500K, no natural light) is non-negotiable for esthetic work.
Material choice: We selected multi-layer zirconia — offering strength for the anterior zone and built-in translucency gradation — then added a light external characterization layer for surface texture and depth. This approach balanced strength, translucency, and esthetics without needing full porcelain layering that could chip under functional load.
2. Gum Contour — Shaped by the Provisional
The profil powstawania — how the crown rises from the gum — determines whether an implant crown looks planted or natural. A flat, bulky contour traps food and looks wrong; an under-contoured profile leaves a dark void.
We used the custom abutment to create a smooth transition from the implant platform to the crown. Our CAD design followed the soft-tissue data from the provisional phase — the dentist had already conditioned the tissue with a healing abutment, giving us a stable baseline.
The digital design included:
- Concave facial contour to let light play naturally and support papilla fill
- Emergence angle matching the contralateral tooth
- Cleanable embrasures — functional access for floss without sacrificing contact
We delivered a screw-retained crown so the dentist could retrieve it for adjustments or future service without cutting anything off.
3. Screw-Channel Angulation — Esthetics and Function
The implant had been placed slightly palatal to avoid the facial bone, which meant the screw channel risked exiting on the visible surface. That’s a deal-breaker in the esthetic zone.
Rozwiązanie: We designed an angled screw channel (ASC) paired with a custom titanium-base abutment. The screw enters from the lingual (tongue side), keeping the facial surface intact for ceramic layering.
This also simplified future maintenance — the dentist can remove the crown by accessing the palatal screw, check the abutment connection, and replace the crown if needed, all without disturbing the integrated implant.
4. Quality Checkpoints — Three-Stage Verification
Every case that leaves our lab passes through three quality gates:
- Intake review: Verify scan-body brand, implant system, bite registration, and shade photos are complete and match
- Mid-process check: CAD design approval with the dentist before milling; verify screw-channel path, contact points, and occlusion digitally
- Final inspection: Independent QC technician checks interface fit, screw-channel patency, ceramic integrity, shade under standard light, and embrasure access on a working model
For esthetic anterior cases, we add a fourth checkpoint: Our senior ceramist reviews the characterization, surface texture, and translucency gradation before final glaze.
The turnaround for a single-crown implant case like this is typically 5–7 business days from digital files to final delivery.
The Result
Delivery: 6 days after receiving the approved design, we shipped the final crown.
Outcome:
- Shade matched across all three zones — no single-block opacity
- Gum tissue remained stable and symmetrical with the adjacent tooth
- Screw channel fully functional from the palatal access; no facial breakthrough
- Patient reported that coworkers didn’t notice the replacement — the benchmark for anterior implant esthetics
Follow-up: The dentist sent a 3-month recall photo showing healthy peri-implant tissue, no inflammation, and stable papilla. The crown remained seated and the patient reported normal function.
Why This Approach Works for Cosmetic Dental Implants
It’s About the Details No One Sees
Most patients judge an implant by whether it “looks fake.” That judgment happens in milliseconds — often before they consciously register what’s wrong.
What fails that test:
- Single-shade, opaque crowns (the “Chiclet” look)
- Flat or over-bulked gum contours
- Poor emergence that creates black triangles or shadowing
- Mismatched translucency at the incisal edge
What passes:
- Layered color that mimics dentin, enamel, and translucency zones
- Soft-tissue architecture shaped by custom abutments and provisional conditioning
- Screw retention that allows future service without destructive removal
- Functional embrasures that stay clean and don’t trap debris
This isn’t luxury; it’s the minimum standard for replacing a tooth in the smile zone.
The Lab’s Role: Precision + Communication
We manufacture the visible part, but we don’t see the patient or make clinical decisions. Success depends on:
- Complete records from the dentist — scans, photos, bite, implant specs
- Proactive design review before milling (we flag concerns early)
- Wybór materiału driven by case requirements, not inventory
- Independent QC at every critical transition
When a case needs revision, we don’t charge for remakes caused by our design or fabrication error. Shipping and implant components (abutment screws, etc.) are not included in the free-rework policy — but the prosthetic labor is.
What Dentists Need to Send Us
For single-crown implant cases in the esthetic zone:
| Required | Dlaczego |
| Intraoral scan with scan-body, opposing arch, and bite | Position, contacts, occlusion |
| Implant system details: brand, platform, connection type, scan-body model | Ensures exact abutment fit; incompatible parts fail |
| Shade photos: cervical, body, incisal under controlled lighting | Layered color matching |
| Facial and smile photos | Tooth proportions, gingival display, midline |
| Soft-tissue data: gingival thickness, papilla height, provisional contour if available | Emergence profile design |
| Design preferences: screw vs. cement retention, material choice (zirconia, e.max, layered), occlusal scheme | Clinical and patient priorities |
Maintenance and Longevity
What the Research Says
- Implant survival: In a systematic review of 18 prospective studies, 10-year implant-level survival was 96.4% (sensitivity analysis: 93.2%). A large cohort of 10,871 implants reported 94.0% survival at 15 years.
- Crown survival: A review of implant-supported single crowns found 94.5% 5-year and 89.4% 10-year survival — meaning the crown may need service even when the implant remains healthy.
- Peri-implant disease: Incidence of peri-implantitis (bone loss around the implant) was 7.1% at 8–10 years in one cohort.
Risk factors that reduce survival:
- Smoking: Implant failure odds ratio 2.4 vs. nonsmokers, plus 0.58 mm greater bone loss
- Uncontrolled diabetes: Failure hazard ratio 2.25
- Bruxism/clenching: May increase mechanical complications (screw loosening, ceramic chipping)
What the Patient Must Do
Daily:
- Brush at least twice daily
- Floss or use interdental cleaners around the crown and under any bridge connector
- Water irrigators help but don’t replace mechanical cleaning
Professional maintenance:
- Risk-based recall every 2–6 months depending on periodontal history, smoking, and systemic conditions
- Probing, radiographs, and implant-safe cleaning instruments
- Early peri-implant mucositis (soft-tissue inflammation) is reversible; peri-implantitis (bone loss) requires surgical treatment
Dolna linia: The implant can last decades. The crown might need adjustment, re-cementation, or replacement sooner — especially if occlusion changes or a screw loosens. Neither implant nor crown has a guaranteed lifetime.
Cosmetic Dental Implant Laboratory Capabilities
Our facility:
- Founded: 2012
- Lokalizacja: Shenzhen and Huizhou, China
- Team: ~460 employees, including ~100 CAD designers, ~80 implant-department technicians, and ~25 QC staff
- Capacity: ~8,000 zirconia single crowns/month (normal season); ~15,000/month (peak season)
- Usługa: Full digital workflow from scan to delivery; no outsourcing to third-party labs
Markets served: United States, Netherlands, Germany, France, Belgium, Austria, United Kingdom, and other European territories. We work with dental labs, clinics, DSOs, and individual dentists.
Szybszy czas realizacji dzięki naszej najnowocześniejszej technologii
Zalecane




