Lower Dentures — Case Study: A Mandibular Complete Denture Built and Verified In-House
Wypełnij formularz, a my odpowiemy w ciągu 30 minut!
At a glance
- Case type: mandibular complete denture (lower arch, fully edentulous)
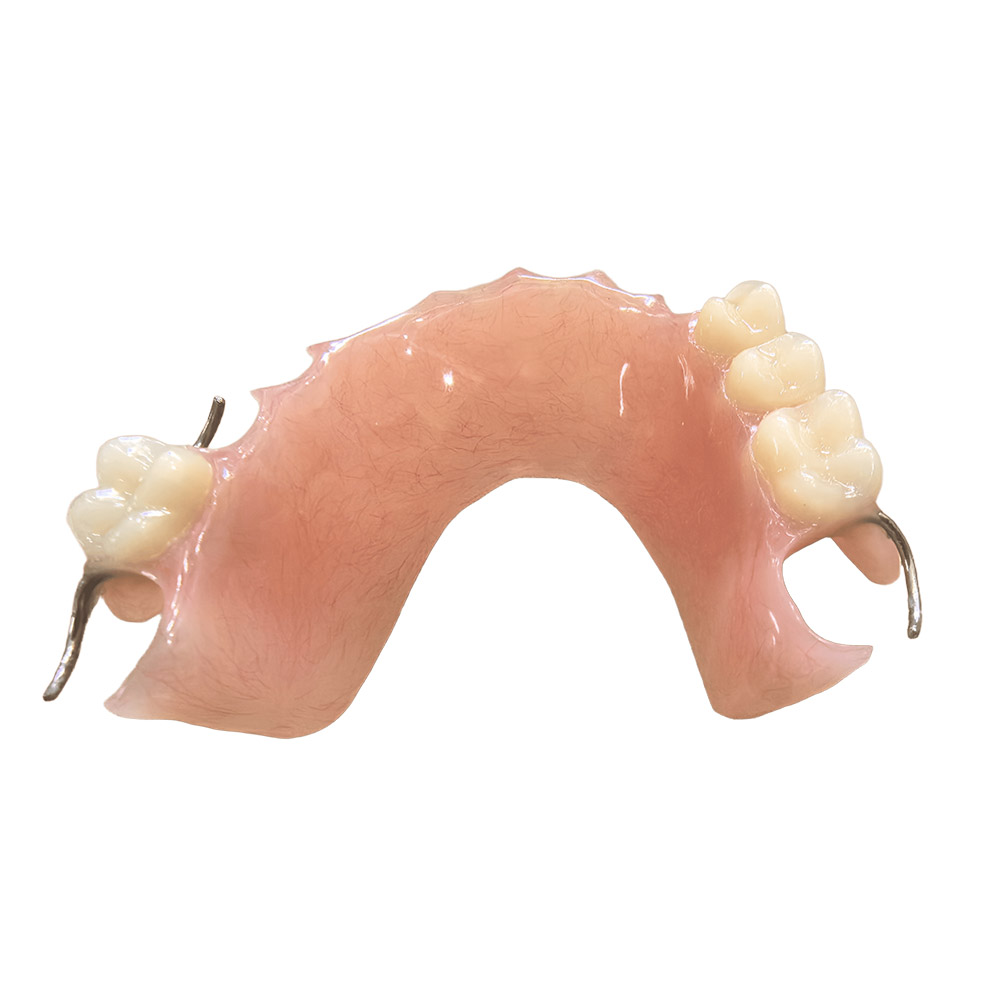
- Restoration: heat-cured acrylic base, composite resin teeth, balanced occlusion
- Steps covered in-house: initial impression → custom tray & border molding → final impression → bite records & wax try-in → set-up & flasking → finishing & QC → delivery
- Where the case was built: ASD Dental Lab, Shenzhen & Huizhou facilities, full in-house production (no outsourcing)
Patient situation
The patient is a long-time full lower denture wearer. The previous prosthesis had been in service for several years; ridges had resorbed and the bite height had drifted. Day-to-day complaints we see in this kind of case, and that the clinic asked us to plan around:
- Lower denture feels loose when speaking oraz lifts during meals — tongue and cheek muscles dislodge it because the borders no longer engage the soft tissue. The mandibular bearing area is small to begin with: a published review puts the edentulous mandibular denture-bearing area at roughly 12.25 cm², against about 22.96 cm² for the upper arch. [[1]]
- Bite feels “off” — the old VDO no longer matches the patient’s facial height. Resorption of the lower ridge is faster than the upper; a commonly cited clinical figure is roughly four times more residual-ridge height loss in the mandible over time. [[2]]
- General bite force is lower than it used to be — denture wearers generate roughly one fifth of the bite force of dentate patients (around 60–80 N vs ~200 N). [[3]] That alone explains why every millimetre of border extension and fit matters.
- Soreness and reline frequency — soft tissues under a mandibular denture take more load per cm², so even small errors show up as sore spots. The patient’s previous denture had been relined more than once in the last 18 months.
Anatomy-wise, the lower ridge had flattened buccally; the labial vestibule was shallow; the retromolar pads were present and usable as a posterior seal zone. No tori that would block a normal path of insertion. The tongue was broad but not Class III mobility.
Clinic’s prescription
The referring clinic sent through a written prescription with the following points. We restate them here so it’s clear exactly what was asked of the lab — not a generic list.
- Full lower complete denture, heat-cured acrylic base, conventional (not immediate) — patient had been edentulous in the mandible for over a year, so no immediate-loading pathway was needed.
- Border-molded custom tray for the final impression, not a stock tray — the clinic had been burned by over-extended borders on the previous denture.
- Bite rims sent for a facebow-free bite record, with a wax wafer for centric relation. VDO to be re-established, not inherited from the old prosthesis.
- Try-in before processing — anterior tooth set-up on a wax base, photos sent to the clinic for sign-off. We follow this stage as standard for full-arch removable cases.
- Material constraints: heat-cured PMMA base (the clinic does not want a 3D-printed base for this patient); composite resin teeth; shade A2 / A3 blend.
- Delivery and follow-up: post-delivery adjustment at 24–48 h; reline indication at the 6-month mark if load signs show up. The clinic does not request that we ship a reline impression kit — that’s the clinic’s call after they see the patient.
What we add on top of the prescription, as part of our normal removable workflow:
- A written QC checklist (border extension, base thickness, tooth set-up, occlusion, polish) before the case leaves the building.
- Every case bound to a unique case number; technician, material batch and QC results archived under that number for traceability.
- A designated case manager for the clinic’s questions while the case is in our hands.
For the in-house definition that we work to on every removable case — own production, no outsourcing — see our profile.
How we built it
Step-by-step, in the order the clinic would see the case move. Everything below is done inside ASD’s own facilities, in our Removable Denture Department (about 55 technicians plus shared milling and 3D-printing capacity). The Removable team handles conventional acrylic and metal-framework work; digital steps where they appear are run on the shared CAD/CAM line. No part of the case is sent to a third-party lab.
1. Receiving & case evaluation
We log the package against the prescription, photograph the received impression and any old prosthesis the clinic sends for reference, and check that the prescription fields are filled in (patient, arch, material, shade, special notes). Anything missing triggers a same-day message back to the clinic through the assigned case manager. For this case, the photos of the old lower denture were kept on file for the design step.
2. Initial impression → study cast → custom tray
A stock tray is only ever an interim step for us on full lower cases. We pour the received impression, pour a study cast, and use it to fabricate a light-cure custom tray with full coverage of the retromolar pads and a clearance relief over the buccal shelf. That tray is the one we’ll take the final impression with — not the impression we ship to the lab as a finished record. We handle this step ourselves because the border shape on a mandibular case is too load-bearing to leave to a stock tray.
3. Border molding & final impression
The custom tray goes back to the clinic with greenstick compound for border molding. The clinic works the periphery section by section (buccal vestibule, retromolar pad, lingual sulcus, sublingual space) so we capture functional muscle trim rather than a static shape. The final wash is a low-viscosity polyvinyl siloxane (PVS) for tissue detail.
This step is one of the points we watch most carefully on lower cases: a mandibular denture that is even 1–2 mm over-extended in the lingual sulcus will lift every time the patient swallows. A denture that is 1–2 mm short sacrifices retention for comfort. We document the molded borders in the work order so the next technician sees the intent.
4. Bite records & VDO
We asked for a wax rim, not a facebow transfer, on this case — the patient’s VDO had drifted and we wanted it rebuilt rather than carried over from the old prosthesis. The clinic records:
- VDO at rest and at occlusion, measured phonetically and by facial proportion.
- Centric relation (CR) with a wax wafer, plus a Gothic-arch tracing as a cross-check where the clinician prefers.
- Smile line and lip support photo, plus a straight-on resting photo. Used for anterior tooth selection and arrangement.
These records feed directly into the next step. We don’t carry a VDO forward from the patient’s previous denture unless the clinic specifically asks us to — that would lock in the existing bite error.
5. Wax try-in
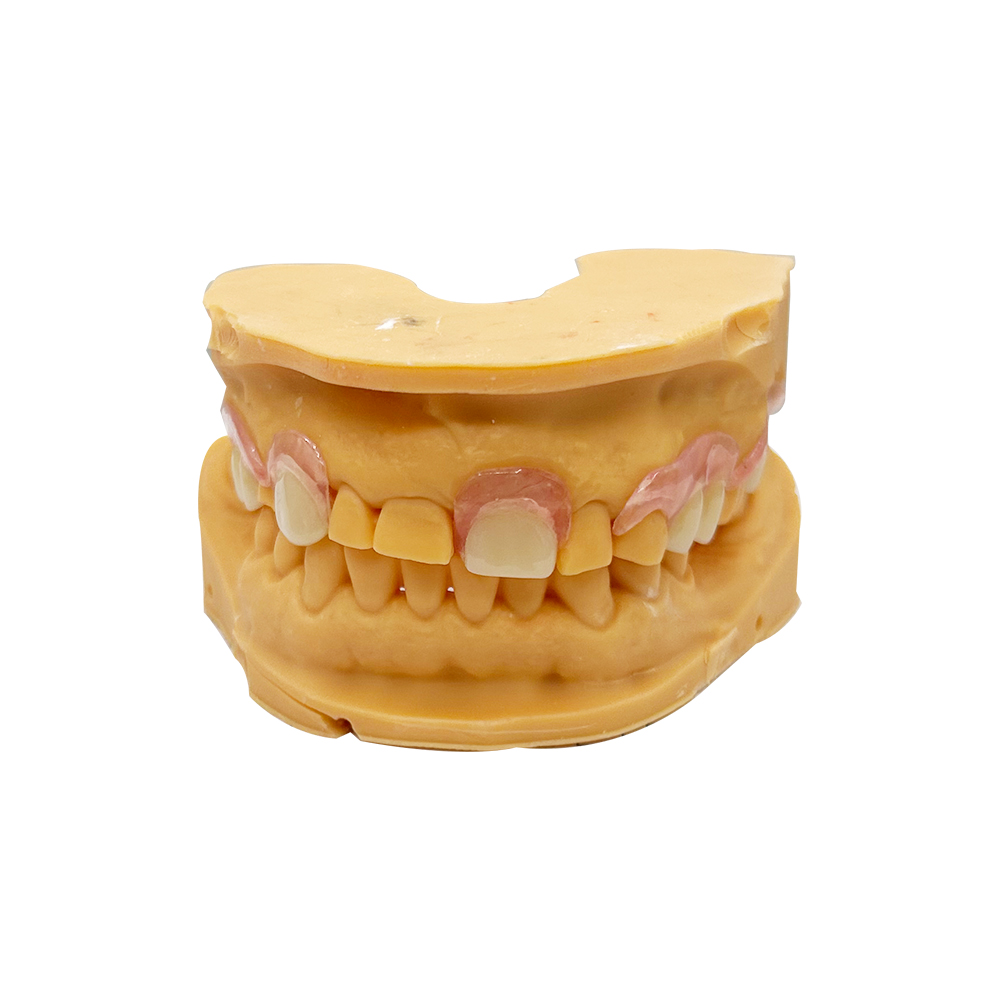
Composite resin teeth are set up on a wax base over the master cast (mounted on a simple hinge articulator; a semi-adjustable articulator is used when the case calls for it). The wax try-in is the clinic’s sign-off point — the clinic checks anterior tooth position, lip support, smile line, VDO phonetically, and base extension in the patient’s mouth. Photos are sent back to us at this stage if the clinician wants a remote review.
We won’t process a mandibular complete denture without a try-in. That’s a hard rule on our side, not because anyone asked us to write it down, but because we’ve re-processed enough “the teeth ended up two millimetres off the midline” cases to know that this stage catches errors nothing else catches.
6. Flasking, packing & polymerisation
Once the try-in is approved:
- Wax is eliminated from the flask in a hot-water bath; mould space is preserved.
- Heat-cured PMMA is mixed at the manufacturer’s powder-to-liquid ratio, packed at dough stage, and polymerised with a stepped water-bath cure — slow ramp-up, slow cool-down. A direct boil is the fastest way to introduce internal porosity and warp the base, and it shows up as a fitting problem later. The stepped cycle is what we’d default to for a mandibular case regardless of which acrylic the clinic has asked for.
- The flask is deflasked only after the water bath has cooled to room temperature. Deflasking hot is the other common cause of base warp.
7. Remount, occlusal refinement & finish
The processed denture is re-mounted on the articulator using the original CR record. We adjust centric contacts first (even bilateral posterior contacts), then refine protrusive and lateral excursions to remove interferences, then verify the occlusal plane against the interpupillary and commissure lines recorded at try-in.
Final finish: pumice slurry → high-lustre polish. Tissue surface is nie polished — only the cameo (polished) surface is buffed. We re-seat the denture on the master cast after polishing to confirm borders and tissue-surface detail are unchanged.
8. Quality control before shipment
Every removable case passes through our QC station before it leaves the building. For this case the QC checklist covered:
- Border extension against the documented molded-border drawing.
- Base thickness (uniform 2.0–2.5 mm in the body, no thin spots over the ridge crest or frena).
- Internal defects checked by transmitted light — no bubbles, cracks, or inclusions. Internal or clustered bubbles mean the case goes back for re-pack.
- Tooth set-up against the approved try-in photos.
- Occlusion: bilateral even contacts in centric, no interferences in excursions.
- Finish: no scratches, no polished tissue surface, no sharp frenal notches.
- Patient-identifying marks (case number, clinic, patient initials) verified against the work order, and case packed in its own sealed pouch so it can’t swap with anything else in transit.
Standards this workflow is anchored to: ISO 20795-1 specifies the requirements and test methods for denture base polymers (the resin side); [[4]] 21 CFR §872.3590 is the U.S. regulatory classification for plastic denture teeth; [[5]] the FDA’s denture-base-resins performance criteria document is the safety/performance pathway for those polymers. [[6]] The FDA notes that a properly fitted and well-maintained denture shouldn’t normally require adhesive — adhesives are not a fix for a poorly fitting prosthesis. [[7]]
9. Shipping & delivery
The case ships in a sealed, labelled pouch inside a padded box. The clinic gets a digital copy of the QC checklist and the patient’s case sheet. Average production time for a mandibular complete of this type at ASD: 3 in-lab working days from approval of the try-in (rush cases available on request).
Final result
Outcome at delivery and at the standard post-delivery check:
- Fit at delivery. Borders engage as drawn at the border-molding stage; no lift on speech; no rocking on alternate-tongue pressure. Retention at try-in is functional, not “suction-class” — mandibular cases rarely are, and we don’t oversell it. (Mandibular suction depends on a combination of factors — border shape, neutral-zone tooth position, posterior palatal-style seal at the retromolar pads, ridge form, and tongue control — and there is no reliable percentage that applies to every patient.) [[8]]
- Bite at delivery. Bilateral even contacts at centric; no interferences in protrusive or lateral excursions; VDO re-established to the recorded phonetic and facial proportion measurements.
- Tissue response at 24–48 h post-insertion. A short follow-up is part of the case. Most patients need one or two minor adjustments (small pressure spots on the ridge crest or frena) — that’s normal for a fresh mandibular complete, and we tell the clinic so they can warn the patient. If a sore spot persists or a border needs trimming, the case manager handles the rework.
- Six-month reline indication. Lower ridges resorb, so a reline at six months is a clinical option, not a failure mode. The clinic decides based on what they see at recall. We don’t pre-emptively push a reline.
- What we don’t promise. We don’t publish a “lower-denture success rate” — no reliable national figure exists, and any specific number we’d publish would not be defensible against a comparable case in another clinic. The ADA’s denture topic page i Cleveland Clinic denture overview both make the same point that outcome depends on fit, maintenance, and follow-up rather than on a quoted success rate.
- How this case fits with the rest of the practice. Mandibular cases like this sit inside ASD’s removable department’s volume of roughly 4,000 complete and partial denture cases a month in normal season (6,500 in peak), with the wider facility running at about 460 staff across CAD design, milling, implant, ceramic & metal, removable, QC, customer service and admin. Every step above — custom tray, border molding, set-up, flasking, finishing, QC — is done in-house; we don’t sublet any of it.
What we’d want from the clinic before we start
This is the standard intake list for a mandibular complete at ASD. It is what the case manager asks for at booking, and what the clinic can prepare in advance.
| Item | Why we need it | What to send |
| Patient identification (initials, age band, edentulous duration) | Case sheet | Written on the prescription |
| Existing lower denture (if any) | Reference for shape, shade, VDO | Photograph + (optional) the denture itself for try-in comparison |
| Upper-arch status | Determines occlusion scheme | Dentate / partial / denture / edentulous |
| Material spec | Drives the workflow | Heat-cured PMMA base, tooth type, shade, any allergy note |
| Border-molded custom-tray request | Drives the impression protocol | Yes / no (we default to yes on full lower cases) |
| Try-in stage | Drives the schedule | Wax try-in (standard) / digital try-in (on request) |
| Records: VDO, CR, smile-line photo | Drives set-up | Wax rim + photo pack |
| Delivery date & any rush indication | Drives capacity planning | At booking; rush can be requested after booking if needed |
| Compliance scope (US FDA, EU MDR, UK MHRA) | Drives labelling and file format | Country + any specific document requests |
Referencje
- Atwood D.A., et al. — biomechanical review of denture-bearing areas. ScienceDirect. https://www.sciencedirect.com/science/article/pii/S2210833514000343
- Biomechanics of the edentulous state, clinical teaching set (Slideshare). https://www.slideshare.net/slideshow/biomechanics-of-edentulous-state-237040234/237040234
- PMC review on bite force in denture wearers. https://pmc.ncbi.nlm.nih.gov/articles/PMC5874385/
- ISO 20795-1:2013 — Dentistry — Base polymers Part 1: Denture base polymers. https://www.iso.org/standard/62277.html
- 21 CFR §872.3590 — Plastic denture teeth (U.S. regulation). https://www.ecfr.gov/current/title-21/chapter-I/subchapter-H/part-872/subpart-D/section-872.3590
- FDA — Denture Base Resins: Performance Criteria for Safety and Performance Based Pathway. https://www.fda.gov/regulatory-information/search-fda-guidance-documents/denture-base-resins-performance-criteria-safety-and-performance-based-pathway
- FDA — Denture Adhesives (consumer / clinician page). https://www.fda.gov/medical-devices/dental-devices/denture-adhesives
- Hiroki Hirose — mandibular suction and posterior seal factors. JP Dental Review. https://www.jpda.dental/wp-content/uploads/2019/07/hiroki.pdf
- ADA — Dentures (oral health topic). https://www.ada.org/resources/ada-library/oral-health-topics/dentures
- Cleveland Clinic — Dentures overview. https://my.clevelandclinic.org/health/treatments/10900-dentures
Built by ASD Dental Lab — Shenzhen & Huizhou, China. Direct factory, full in-house workflow across fixed, removable, implant and digital dental restorations. Active registrations: U.S. FDA, EU MDR, UK MHRA, ISO 13485.