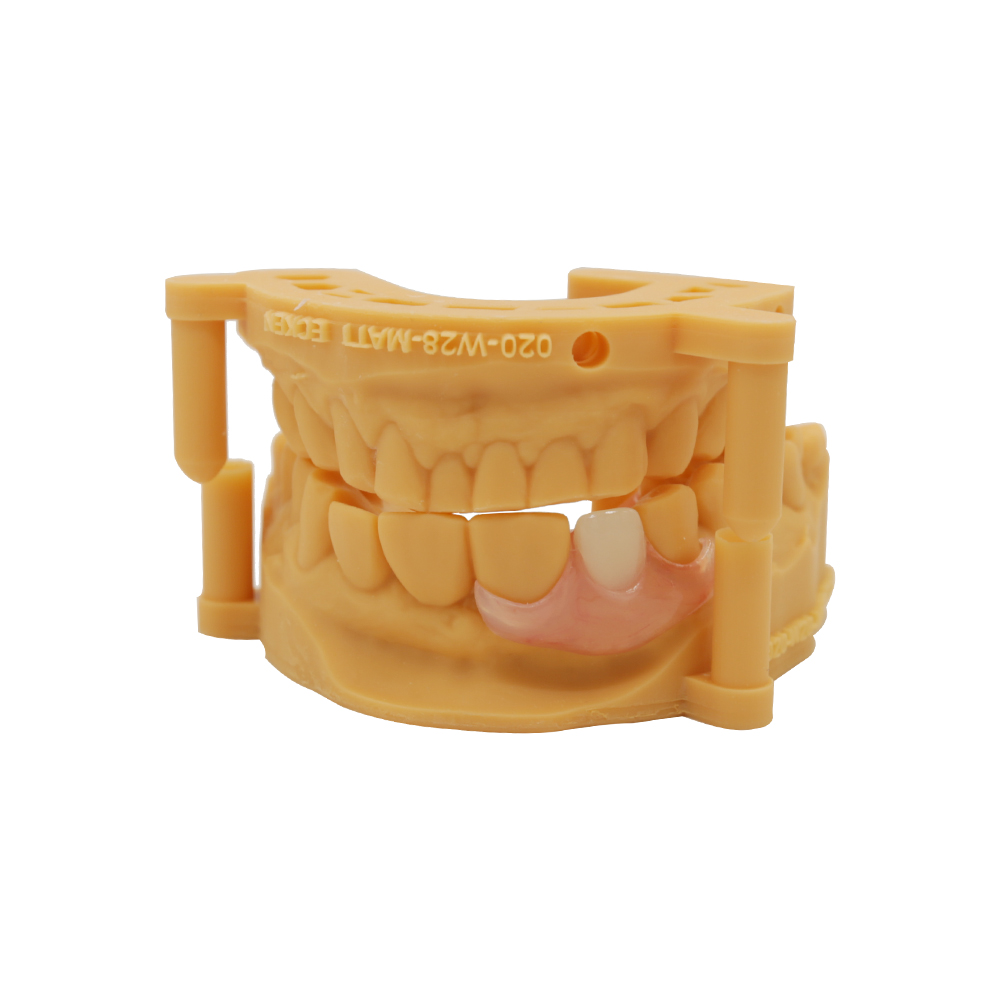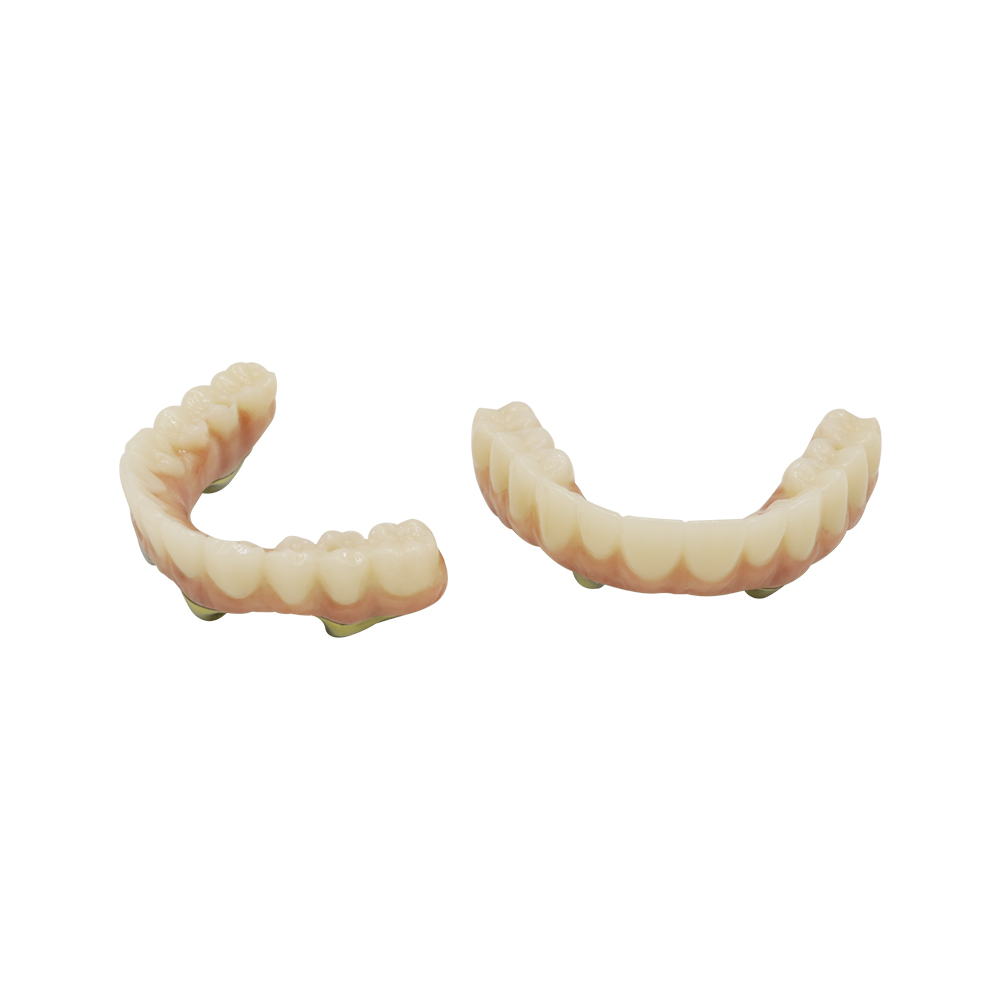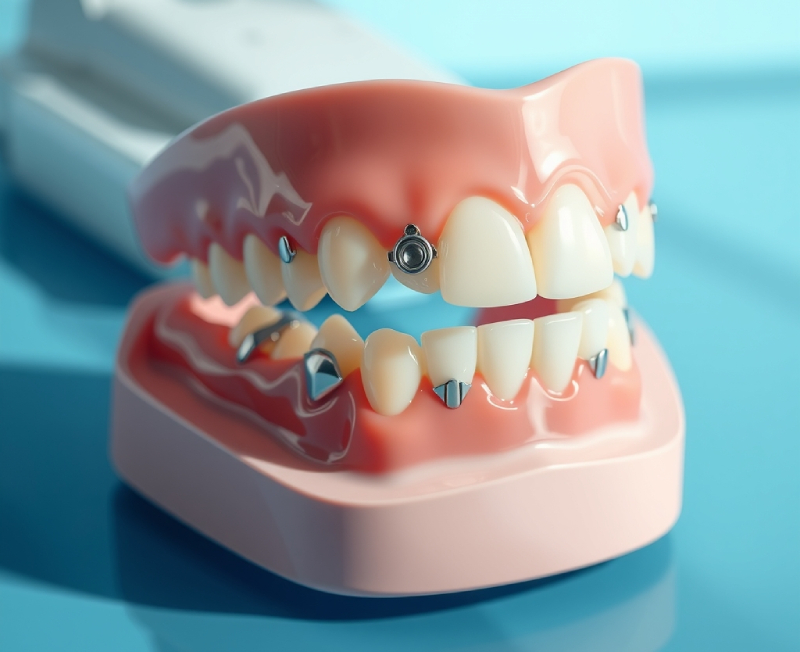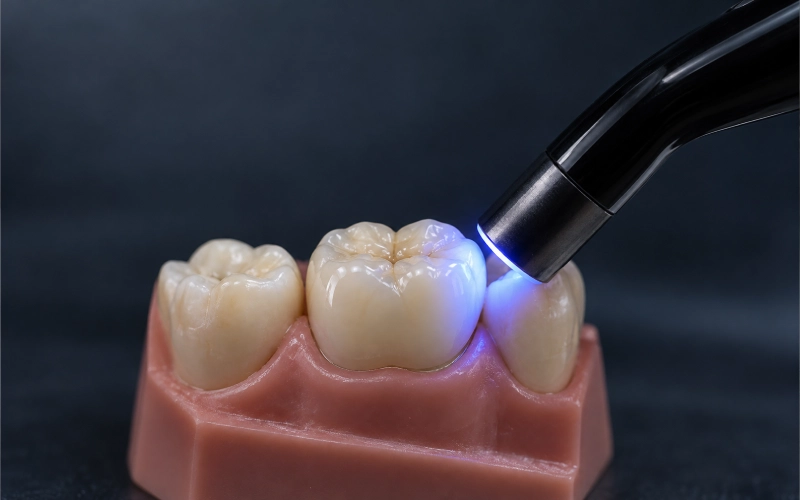
Temporary Bridge for Front Teeth: PMMA Case Study
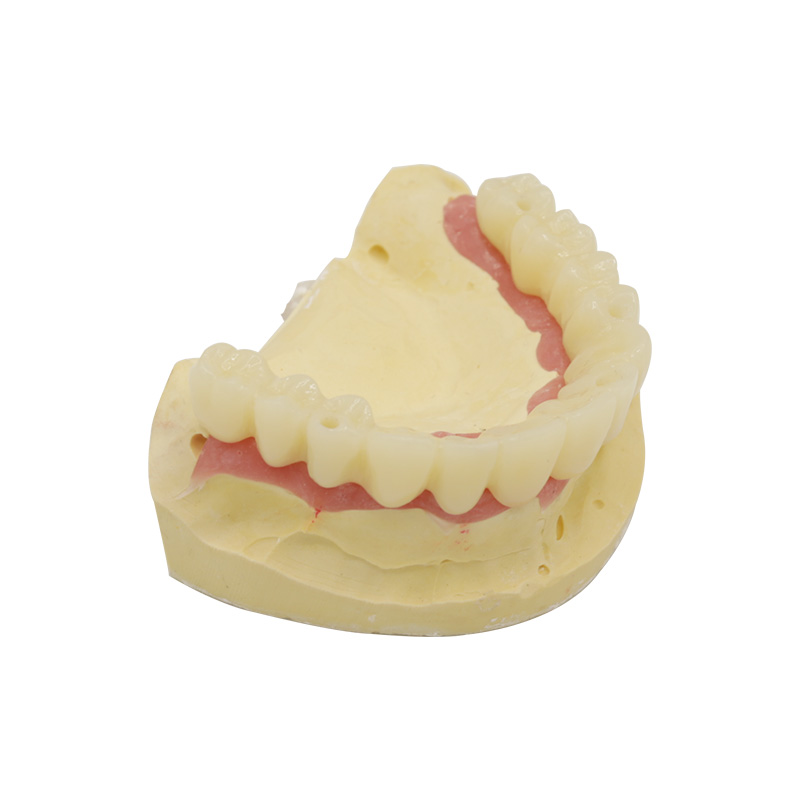
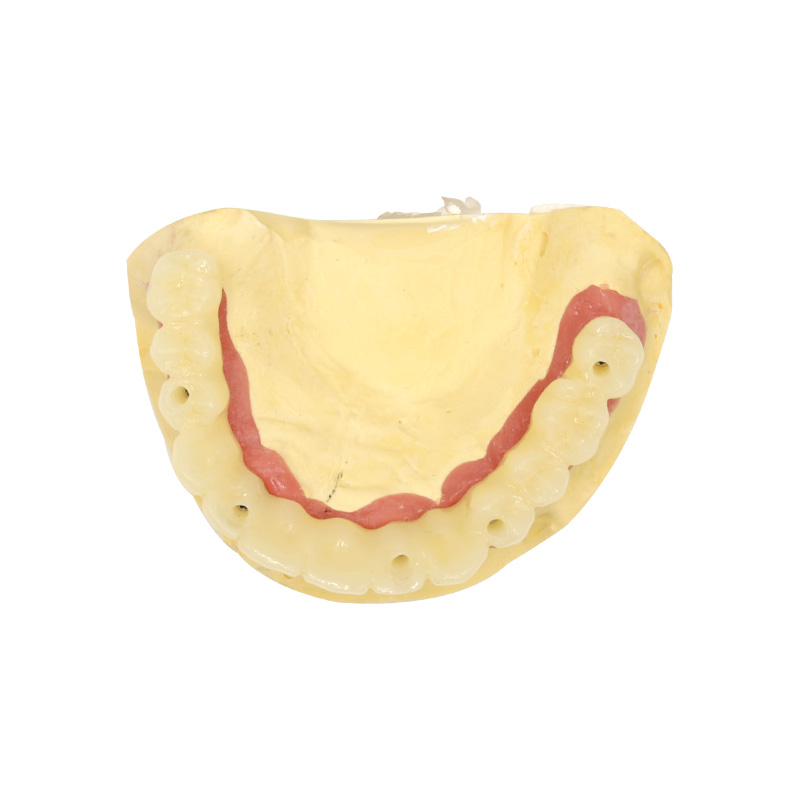
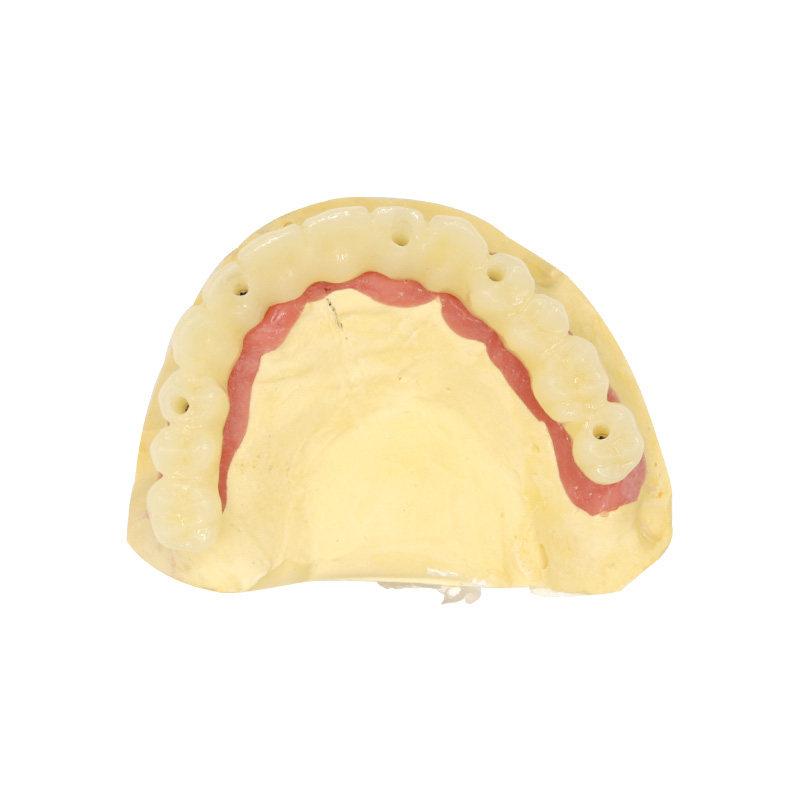
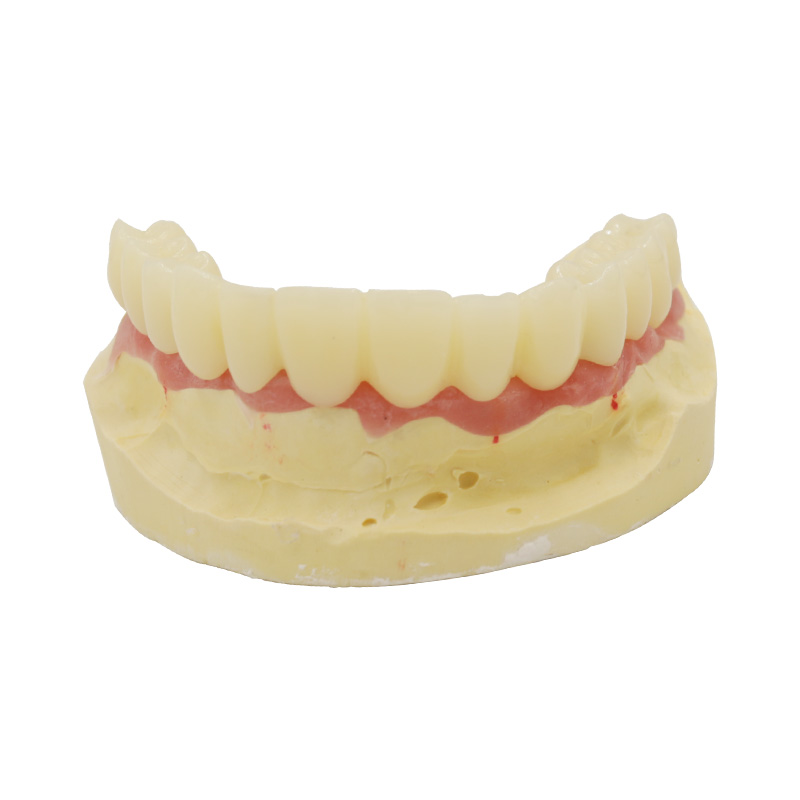
Case TB-01: When the Interim Bridge Matters as Much as the Final One
This case came to us from a practice that had learned, the hard way, what happens when a front-tooth provisional is rushed. The patient had already spent weeks wearing a poorly fitted temporary bridge — visible gaps between the teeth, a bite that felt wrong every time she closed her mouth. By the time the prescription reached our lab, the referring dentist made it clear: the interim prosthesis for the definitive case needed to be right the first time.
The patient’s situation
Background: The patient was a woman in her early forties. Three of her maxillary anterior teeth — the ones that show when she speaks and smiles — had been prepared for a fixed bridge. The definitive prosthesis was scheduled for delivery in approximately two weeks.
What made this case urgent: Before the original prescription came to us, she had been fitted with a chairside provisional bridge at another location. That provisional had problems from the start:
- A visible gap had opened between the front teeth. She noticed it immediately when she got home and looked in a mirror. The gap was obvious — wider than the small natural spacing she’d had before the procedure. It trapped food and showed when she smiled.
- The bite felt wrong. She could tell that the temporary teeth were hitting too early on the opposing arch. Every time she closed her mouth, the provisional made contact before her other teeth did. It felt “a lot different” from the other side, and it made eating uncomfortable.
- The provisional had been fabricated in a hurry. She later learned that the assistant who made it had struggled with the fit and, after multiple adjustments, had rushed to finish. The patient had spent nearly two hours in the chair that day and left without checking the result in a mirror.
She called the practice twice to report the issues. No one called back. By the time she was scheduled for the definitive bridge preparation, her trust in that provider was gone. She went to a different practice — the one that sent the case to us.
What the dentist asked us to fabricate
The new prescribing dentist was explicit about what had gone wrong the first time, and what the replacement provisional needed to deliver:
| Requirement | Specification |
| Prosthesis type | Three-unit provisional bridge, teeth-supported, maxillary anterior |
| 연락처 | Closed — no visible gaps between units or at adjacent teeth |
| Occlusion | Light contact only; no heavy hits that would cause the provisional to seat prematurely |
| 여백 | Clean, well-adapted, no overhangs at the preparation finish line |
| 그늘 | Matched to the pre-operative photographs and the adjacent natural teeth |
| 재료 | Milled PMMA (the dentist requested a milled prosthesis rather than a chairside-formed one) |
| Delivery | Coordinated with the patient’s cementation appointment; no delays |
The prescription also included a note: “Patient has had a poor experience with a previous provisional. Needs to see and approve the interim before we move forward with the definitive case.”
CAD/CAM Fabrication of a PMMA Temporary Bridge
Step 1: Case intake and records check
We received a digital intraoral scan of the prepared teeth, a bite registration, pre-operative photographs, and the shade reference. Every item was cross-checked against the prescription before production was scheduled.
Step 2: Design
Using the scan data, we designed the provisional bridge in CAD. The design focused on three control points the prescription had flagged:
- Proximal contacts: The contact points between the three units, and between the bridge and the adjacent natural teeth, were designed to be closed — tight enough to prevent food impaction and eliminate visible gaps, but not so tight that they would make seating difficult.
- Occlusal surface: We kept the provisional out of heavy occlusal contact. The opposing arch scan showed where the natural teeth made contact in centric and lateral excursions. We designed the provisional to touch lightly in centric, and to clear entirely in excursive movements. This design prevents the provisional from being dislodged by functional loading.
- Marginal fit: The margin line was traced from the scan data and the prosthesis was designed to follow the preparation finish line without gaps or overhangs.
Step 3: Milling and finishing
The provisional was milled from a pre-polymerized PMMA block. (We use milled PMMA rather than printed resin for anterior provisionals because milled PMMA starts as a fully cured material — no polymerization shrinkage, no voids, and better long-term color stability. Published studies report flexural strength values for milled PMMA in the range of 69–82 MPa under laboratory conditions, which exceeds the performance of chairside bis-acrylic composites in controlled comparisons.)
After milling, the prosthesis was finished and polished. We verified the shade under both daylight and operatory lighting conditions against the reference the dentist had provided.
Step 4: Quality checkpoint
Before shipment, we ran an internal checkpoint:
- Margin inspection under magnification (no visible gaps or overhangs)
- Occlusal contact verification against the antagonist model (light contact in centric, clearance in excursion)
- Proximal contact check (closed contacts with appropriate resistance)
Try-in and patient feedback
The dentist seated the provisional at the scheduled appointment. This time, before cementing, the patient was given a hand mirror and asked to look at the result from multiple angles.
What the patient said:
- “The teeth look natural. I can’t see any gaps this time.”
- “The bite feels normal — it’s not hitting early like the other one was.”
- “This is what I expected the first time.”
The dentist checked the occlusion with articulating paper and confirmed that the provisional was making light contact in centric and clearing in lateral excursion. No adjustments were needed. The provisional was cemented, and the patient was scheduled to return in two weeks for the definitive bridge.
Dentist’s feedback (post-delivery communication):
The referring dentist sent a follow-up note after the definitive bridge was delivered:
“Patient presented for the definitive appointment with no issues. The provisional stayed seated and maintained its shade for the full two weeks. No reported discomfort and no adjustment appointments. The case proceeded as planned.”
The dentist added: “The difference this made in the patient’s willingness to proceed — both with the interim and the definitive — was significant. Thank you for the attention to the details we flagged.”
Temporary Bridge for Front Teeth: Key Case Findings
The interim prosthesis is not a placeholder. For the patient, the two weeks she spent wearing the provisional were two weeks of talking, eating, and being seen. A poorly fitted provisional does not just feel uncomfortable — it erodes trust. When the provisional works as intended, the patient moves into the definitive phase without hesitation rather than apprehension.
The fabrication standard for a provisional is the same as for any other prescribed prosthesis. Contacts, occlusion, and margins are all decided at the design and fabrication stage. When those are controlled up front, the provisional seats predictably and requires minimal adjustment at delivery.
What you send determines what we deliver. This case worked because the records were complete and accurate: a clean scan with clear margin definition, an accurate bite registration, and a shade reference. When the inputs are clean, we can fabricate a provisional that seats the first time and performs as prescribed.
Order a Temporary Bridge for Front Teeth from ASD Dental Lab
If you are planning a case that requires an interim prosthesis — especially in the anterior region, where appearance and function both matter from day one — we can help.
Our process:
- Send the prescription and records — digital scan (or impression), bite registration, shade reference, and any specific instructions (contact preferences, characterization requests, delivery timing).
- We design and fabricate per your Rx — milled PMMA provisionals for multi-unit anterior cases are typically delivered within our standard turnaround time upon receiving the case.
- You receive the prosthesis with full documentation — material lot traceability, certificates of conformity, and (when requested) regulatory documentation including ISO 13485 quality management records, FDA establishment listing confirmation, and CE/MHRA listing.
- Communication in English — case correspondence, technical questions, and documentation requests are handled in English by our team. Turnaround on inquiries is typically within one business day.
Questions or ready to submit a case?
Reach out. We are here to support your practice with provisionals that seat predictably, perform as prescribed, and help your patients proceed through the interim period without disruption.
최첨단 기술로 더 빠른 처리 시간을 경험하세요.
추천