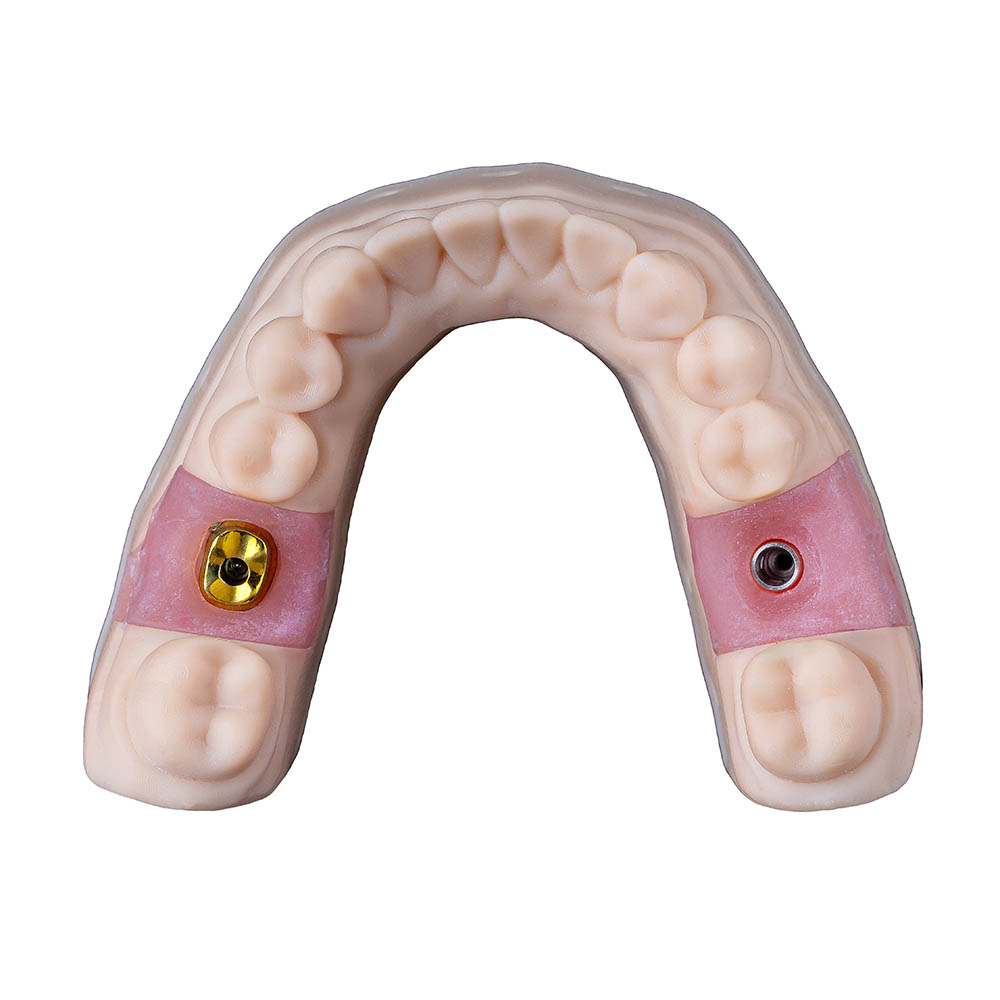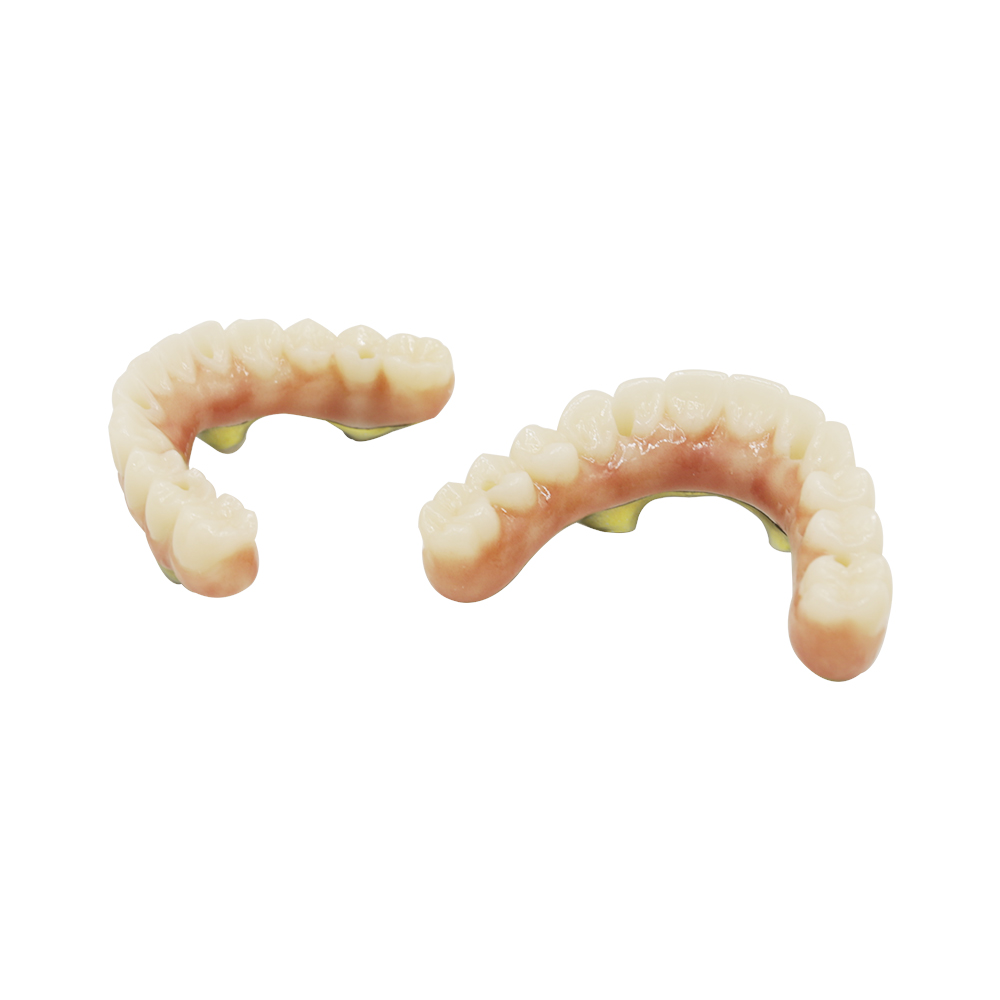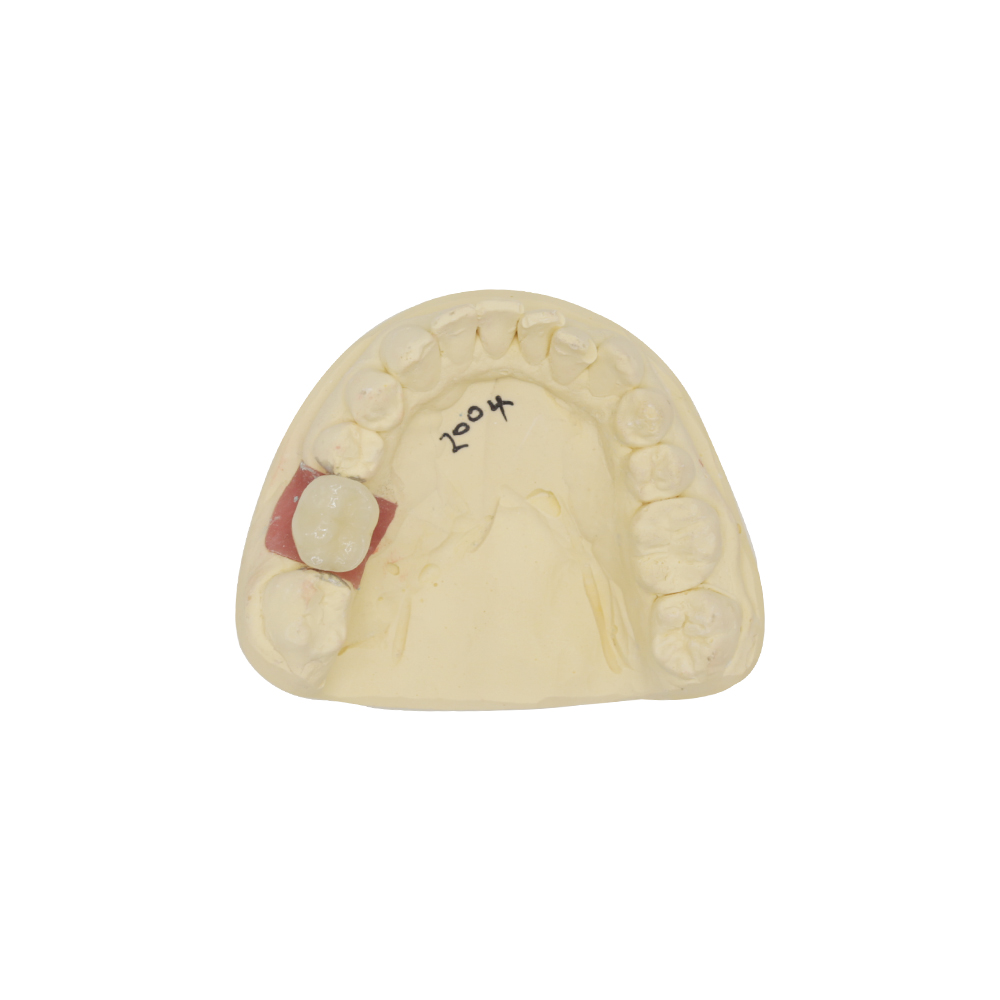
Case Study — A Single-Unit Premolar Implant Crown at a Maxillary First Premolar
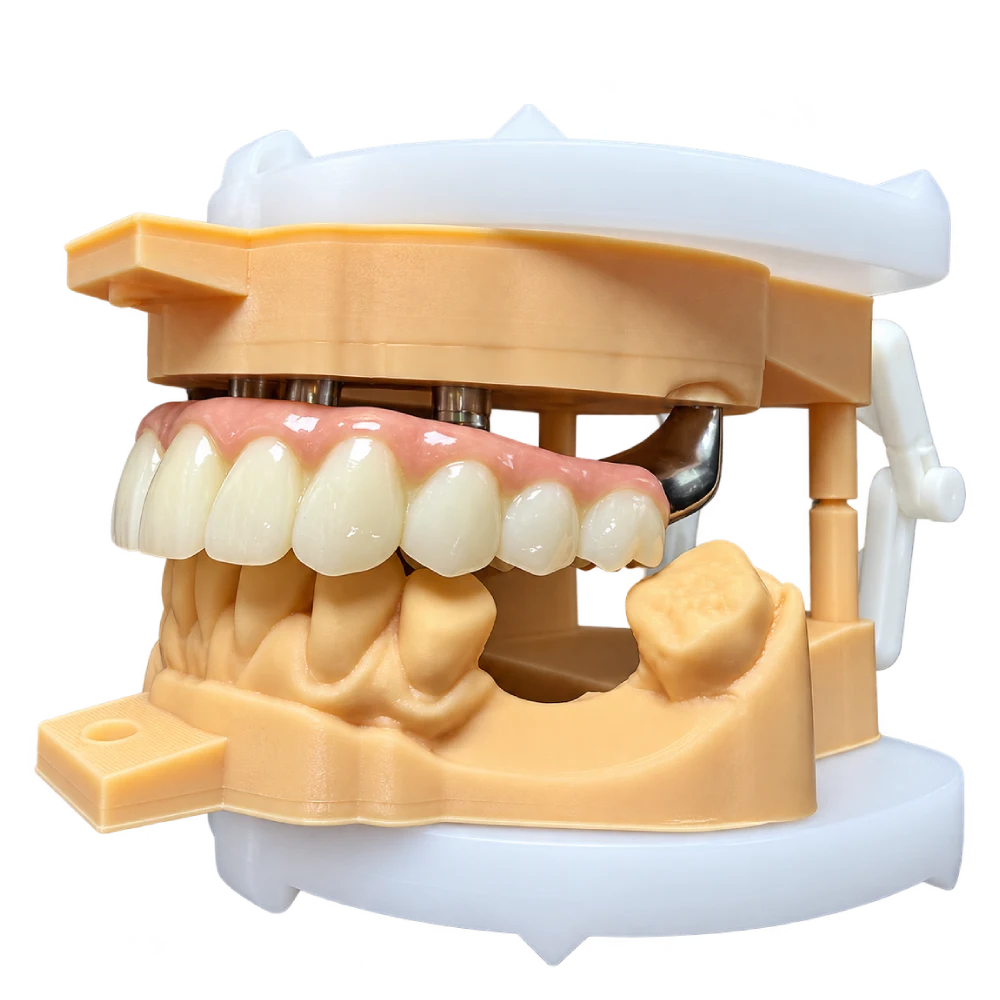
At a glance
| Item | This case |
| Restoration | Single-unit premolar implant crown — custom abutment + crown |
| Site | Maxillary first premolar |
| 리텐션 | Screw-retained preferred; custom abutment with a cemented crown as the fallback if angulation precluded screw access |
| Crown material | Monolithic zirconia (posterior functional load) |
| Approval route | Written design approval before production begins |
| Quality gates | 3 — built into the production flow, not added at the end |
| Traceability | Per case: operator, equipment, material brand / batch / origin, and QC records |
| Production | Completed in-house, start to finish, at our Shenzhen and Huizhou facilities |
| 턴어라운드 | Approximately 5–7 working days from case receipt (complex implant case) |
1. Patient background and the decision that followed
1.1. The patient
A patient in their mid-40s came in with discomfort and a loose feeling at the upper right first premolar. That tooth had been root canal work some years earlier and had been comfortable in the meantime. Over the past few months the sensitivity had come back, and biting on that side had become something the patient started avoiding.
By the time the patient was examined, the tooth had fractured below the gum line and radiographs showed pathology at the root tip. It was assessed as non-restorable. The two teeth next to it were intact and unfilled.
The patient’s first concern was function — being able to chew on that side again. The second was not wanting to touch the neighbouring teeth: the patient had watched a relative lose sound teeth to a bridge and did not want that for themselves. Cost came into the conversation but was not the deciding factor. What the patient asked for was something that would stay in place and feel like a tooth rather than a piece of hardware.
The plan was explained and the timeline understood before the patient agreed to it: remove the failing tooth, graft the site, let the bone settle, then place an implant and restore it with a single-unit crown. That is several months from the first step to the final crown, not one appointment. The patient asked how long the lab stage would take and was told 5–7 working days from the day the case reaches us.
1.2. What happened before the crown was made
The tooth was removed and the site was grafted. After the graft had settled, the implant was placed. A provisional crown was then shaped over the implant and left in place for several weeks so the gum could adapt to it. That provisional did a practical job too: it gave us the exact gum-line contour the final crown had to copy, and it let the patient test the tooth in real eating before anything was sent to the lab.
Once the patient was satisfied with how the provisional felt and looked, the scan was taken and our case started.
1.3. Why an implant and not a bridge
The two adjacent teeth were intact. A three-unit fixed bridge would have required reducing both of them. A single-unit premolar implant restoration restored the space without preparing the neighbouring teeth — which is why the referring dentist selected an implant-supported restoration rather than a bridge.
2. Challenges in Premolar Implant Restoration
| # | Clinical reality | What it changed for the restoration |
| 1 | The buccal plate was thin and the ridge required grafting | The crown could not follow the original tooth contour; it had to be designed to a grafted, conditioned ridge |
| 2 | Narrow buccolingual bone but a wide mesiodistal space | Implant diameter was constrained — the design had to respect the buccal bone threshold rather than simply match the width of the missing tooth |
| 3 | The implant sat off-axis (buccal inclination) | Screw access was not guaranteed; a custom abutment was potentially required to correct the angulation while preserving the emergence profile |
| 4 | A staged sequence was unavoidable | Fabrication could not begin until grafting and 골관절 통합 were confirmed and the soft-tissue contour had matured |
The maxillary first premolar implant site is anatomically demanding. CBCT studies show that immediate implant placement at the maxillary first premolar carries a high risk of buccal plate perforation — up to 84% when the implant is placed in a restoration-driven position — because the natural root is often angled and the buccal plate is thin. In this case the staged approach and bone grafting reduced that risk.
What made the lab stage harder than a normal crown was less about the material and more about the geometry. A standard premolar crown is shaped to the tooth. A premolar implant crown has to be shaped to a gum line someone else created, on a ridge that was grafted, around an implant that may not be pointing where the tooth used to point.
3. What the referring dentist specified
Every implant field on the prescription was completed:
- Restoration type — single-unit implant crown (specified as an implant restoration, not “a crown”).
- 리텐션 — screw-retained preferred; if angulation precluded screw access, a custom abutment with a cemented crown.
- 어버트먼트 — custom, if the angulation could not be corrected otherwise.
- 재료 — monolithic zirconia, selected for the functional load at a posterior site; shade matched to the adjacent premolar. Clinical data show that zirconia crowns deliver the highest fracture strength in the premolar region (mean breaking force exceeding 1500 N in laboratory testing), making them well suited to functional posterior sites.
- Emergence profile — reproduce the conditioned emergence profile captured by the provisional.
- Occlusion — verify centric stops; no excursive interference.
- Proximal contacts — precise, with no open contact.
- Implant identification — system, platform, connection and diameter confirmed from the implant packaging label / scan body.
- Documentation — material brand, batch and origin supplied with the case.
4. What we received
- Intraoral scan with the scan body fully seated and verified
- Opposing arch in occlusion
- Bite registration
- Implant system identification (packaging label / scan body)
- Shade reference
- A provisional contour scan of the conditioned emergence profile
5. Premolar Implant Crown Design and Manufacturing
Every case runs through the same seven steps. Quality control is not a separate department at the end — the three gates sit inside the flow, so the case cannot move forward on an unchecked assumption.
Step 1 — Case review on arrival · Gate 1 The file is opened the day it arrives. We confirm the implant system, platform and connection against our scan-body library before anything is designed. Missing or ambiguous data stops the case here; we ask rather than assume. Gate 1 passes only when the data is complete and the library match is exact.
Step 2 — Digital design Crown and abutment are designed against the provisional contour, not against an average tooth shape. Angulation is measured to decide screw-retained versus custom-abutment-cemented, and the emergence is drawn to match the gum line the provisional created. The design follows evidence-based guidelines for single-unit implant restorations, which call for passive fit at the implant interface, controlled emergence angle to reduce peri-implant soft-tissue stress, and occlusal design that avoids excessive loading.
Step 3 — Written approval The design goes to the referring dentist. Nothing is milled before that approval comes back in writing. On implant cases this step is never skipped, because a crown that seats wrongly cannot be corrected at the chair — only remade.
Step 4 — Production Milling, sintering and any abutment finishing happen in our own facility. The case number stays with the case from Step 1 through to packing, so the material and the machine that produced it remain traceable.
Step 5 — In-process inspection · Gate 2 Each stage is inspected before the case moves on: framework before it is contoured, contour against the provisional, margins on the model. Anything that fails here goes back inside the flow rather than forward.
Step 6 — Final inspection on the analog · Gate 3, independent QC A QC technician who did not make the restoration signs the case off. On a premolar implant restoration this check carries more than it does on a normal crown:
- the seating face is pressed onto the implant analog and must sit passively, with no rock and no visible gap;
- the screw channel is measured for angle and diameter against the implant being used;
- the screw is run in and out and torqued to the manufacturer’s figure — no binding, no thread catching;
- every component is confirmed to belong to the same implant system;
- occlusion is checked in centric and in excursive movements;
- margins, proximal contacts and the emergence profile are checked against the provisional contour.
A case is only allowed past Gate 3 when all of that holds. If it does not, it is reworked here — the dentist is not asked to receive something that has not cleared our own bench.
Step 7 — Documentation, packing, dispatch Traceability records travel with the case: material brand, batch, origin, operator, equipment, and the QC result at each gate. Screws and small parts are packed separately in a labelled bag and checked twice against the work order. The crown is foam-protected, and a tracking number is issued the same day.
6. How it turned out — delivery and feedback
Patient and dentist comments below are paraphrased and de-identified. No names, dates or identifying details are shown.
6.1. At the delivery appointment
The dentist removed the provisional, cleaned the implant and tried the restoration in.
What the dentist found on fitting
- The crown seated passively on the first try — no rocking, no forcing, no gap at the seating face.
- The screw channel lined up with the access hole as designed; the screw went in straight and torqued to specification without binding.
- Occlusion was checked in centric and in all excursive movements. No high spots, no interference.
- Proximal contacts were checked with floss on both sides: firm resistance passing through, no open contact.
- The emergence profile matched the contour the provisional had created, and the gum sat where it had during the provisional phase.
Nothing needed adjusting. The dentist commented that it was an uneventful seating — the kind where the crown goes in, the contacts hold, the occlusion is clear, and the appointment takes minutes rather than an hour. From the lab side, that is the outcome a premolar implant case is supposed to produce: a restoration that arrives ready to be seated, not one that arrives with a list of things to fix.
6.2. What the patient said
The patient’s own reaction at the delivery appointment:
“It doesn’t feel like a new tooth. It just feels like my tooth.”
They said the first thing they noticed was that nothing was catching food and nothing hurt when they closed. They had been chewing carefully on that side for months without realising how much they had stopped using the other side — and now they did not have to think about it. They said the tooth felt solid, not slightly moveable, and that they had to be reminded it was the one that had been the problem.
On appearance, they said they could not find it by running their tongue along their teeth. They also mentioned that the gum line looked the same as it had before the implant work, which had surprised them — they had expected a visible change and there wasn’t one.
6.3. Two-week recall
At the two-week check the patient reported:
- no sensitivity to cold or hot on that tooth;
- no looseness, and no clicking or movement when chewing;
- no discomfort in the gum, and no bleeding when they brushed;
- they had stopped being careful with that side and were eating normally.
The dentist’s findings at the same visit: the crown stayed firmly seated, the gum around it looked normal with no redness or swelling, the emergence profile still matched the scan taken at delivery, and the occlusion was unchanged.
6.4. One-month recall
At the one-month check the patient said the tooth had settled into daily life — they had stopped tracking it. No sensitivity, no looseness, no food catching, no awareness of it. The dentist recorded stable margins, soft tissue that looked normal, and contacts and occlusion still as delivered.
The dentist’s summary, unprompted:
“The tissue response is what I want to see at this stage. The emergence matches the provisional, the contacts are still correct, and there is nothing for me to adjust. This is a case where the lab’s pre-delivery checks did the work — I did not have to chase a fit adjustment.”
6.5. Why we include this section
A crown is judged on two different things: whether it fits, and whether the patient stops thinking about it. Both are recorded here — the dentist’s technical findings and the patient’s own account. Neither replaces the other, and neither is reported with exaggeration. The technical half of a premolar implant case is settled on our bench; the other half is only settled in the patient’s mouth, weeks later.
7. Zirconia Crown Materials and Traceability
- Crown — monolithic zirconia.
- 어버트먼트 — custom abutment with a titanium base where indicated.
- Traceability — every case is bound to a unique case number and records the operating technician, the equipment used, the raw-material batch, and the QC result at each gate.
- On request — material brand, origin, batch number and conformity / material certificates can be supplied with the case.
- Customer-specified materials — where a specified brand is available, the case can be produced to that specification.
8. Regulatory status and documentation
We hold the following registrations and certifications, and provide documentation in English:
- ISO 13485 — quality management system for medical devices.
- FDA — establishment registration and device listing for custom dental restorations, including custom implant abutments. (Registration and listing — not FDA approval.)
- EU — custom-device notification under MDR Annex XIII.
- MHRA — registration.
Custom dental restorations are presented as registrations and notifications, not as approvals or certifications. Registration numbers are available on request.
9. Turnaround
- Routine crown and bridge — approximately 2–3 working days.
- Complex implant and full-mouth cases — approximately 5–7 working days.
- Turnaround is measured in working days from the day the case is received.
- Time spent waiting for design approval, missing data or a customer reply is not counted in the quoted turnaround; it restarts from complete data or customer confirmation.
- Weekends and Chinese public holidays are not counted.
- Rush handling is available.
10. Rework and after-sales
Where a defect is on the laboratory side, the case is corrected or remade — including margin voids, open contacts, high occlusion, a crown that does not seat, incorrect shade, or a visible esthetic or morphological defect. Rework is expedited (typically 3–5 working days). Rework is not offered where the change is initiated by the customer, for example a changed shade or material.
11. Packaging and dispatch
- 임플란트 screws and small components are packed separately in a labelled bag and double-checked against the work order.
- Crowns are protected in a foam-lined box.
- A tracking number is issued on the day of dispatch.
- Packaging carries no branding by default, so a case can be delivered under the customer’s own label.