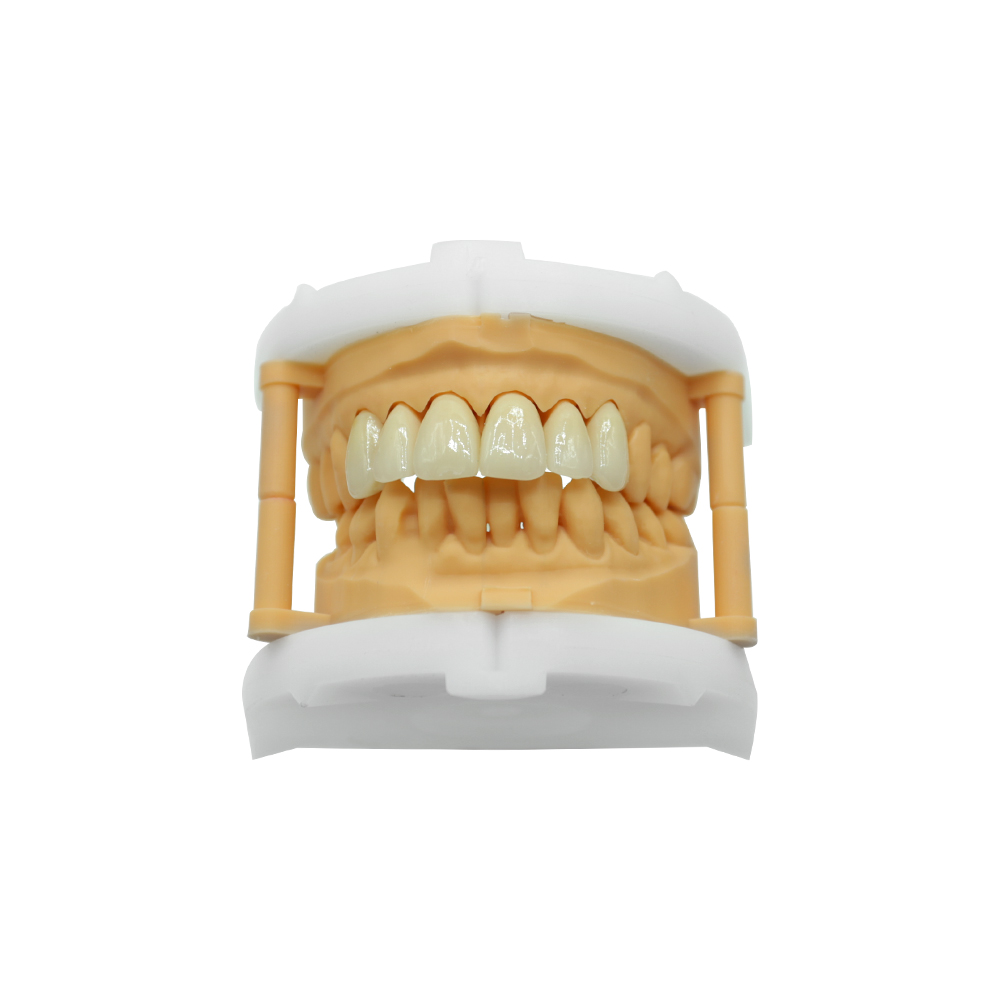
Valplast Single Tooth Denture Case: Maxillary First Premolar Before an Implant


A single maxillary premolar, lost and awaiting an implant, restored with a unilateral flexible partial that had to stay invisible in a broad smile line. Below are the clinical constraints that shaped it, the requirements the dentist wrote on the case sheet, the workshop steps with the judgement behind each one, and what happened at the appointment.
Case at a glance
| Missing tooth | Maxillary first premolar, single tooth, FDI 24 |
| Nature of the restoration | Interim, pending implant placement after osseointegration |
| Design | Unilateral flexible partial, gingiva-coloured clasps, no palatal coverage, connector short of the midline |
| 리텐션 | Tissue-borne, clasp-arm retention, no rigid framework |
| Tooth retention | Mechanical features cut into the denture tooth, no chemical bond |
| 인상 | VPS, taken at the clinic, shipped |
| Bite registration | Wax rim, sent with the opposing cast |
| 그늘 | Tooth shade plus gingival shade, mid-light pink range, intraoral photo supplied |
| Wax stage | Wax-up submitted to the dentist and approved before injection |
| Dispatch | Cleaned and disinfected, packed wet, adjustment instructions and care card supplied |
Clinical constraints
Four conditions decided the design. Each one rules something out.
The site is in the smile line. The patient has a broad smile, and the maxillary premolar region is exposed in a natural smile rather than only in a full grin. Anything metallic or any shade mismatch in that zone is visible to the person they sit across from, which is why an acrylic flipper had already been refused on appearance before this case arrived.
The patient cannot tolerate a palate. An earlier removable appliance covered the palate and was not worn. A full-width design would have reproduced that, so the replacement had to be unilateral, short of the midline, and open to the palate.
The appliance has to stay in during meals. The patient eats with it in. That rules out an Essix-type retainer, which comes out to eat, and it also means the saddle and the denture tooth have to hold up under load rather than being a short-term cosmetic piece.
The implant is already planned for that site. A fixed bridge would have required preparing two sound teeth, which both removes tissue that an implant plan may need and cannot be undone. An interim appliance keeps the site intact until the implant is ready.
The mouth itself supported a removable partial. Neighbouring teeth were solid, the gingiva was healthy, there was no active periodontal disease, and the patient could remove and clean an appliance independently.
Why a flexible partial, and what that choice commits you to
Once metal in the smile zone, palatal coverage, preparation of adjacent teeth and removal during meals are all excluded, the remaining option is a unilateral flexible partial. That is not simply a softer version of a conventional partial denture — it changes what the design has to do.
Retention comes from clasp arms flexing over undercuts rather than from a rigid framework crossing the arch. That has two consequences worth stating before the case starts. Load is carried mainly by mucosa rather than by abutment teeth, so the ridge and soft tissue have to be able to take it. And the arms sit in or near the gingival margin to pick up undercuts, so insertion path and margin pressure become design variables in a way they are not on a cast framework.
The mechanics are documented in the Valplast clinical techniques guidance, and the material’s behaviour under load is measured against acrylic denture bases in comparisons of polyamide versus PMMA. A third consequence is repairability: this material is not relined the way an acrylic denture is, which shapes what happens years into a wearer’s mouth.
The patient was told before production started that this is an interim appliance with a finite life, and that it would be withdrawn once the implant crown was placed.
What the dentist specified, and why, and where it was checked
The dentist put these on the case sheet rather than relaying them by phone, so each one could be verified against a specific point in production.
| Requirement from the dentist | Reason given | Verified at |
| Gingiva-coloured clasps, arms sitting near the gingival margin rather than mid-tooth | Premolar region visible in a natural smile | Cast verification and fit check |
| No metal component anywhere in the restoration | Premolar region visible in a natural smile | Inspected before dispatch |
| Unilateral design, no palatal coverage, connector not crossing the midline | Patient could not tolerate a palatal-covering appliance | Design approval before injection |
| Buccal undercuts blocked out, base must not cut into buccal tissue on seating | A small unilateral appliance can drag on soft tissue on insertion | Cast verification |
| Base thickness even, machined to dimension, not thickened | A thick base turns rigid and seats poorly, and can cut the margin | Finishing stage |
| Short impression border, reviewed before production | Over-extended borders are a common cause of poor seating | Intake review |
| Interim design standard, not the strength standard of a definitive restoration | To be replaced by an implant crown | Design approval |
| Maxillary impression, opposing cast and bite registration supplied | Uncertain occlusion allows a mechanically retained denture tooth to shift | Model check before wax-up |
| Tooth shade and gingival shade supplied, with an intraoral photo | Shade mismatch in this zone is the most common cause of remakes | Shade check before finishing |
| Adjustment instructions and a care card supplied with the case | The patient handles it daily, including cleaning agents | Dispatch check |
Two items are worth pulling out of that table because they change the case rather than just satisfy it.
The dentist specified an interim design standard, which is a different instruction from the same restoration built to last. It changes how much retention area is built in, how the denture tooth is retained, and how much is left unbuilt so the piece can be removed cleanly when the implant is ready. It also means the piece was not built to absorb the load of a definitive restoration, and it should not be judged as one.
The dentist also accepted a short impression border at our request rather than sending a conventional one, after a discussion about how border length affects seating. A border that runs long takes a soft-tissue area into the fit that the appliance cannot seat against, and the discrepancy shows up as rocking or tissue soreness rather than as a visible defect.
Workshop steps, with the judgement behind each
- Intake review. Tooth number and arch confirmed against the case sheet; design intent confirmed as interim. The impression was checked for defects and the border length reviewed before any other work, because an over-extended border cannot be corrected later without remaking.
- Cast and measurement. Cast poured, then interdental space and occlusal clearance measured. The clearance figure decides whether a denture tooth can be mechanically retained at all — with too little room the tooth has nothing to be cut into and will move.
- Path of insertion and undercuts. Insertion path set and usable undercuts marked. Buccal undercuts were blocked out and relieved so the small appliance cannot drag on tissue during insertion. Deep, narrow undercuts were not chased, because they raise insertion force and pressure at the gingival margin.
- Copy and wax-up. The cast was copied so the master model stayed intact for fit checking. Base and clasp-arm form established in wax, arms positioned at the level specified rather than where they happened to be convenient.
- Tooth selection and retention. Tooth chosen and set. Retention features were cut into the denture tooth itself — mechanical retention rather than chemical bonding, which is the documented requirement for this material.
- Wax confirmation. The wax form went back to the dentist for approval before injection. In a visible zone, tooth position and gingival line confirmed on the model are cheaper than a remake after processing.
- Injection. Invested, sprued, boiled out, injected under pressure.
- Finishing. Demoulded, finished and polished with dedicated instruments. Base thickness was kept even and checked against the master cast, since thickness varies most where the base was thinnest to clear the occlusion.
- Fit verification. Returned to the master cast to check seating, clasp-arm position and opposing contact, signed off point by point.
- Dispatch. Cleaned and disinfected, packed wet, shipped with adjustment instructions and a care card.
Result
The dentist placed the appliance after five minutes in warm water. It seated on the first attempt. One margin point needed a single light polish. No pressure sore was reported at the follow-up appointment.
The patient wore it for the whole of the implant waiting period and removed it when the crown was placed. It was built and used as an interim restoration, and that is the only claim the outcome supports.
Where this design stops working
The case succeeded because the ridge, soft tissue, neighbouring teeth and patient handling were all suitable. Each of those is a reason a different design gets chosen instead.
- Deep overbite. A base that interferes with occlusion gets thinned or the design changes. The thresholds used in the source clinical material put a full flexible approach below 4 mm and a hybrid approach below 6 mm.
- Resorbed ridge, knife-edge ridge or thin mucosa. The base has less tissue to spread load across, and mucosa that thin is easier to damage.
- Long free-end spans and heavy occlusal load. These need more support than a small unilateral flexible appliance provides. A cast framework carrying a flexible saddle is the alternative when the dentist wants that support.
- Deep, narrow undercuts. Not automatically better. They increase insertion force, pressure at the gingival margin and clasp fatigue.
- Patients who cannot remove and clean the appliance themselves. A different handling plan is needed before this design is prescribed.
- Small enough to be swallowed. A unilateral appliance can dislodge, and if it is small enough to pass entirely, coverage and retention need to be increased and the patient warned. There is a published clinical report of a swallowed removable partial denture that records the risk.
For a maxillary anterior interim restoration, follow-up matters more than for a posterior one. A published report has associated a temporary flexible restoration at a single anterior site with recession at the labial surface of an adjacent tooth. That is a reason to review clasp contact pressure and insertion path whenever the gingival margin changes — it is not a reason to make a blanket claim about anterior cases.
Repair, and where the line sits
Three different problems get three different answers, and confusing them is what turns a repair into a remake.
| What has gone wrong | Route |
| A clasp arm has broken, the rest still fits | Repaired with matching material |
| The saddle or tooth-bearing area is damaged, fit otherwise intact | Repaired by injection |
| Fit has changed across the whole appliance | A new base, not a reline |
| A different tooth position or shade is wanted | New work, not a repair |
A routine chairside acrylic reline is not a repair for this material. Knowing which column a problem falls into before answering a patient is what avoids an expectation that cannot be met.
What this result does and does not establish
The appointment went as described and the appliance did its job for as long as it was intended to. That is a statement about one interim case. It does not set a service life for a definitive restoration, and it does not support quoting a general figure for how long these last.
The evidence base for non-metal clasp dentures is limited. Reviews of non-metal clasp denture evidence 그리고 polyamide versus PMMA denture materials both support keeping the design conditions and the limits visible rather than putting a single number in front of a dentist.