Full Veneers Case Study: When Orthodontics Wasn’t an Option


🕢 [ ¡Rellene el formulario y le responderemos en 30 minutos! ]
The Challenge: An Adult with Limited Treatment Windows
What brought them to consider full veneers?
The patient had front teeth concerns — spacing, mild rotation, and uneven wear that made the smile feel “off.” They’d been told by one dentist that orthodontics would take 18–24 months. Problem: they didn’t have 18 months. Work involved client-facing responsibilities where appearance mattered, and wearing aligners for two years wasn’t realistic.
Another clinic suggested crowns. But that meant cutting down healthy teeth just to fix cosmetic issues. The patient wasn’t comfortable with that trade-off.
A third option was composite bonding. Quick, yes. But they’d had bonding before — it chipped within a year and the color never matched quite right.
So they landed on porcelain veneers. The question wasn’t “whether” anymore. It was “how do we do this right?”
Why Full Teeth Veneers Made Sense Here
Let’s rule out what didn’t work.
Orthodontics (braces or aligners)?
Too slow. Moving teeth takes time the patient didn’t have. Plus, the wear patterns wouldn’t get fixed by moving the teeth — you’d still need restorative work after.
Crowns?
You’d be removing healthy enamel for no medical reason. Research shows that enamel preservation matters — porcelain bonds more reliably to enamel than to dentin. If the tooth structure is sound, cutting it down to a nub isn’t the right call.
Composite bonding?
Composites wear faster and stain easier than porcelain. The patient’s history with bonding failure ruled this out.
That left veneers. Not because veneers are “better” in the abstract — they’re not always the right answer. But for this specific situation — adult patient, healthy teeth, visible-zone corrections, limited time — veneers fit.
What the Clinician Required from the Lab
Here’s where it stops being a patient story and starts being a lab conversation.
Obstacle #1: One unit was a crown, and the interim material was composite.
Veneers bonded to existing composite have materially different reported outcomes from veneers bonded to enamel — 94% survival / 70% success versus 99% / 99% in the pooled analysis.
The clinician’s requirement to the lab: flag which units are bonding to composite. The try-in protocol would need extra attention there — checking fit, verifying the prep hadn’t dislodged old material, and making sure the patient understood that one unit might not last as long as the others.
Obstacle #2: Mild bruxism history.
The patient had been told by a prior dentist they “grind at night.” No formal sleep study, but the wear facets suggested it wasn’t zero.
A clinical case study noted fracture occurred in 1% of veneers among bruxism patients who properly used a splint, versus 9% among those who didn’t. That’s not a guarantee — it’s what happened in one pooled dataset. But the direction is clear.
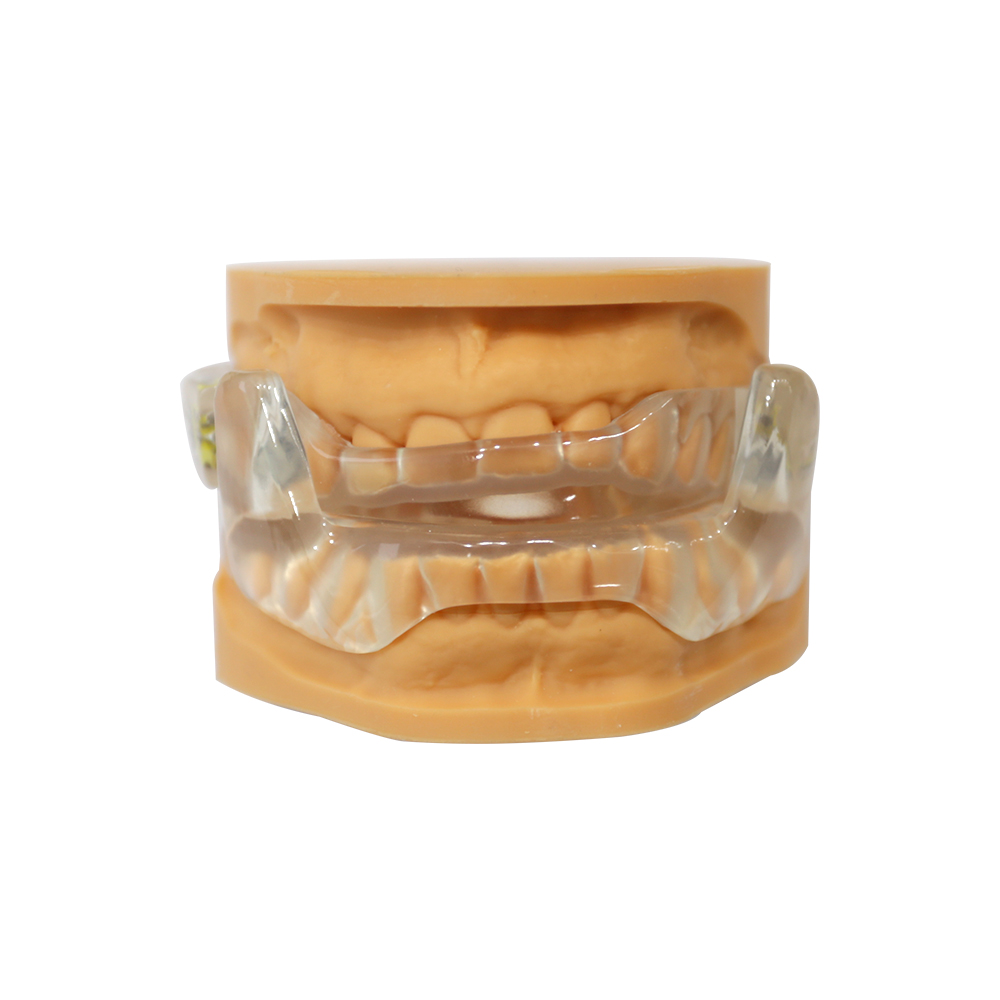
The clinician’s requirement: the final delivery had to include a hard occlusal guard, fabricated by the lab, delivered same day as the veneers. Not optional. Not “we’ll make one later if there’s a problem.” Day one.
Obstacle #3: Shade matching across units with different substrates.
Three units had old composite underneath. Two had discolored enamel. The rest were relatively clean. If you use the same veneer shade on all of them, the final result won’t match — the underlying color bleeds through, especially with thinner ceramics.
The clinician’s requirement: try-in paste simulation before bonding. The lab sent multiple shade options. The try-in happened with the patient in the chair, using try-in pastes to preview how each veneer would look once cemented. Only after the patient approved the set — fit, shape, length, shade, phonetics — did they proceed to bonding.
Obstacle #4: The case had no digital smile design on record.
The referring practice didn’t do DSD. They had intraoral scans and photos, but no wax-up, no mock-up.
The clinician’s requirement: the lab had to design from clinical notes and reference photos alone. That meant back-and-forth: the lab proposed a design, the clinician reviewed it digitally, requested adjustments, and only then did milling start.
How We Built These Veneers
Materiales: Lithium disilicate for the anterior units. It’s strong enough for typical function, translucent enough to blend, and etchable for reliable bonding. We didn’t use zirconia here — the patient wanted a natural look, and zirconia’s opacity would have required more opaque ceramics to mask the substrate.
Fabrication workflow:
- Design phase — CAD technician modeled the veneers from the IOS data and clinical photos. Two rounds of revisions with the clinician before approval.
- Milling — pressed lithium disilicate blanks, milled to the approved contours.
- Characterization — stain and glaze application to match the natural tooth gradient. The units over composite substrates got an extra opaque layer to prevent show-through.
- Try-in set — we sent the un-glazed veneers first, along with multiple try-in paste shades. Clinician called after try-in: patient approved everything except one central was slightly long. We trimmed 0.3mm, re-contoured, re-glazed, re-sent. Two-day turnaround.
- Final delivery — veneers + occlusal guard, shipped together.
Controles de calidad:
Every veneer went through our inspection protocol: margins under magnification, internal fit on the 3D-printed die, no voids or inclusions in the ceramic, shade verified against the approved reference. If a unit didn’t pass, it didn’t leave the building.
Timeline:
From case received to final delivery: 12 business days. That includes the revision round.
What Happened Next — and What We Can’t Say
The outcome we know:
The veneers seated. The clinician reported good marginal adaptation and the patient was happy with the appearance at delivery.
The outcome we don’t know:
Has one of them chipped? Debonded? Been replaced? We don’t have follow-up data from this case.
That’s not evasion — it’s honesty. Full-mouth veneer cases don’t have standardized follow-up protocols across labs and practices. Some clinicians document every recall; others don’t. We know what left our lab. We don’t know what happened two years later.
If you’re a clinician considering a similar case, here’s what we’d want you to track:
- Exact tooth numbers treated
- Material used
- Any repairs, replacements, or adjustments made
- Follow-up duration
What This Case Required from You (the Ordering Clinician)
This wasn’t a “send us a scan and we’ll figure it out” case. It worked because the clinician gave us:
✅ Accurate tooth numbers and arch specification (8 upper anterior units)
✅ Substrate documentation (which teeth had composite, which didn’t)
✅ Clinical photos (smile, retracted, shade references)
✅ Bruxism history (so we knew to fabricate the guard)
✅ Margin design preference (chamfer, 0.5mm subgingival)
✅ Feedback loop (approved design revisions, called after try-in with adjustment requests)
When to Send Us a Full Veneers Case
- You have complete digital records (IOS or high-quality impressions, photos, shade refs)
- The patient’s prep is primarily in enamel (bonding to enamel performs better than bonding to dentin)
- You need predictable turnaround (our standard is 10–14 business days; rush cases can be discussed)
- You want try-in sets before final glazing (we build this into the workflow)
- You need an occlusal guard fabricated in parallel
Turnaround, Revisions, and What Happens When Something Isn’t Right
Standard turnaround: 10–14 business days from case received to final shipment. This assumes:
- Clean digital files (no corrupted scans, no missing units)
- Complete clinical instructions (tooth numbers, shade, margin design)
- No major design revisions after initial approval
Rush cases: We can accommodate 7-day turnaround for an additional fee. Contact us before sending the case — rush slots are limited and we can’t guarantee availability during peak months.
Design revisions: First round is included. If you review the digital design and request changes (adjust contours, modify incisal length, etc.), we’ll revise and re-send for approval. No charge.
Physical revisions after try-in: If the veneers don’t fit or the shade is off at try-in, we’ll remake. Two scenarios:
- Lab error (wrong shade sent, margin gaps, ceramic defect) — full remake at no charge, priority turnaround
- Clinical change (prep was adjusted, patient changed their mind on shade) — remake is charged as a new case
Post-delivery issues: If a veneer chips within 90 days due to a ceramic defect (not patient trauma or bite interference), we’ll remake that unit. If it’s a bonding failure and you’ve documented that the protocol was followed, we’ll work with you on a solution. But if the patient bit into something hard and fractured it — that’s not a lab defect.
What we need from you to process a remake:
- Photos of the issue
- Tooth number
- What happened (patient report + your clinical assessment)
Want to discuss a similar case?
Contact ASD Dental Lab:
Shenzhen & Huizhou, China (factory visits welcome)
We’ve been manufacturing full-service dental restorations since 2012. No outsourcing, no middlemen — CAD design, milling, ceramics, and QC all happen in-house.
If you’re working on a complex anterior case and want to talk through the workflow before you prep, we’re here.