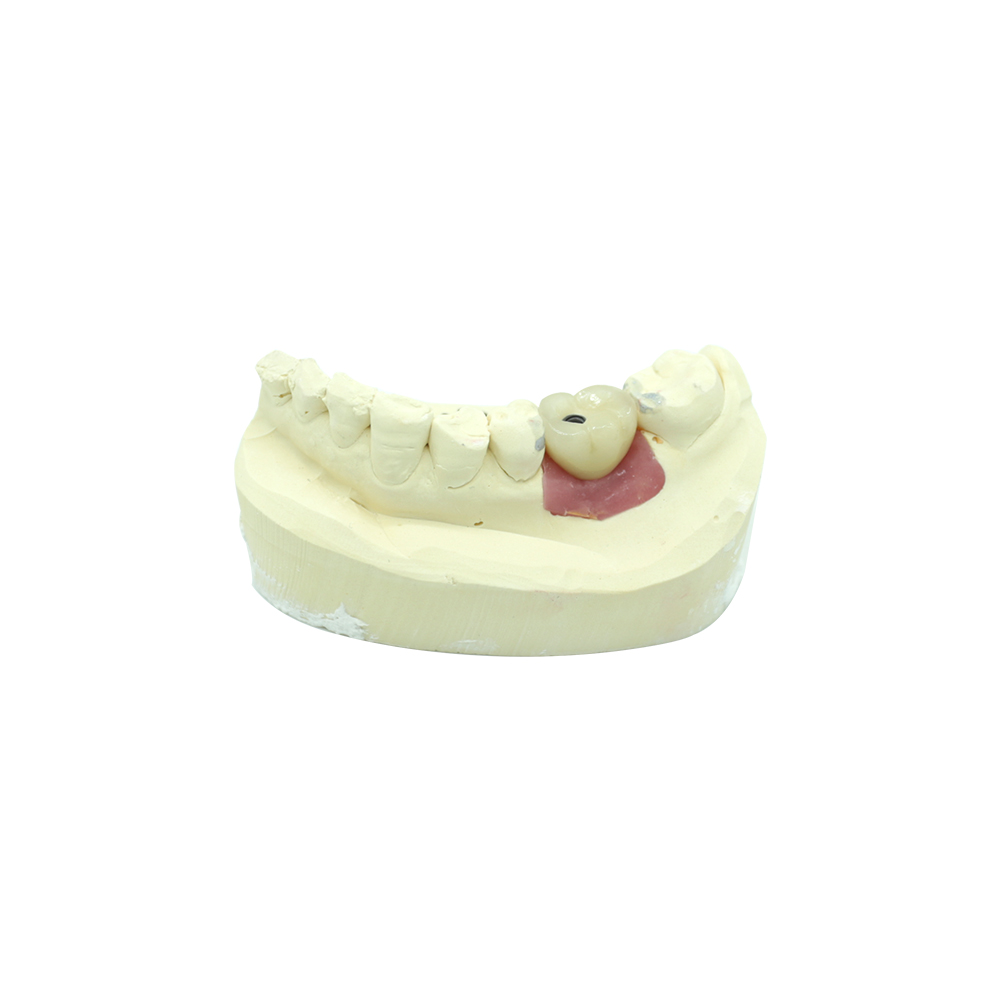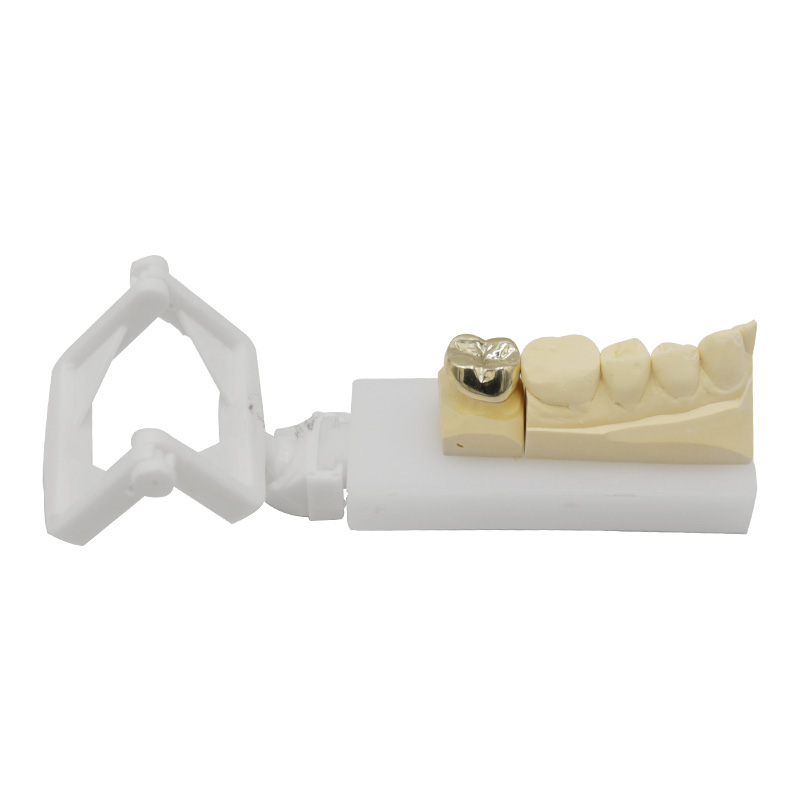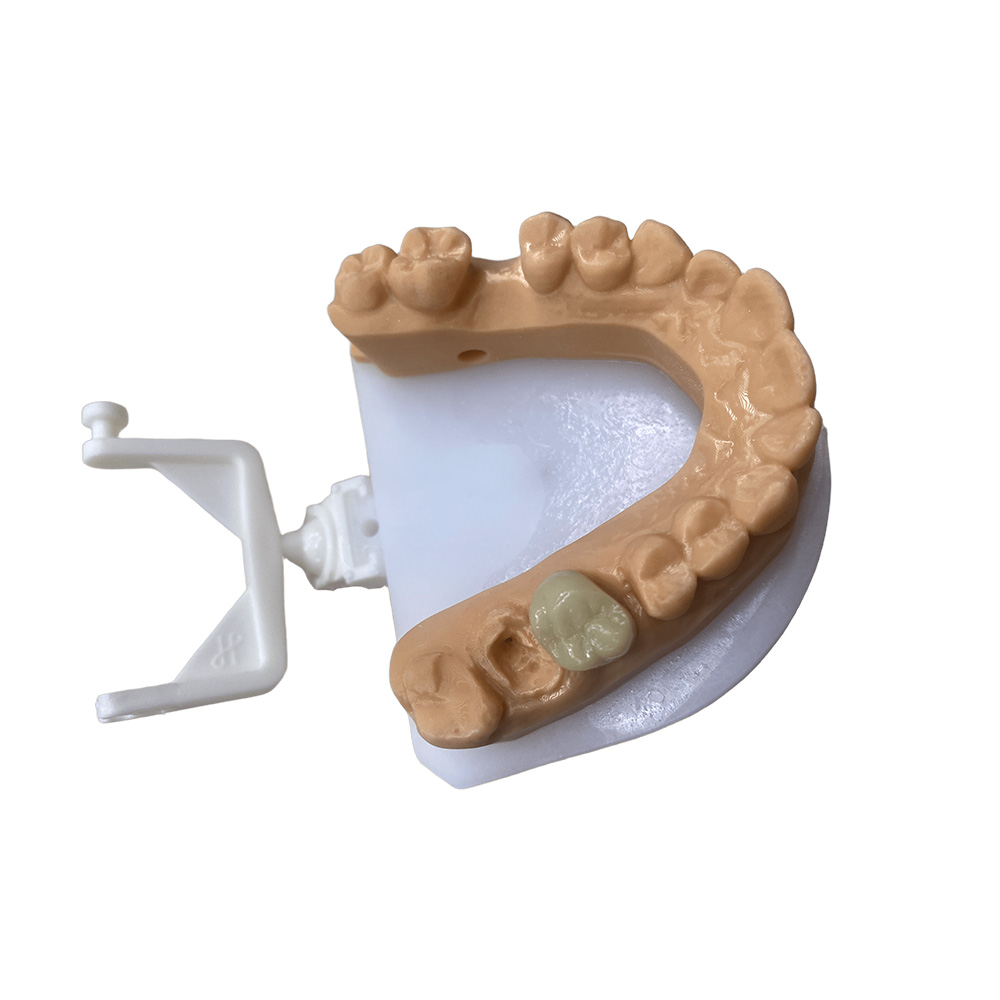
Lower Dental Implants: Mandibular Screw-Retained Bar Overdenture with Locator Attachments
Wypełnij formularz, a my odpowiemy w ciągu 30 minut!
Patient Situation
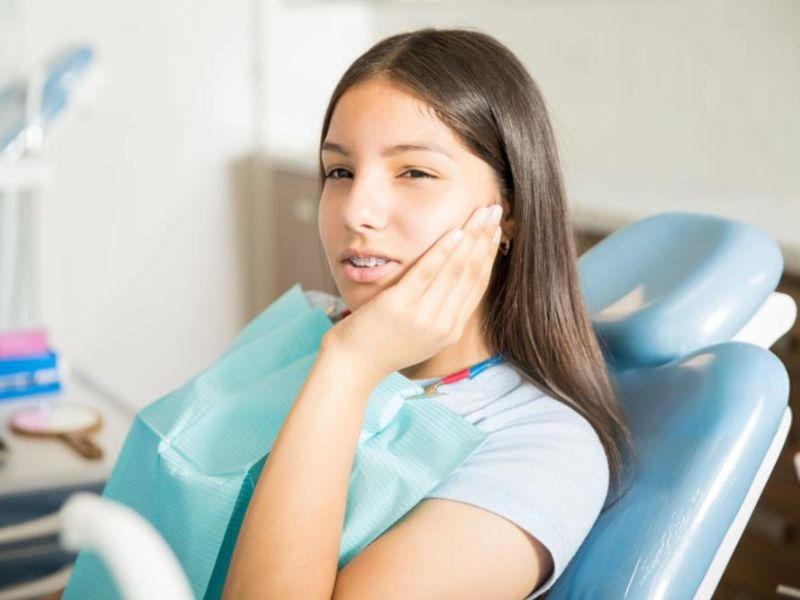
A female patient, mid-50s, came in with a failing lower dentition she’d been trying to hold together for years. She still had a few natural teeth in the front, but every back tooth on the lower arch had been gone for so long she’d lost count. Her existing lower partial denture rocked. She’d been coating it with adhesive three, four times a day just to eat a sandwich.
Her denture history wasn’t the worst part. The worst part was the conversation she kept having with her dentist. Every consult went the same way: the dentist looked at the X-ray, then said the same thing, that there wasn’t enough bone back there for a regular implant, and she’d need bone grafting first. One surgeon quoted her a full All-on-4 at \$45,000. Another said the bone on top was so thin she’d need a sinus lift before she could even start. She left both appointments thinking the same thing: this isn’t going to happen.
When she came to us, the case file on the doctor’s side told the rest of the story. The CBCT showed exactly what she’d been hearing: the posterior mandible had atrophied badly, the ridge was narrow, the inferior alveolar nerve sat high relative to the crest, and there wasn’t 8 mm of vertical bone between the crest and the canal in the molar regions. The anterior mandible, the canine-to-canine zone, still had decent bone. That was it. That was the only place implants could safely go.
Doctor’s Requirements
The prescribing doctor came to us with a tight set of constraints. He didn’t want bone grafting. He didn’t want to promise the patient a fixed solution she might not be able to afford. He wanted a screw-retained prosthetic that would actually stay put, could be removed for hygiene, and didn’t depend on perfect ridge form.
His requirements to our lab, written on the RX:
- Two implants only, placed in the anterior mandible (canine regions bilaterally). No posterior implants. No bone graft. The nerve and the ridge anatomy ruled that out.
- Implant-level impressions with a verified splinted open-tray technique. He didn’t want a tissue-level pick-up. He wanted accuracy, and he wanted us to verify the master cast against the verification jig before we started designing.
- A screw-retained bar, not a fixed bridge. This had to be removable for cleaning. Peri-implant maintenance on the lower anterior is unforgiving, and he wanted the patient (and the hygienist) to be able to get under it.
- Locator attachments on the bar, not a clip bar. The patient had dexterity limits and lived alone. Locators give tactile feedback on insertion and a defined “click” so she knows it’s seated. A clip bar requires more finger pressure than she could reliably produce.
- Acrylic-titanium hybrid, not full zirconia. The doctor specifically asked for a titanium bar with acrylic teeth and gingiva. His reasoning: if a tooth on the bar ever chips or wears, he can send the bar back and we replace the tooth without milling a new framework. Zirconia is stronger but impossible to repair chair-side or in-lab without remaking the whole thing.
- Pink composite characterization, not monolithic. He wanted the flange to look like gingiva, not denture base. Same reason as the acrylic: repairability.
- No cantilever past the distal implant. Posterior occlusion goes onto the distal extension of the denture base sitting on the residual ridge, not onto a cantilever off the bar. This protects the implants from lateral overload and is consistent with the McGill consensus guidance on two-implant overdentures.
He also flagged two things that often get missed: the patient’s maxillary dentition had supraerupted on the right side, and the opposing occlusion was going to need equilibration on the upper before delivery, otherwise the lower would take a hit on insertion.
How ASD Dental Lab Met These Requirements
This case landed on our implant desk. We have a dedicated department for it, eighty technicians, CAD designers who only work on implant cases, and a CAM milling room that handles titanium and zirconia in-house.
Step 1 — Data Intake and Verification
The doctor’s office sent us the CBCT, intraoral scans, and implant-level impressions. Before we designed anything, we did two things:
- Cross-referenced the implant positions against the CBCT. The doctor had placed two implants in the canine regions. We verified from the CBCT data that the platforms sat above the nerve with the safety margin the doctor specified. If there had been any ambiguity, we would have flagged it back to the doctor before proceeding. There wasn’t. The placement was clean.
- Fabricated a verification jig. Splinted open-tray impression copings were joined with pattern resin, sectioned, re-pinned, and re-splinted, then verified intraorally. We poured a verification cast and the doctor confirmed passivity before we scanned it. This step is where most bar failures start, with a non-passive fit the lab didn’t catch.
Step 2 — CAD Design (Exocad)
Our implant department works in Exocad. For this case, the designer built the bar in two stages:
- Digital analog placement matched to the verified master cast scan. Implant library was validated against the actual system the doctor used (we work with all major systems: Straumann, Nobel Biocare, Astra, Zimmer, MIS, Neodent — the library isn’t generic).
- Bar geometry was designed as a milled titanium bar with cross-sectional dimensions the doctor specified: 4 mm height, 2.5 mm width, with a 1.5 mm hygienic offset from the tissue. Passive fit is non-negotiable; we use the Sheffield test protocol (one-screw test) on every bar before it leaves the lab, and we documented it for this case.
The Locator housings were positioned at the level the doctor requested, parallel to the occlusal plane, with adequate vertical clearance for the patient’s lip support.
Step 3 — CAM and Titanium Milling
We milled the bar from grade 5 ELI titanium in our five-axis mill. Why grade 5 ELI rather than commercially pure titanium: higher fatigue strength, better for a bar that has to flex microscopically under occlusal load without work-hardening at the implant interface. The bar was milled, then sintered, then hand-finished at the implant interfaces to remove any milling artifact at the platform connection.
Step 4 — Acrylic Buildup and Characterization
The acrylic work is where the lab-to-clinic handoff gets visible. We layered the tooth set first, in the shade and mould the doctor specified, then built the gingival composite in increments to mimic the patient’s existing tissue tone, not a stock pink. The flange was contoured to support the lower lip without overbulking, which matters for a removable overdenture on a patient who’s been wearing a loose denture for years; overbulked flanges make patients gag and reject the prosthesis.
Step 5 — Quality Control
Three checkpoints before the case shipped:
- Bar-to-implant fit verification. One-screw test on the verification cast. Passivity confirmed.
- Occlusion verification. The bar was mounted on an articulator using the doctor’s face-bow record and the patient’s opposing dentition. We checked for balanced bilateral contact in centric relation, no premature contacts on the supraerupted upper right side (the doctor had already equilibrated the upper before sending the case).
- Locator retention check. Each Locator cap was tried on the bar, retention verified, and the replacement caps were bagged separately for the doctor to give the patient at delivery.
The whole case took us 8 working days from verified impression to delivery. Rush turnaround is available for cases where the clinical schedule requires it; this one was standard.
Final Result
The patient received the bar overdenture. At delivery, the doctor seated the bar, torqued the prosthetic screws to manufacturer spec, picked up the Locator caps chair-side with the patient’s existing denture (the acrylic was processed with the metal housings in place), and verified the “click” with the patient in the mouth.
The patient could insert and remove it herself on the second attempt. She reported the lower lip felt supported but not bulky. Chewing force, measured subjectively against her previous denture, was a different experience; the Locator attachments held the prosthesis stable through function, and the acrylic-titanium hybrid distributed load across the ridge instead of concentrating it on the implants.
At the one-week follow-up, no sore spots, no decementation, no screw loosening. The patient was eating foods she hadn’t been able to chew in years. At the three-month recall, the peri-implant tissues were healthy, probing depths under 4 mm, no bleeding on probing.
Long-term, this case follows the maintenance pattern any implant-bar overdenture should: professional maintenance visits every six months for the first year, then customized based on the patient’s risk profile. Locator caps are inspected at each visit and replaced when retention drops, typically every 12 to 18 months depending on use. The bar itself, being milled titanium, doesn’t wear; it’s the nylon inserts in the Locator caps that take the functional load and are designed to be the replaceable component.
How to Specify a Lower Dental Implant Case to ASD
For dentists and dental labs considering a mandibular implant case:
- Send the CBCT and the verified impression together. We can work from intraoral scans if the clinic is fully digital, but the verification jig protocol still applies.
- Specify the prosthetic design on the RX, not just “implant case.” Screw-retained vs. cement-retained, bar vs. single-unit, Locator vs. ball vs. Equator, acrylic vs. zirconia. The lab needs this information to quote accurately and design correctly.
- Flag any anatomical complications upfront. Posterior atrophy, nerve proximity, opposing supraeruption, parafunctional habits — these change the design.
- Ask about turnaround. Standard cases run 7–10 business days from verified impression. Rush cases can be accommodated; we’ll tell you upfront if the schedule doesn’t allow it.
For a consultation on a mandibular implant case, or to discuss how a specific clinical situation maps to a lab design, get in touch with our implant team.
References used in this case writeup:
- McGill consensus statement on overdentures — PubMed
- AAOMR Implants Position Paper
- Implant Placement and Loading Protocols — ITI Consensus
- Peri-Implant Diseases — American Academy of Periodontology
- Dental Implants: What You Should Know — FDA
- Clinical Factors on Dental Implant Fractures — MDPI
- Anatomic Variations Important for Dental Implantation — PMC
Szybszy czas realizacji dzięki naszej najnowocześniejszej technologii
Zalecane