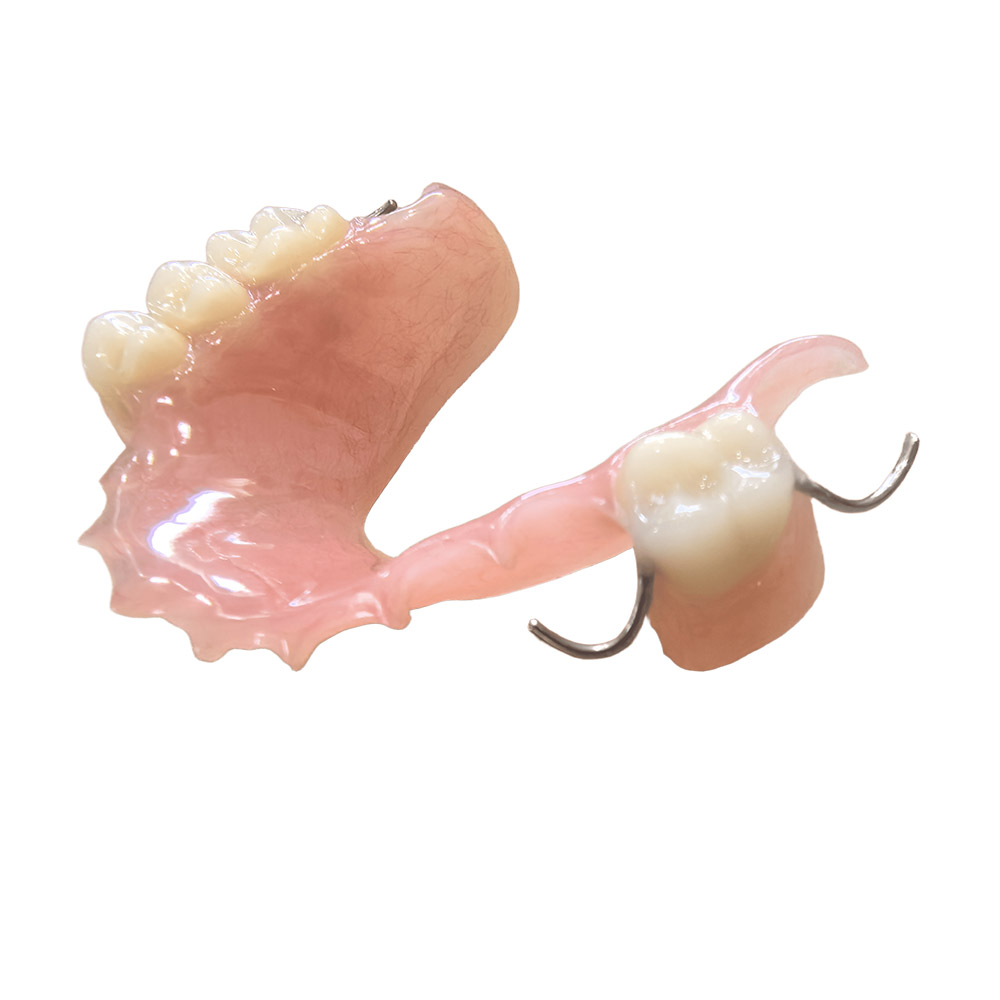
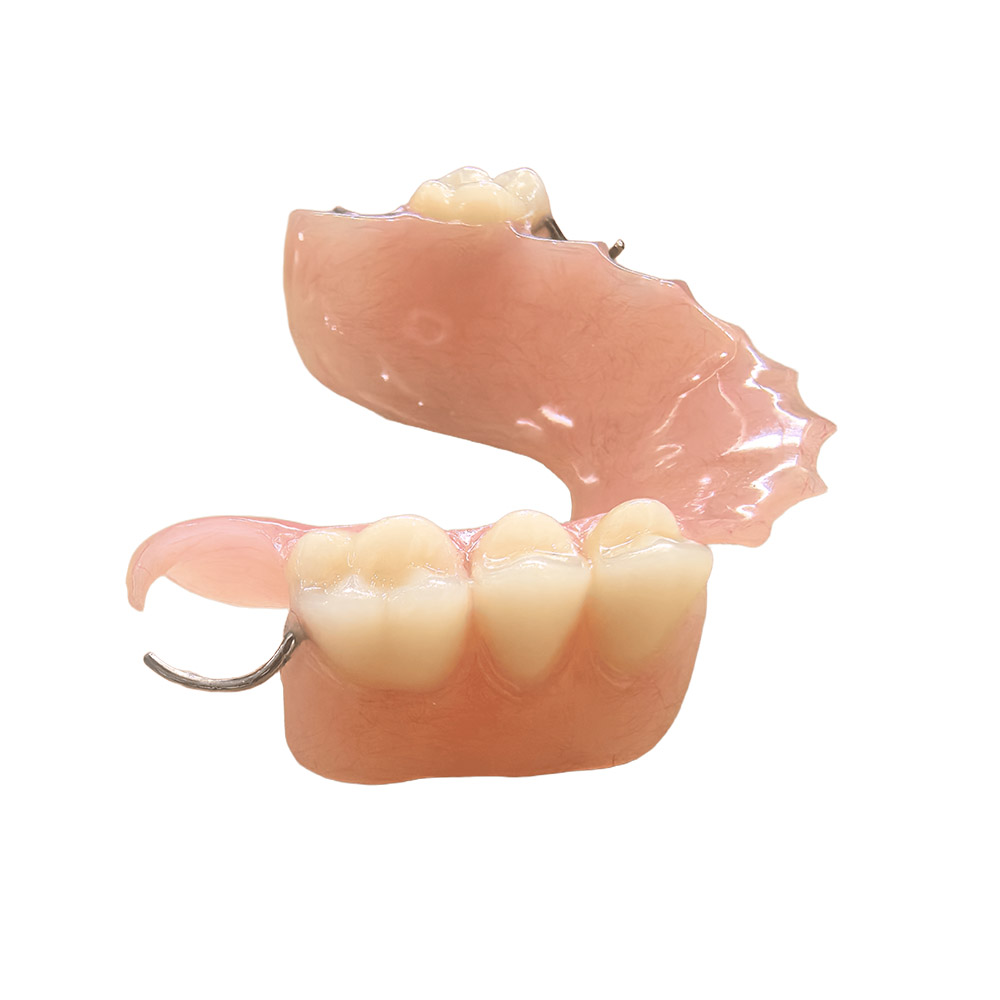
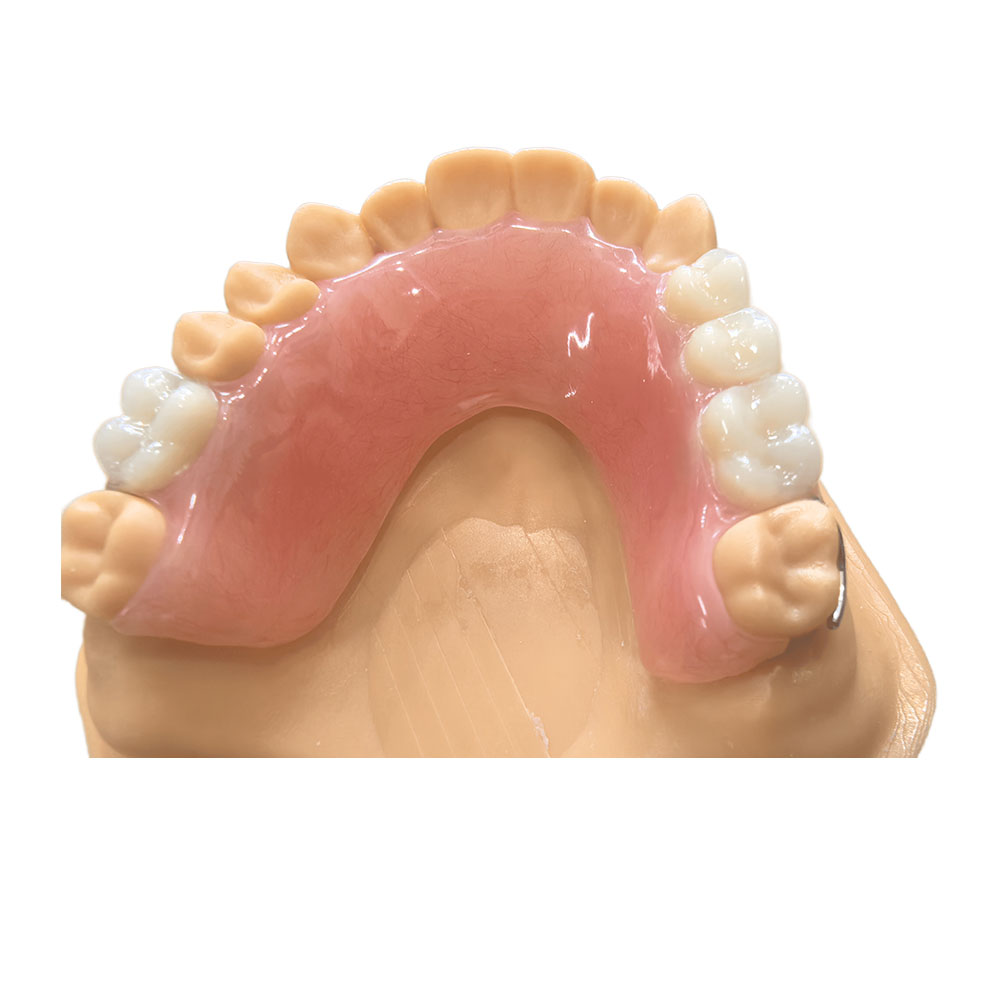
Flexible Partial Denture Upper Front Teeth: A Lab Case Study
Who We Are
We’re ASD Dental Lab — a full-service dental laboratory and direct manufacturing facility founded in 2012, with in-house plants in Shenzhen and Huizhou, China. We’re the manufacturer, not a trading company or middleman, and we complete cases without outsourcing to third-party labs. Every step happens under one roof.
Our removable denture department alone runs about 55 technicians. Across the company we’re roughly 460 people: CAD design (~100), milling (~70), implant (~80), ceramic and metal (~70), removable dentures (~55), QC (~25), plus admin, sales, and a ~40-person case coordination team. We also keep ~50 trained backup workers so busy season doesn’t wreck your schedule.
This Case: Patient Background
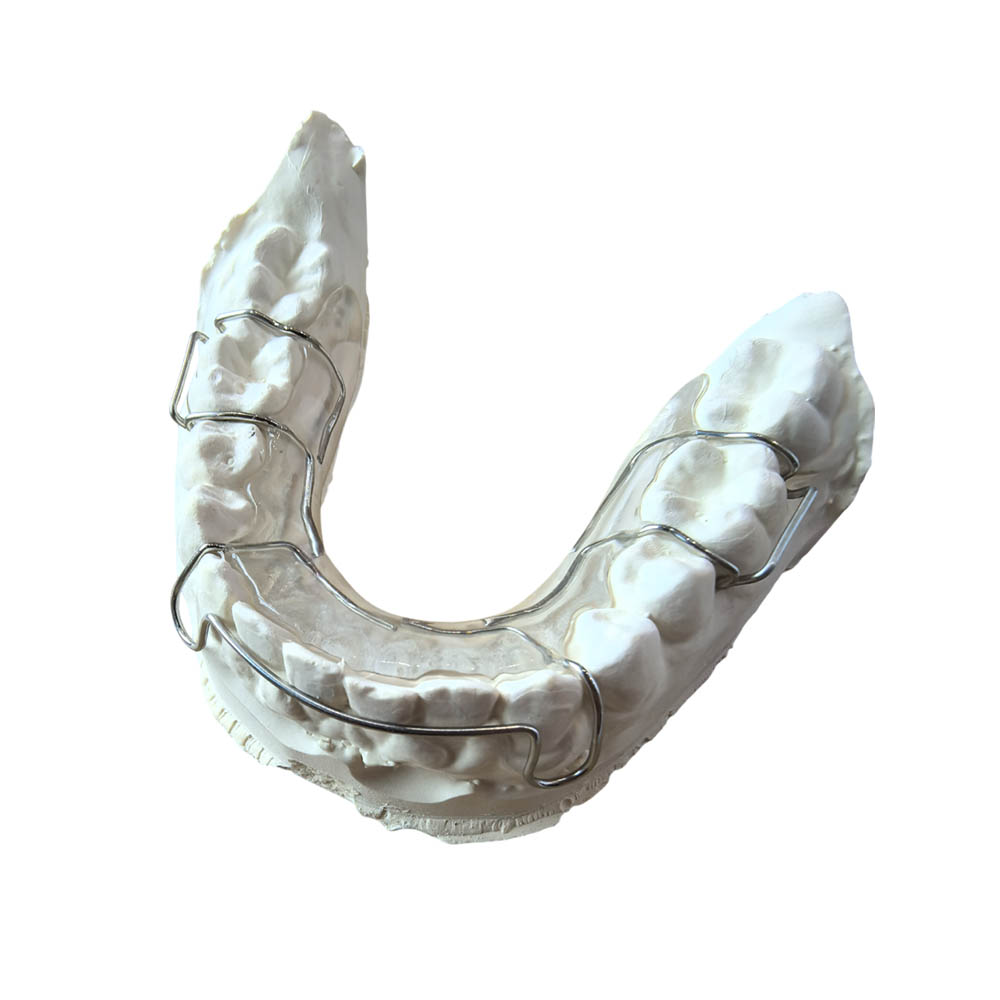
A patient came to a clinic in the U.S. missing both upper central incisors — teeth #8 and #9, right in the middle of the smile. That’s a two-front-tooth gap in the upper front teeth. She’d been wearing an acrylic flipper for about a year. Two things bothered her: the metal clasps flashed every time she smiled or talked, and the appliance shifted when she ate — soft bread stuck to the roof of her mouth, and a hard chip would pop the whole thing loose.
Implants weren’t an option for her, financially or time-wise. What she wanted was something that looked natural, held still during meals, and left her options open later.
The dentist’s exam found what she needed: sound teeth on both sides with usable undercuts, no active periodontal disease, and enough clearance in her bite to seat an appliance without trauma. One detail shaped the whole design — a moderately high smile line, meaning a lot of gum shows when she smiles or talks. Any transition line between natural tissue and pink base would be visible.
Treatment goal: a non-invasive, reversible restoration that buys time while she saves for implants or decides on a bridge later.
Why a Flexible Partial Denture for This Case
A flexible partial denture wasn’t the automatic answer — it fit this specific situation. Here’s the reasoning:
- Short, tooth-supported span. Two adjacent incisors with stable abutments on both sides. A flexible partial denture works best when it’s not spanning a long distance or depending on tissue alone for support.
- Esthetics were the priority. Her chief complaint was visible metal. A flexible base lets us run a gum-colored or tooth-colored clasp arm in the display zone instead of shiny wire.
- Non-surgical and reversible. She wanted implants to stay possible. A removable appliance doesn’t cut the ridge or touch the adjacent teeth.
- Enough occlusal room. There was space to fit the flange and tooth without interference. If she’d had a deep bite or heavy anterior contact, we’d have flagged it back to the dentist before starting.
What Made This Case Tricky
The high smile line. When someone shows a lot of gum while smiling, the jump from natural gingiva to pink base becomes obvious. The flange had to restore tooth contour without overextending into the vestibule or looking bulky. Thin labial surface, gingival shade matched to her actual tissue.
Anterior is not posterior. Upper front teeth and back teeth are different problems. In the front it’s esthetics, clasp visibility, and speech adaptation. In the back it’s support, long-span stability, and chewing load. A flexible partial denture handles short anterior gaps well and gets weak on long posterior spans or distal-extension saddles where you need rigidity and vertical support. This case was all about the display zone — not occlusal load.
The Prescription We Received
The clinic sent us:
| Field | 가치 |
| Tooth positions | #8, #9 (upper central incisors) |
| 그늘 | A2 teeth, medium pink base |
| Margin design | Labial flange 2mm apical to the gingival zenith; palatal extension to the rugae, clear of the frenum |
| Path of insertion | Anteroposterior, engaging undercuts on #7 and #10 |
| Span | Bounded, bilaterally tooth-supported |
| Records | PVS impression (double-arch), opposing model, bite registration in centric occlusion |
| Special notes | “High smile line; minimize flange bulk, match gingival color closely. Try-in requested before final processing.” |
We also got photos showing the smile line and recession pattern.
How We Handled It: Design and Fabrication
1. Framework design
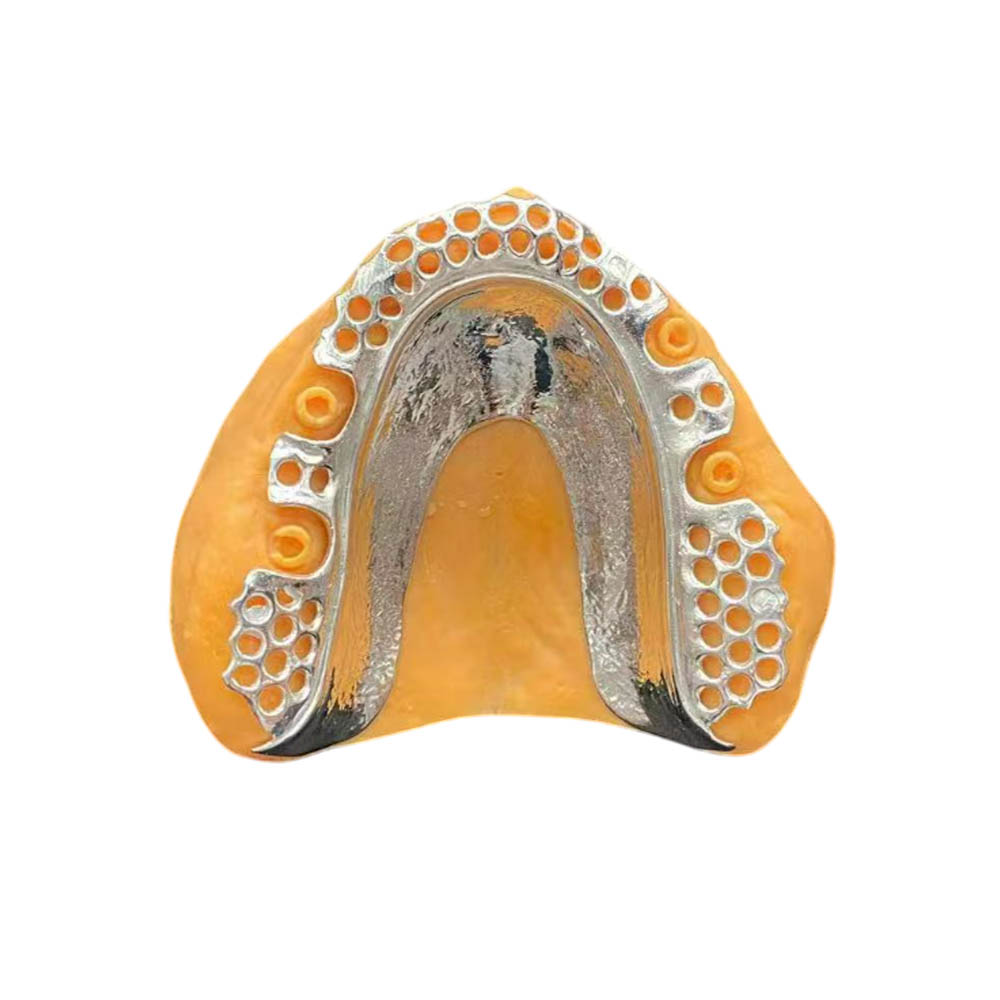
We poured the master model from the impression and surveyed it to find undercuts on #7 and #10. The design put thin, tooth-colored clasp arms into the mesial undercuts of those abutments. No metal anywhere in the visible zone. The major connector crossed the palate in a horseshoe, staying 6mm clear of the gingival margins so nothing impinged tissue. The labial flange followed the contour we marked from the photos — thin where it shows, slightly thicker at the stress zones near the clasp arms.
Because this case was bounded and tooth-supported, no distal extension or free-end design was involved. That distinction matters: a one- or two-tooth anterior gap usually has favorable abutment positions. A long posterior span or Kennedy Class I/II arch doesn’t, and that alone can decide whether flexible material is appropriate at all.
2. Digital workflow
The office used an intraoral scanner, so what arrived was STL files rather than a poured impression. Our CAD department designed the framework digitally, positioning the artificial teeth and setting clasp geometry and flange thickness in software. We printed a resin try-in model so the dentist could verify fit, occlusion, and esthetics before final processing.
Plenty of practices still send alginate or PVS impressions, and those work fine. But when a newer office asks how the scanner fits into a removable case: the scan gives us arch and opposing data, we design the framework in CAD, then print a try-in or go straight to injection molding depending on case complexity and your preference.
3. Try-in stage
We sent the resin try-in back. The dentist seated it, checked path of insertion, confirmed the clasp arms weren’t too tight or loose, and assessed flange extension and tooth position. The patient tried it in and approved the shade and gingival blend. The dentist marked one spot on the palatal connector where the patient felt a sharp edge.
We adjusted it, re-polished, and got the green light for final injection molding.
4. Injection molding and material
We used a nylon-12 thermoplastic resin. The material heats up and gets injected under pressure into a flask holding the master model and the waxed-up framework design. That injection process is 왜 flexible partial dentures come out with thin, consistent wall thickness and can engage undercuts — the hot resin flows into spaces rigid acrylic and cast metal can’t reach.
Specs on this case:
- Base thickness: 1.5mm at the palatal connector, 0.8mm at the labial flange
- Clasp arm cross-section: 1.2mm diameter at the terminal end
- Resin composition: polyamide (nylon-12), monomer-free, no metal in the pigment
- Biocompatibility: tested per ISO 10993, per the material data sheet (available on request)
The artificial teeth were mechanically retained with grooves and diatoric undercuts. That’s standard for thermoplastic bases because chemical bonding to nylon is weaker than it is to acrylic.
5. Finishing and QC
After the flask cooled, we trimmed the sprue, polished the borders, and ran the checks:
- Flange extension against the landmarks marked at try-in
- Occlusion in centric and lateral excursions on the articulator
- Clasp retention, test-seated on the model with engagement measured
- Surface finish — no sharp edges, smooth palatal surface
- Shade match under daylight-equivalent lighting
Then packed it with insertion instructions (30–60 seconds in warm tap water before first insertion) and shipped back.
Delivery and Turnaround
From the day we received the scan to the day we shipped the finished flexible partial denture: 10 business days, including the try-in round trip. Without a try-in it’s 7–9 business days. Rush cases run 4–5 business days with a surcharge, depending on complexity.
What ships with it:
- The finished appliance
- English-language insertion and care instructions
- Material data sheet and regulatory documentation (on request)
- A case summary noting clasp positions, shade used, and any design change from the original Rx
Remakes, Adjustments, and Warranty Boundaries
We remake at no charge when:
- The appliance won’t seat on the model we made it from (manufacturing defect)
- Shade or tooth position doesn’t match the written Rx
- The base fractures within 90 days under normal wear (material defect)
The clinic covers the cost when:
- The impression or scan was distorted and the model doesn’t match the patient’s arch
- The design changes after we’ve processed — “can you add a clasp on the other side?”
- The appliance was delivered correctly but the patient’s mouth changed afterward (tooth shifted, ridge resorbed, new restoration placed)
Adjustments and additions:
- Border trimming and clasp adjustment happen chairside with a dedicated flexible-partial bur and gentle heat. We send a list of compatible bur types with the shipment.
- Adding a tooth works if the span allows and the framework has enough bulk. The appliance comes back to us, we assess, and we quote a fee — typically 40–60% of the original lab fee. Not always possible: if the base is too thin or the clasp geometry won’t carry another retention arm, we’ll recommend a remake instead.
- Reline depends on how much the ridge has changed. Minor resorption can be handled with a lab reline, since hard chairside reline materials don’t bond well to nylon. Significant change usually makes a new appliance more predictable.
What we don’t cover:
- Loss or breakage from dropping it, stepping on it, or leaving it in water above 70°C
- Staining or discoloration from tobacco, coffee, or skipping the care protocol
- Fracture or tooth debonding after 90 days — that’s ordinary wear and tear
These terms are in writing on the invoice and case summary. Being explicit about who pays for what has saved more arguments than anything else we’ve changed.
The Trade-Offs: What This Design Gives You and What It Doesn’t
A flexible partial denture isn’t a straight upgrade over metal or acrylic. It’s a trade. Here’s what this patient gained and what she gave up.
What she gained:
- No visible metal. Clasp arms blended with her gum color and didn’t flash when she smiled.
- Thin, comfortable flange. The nylon base could be made thinner than a rigid acrylic flipper in the labial area, which helped with speech and bulk sensation.
- Solid initial retention. The flexible arms engaged the undercuts and held the appliance securely in normal function.
What she gave up:
- Harder to repair or modify. If a tooth debonds, or she loses another tooth and wants to add to the appliance, the process is more involved than with acrylic. Some flexible materials repair; some don’t. With this nylon-12 resin we can add a tooth when the framework allows, but it isn’t a chairside job.
- Different reline process. Acrylic partials can be relined chairside with chemical-set acrylic. A flexible partial denture goes back to the lab, and reline material options are more limited.
- Support profile. A flexible base doesn’t give the rigid support a cast metal framework with rest seats does. On this short, tooth-supported span that wasn’t an issue. On a long free-end case, or one needing positive vertical stops and indirect retention, metal is the better call.
Evidence and References
- Peer-reviewed literature
- Thermoplastic denture base resins: systematic review on properties and repair — polyamide properties, retention testing, and repair challenges
- Patient satisfaction with removable partial dentures: a systematic review — patient-reported outcomes and common complaints about comfort and esthetics
- Regulatory references
- Denture base resin device guidance, 21 CFR 872.3760 — Class II classification and applicable standards
- Example 510(k) summary for a flexible partial (K242897) — flexible resin with ISO 10993 biocompatibility testing
- Internal records and practitioner input
- Our own case records from the removable denture department — remake rates, turnaround spread, and recurring fit issues
- Practitioner discussion from professional forums where dentists describe design decisions, patient complaints, and what held up in practice
Next Steps for the Clinic
If you’re thinking about sending us a flexible partial denture case, these are the things that make it go smoothly:
- Send complete records. Full-arch impression or validated scan, opposing model or scan, bite registration, and written notes on shade, margin design, and any special requests. Photos of the smile line and any recession or tissue irregularities genuinely help.
- Mark the intended path of insertion on the model or in the scan notes. We survey it ourselves, but knowing your intent cuts the back-and-forth.
- Tell us if you want a try-in. Simple one-tooth cases often skip it; esthetic-critical cases and first-time patients are worth the extra day or two.
- Specify the material if you have a preference. We default to nylon-12, but we also stock acetal resin — stiffer, less flexible, better for hybrid designs. With no note from you, we choose based on span and support pattern.
- Include relevant medical history. Known allergies to acrylic monomer, latex, or metal are common reasons for requesting a flexible partial denture in the first place. Flag them so we can confirm the resin composition is right.
최첨단 기술로 더 빠른 처리 시간을 경험하세요.
추천