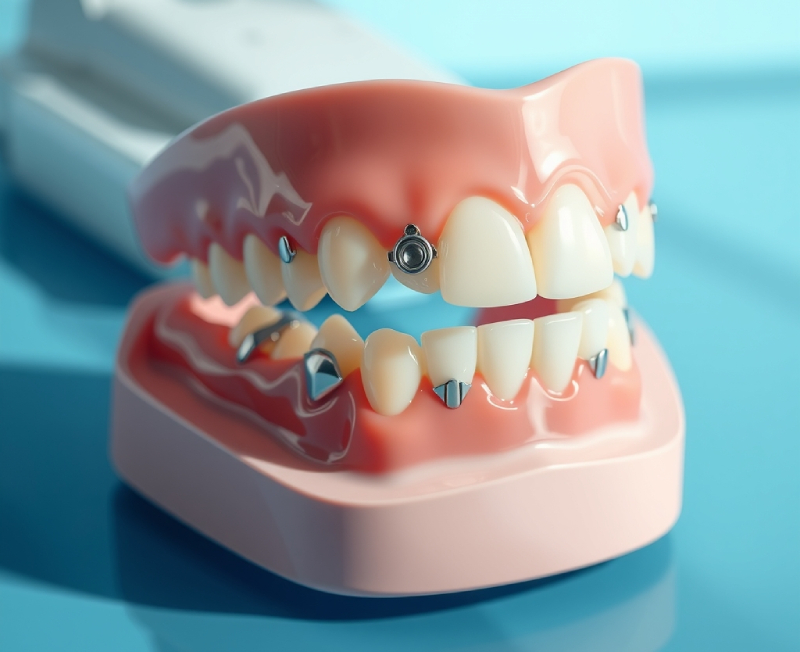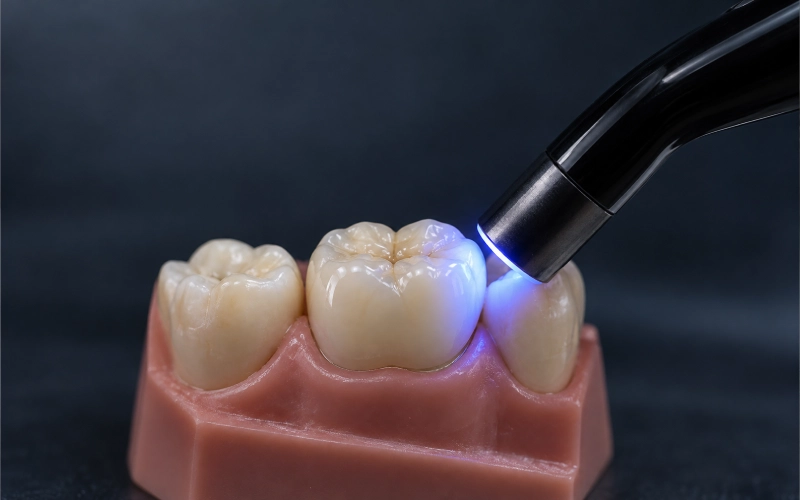
Partial Dentures for Back Teeth — A Case From Our Removable Department
🕢 [ Compila il modulo e ti risponderemo entro 30 minuti! ]
The short version
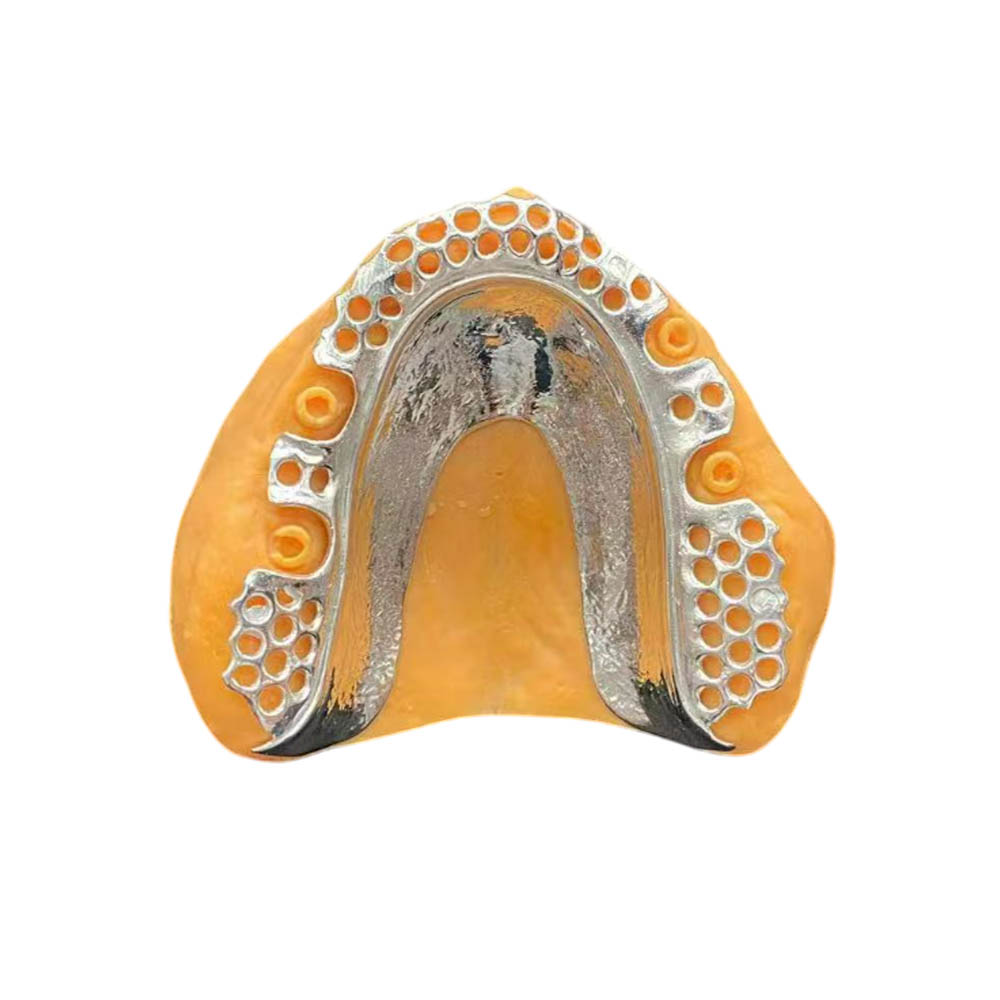
A thirty-something patient came in with two lower posteriors missing on the same side, one of them lost five years earlier. The gap had already closed on itself, the opposing teeth had drifted down, and the one remaining molar on that side was broken and not a safe long-term anchor. Implants were off the table. The lab brief from the dentist was clear: build a cast cobalt-chromium removable partial denture for the back teeth, keep the metal where it has to be and hide what can be hidden, and don’t touch the abutments more than you need to — this patient may still want implants in ten years.
We built it that way, the dentist seated it, and the written care card went home with the patient.
1. The patient — what we were handed
The dentist shared the following in the lab slip and in the follow-up call. We quote the parts that drive design decisions.
- Age bracket: early thirties. A young patient keeps every design choice on the table for the next twenty years, so nothing gets done casually.
- Chief complaint: chewing on one side only, soft food becoming awkward, and a sunken look on the affected cheek.
- Missing teeth: two denti posteriori on the lower left (one second premolar, one first molar). The first molar had been gone for about five years with nothing in its place.
- Remaining teeth on that side: one lower molar distal to the gap, root-canal treated, cracked, cusps undermined. The dentist’s note read “keepable but guarded.”
- Opposing arch: largely intact; a maxillary molar had supra-erupted into the empty lower space.
- Soft and hard tissue: gum stable, no active periodontitis, ridge resorbed in the long-standing site. Bone volume was not enough for an implant without grafting, and the patient did not want to wait for a graft to mature.
- What the patient wanted and did not want: no implants (cost and timeline), nothing that showed metal when smiling, nothing bulky across the palate (not a factor here since this was a lower, but the dentist flagged it as a general preference).
- A real worry the patient voiced: “the space looks smaller than my old tooth; how are they going to fit anything in there?” This went straight into our design notes.
What the five-year delay actually caused
A missing posterior is not just a gap. Over time it becomes a chain of problems that all show up on the model at once:
- The teeth next to the gap tipped toward it, so the mesio-distal space had shrunk.
- The upper molar across from the gap had drifted down looking for contact.
- The patient’s bite had rebalanced onto the opposite side; the front teeth were doing more work than they were designed for, and we could see wear on the incisal edges on the dentist’s photos.
The dentist’s framing to the lab was the right one: this was non a two-tooth problem, it was a one-side bite that needed to be rebuilt.
2. The brief — what the dentist asked us to do
Below are the six requirements the dentist put on the lab slip, in his wording where it matters. Each one is a constraint on how we build partial dentures for back teeth, and every design choice downstream had to answer one of them.
2.1 “Set the teeth to the space you have, not the space he used to have.”
The remaining gap was clearly smaller than a standard molar form. The dentist did not want us to grind the arch to make a standard tooth fit, and he did not want a reduced-width molar that would end up looking strange.
- Requirement: measure the real mesio-distal and the real occlusal clearance on the model; set the back teeth to that measurement.
- Permission he gave us: if the molar space is too small, use a premolar-form tooth in the molar position; function is the goal, not symmetry with the opposite side.
- Bite goal: restore occlusal contact against the drifted upper, so that over-eruption stops where it is instead of worsening.
2.2 “Keep the frame rigid. Hide the metal where you can. Don’t swap it out for flexible on the back.”
The patient’s single hardest objection was visible clasps. The dentist’s answer was design, not material substitution.
- Requirement: build the framework in cast cobalt-chromium. Keep the full rigidity on the load-bearing side.
- Esthetic treatment: keep the retentive clasp arms low on the buccal and move them away from the smile line; use tooth-colored or thinner wrought arms only where it does not compromise retention.
- A line he drew: do not substitute a flexible/nylon-type base for the back teeth to hide metal. Reason given: a flexible base in a posterior free-end tends to settle under load and transfer force to the ridge; it is a cosmetic win and a functional loss (see also the discussion of base-polymer trade-offs in Different Polymers for the Base of Removable Dentures — Part I).
2.3 “Design this as a free end. Give me rests, give me reciprocation, and don’t let it rock.”
Because the farthest-back natural tooth on that side was not reliable long-term, this had to be designed as a true distal-extension case.
- Requirement: place a rest seat on the mesial of the standing abutment to direct the vertical load down the long axis of the tooth. Add an indirect retainer on the opposite side of the fulcrum line so the saddle does not lift during function.
- Support strategy: make it as tooth-and-tissue supported as the case allows; use a wide, well-adapted saddle on the resorbed ridge to spread load.
- Future-proofing: leave the design open to an implant-assisted upgrade later — if the patient changes his mind, a single posterior implant can convert this appliance into an implant-assisted RPD without a full remake (see outcomes summarized in Treatment outcomes of implant-assisted removable partial denture — PMC).
2.4 “He’s thirty. Don’t wreck the abutments.”
This was the sentence that drove every tooth preparation decision.
- Requirement: keep tooth preparation minimal and reversible. Rest seats and guide planes only; no elective full-coverage crowns on sound teeth just to make the design easier.
- No prophylactic crowns on sound abutments. If an abutment ever needs a crown later, that’s a separate decision made at that time, not now.
- Build on the record: archive the master model and the design file. If this patient comes back in eight years wanting an implant where the premolar is, we can match the existing design instead of starting over.
2.5 “Handle the whole side as one job.”
A good partial on the lower is only half the fix if the opposing side is doing all the work.
- Requirement: the dentist planned to crown the broken, root-treated molar on the same side. He wanted the lab to share occlusal data between the two cases so the crown and the partial would seat into a coordinated bite, not into two separate bites that happen to meet in the middle.
- Delivery choreography: try-in the metal framework first (passive seating, no rocking, clasp arms engage at the right depth), then design the crown to the framework-in-place bite, then set teeth, then process.
2.6 “The patient gets a usage card, not a verbal pep talk.”
The dentist asked us to include a one-page care-and-adjustment sheet with the delivery, so expectations and routines were on paper.
Four points had to be on that card:
- Take it out at night. Rest the tissues and the abutments; this is also the standard recommendation in the ADA/MouthHealthy care guidance (ada.org / oral-health-topics / dentures).
- Don’t clean it with toothpaste. Regular dentifrice is abrasive to acrylic. Soft brush and a denture cleaner only.
- How to eat for the first two to four weeks. Smaller pieces, both sides, avoid sticky and very hard foods early on.
- When to call the dentist and come back in: persistent sore spots, visible rocking at the free end, a loose clasp, or a feeling that the appliance “clicks” during chewing.
3. How we met those requirements — one lab decision at a time
Every row below maps to one of the six requirements above. Nothing in this list is clever on its own; the point is that the whole set has to agree with the brief.
3.1 Measuring and setting teeth to the real space
- Scanned the master cast on both arches, laid the model on the surveyor, and recorded the actual mesio-distal and occlusal clearance in the collapsed gap.
- Where the molar space measured below the manufacturer’s standard mold, we set a premolar-form posterior in the molar seat so that the arch form stayed smooth and the occlusal table was not oversized.
- Re-established the occlusal plane on the opposite upper so the over-erupted tooth re-engaged with the new occlusal surface. Any high spots were marked at try-in and adjusted with the dentist on the chair.
3.2 Cast cobalt-chromium frame — rigid where it has to be, invisible where it can be
- Framework cast in Co-Cr for the stiffness required under posterior loads; this is the material class the ACP references for durable long-term frameworks (see Longevity of acrylic and cobalt-chromium RPDs, ScienceDirect e PubMed).
- Clasp placement worked from a surveyed path of insertion. We put the retentive arm on the surface the smile line does not reach, and used a reciprocal arm (not just a bracing wire) on the opposite side.
- No flexible substitution on the posterior. The patient’s cosmetic preference was handled through clasp routing and shade, not through a change of base material.
3.3 Free-end design, built against lift-off
- Mesial rest on the standing abutment, so vertical load pushes down the tooth and not into the clasp.
- Guide planes prepared conservatively on the proximal surfaces to control the path of insertion.
- Indirect retainer placed anterior to the fulcrum line to resist the distal end lifting away during sticky foods.
- Wide, well-adapted saddle on the resorbed ridge area — covered the keratinized tissue, stopped short of the muco-buccal fold.
- Our processing note to the dentist flagged this as a free-end case so he could pre-brief the patient that some settling is normal and that the chairside reline schedule is part of the plan, not a repair.
3.4 Keeping the abutments as “assets”
- Only two preparations on the standing teeth: rest seats and guide planes. No full-coverage preps.
- Archived the master cast, the digital design and the clasp map. If this patient comes back for an implant in year eight or year twelve, we can rebuild to match the existing appliance in the same case folder.
- We flagged the compromised molar separately in the case notes so that if that tooth is ever extracted, the design can be converted (new saddle, new indirect retainer) without remaking the full frame.
3.5 Coordinated with the crown on the same side
- Received the dentist’s prep file for the crown; built the bite record and the framework try-in bite against the same mounted articulator.
- Returned the crown and the framework together for seating, so the dentist could balance occlusion with the whole picture in his hand, not one piece at a time. Reduces chair-side grinding and keeps the bite record consistent.
3.6 The one-page care card at delivery
- Nights off, no toothpaste, small bites both sides, four reasons to call.
- Printed on the paper form the dentist’s practice uses, with his contact line — not ours.
3.7 Our in-house workflow around this case (for the clinician planning similar work)
- Case received, evaluated and planned inside our Removable Denture Department (about 55 technicians), which handles roughly 4,000 cases a month across the shop.
- Full workflow from scan evaluation → CAD surveying and framework design → 3D-printed cast → investment and Co-Cr casting → finishing → tooth setup → try-in records → processing → QC → shipment, done in casa without outsourcing.
- We ship to clinics, labs and DSOs across the United States and Europe and have handled similar free-end lower cases for more than a hundred clinics in that network.
4. What the finished appliance looks like, in words the dentist can give to the patient
We do not promise outcomes. What we può describe is the appliance that was delivered and what the dentist checked at seating.
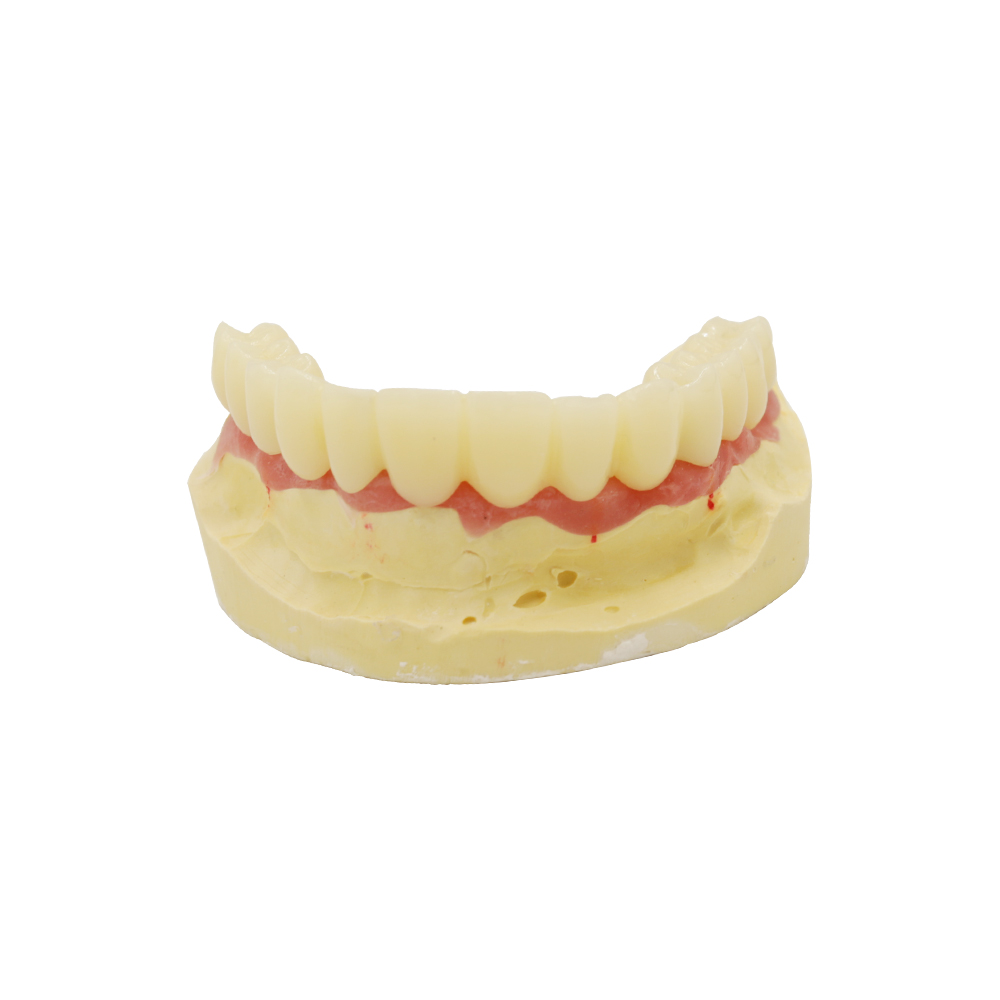
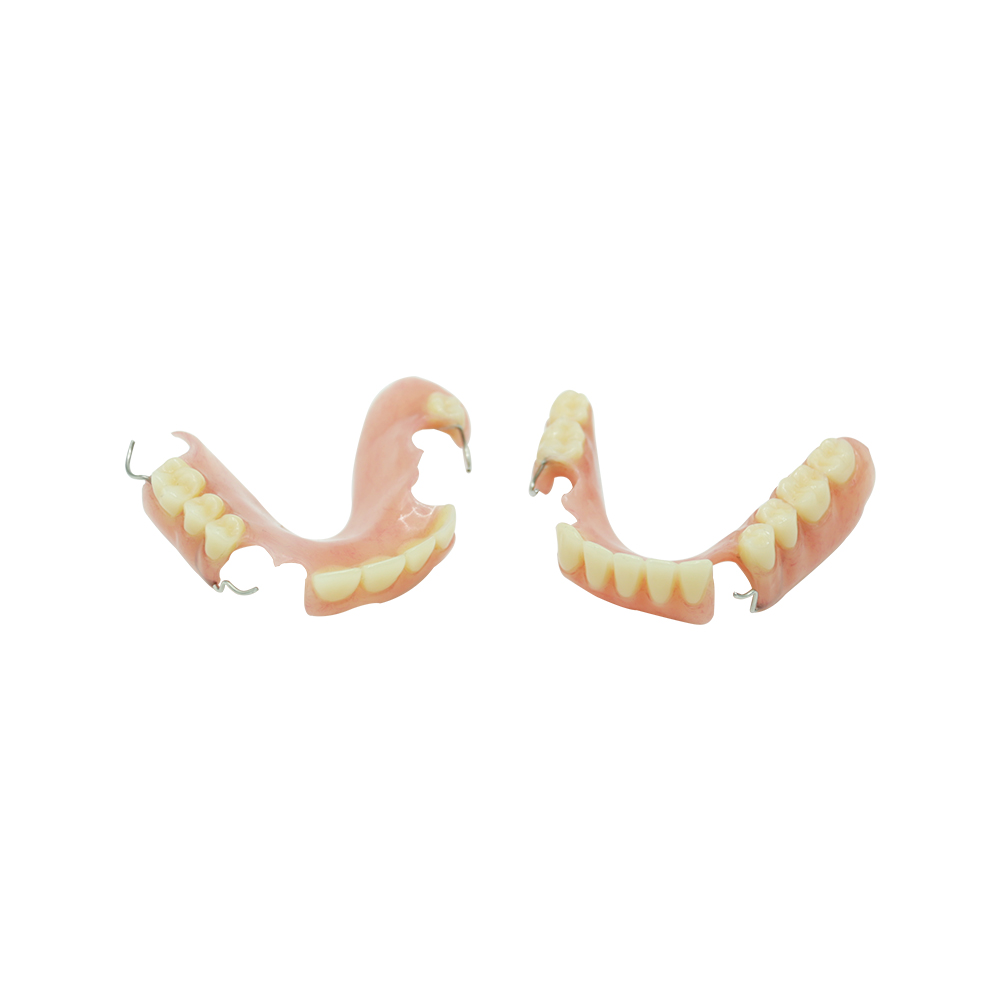
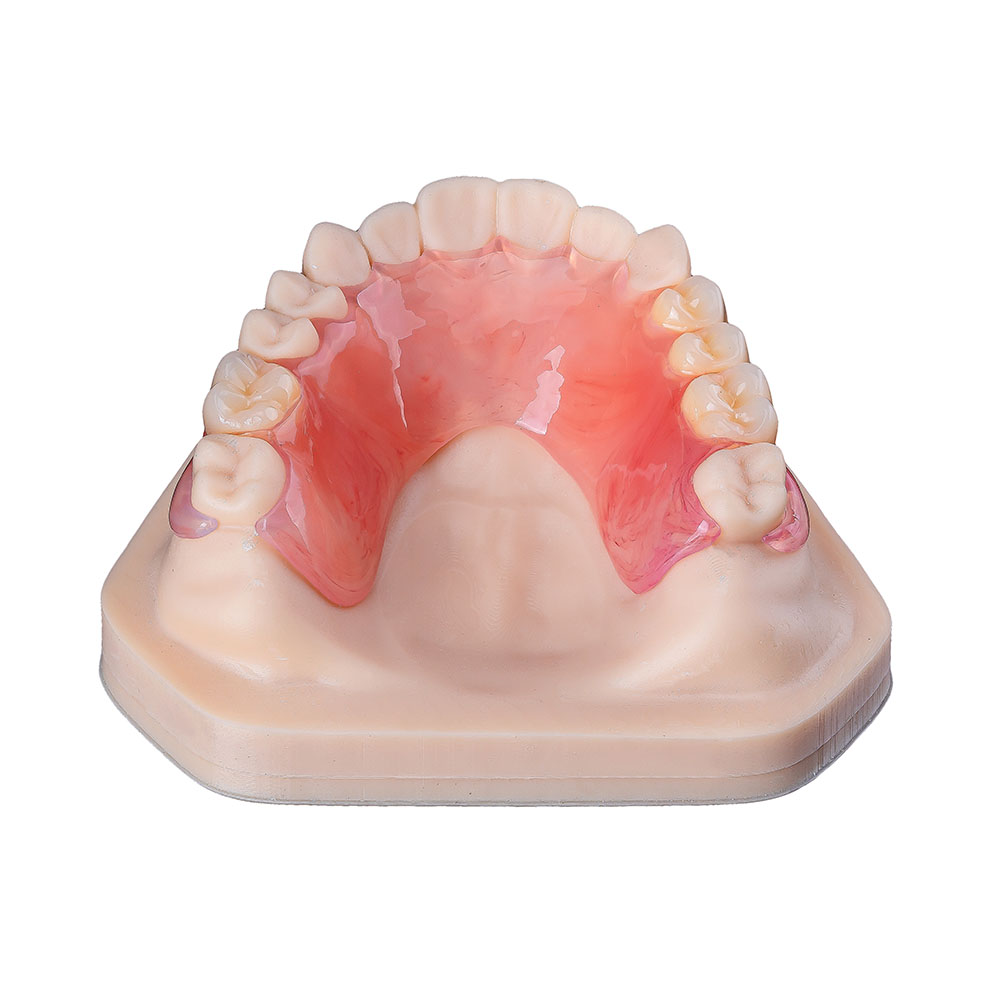
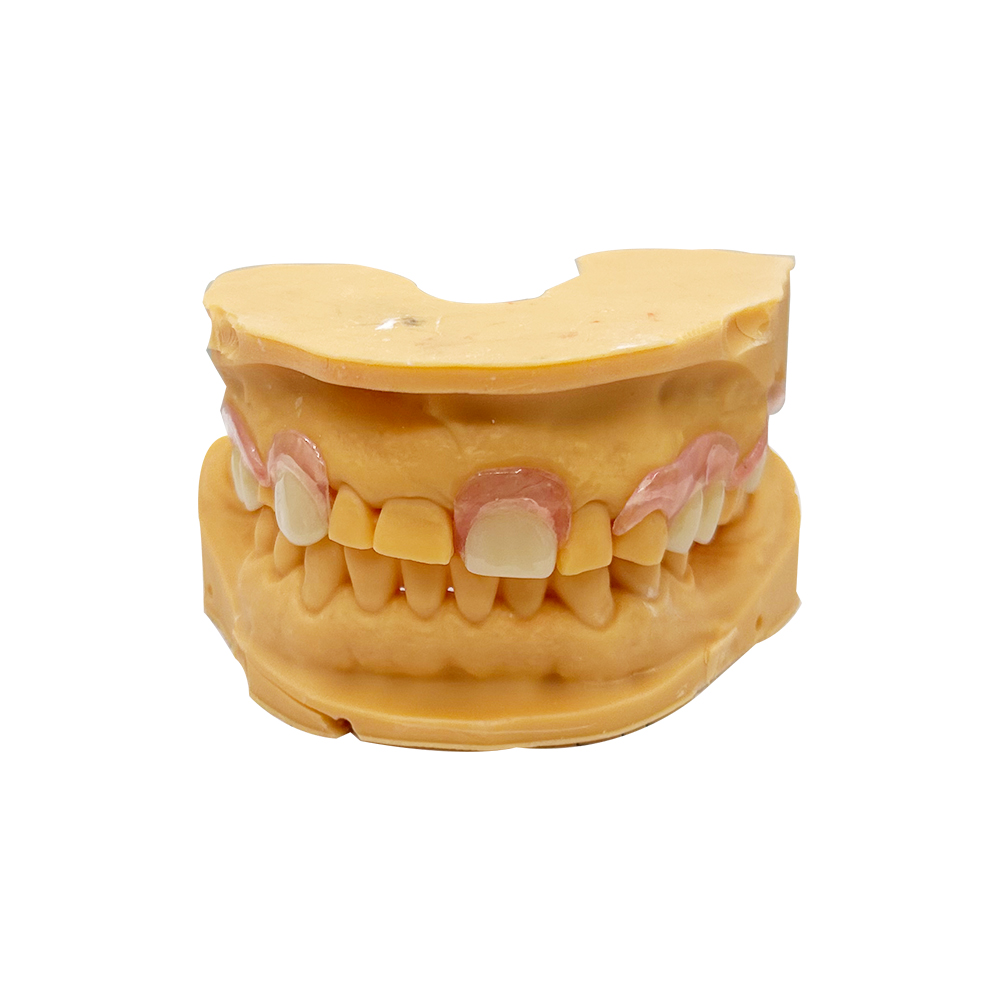
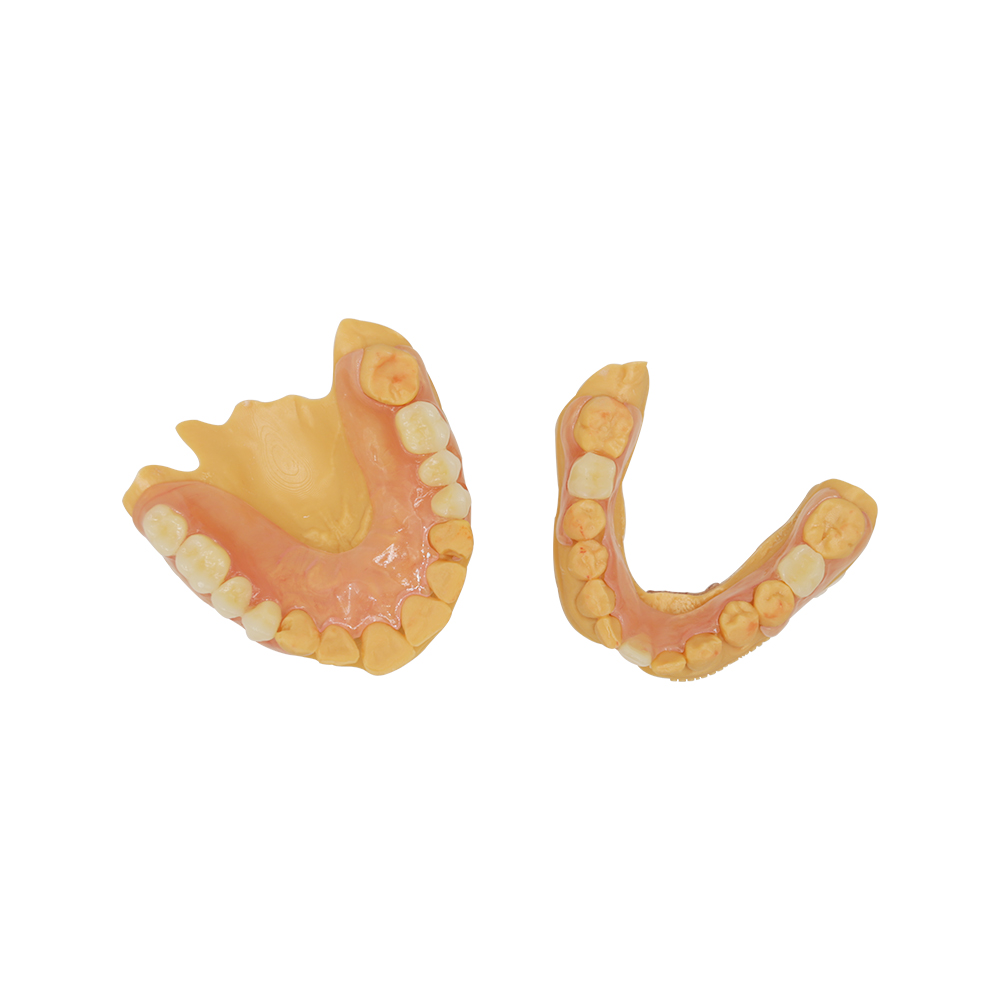
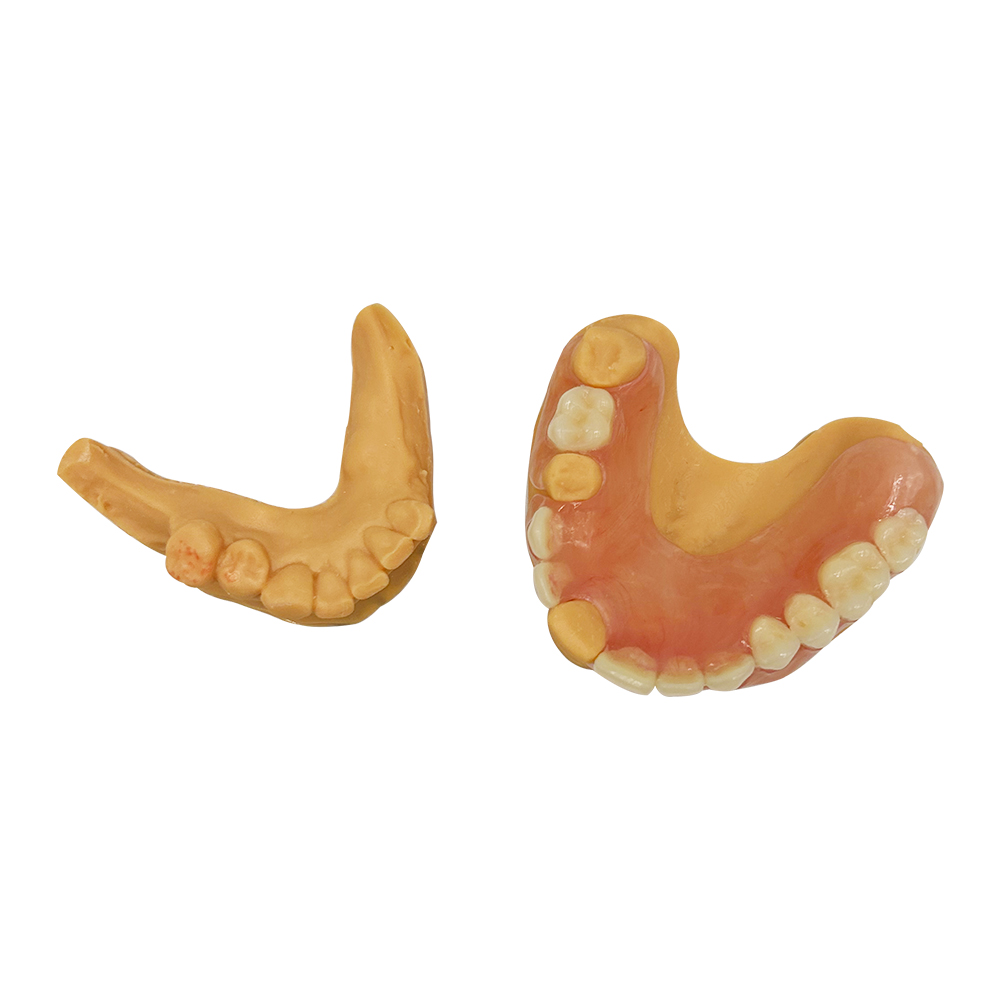
- The appliance: a cast Co-Cr lower removable partial covering the left posterior saddle, two retentive clasp arms placed off the visible line, a mesial rest on the standing abutment, an indirect retainer anterior to the fulcrum line, and a tooth-colored acrylic base over the ridge.
- At seating, the dentist confirmed: passive seating with light finger pressure, bilateral occlusal contact after minor adjustment, no visible rocking at the free end during light tapping, clasps engaging the undercut at the planned depth, no sharp or pressure areas on the mucosa.
- The usage card went home with the patient, with the dentist’s number for the one-week and one-month check.
5. Why the dentist chose a cast metal partial for the back teeth
Six short sentences, each one a design argument the clinician can reuse with the patient:
- Back teeth do real work. The appliance has to resist bending; a cast metal frame does that at a thickness the patient can wear comfortably.
- A free end needs discipline, not softness. Rests and reciprocation beat a floppy base at the back of the arch.
- Dentures do not stop ridge resorption — this is well documented (ScienceDirect / The effect of prosthodontic treatment on alveolar bone loss). A rigid, well-rested design slows down the uneven loading that makes it worse.
- The abutments stay sound. No full-coverage preps mean the patient keeps every future option, including implants.
- The appliance is upgradable. It is already designed so a posterior implant can be added later as implant-assisted retention (PMC).
- Replacement is scheduled, not surprising. The ACP position statement on replacement frequency is public (prosthodontics.org PDF); we document what the appliance is, so the dentist can review it on that cadence.
6. If you send this type of case to our lab — what to put on the slip
A short, concrete checklist from the Removable Denture Department. Everything on this list is “please tell us, so we don’t guess”:
- Kennedy class and side, plus any supra-eruption notes on the opposing arch.
- Material call — cast Co-Cr frame vs. acrylic, and your view on clasp routing for the smile line.
- Abutment plan — rest seats and guide planes only, or crowns planned; which teeth, which surfaces.
- Coordination with other restorations on the same side (crowns, onlays, splint). If a crown is in play, we would rather process the framework and the crown together than fit twice.
- Any planned implant site — even if the implant is years away. We will archive the design accordingly.
- Shade and tooth mold preference for the saddle teeth, plus a note on whether a reduced-width posterior is acceptable where the gap has closed.
7. Working with our Removable Denture Department
Our lab has operated since 2012 out of facilities in Shenzhen and Huizhou, China, with roughly 460 staff across CAD design, milling, implant work, ceramic and metal, and the dedicated removable department. We complete each case in-house — no outsourcing to third-party labs — and have served more than 100 dental clinics and 400 dentists across the United States and Europe.
If you want to see how a case like this moves through the floor, we schedule factory visits and video walk-throughs on request. Prescriptions can be sent through the dentist account; cases coordinated with us go through a dedicated case-coordination team.
Scope note: This page describes the lab’s design and manufacturing choices on a composite case. It is not clinical advice. The dentist on record remains responsible for diagnosis, prescription and chairside decisions.
Related reading on our site: removable partial dentures, cast metal framework dentures, flexible dentures (and when they are not the right call for back teeth).
Primary source list used on this page
For readers who want to read the clinical references behind the design choices above.
- MouthHealthy / ADA — Dentures Partial overview: https://www.mouthhealthy.org/all-topics-a-z/dentures-partial
- ADA Oral Health Topics — Denture Care and Maintenance: https://www.ada.org/resources/ada-library/oral-health-topics/dentures
- ACP — Parameters of Care for the Specialty of Prosthodontics (PDF): https://www.prosthodontics.org/assets/1/7/ACP_Parameters_of_Care_2020.pdf
- ACP — Frequency of Denture Replacement (position statement, PDF): https://www.prosthodontics.org/assets/1/7/The_Frequency_of_Denture_Replacement_Position_Statement.pdf
- Longevity of acrylic and cobalt-chromium removable partial dentures: https://www.sciencedirect.com/science/article/pii/S0300571224004226 · https://pubmed.ncbi.nlm.nih.gov/39029614/
- NCBI Bookshelf — Longevity of Partial and Complete Dentures: https://www.ncbi.nlm.nih.gov/books/NBK596306/
- Different Polymers for the Base of Removable Dentures — Part I: https://www.mdpi.com/2073-4360/15/17/3495
- Implant-assisted removable partial denture outcomes (PMC): https://pmc.ncbi.nlm.nih.gov/articles/PMC8590637/
- Effect of prosthodontic treatment on alveolar bone loss: https://www.sciencedirect.com/science/article/abs/pii/S0022391398701386
- RPD — ScienceDirect topic overview: https://www.sciencedirect.com/topics/medicine-and-dentistry/removable-partial-denture
Sperimentate tempi di consegna più rapidi grazie alla nostra tecnologia all'avanguardia
Consigliato