A Clinician’s Guide to Digital Workflows for Full-Arch Implant Restorations
Digital tools have changed how dentists fix a whole row of teeth. In this article, you’ll see each step in the digital way to do full-arch implant work. There are lots of easy tips and real examples so you can see how using digital dentistry makes treatment faster, more accurate, and more comfortable—for you and your patients
Why Go Digital for Full-Arch Implant Restorations?
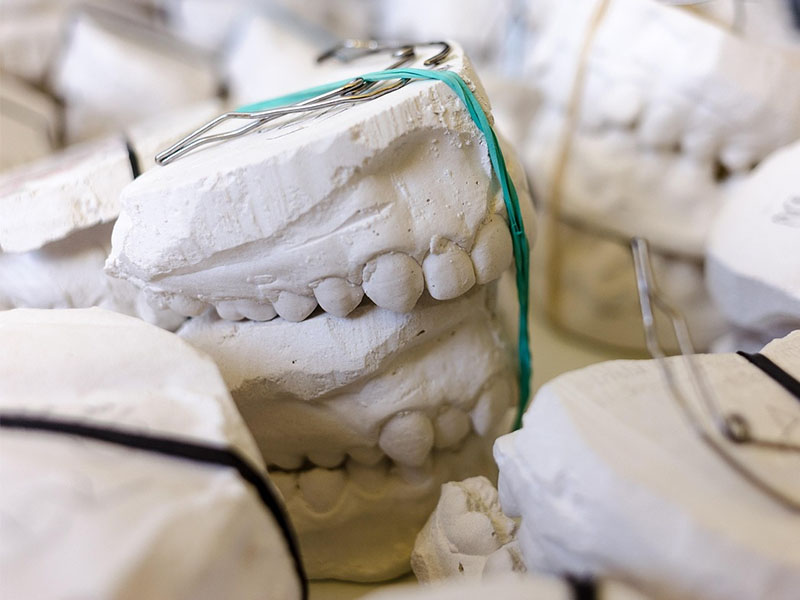
Let’s be honest—putting back a full row of missing teeth has always been tough. In the past, analog tools made everything slow and often hard for the patient. Think about your patients gagging on sticky molds, or you waiting days for the lab to send stuff back. And sometimes, the teeth just didn’t fit right at the end. That wasted your time and stressed out your patients—not good for anyone.
Problem:
Old, hands-on methods were messy, slow, and not very exact.
Agitate:
Ever had a patient gag when you’re making impressions? Or had to grind on a prosthesis that just wouldn’t fit? That’s lost time, and patients start losing confidence, too.
Solution:
With digital technology and workflows from companies like Straumann Group, Nobel Biocare, 3Shape, and exocad, you can make everything smooth, fast, and very accurate. Digital tools fix the problems of the past—and your patients notice the difference.
What Problems Did Analog Dentistry Cause?
Old-fashioned dentistry had way more guesswork. Was your impression going to set right? Would the lab’s model actually match what’s in the mouth? Would the final teeth line up at all? Even the best dentists ran into these headaches:
- Impression Mistakes: Traditional impressions (PVS) can bend or tear, especially when there’s no teeth, so things just won’t fit right.
- Model Errors: Plaster models can puff up or break, so the lab work might be off before it even gets started.
- Annoying Adjustments: If the final teeth don’t fit, you waste precious time making changes in the chair.
Now, though, digital workflows keep mistakes to a minimum. Digital impressions and computer design take out a lot of the guesswork.
What Is the Step-by-Step Digital Workflow?
Switching to digital isn’t confusing—it’s more like having a good map to follow. The digital way has four big steps:
- Get Digital Data: Gather all your 3D info—fast and with no fuss.
- Plan and Design Virtually: Plan everything on the computer so you don’t get surprises later.
- Guided Surgery and Quick Temporary Teeth: Place implants with a guide and give the patient good-looking temporary teeth right away.
- Final Teeth: Give a final prosthesis that fits perfectly, and check it all with digital tools.
Every step uses top tools from Dentsply Sirona, 3Shape, Medit, TRIOS, Planmeca, and more. No more sticky molds or messy models.
How Do We Get the Right Data at the Start?
Getting the right data matters most. Start well and things will nearly always end well.
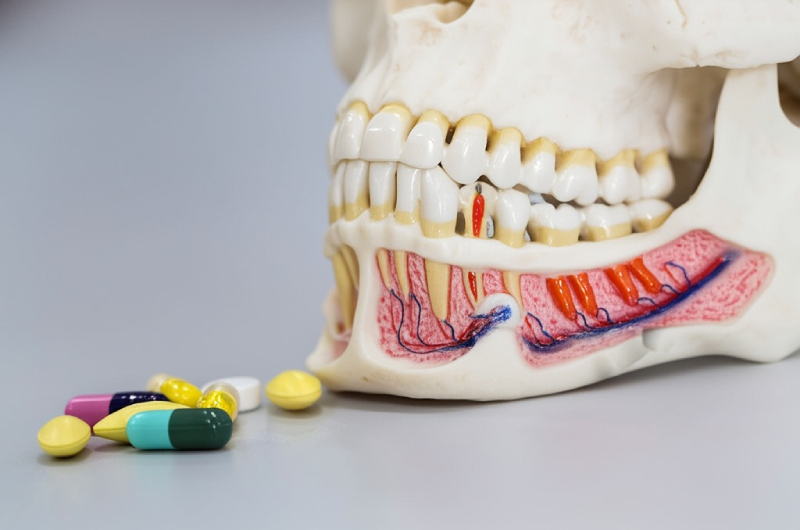
- CBCT Scans: Cone Beam CT lets you see the whole jaw in 3D. You’ll spot the bone, nerves, and everything in between.
- Intraoral Scanners (IOS): Instead of messy trays, just use an iTero or Primescan to scan the mouth in seconds. No gagging, no pain, and super accurate.
- Photogrammetry: For top accuracy in implant spots, systems like PIC dental and iCam4D snap a bunch of pictures and turn them into a 3D map. No more mistakes from wobbly scan bodies.
- Digital Face Scanning: Some clinics even scan your patient’s face to help the teeth look just right.
When you put this data together, you get a perfect “digital twin” of your patient. That’s what you need to start the rest of your digital workflow.
What Are the Key Planning and Design Steps?
Once you’ve got great data, planning gets way easier. With dental design programs like exocad, 3Shape, and Blue Sky Plan, you can:
- Merge Your Files: Add DICOM files (from CBCT) to STL scans (from IOS)—now you can see bone and gums together.
- Virtual Implant Placement: Plan implants where the tooth needs to go, not just where there’s bone.
- Digital Smile Design (DSD): Want to show your patient their new look? DSD lets them “try on” their new smile before you start.
- Digital Wax-Up: Build the new teeth in the software and tweak things until you’re happy.
Designing guides, temps, or finals becomes easy with Planmeca, Amann Girrbach, Chrome GuidedSMILE, and nSequence. You can make changes before you ever pick up a drill.
How Is Digital Surgery Different?
Digital dentistry makes surgery feel like you’re following GPS. Here’s how it works:
- 3D Printed Surgical Guides: Printed guides from Carbon 3D, Formlabs, or SprintRay will put your implants right where they should be. You’ll usually be less than 1.5 mm off the mark. That’s really close!
- Static and Dynamic Navigation: Use static guides for the “step-by-step” approach, or live navigation (like X-Guide) for real-time help as you work.
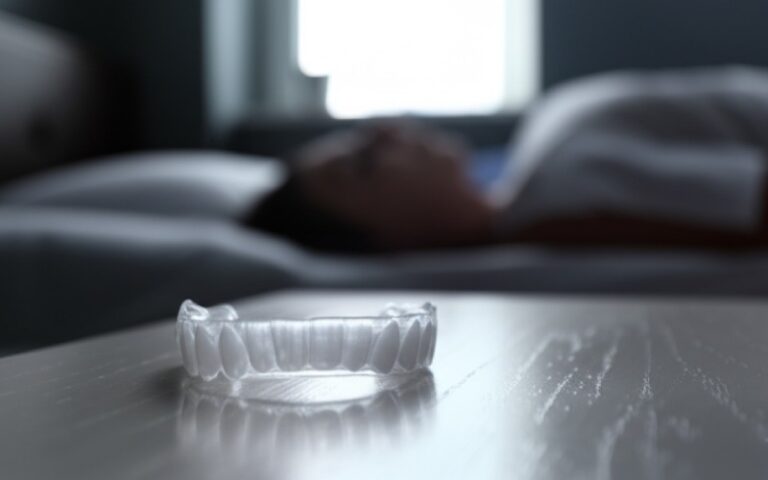
- Immediate Temps: Don’t want to send patients home toothless? With digital planning, you can have a temp PMMA or solid zirconia ready before surgery starts. The patient leaves with teeth.
You’ll check the fit at each step—digitally or sometimes with photogrammetry—to get the best result.
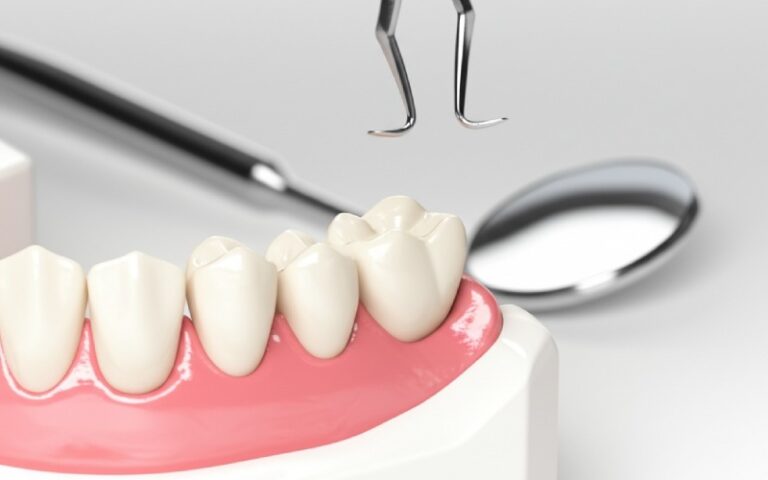
What Do Digital Tools Change About Making the Final Prosthesis?
Here’s where digital really shines. Once the mouth is healed and the implants are solid, you scan again—often using photogrammetry. But why bother?
- Better Fit: Photogrammetry and good IOS tools get implant spots right down to 8–15 microns. That means your full-arch bridge fits without squeezing anything, so you’ll have fewer problems later.
- Design Choices: Pick from titanium, PEEK frames, all-zirconia teeth, PMMA, or titanium with an acrylic edge. Everything’s created in dental software and milled or printed just right.
- Fewer Visits: Since everything’s set up ahead, you cut down how many times the patient needs to come in—sometimes by over an hour per arch!
Some clinics use in-office mills or 3D printers. Others depend on labs like Zirkonzahn or AvaDent for these things.
Which Is Better: Intraoral Scanners or Photogrammetry?
The right tool matters. Here’s what each option offers.
Intraoral Scanners (IOS):
- Pros: Easy to pick up, quick to use on most patients, and feels better for your patient, too. Most scanners can handle gums and old dentures (Primescan, TRIOS, iTero, Medit).
- Cons: If you’re scanning a big area or lots of implants, the computer can get lost (“stitching errors”) and the scan may not be perfect.
Photogrammetry Systems:
- Pros: Super accurate for big full arch cases—down to just a few microns (that’s teeny!). They only care about where the implants are, not if the gums move.
- Cons: They cost more, and you need a couple extra steps.
Clinician’s Advice:
Use photogrammetry for tricky “All-on-4” or bigger, when a perfect fit matters most. For smaller jobs or when cost rules, intraoral scanners are usually fine. A lot of practices use both for best results.
What Does the Science Say About Digital Implants?
Let’s look at what studies and numbers say.
| What’s Measured | Digital Result | Why It Matters | Study |
|---|---|---|---|
| Implant Fit | Photogrammetry: 8–15μm/ IOS: 30–70μm | Fits better, less re-do | Revilla-León et al., JPD (2020) |
| Impression Mistakes | Digital: under 50μm, Analog: over 100μm | First fit is better | Alsharbaty et al., JPD (2019) |
| Visit Times | Digital saves 3–5 visits | Patients get done faster | Tallarico et al., J Clin Med (2021) |
| Chair Time | 60–90 minutes less per arch | Treat more patients | Finelle et al., Int J Comput Dent (2018) |
| Cost | Pay $50k–150k at first, but cheaper per case | Pays for itself in 2–3 years | Mangano et al., BMC Oral Health (2020) |
| Patient Comfort | Less gagging, less stress | Happier, more loyal patients | Yilmaz et al., J Prosthodont (2019) |
| Guide Accuracy | under 1.5mm off, under 4 degree angle error | Less pain, faster healing | Tahmaseb et al., Int J Oral Maxillofac Implants (2018) |
Are There Any Downsides to Going Digital?
Nothing’s perfect. Here’s what you should know first:
- High Start-Up Cost: Digital tools aren’t cheap. Buying scanners, software (3Shape, exocad, Dentsply Sirona), and a printer or milling machine can cost $50k–$150k. Most busy offices make that back in two or three years—sometimes quicker.
- You Have to Learn: The first cases feel new, but after a few and some help from online classes or company trainers, you’ll feel at home with it.
- Managing Files: Now, you’re in charge of files (STL, DICOM), using the cloud, and keeping data safe and backed up.
- Material Limits: Materials like zirconia, PMMA, and PEEK are strong, but we’re still watching how they hold up for decades.
- File Sharing Can Be Hard: Some software is “locked” (closed system), so working with some outside labs can be tricky.
So, is your team ready? Are patients asking for faster and better treatments? If so, going digital might be just what your practice needs.
What Does the Future Hold for Full-Arch Digital Dentistry?
Technology’s moving fast. Here’s what’s coming:
- AI Will Help Planning: Programs will soon help you find the best plan in less time.
- Robot Surgery: Companies like Medtronic and X-Guide are making robot help for even more exact implant placement.
- New Strong Materials: Zirconia and titanium are just the start. Stuff like PEEK and mixes are getting better-looking and stronger.
- Full Digital Patients: You’ll be able to try out bite, looks, and function in the computer before you ever touch the real mouth.
- Remote Consults: Digital tools let specialists help you—even if they’re miles away.
The days of sticky, heavy, messy molds are nearly gone. Digital dentistry is here, and it’s making it all easier, quicker, and more predictable.
Frequently Asked Questions
Q: How long to learn digital full-arch workflows?
A: Most dentists get comfortable in 3–6 months, especially with help from the software companies.
Q: Is digital really more exact than analog?
A: Yes! Studies show digital scans and photogrammetry (with 3D printed guides) are more exact than traditional stuff, especially for full-arch jobs.
Q: What equipment do I need to start?
A: You’ll want a CBCT machine, an intraoral scanner, and dental CAD software. For best results, add a printer for guides and a photogrammetry tool.
Q: Are digital teeth as strong as old ones?
A: Sure are! Materials like monolithic zirconia, titanium, and PMMA are tough. New stuff like PEEK is looking good in studies, too.
Summary: Main Points to Remember
- Digital workflows for full-arch implant work are more exact, faster, and easier for patients than old-school methods.
- Every step, from scanning with something like TRIOS/Medit to planning in exocad/3Shape, cuts down mistakes.
- Photogrammetry like PIC dental is the most exact for full-arch implants.
- CAD/CAM tools, 3D printing, and advanced materials mean better, longer-lasting teeth.
- What you pay at first pays off in time saved and happier patients.
- Pick between in-house or lab workflows depending on your team and how many patients you see.
- Digital dentistry is where things are going—don’t miss out.
Ready to upgrade your full-arch implant work?
Switch to digital dentistry. You’ll work faster, get more exact fits, and give your patients more to smile about.
References:
- Revilla-León, M. et al. (2020). “Accuracy of Implant Position with Photogrammetry and IOS,” JPD.
- Alsharbaty, M. et al. (2019). “Digital vs. Conventional Impressions for Full-Arch,” JPD.
- Tallarico, M. et al. (2021). “Time Efficiency in Digital Workflow,” J Clin Med.
- Finelle, G. et al. (2018). “Chairside Time Saving,” Int J Comput Dent.
- Mangano, F. et al. (2020). “ROI in Digital Implantology,” BMC Oral Health.
- Yilmaz, B. et al. (2019). “Patient Comfort with Digital Scanning,” J Prosthodont.
- Tahmaseb, A. et al. (2018). “Accuracy of Surgical Guides,” Int J Oral Maxillofac Implants.