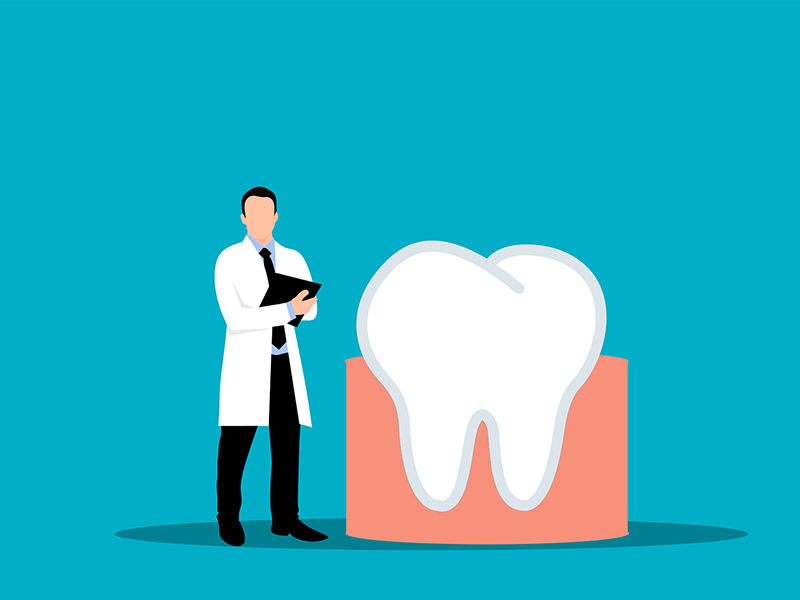
Different Types of Dental Forceps: An Essential Guide for Clinicians
Ever felt that wave of uncertainty right before pulling a tooth? You look down at the tray of dental tools, and you must pick the right one. Pick wrong, and a simple job turns tricky. It might make things harder for your patient—and for you. This guide wants to change that. We’ll walk you through the different kinds of dental forceps. You’ll learn which tool works for which tooth, and why. With this info, you’ll work faster, safer, and with more confidence—every single time.
Table of Contents
What Are Dental Forceps and Why Are They So Important?
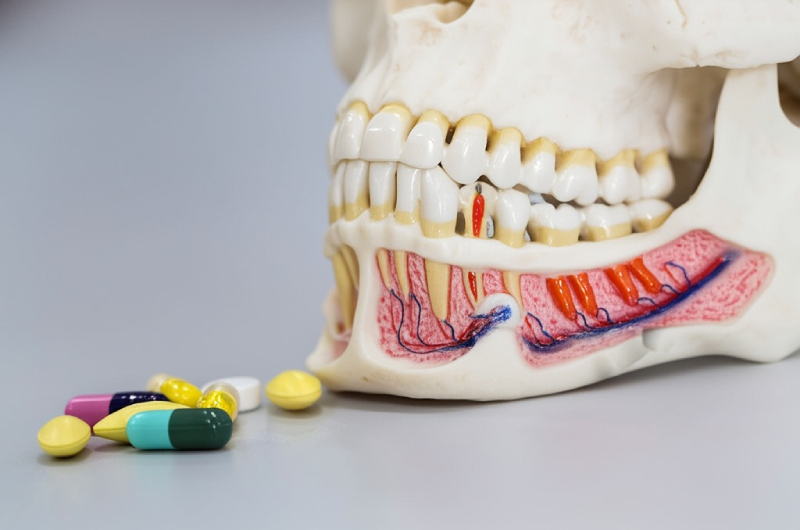
Let’s get back to basics. What are dental forceps? Think of them as special pliers, made just for teeth. They’re the main tooth pulling tools used in tooth extraction (or exodontia, its fancy name). Their job? Grab a tooth’s top part or root and hold on tight. Then, you can rock or pull the tooth out of the jaw bone.
But not every tooth looks the same. That’s why we have so many kinds of tooth pulling tools. Use a forceps made for a skinny front tooth on a thick molar, and things might go wrong fast. A tooth could crack or break. The right tool gives you the hold and angle you need. That means a smooth, easy extraction. That keeps pain down and helps your patient heal better, which really matters if they might get dental implants someday.
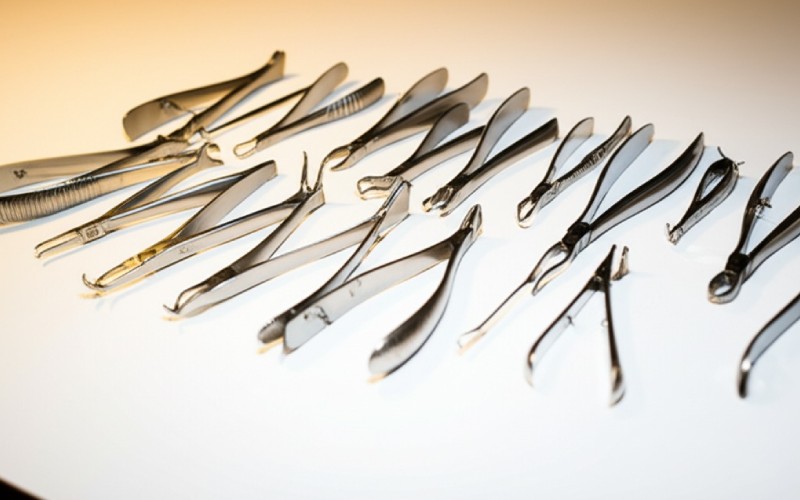
What Are the Parts of a Dental Forceps?
Every forceps has three key parts. Knowing them helps you see why each one looks the way it does. The anatomy of dental forceps is pretty simple.
- The Beaks: These are the ends that hold onto the tooth. The shape of the beaks is the star of the show. Some are fat, some are skinny, some come to a point. Each shape matches a certain tooth.
- The Hinge: This is the joint that lets you open and close the tool. A smooth hinge gives you more control.
- The Handles: This is where your hand goes. Handles should feel strong and comfy so you can squeeze just right.
You might also hear about American style forceps and English style forceps. The only real difference? The hinge. American ones have a hidden screw hinge. English ones use a boxy, visible one. Most dentists in the U.S. like the American kind, but it’s good to know about both.
Which Forceps Are for the Upper Jaw?
Your upper jaw is called the maxilla. The teeth up there need their own set of tools. Maxillary forceps usually have a curve that helps you reach the upper teeth without bumping into the lower jaw. This is a key part of how they’re shaped.
There are lots of tools for the upper jaw. The forceps numbering system helps keep track. Here are the main names you’ll spot in most dental offices—and in those starter kits at dental school.
Your Guide to Essential Maxillary Forceps
Let’s cover the regulars for the upper jaw. Learning these will really help you. You’ll see them in any dentist’s office.
- #150 Forceps: This is the MVP for upper teeth. It’s got a gentle curve and works on most upper front teeth, canines, and premolars (or bicuspids). If you want just one tool for most upper teeth, this is it. There’s a smaller version, the #150S, which is a kids’ forceps for baby teeth.
- #1 Forceps: This is the go-to for upper front teeth. It’s very straight, letting you see right where you’re working—great for incisors and canines.
- #53R and #53L Forceps: These are your upper molar forceps. “R” means upper right molar, “L” means upper left molar. One beak is pointy to slip between the two roots on the cheek side of the molar, giving you an awesome hold.
- #88R and #88L Forceps: Often called upper cowhorn forceps, these are good for upper molars that are badly broken or decayed. The two pointy beaks grab down onto the roots themselves.
- #65 Forceps: This is a bayonet forceps. Its bent design helps reach deep or tight spots, which makes it perfect for tiny pieces like root tips or upper wisdom teeth.
| Maxillary Forceps | Common Use | Key Feature |
|---|---|---|
| #150 | Upper Front, Canines, Premolars | Gentle “S” curve |
| #1 | Upper Front, Canines | Straight for front teeth |
| #53 R/L | Upper Molars | One pointy side for roots |
| #88 R/L | Broken Upper Molars | Two pointy tips (Cowhorn) |
| #65 | Root tips, Wisdom Teeth | Bent tip for tight spots |
Which Forceps Are for the Lower Jaw?
Now let’s check out the lower jaw—the mandible. These teeth need forceps shaped very differently. Mandibular forceps have an angle (about 90 degrees) that lets you get at the lower teeth while steering clear of the upper row.
Like with the upper set, these are must-haves for any tooth-pulling kit. A good dentist grabs the right one almost without looking.
Your Guide to Essential Mandibular Forceps
Picking right for the lower teeth is just as important. Make the wrong choice, and a quick case can turn into a hassle. Here’s your list for the lower jaw:
- #151 Forceps: This is the jack-of-all-trades for lower teeth. Works on lower front teeth, canines, and premolars. Every set needs this. There’s a smaller #151S for kids’ teeth.
- #23 Forceps: Known as the lower cowhorn, this one’s great for bad, broken molars. Its sharp tips dive right below the gum and grab the tooth at its roots, using the jaw bone like a lever to pop the tooth out. Super strong!
- #17 Forceps: This is your “regular” lower molar forceps. With two sharp ends, it grabs a lower molar tight, whether left or right. It gives steady control while you rock the tooth out.
- #74 “Ash” Forceps: This slim, pointy tool is for grabbing root tips, especially in the front. Handy when only a piece is left and you need a careful touch.
What About Weird Teeth and Tough Cases?
Sometimes, you get a super hard case. Maybe you’re looking at a tiny root tip, or the tooth just won’t budge. You need smart, special tools. Both dentists and oral surgeons have a few up their sleeve.
If you’re grabbing root tips, you want something gentle. The #65 bayonet forceps or other root tip tools are perfect. Their skinny tips get a grip without squeezing too hard. Stuck with a tooth fused to the bone? That calls for a surgical approach. You might use tools like luxators and periotomes to cut the tissue holding the tooth. Or, reach for straight elevators or Cryer elevators. These wiggle and loosen the tooth before you even touch the forceps. Knowing when and how to use these makes you a better dentist—and a lifesaver to your assistant.
How Do I Choose the Right Forceps?
So, how do you pick the best one? There are a few things to check. Dental students spend lots of time practicing this in school. Here’s a simple list for making your pick:
- Where’s the Tooth? Is it up top (maxilla) or in the bottom (mandible)? Is it a front or back tooth?
- What Kind of Tooth? Is it a front tooth, canine, premolar, or molar?
- How’s the Crown? If it’s strong, you can grab easy. If it’s rotten or cracked, use something like a cowhorn forceps for the root.
- Root Shape? One root, two, or three? Knowing the roots helps you pick the tool.
- Age of Patient? Grown-up teeth or baby teeth? Kids’ forceps are smaller.
Picking tools that fit your hand right helps, too. Big names like Hu-Friedy, Miltex, and Karl Schumacher make comfy, smart-shaped forceps. Most are hard stainless steel with tough grip pads to hold teeth better.
How Do I Care for My Forceps?
Your forceps cost a bit, so take care of them. Good dental tool care keeps your patients safe and your tools going strong. Any reusable dental tools must be cleaned and made germ-free.
First, rinse off gunk. Then, put them into an autoclave machine. This uses steam and pressure to make sure no germs are left. Following the cleaning steps from the CDC and OSHA is a must—it’s the law. Good tool cleaning stops sickness from spreading. Also, check your forceps now and then. Sharpen them if needed so the beaks stay sharp and tight. This goes for tools used in gum doctor offices and root canal offices, too. Even places that don’t pull teeth, like braces clinics, clean their stuff the same way. Some offices use throwaway tools for easy cleanup.
Wrapping It Up: Getting the Best Results
Being great at using your tools is a big deal in dentistry. From the second you give a numbing shot, to pulling the tooth, to caring for the spot afterward, your tools are your helpers. Pulling a tooth is about more than just “yanking it out.” You want to do it smoothly and safely.
Your main goal? Keep the bone and gums healthy. That means faster healing and more choices down the road, like bone grafts or dental implants. Knowing all the names and numbers of dental tools puts you in control. If you know your forceps for every kind of tooth—from upper premolars to lower bicuspids—nothing will surprise you.
Things You Can’t Forget
- Match the Tool to the Jaw: Use upper forceps for upper teeth and lower forceps for lower teeth.
- Know the Numbers: Remember the numbers: #150 and #151 are your helpers for most cases. #23 and #88 are your tough-guy tools for hard molars.
- Check the Crown: If the tooth top is weak or gone, use a cowhorn forceps or something that grips the root.
- Special Tools for Tough Jobs: Keep root tip and bayonet forceps close for broken teeth and tight spaces.
- Clean Care is Key: Always clean and check your tools. Clean tools mean safe patients—every time.