The Definitive Guide to Avoiding Impression & Scan Data Disasters in Dentistry
Table of Contents
Introduction: Why Getting Data Right Matters in Today’s Dentistry
When I started out in dentistry, I had no clue just how much my work would depend on getting impressions and scans just right. Let me tell you, a few bad experiences—unhappy patients, lots of do-overs, and some late nights re-checking cases—opened my eyes. In dentistry, data is pretty much everything. If I mess up one impression tray or scan body, that little mistake can turn into a big, costly problem, eat up my time, and worst of all, make my patients trust me less.
Getting impressions and scans right is about way more than making a nice plaster model. These things run the whole show for fixing teeth and even how we figure out what’s wrong. If I mess up here, the crown won’t fit, the clear trays won’t do their job, and sometimes I have to start the whole thing over. And this doesn’t just cost me money—a simple redo is a few hundred bucks gone. Messing up also steals valuable chair time, stresses out my staff, and can make patients think twice about my skills.
Sometimes I see all the talk about digital and I think maybe it’ll solve everything. Nope! Digital systems have their own problems. Whether I’m using Polyvinyl Siloxane, alginate, or the newest scanner, each has its own way to trip me up.
Here’s the big lesson: becoming really good at impressions and scans isn’t just following steps in a book. You’ve got to know where things can go wrong—and stop trouble before it even starts.
I’m writing this guide to share what I’ve learned—usually the hard way—along with some tips that can help you avoid expensive mistakes and set your cases up for success from the very beginning.
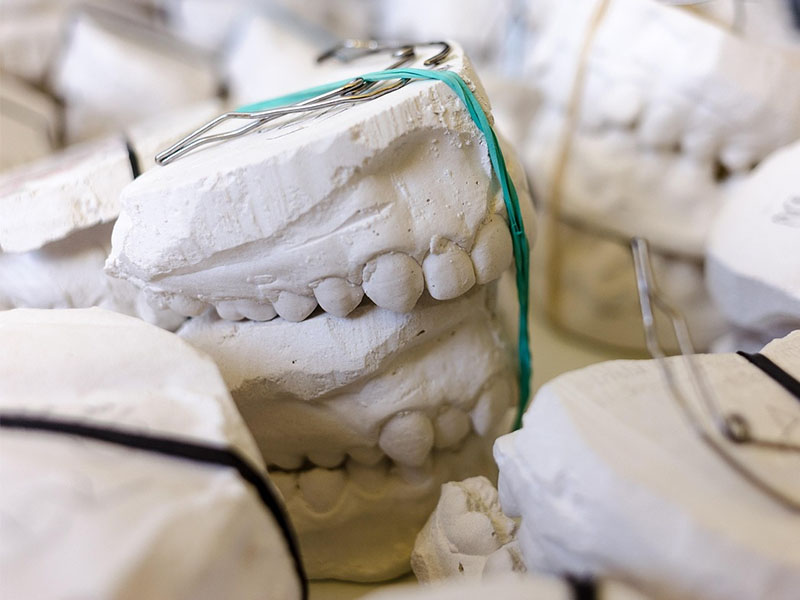
Getting Traditional Impressions Right: Common Mistakes and Fixes
I learned my basics with traditional impressions. Sure, digital is the future, but most dentists—including me—still pull out those old school trays and materials for lots of things, like dentures and certain fixes.
Here’s a rundown of the most common problems I’ve seen—and what I do to stay out of trouble.
Messing Up With Materials
Mixing Wrong
I found out early that guessing when mixing is a bad idea. My assistant once just “eyed” the alginate mix instead of using the scoop. What we got was a goopy mess that tore when we pulled the model. Stick to the instructions every single time. If I try to get clever, it bites me later.
Bad Storage: Too Hot/Cold or Wet
Ever had impression stuff that just won’t set? I have. Most of the time, it’s because it sat somewhere too hot or humid. Materials like hydrocolloid and polyether are extra picky. I learned to stash all this stuff in a drawer with the temp controlled, and now my results—and nerves—are way better.
Old Materials
Here’s something I hope you skip: using expired impression material. I’ve done it, and it gave me grainy, rough casts, even when my technique was fine. These days I run a tight inventory and toss anything old. Out-of-date stuff isn’t worth the hassle.
Technique Mistakes
Not Pulling Gums Back Right
You can’t copy what you can’t see. Sometimes I used to skip packing the cord or using paste to save a little time. All that did was give me unclear margins, which meant redos. Now I always use either a retraction paste or two cords to keep things nice and open. It made a huge difference, right away.
Bubbles and Holes
Tiny air bubbles love to show up on the parts that matter—like crown margins. Here’s what works: I squirt the material right on the tooth, then put the loaded tray in. Also, don’t pile too much in the tray. This isn’t an eating contest.
Ripping or Warping
Rushing to pull out the tray, especially with alginate or polyether, is just asking for trouble. I’ve torn up plenty of impressions this way. Now, I always wait the full set time and ease the tray out nice and steady. If it feels wrong, I just redo it rather than sending a bad cast to the lab.
Managing Gagging
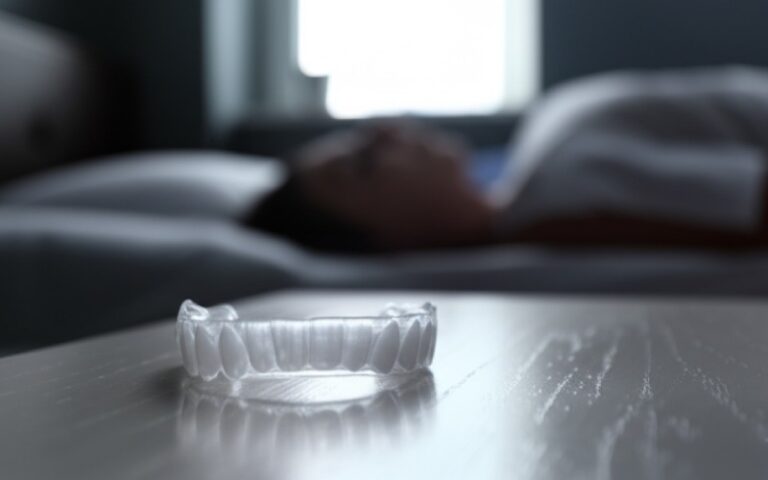
Let’s face it, impressions can feel awful to a patient. For people who gag, I use the fastest set material and the smallest tray I can get away with. Chatting with patients, or having them lift their feet for a minute, helps distract them. And if they can’t handle it at all, digital scanning can save the day.
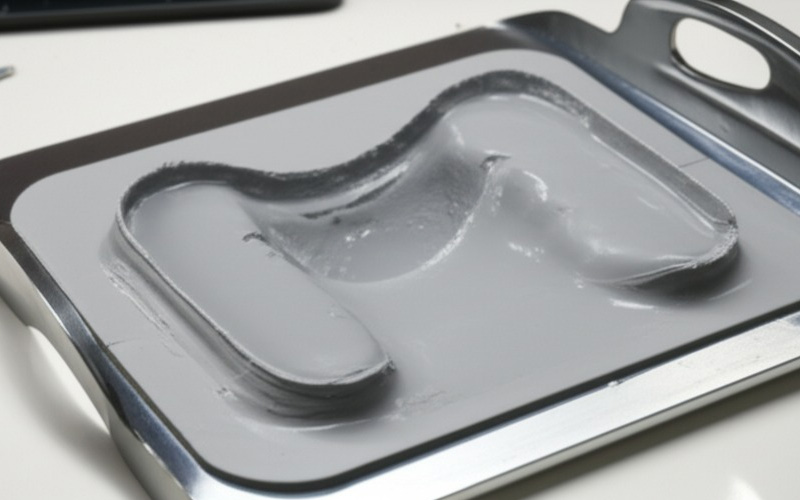
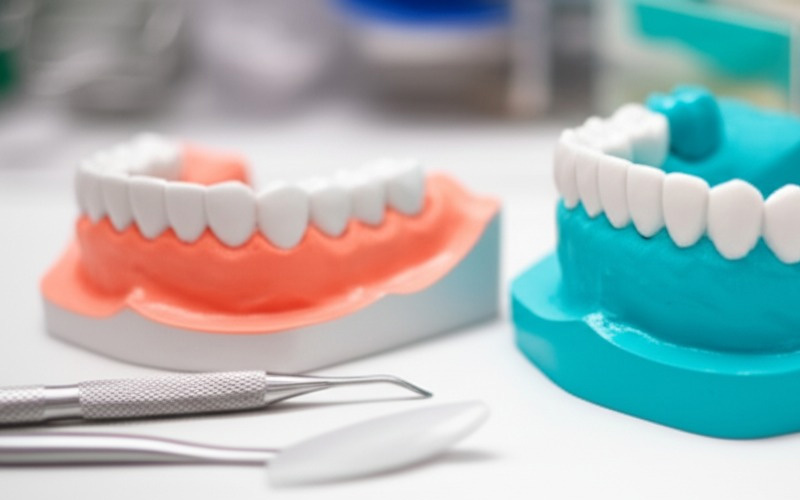
Picking the Right Tray
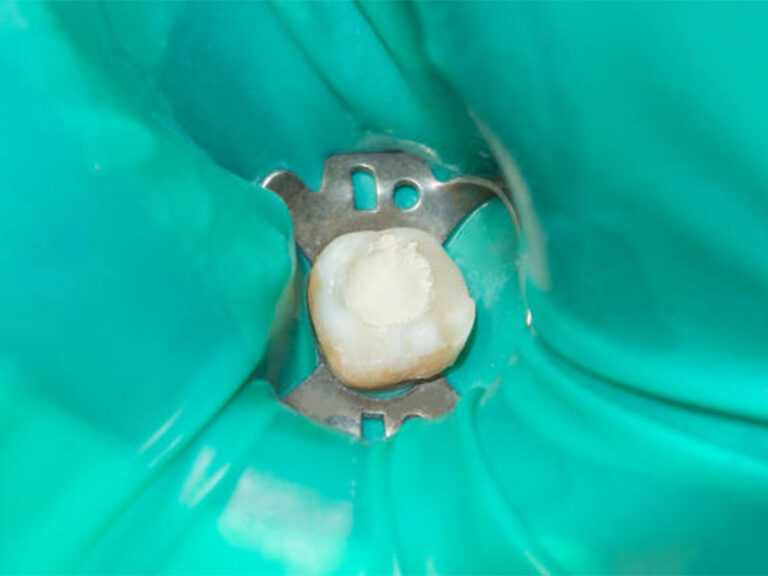
Bad Tray Fit
Early on, I just grabbed whatever tray was around. That’s a mistake. If the tray doesn’t fit right, you get warped impressions or missed spots. For tricky stuff, custom trays are the way to go. For the usual stuff, I always check the fit first, empty.
No Tray Glue
Ever had the impression come loose from the tray mid-way? That’s a horror show. This usually happens if I forget to use adhesive or if I rush it and don’t let it dry. Now I put on a light coat every time, wait for it to dry, and go.
What to Do After Taking the Impression
Disinfecting Wrong
I’ve seen people wreck good impressions just by using the wrong cleaner. That can make the material swell or shrink. I follow ADA and CDC guides—gentle sprays or short dunk times, with stuff that matches the material.
Waiting Too Long to Pour/Cast
Especially with alginate, time really matters. I try to pour the model within the time the manufacturer says. If I can’t, I pick a different, more forgiving material like a good PVS for jobs that may sit.
Shipping Damage
When I mail impressions to the lab, bad packaging can ruin all my work. Now I use strong cases with padding, and a cold pack if the material needs it. “Fragile” stickers don’t mean much if the box isn’t packed right.
Getting Digital Scans Right: How to Dodge Big Problems
I jumped on digital scanning pretty early. It impressed patients and sped things up, but boy, there’s a learning curve. I messed up more than a few times at first.
Getting Ready for the Scan
Not Keeping the Area Dry and Clear
Just like impression goo, digital scanners hate spit and blood. I use retractors, good suction, and sometimes a dusting of anti-glare spray for clearer pictures. It’s worth the extra effort.
Patient Moves
Plenty of scans have been trashed by a sneeze or a patient who suddenly moved. Now, I explain what’ll happen before I start, and I ask them to let me know if they need a break. Sometimes a headrest or a gentle hold on their chin helps keep things steady.
Scanning Mistakes
Missing Spots
When I started, I’d often skip small areas—between teeth, or the roof of the mouth. That would mean the lab couldn’t finish the model. Now, I follow a set order and always double check in the software before calling it done.
Computer Makes Mistakes
Going too fast or moving the scanner all over the place can upset the software and add errors. I slow down, keep a steady hand, and use the shape of teeth or gums as markers. If the scanner says something went wrong, I just scan that part again before the patient leaves.
Weird Markings or Blurry Pictures
Metal crowns and wet spots mess up digital scans with shiny or dark blobs. Retracting tissue, drying things off, and sometimes using anti-glare spray helps. If it’s blurry, I just redo that area on the spot.
Blurred/Missed Images
Keeping a steady grip and using the same light each time cuts down most problems. If I see something off in the review, I fix it while the patient is still there. No shortcuts.

Problems With Equipment and Software
Scanner Needs Adjusting
Nothing’s worse than realizing your scanner is off after a few bad results. I check calibration every month and stick to what the maker says.
Software Is Out of Date
Old software led to some real headaches and even lost scans. Now I let the system update regularly, usually after work hours, so I don’t lose time. Much better!
Wrong File Type
I once sent the wrong digital file to my lab and had to make some awkward calls. Now I always ask what the lab wants and double-check before sending.
Equipment Breaks Down
A broken cable or clogged part can stop scanning quickly. I do regular checkups, keep extra parts, and pay for a backup service plan just in case.
What to Do After Scanning
Lost Files
A computer crash can wipe out your scanned case. I save everything to my computer and the cloud—never just one.
Data Leaks
Keeping patients’ data safe isn’t optional. I lock scans with passwords and use trusted cloud companies. I tell my team never to use email or random USB drives for sending scans.
Lab Mix-Ups
At first, I wasted hours when my digital notes weren’t clear for the lab. Now, I use detailed forms, lots of notes, and link my system to the lab whenever I can.
Simple Ways to Make Sure Data Is Good & Work Runs Smooth
Over time, I’ve learned that stopping big mistakes depends on more than just good technique. It takes a whole-office plan: teach the team, keep talking, and buy what matters.
Training and Learning
Team Skills
When we got a digital scanner, I had no clue my staff needed as much (sometimes more!) training than I did. We put time aside for hands-on learning and went to a few workshops. The result? Our mistakes dropped by half after a couple of months.
Clear Routines
Standard steps for every impression and scan might sound boring, but they work. We made simple, easy-to-follow guides for every task. New team members have a plan, and everyone knows what’s expected.
Making Sure Work Is Good
Reviewing as a Team
I never let an impression or scan leave until I’ve looked at it—or someone I trust has checked it. We’ve caught lots of little problems before they became remakes. If there’s any question, we redo it while the patient is still here.
Talking With the Lab
Keeping real, honest talks going with my lab makes things better for everyone. We go over cases now and then and share what’s working or what went wrong.
Spending on Good Tools
Getting What Fits Your Office
It’s easy to get pulled in by the newest gadget, but now I always check that a scanner or material works in my real day-to-day. Trying something in the office first—before buying—keeps me from wasting money.
Choosing Stuff That Works Together
The best tools “play nice” with each other. I pick things that share info easily, so I don’t run into annoying compatibility problems.
Talking With Patients
Letting Them Know What’s Coming
I used to think patients just wanted fixed teeth, but now I explain each step, how it might feel, and about how long it’ll take. Once they know what to expect, everyone’s less nervous and more patient.
Giving Instructions Before the Appointment
Simple reminders like “don’t eat before your impression” or “please brush before you come in” have made a big difference. Good patients make my day easy.
The Real Costs: What Impression/Scan Mess-Ups Can Cost You
I wish I could say I never mess up, but mistakes still happen sometimes. The main thing is to cut down on them and know what they really cost you.
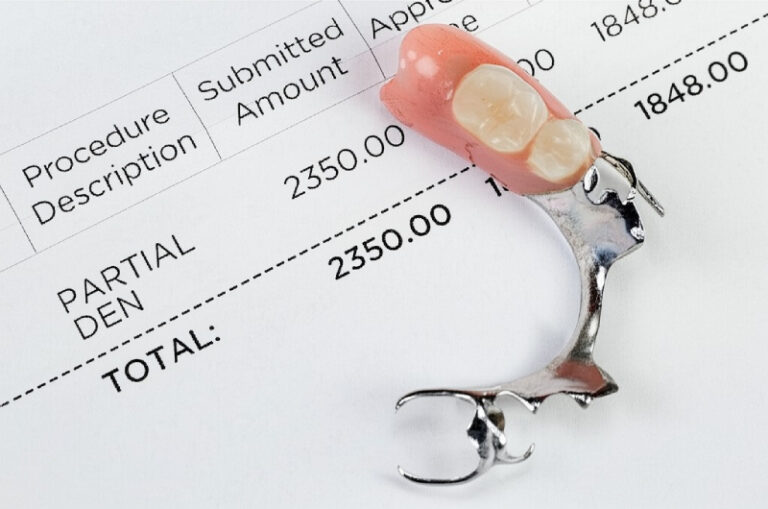
- Money: One crown do-over can cost me $150–$500, counting materials, the lab, and my time. Ten of those a month and you’re losing real money.
- Time: Do-overs fill up my calendar, so instead of meeting new patients, I’m fixing old work.
- Patient Trust: Nobody likes hearing “Let’s start over.” It makes people question your skills and sometimes they leave bad reviews.
- Office Reputation & Speed: Labs send back 5–15% of impressions with big problems. High return rates slow everything down and can hurt the lab relationship. Offices with high-quality work get treated better by labs, too.
Still, there’s good news. Things like real team training and clear step-by-step protocols—like I described—can cut error rates by a huge chunk, sometimes almost in half. Patients like digital scans, too, since it’s faster and gentler.
Conclusion: Building a Strong Dental Practice With Good Data
After all these years, I believe every impression—whether with alginate, PVS, or a fancy scanner—shows just how much you care about getting it right. There aren’t shortcuts. A little more effort and training pays off every time.
Dentistry changes fast. Things like artificial intelligence and automation will make workflows even smoother soon. But the basics stick around: good technique, always learning, clear communication, and being open to fixing mistakes.
If you want your practice to thrive in the future, start with good data. Get to know your tools, teach your staff, and keep your eyes sharp. Your patients—and your bottom line—will be glad you did.