Optimal Tooth Preparation for All-Ceramic Crowns: An Easy Guide for Dental Professionals
Trying to figure out the best way to prepare teeth for all-ceramic crowns, like zirconia or e.max? This guide walks you through every step, gives real tips from practice, and shows what not to do if you want strong, beautiful crowns that last. Keep reading to learn how to get crown success!
Table of Contents
Why Are All-Ceramic Crowns Special?
All-ceramic crowns have changed dentistry for the better. Unlike the older porcelain-fused-to-metal (PFM) crowns, these don’t need metal and look just like natural teeth. The magic comes from things like zirconia and lithium disilicate (e.max). These materials are tough, good looking, and safe for anyone who can’t have metal in their mouth. Patients like how real their smile looks.
But here’s the thing: All-ceramic crowns need different ways of preparing the tooth than metal ones. Every choice you make, from the shape you cut to the thickness you leave, has to fit what the material needs. Do it right, and the crown fits well, lasts for years, and keeps gums happy. Mess up? You’ll see broken crowns, ugly results, or sore teeth. No dentist—or patient—wants that.
Why Does Tooth Preparation Matter So Much?
Even if you have a great dentist and the best ceramic, if the tooth isn’t prepped right, the crown will fail. Here’s why:
- Material Strength: Ceramics don’t bend like metal. You need to cut enough tooth so the crown won’t break.
- Looks: If you remove too much, gums can look dark or the tooth can show through. If you remove too little, crowns look bulky and fake.
- Health Problems: Cutting too much can hurt the nerve, cause pain, or weaken the tooth. Too little and crowns don’t fit or break.
- How Long It Lasts: Good prep means crowns can last 10 years or more.
The right prep keeps teeth, gums, and crowns healthy—right away and over many years.
How Do You Save Tooth Structure During Prep?
Whenever I prep a tooth for a crown, I stick to one rule: save as much of the tooth as you can. Every dental textbook says this. Here’s how I avoid cutting too much:
- Check Before You Start: I look for cracks, fillings, and decay. If a tooth is weak, I add a core before prepping.
- Depth Marks: I use special burs that help me only remove what I need—not more.
- Smooth Out: Tiny bumps or sharp spots can mess up the final fit. I smooth out the lines so the lab can build the crown well.
Remember: Losing less than a millimeter of tooth can lead to nerve problems or weak crowns. Take it slow, and the tooth will stay strong.
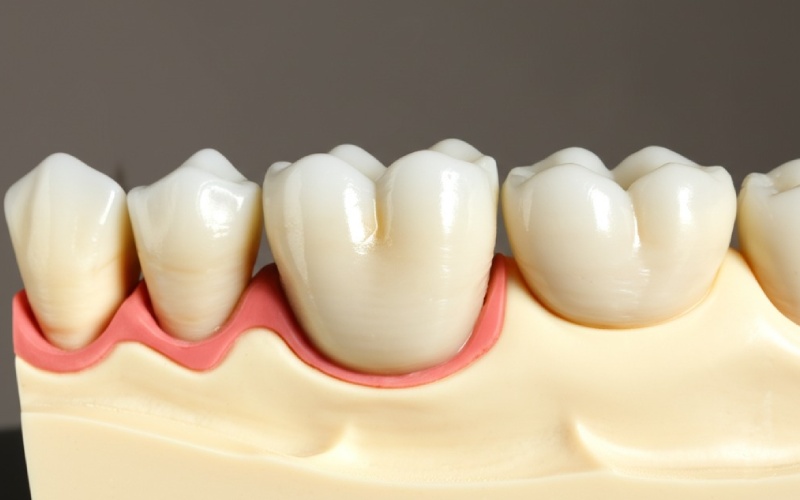
What’s the Best Margin Shape for All-Ceramic Crowns?
Margin design is just the edge you put on the tooth for the crown to grip. For all-ceramic crowns, you want a deep chamfer or a rounded shoulder.
- Deep Chamfer: Looks like a soft “U,” about 1.0 mm wide. Works well for zirconia and e.max. Gives crowns support so they don’t break.
- Rounded Shoulder: Flat on the bottom, but the corners aren’t sharp. Also 1.0 mm or more. Best for front teeth where looks really matter.
Don’t use knife-edge or sharp margins. They don’t give ceramic enough support and can lead to chips or cracks.
| Margin Type | Best Width | Good For | Why? |
|---|---|---|---|
| Deep Chamfer | 1.0 – 1.2 mm | Zirconia, e.max, Back | Strong, easy for the lab |
| Rounded Shoulder | 1.0 – 1.5 mm | e.max, Front Teeth | Strong, best looks in front |
How Much Tooth Should You Really Remove?
Every dentist wants to know this. Here’s what research and makers say:
Front Teeth (Anterior):
- Biting edge: 1.5 – 2.0 mm
- Sides: 1.0 – 1.5 mm
Back Teeth (Posterior):
- Chewing surface:
- Zirconia (solid piece): At least 1.0 mm, up to 1.5–2.0 mm in spots
- e.max: 1.5 – 2.0 mm
- Sides: 1.0 – 1.2 mm
Take off too little and the crown is weak or doesn’t fit. Cut too much and the tooth gets weak, or the nerve can get hurt.
| Crown Type | Chewing/Biting Edge | Side Reduction |
|---|---|---|
| Zirconia | 1.0 – 2.0 mm | 0.8 – 1.0 mm |
| e.max | 1.5 – 2.0 mm | 1.0 – 1.2 mm |
Tip: Use depth groove burs to be sure you’re cutting just right.
What Should the Taper and Draw Be Like?
When you shape the tooth, don’t make the sides straight up and down. You need a little angle—called a convergence angle—so the crown goes on and stays tight. It should be 4–8 degrees total (adding both sides) for the best hold. Too much tilt, and the crown might come off. Too little, and the crown won’t fit down.
How I check:
- I look from above to see if I can see all around the tooth—that means enough draw.
- I use a special tool (if I have one).
- If I’m unsure, I go a little more, not less, but not past 20 degrees.
Fact: Too much angle and the crown won’t hold well. Too little and it won’t fit.
Do Different Ceramics Have Different Rules?
Yes! Zirconia is harder. e.max (lithium disilicate) needs more help to stay tough. Here’s the scoop:
- Zirconia (Solid/Monolithic):
- Chewing surface: 1.0 mm enough for areas that don’t hit, 1.5 mm where teeth touch.
- Sides: 0.8 – 1.0 mm.
- Margin: Deep chamfer or rounded shoulder.
- Zirconia (Layered):
- Chewing surface: 1.5 – 2.0 mm.
- Margin: Same as above but a little thicker.
- e.max:
- Chewing/bite edge: 1.5 – 2.0 mm
- Sides: 1.0 – 1.2 mm
- Margin: Deep chamfer or rounded shoulder only.
Don’t try to cut less than these numbers. If you do, crowns (especially e.max) can break.
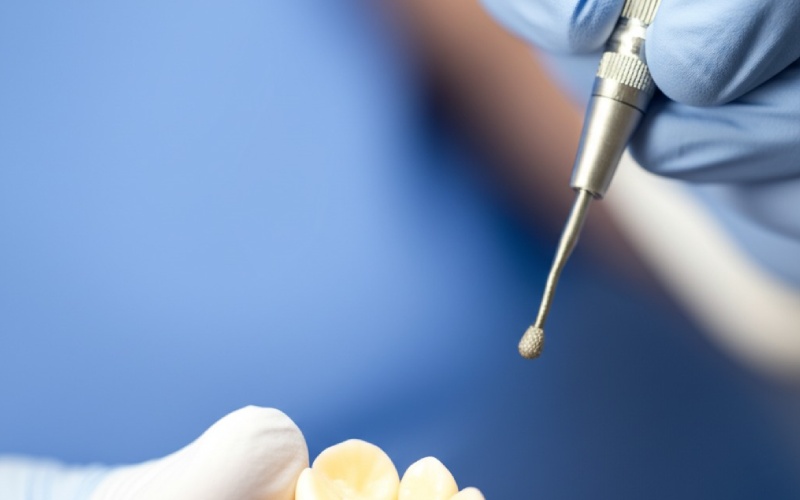
How Can You Protect the Pulp and Prevent Sensitivity?
Nobody wants a patient calling with a sore tooth after a crown. Here’s what I do:
- Always Use Water Coolant:
High-speed drills get hot, which can hurt the nerve. Always use lots of water, especially near the nerve. - Seal Dentin:
If you see exposed dentin, seal it right away. Use glass ionomer or a self-etching adhesive. - Don’t Over-Prep:
Only cut what you need—not more. Cutting too much is risky. - Avoid Blowing Air:
Blasting air on open dentin can dry it out and hurt the nerve.
Extra tip: For teeth with root canals, make sure you have a solid core before making the crown prep.
What Are the Most Common Mistakes and How Can You Avoid Them?
Even when you try hard, things can go wrong. Here are the most common problems so you know what to watch for:
Not Enough Reduction
- What Happens: Crown is too thin.
- Why It’s Bad: Crown ends up bulky, doesn’t look right, or breaks.
- How to Prevent: Use depth burs, measure, don’t rush.
Too Much Reduction
- What Happens: You remove more tooth than needed.
- Why It’s Bad: Hurts the nerve, tooth aches, tooth is too weak.
- How to Prevent: Think before cutting—less is better.
Bad Margins
- What Happens: Edges are sharp, wavy, or not smooth.
- Why It’s Bad: Crowns leak or fall apart faster.
- How to Prevent: Practice making smooth, clear margins.
Not Enough Angle (Taper/Draw)
- What Happens: Crown doesn’t fit on right.
- Why It’s Bad: You get frustrated or have to redo it.
- How to Prevent: Check all angles, use mirrors, don’t be afraid to adjust.
Hurting Gums or Neighbor Teeth
- What Happens: You touch gums or nearby teeth.
- How to Prevent: Use shields, go slow, and watch your bur.
What Tools and Tricks Make Prep Easier?
Getting prep right is a lot easier with the right stuff. Here’s what I use:
- Diamond Burs: Medium for most of the cutting, fine ones to finish smooth.
- Depth Burs: For even grooves and the right amount of tooth gone.
- Handpiece with Water: Keeps things cool, saves the nerve.
- Loupes or Scanners: Helps you see details you’d miss with just your eyes.
- Matrix Bands: Shields to keep nearby teeth safe.
Modern Idea: Digital scans let you spot rough margins or undercuts right away. Crowns from digital impressions fit better and last longer. Still, even computers can’t fix a bad prep.
FAQ: Fast Answers to Your Crown Prep Questions
Q: What’s the thinnest I can make a zirconia crown on the chewing surface?
A: For solid zirconia, you want at least 1.0 mm.
Q: Can I use knife-edge margins for ceramic crowns?
A: No. The crown will chip or break. Use deep chamfer or rounded shoulder.
Q: How do I stop sensitivity after prepping a tooth?
A: Always cut with water spray, seal any dentin you see, and only cut what’s needed.
Q: Is digital scanning better than regular impressions?
A: Digital is great—if your prep is smooth and the edges are clear. If the prep is rough, you’ll see every problem.
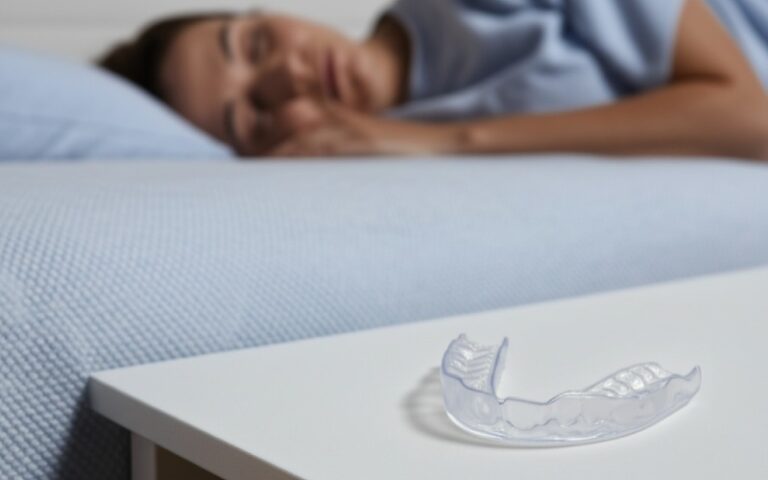
Q: What if my patient grinds their teeth at night?
A: Try a solid zirconia crown—it’s tough. Make the top a little thicker.
Main Points to Remember
- Pick the right margin—deep chamfer or rounded shoulder work best for all-ceramic crowns.
- Follow the right reduction—don’t cut too much or too little.
- Always use water and seal exposed dentin so the nerve stays safe.
- Keep margins smooth and clear so the crown fits better and lasts longer.
- Check your angle—4–8 degrees is best.
- Use good tools like depth burs and loupes.
- Digital impressions need your prep to be smooth—no way around it.
- Modify prep for special teeth—such as those with root canals or grinders, you might need more reduction or buildup.
- Stay up to date—there are always new materials and tricks coming out.
References
- Clinical Guidelines for All-Ceramic Crown Preparation, Dental Materials Journal.
- Best Margin Designs for Strength and Esthetics, Journal of Prosthodontics.
- Survival Rates of Zirconia and Lithium Disilicate Crowns: Systematic Review, Journal of Prosthetic Dentistry.
- Biomechanical Analysis of Line Angles in Dental Restorations, Dental Research Studies.
- Reducing Sensitivity after Crown Preparation, Case Reports in Clinical Dentistry.

