Comprehensive Guide to Tooth Preparation for PFM Crowns
When I first grabbed that high-speed handpiece, I didn’t know how important tooth prep is to how long a porcelain-fused-to-metal (PFM) crown will last. I found out the hard way that even tiny mistakes—like a rough edge or a just-too-small gap—can make a crown fail early. Over time, I’ve got my own simple rules for prepping teeth for PFMs, mixing what the textbooks say with what I’ve actually seen and even listened to from lab folks and patients.
In this guide, I want to share that journey and everything I’ve figured out about getting teeth ready for PFM crowns so you don’t have to repeat my old mistakes. Whether you’re leaning over a patient, still in dental school, or just interested in how it works, I’ll break down each step to help you do it right at the chair.
Table of Contents
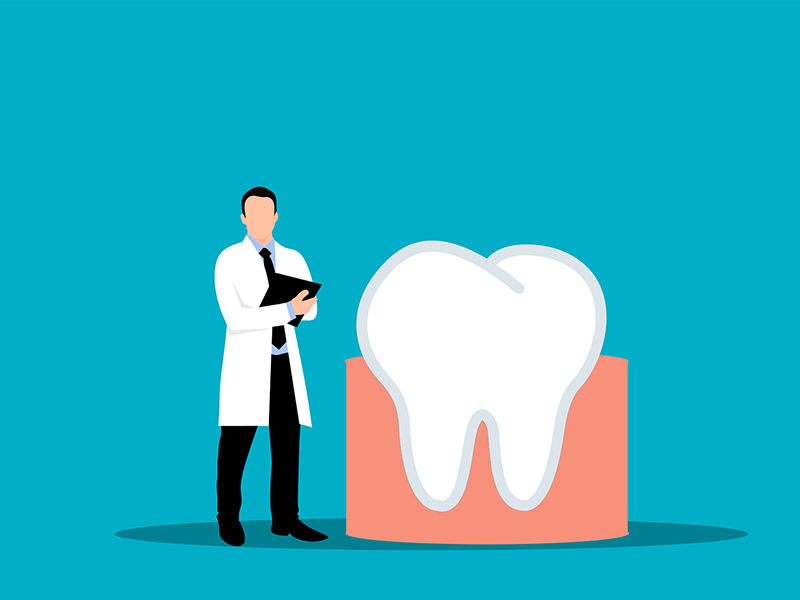
1. Understanding PFM Crowns and Why Preparation Matters
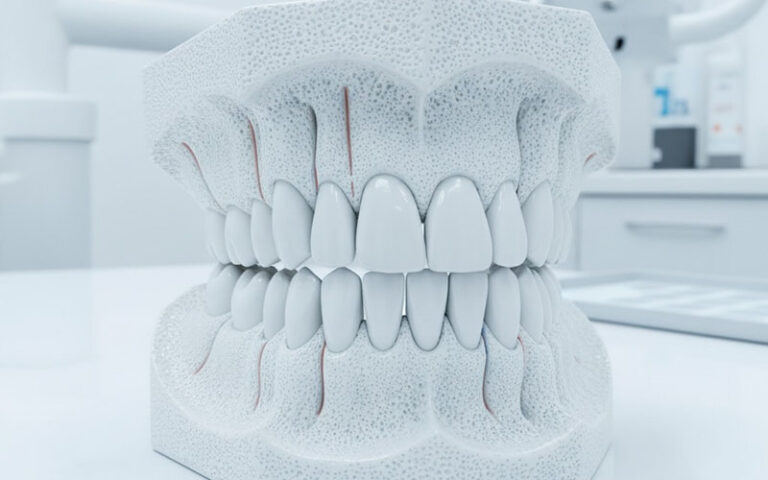
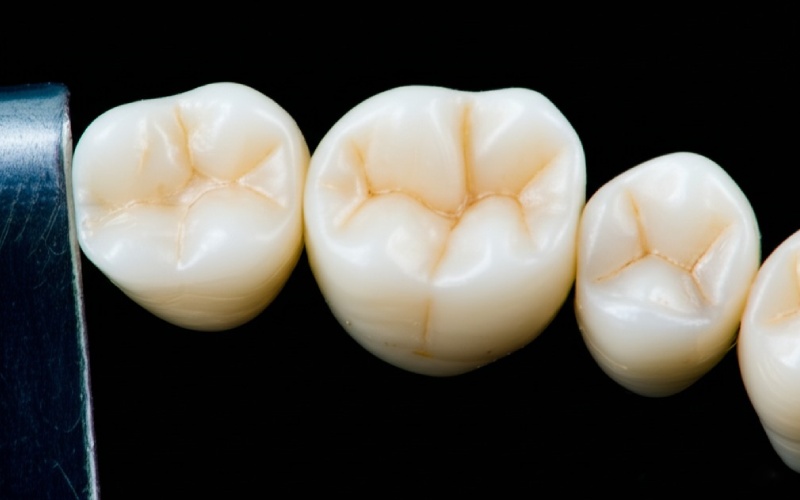
Let me make it clear what a PFM crown is. PFM means porcelain-fused-to-metal. These crowns have a strong metal base with tooth-colored porcelain baked right onto it. So you get tough metal for strength and nice-looking porcelain for a natural smile.
The way you prep the tooth really makes a difference. If you don’t take off enough, your crown looks big and chunky or the outer layer cracks. If you cut off too much, you risk a sore tooth or a crown that just won’t stay in place. When I get it right, I follow five simple rules:
- The crown has to stay on (retention)
- It shouldn’t move or get pushed off (resistance)
- Save as much tooth as you can (don’t over-cut)
- The edge needs to fit tight (so you don’t get decay or sore gums)
- It has to look good (so people don’t see a metal line when they smile)
It’s all about finding a balance. I always run through these points in my head, step by step.
2. When to Place a PFM Crown — And When Not To
Here’s something I wish I knew early on: not every tooth should get a PFM. Here’s when I say yes and when I look for something else.
When I Choose a PFM:
- Badly Broken Teeth: Molars and premolars with big fillings or cracks need the strength of a PFM.
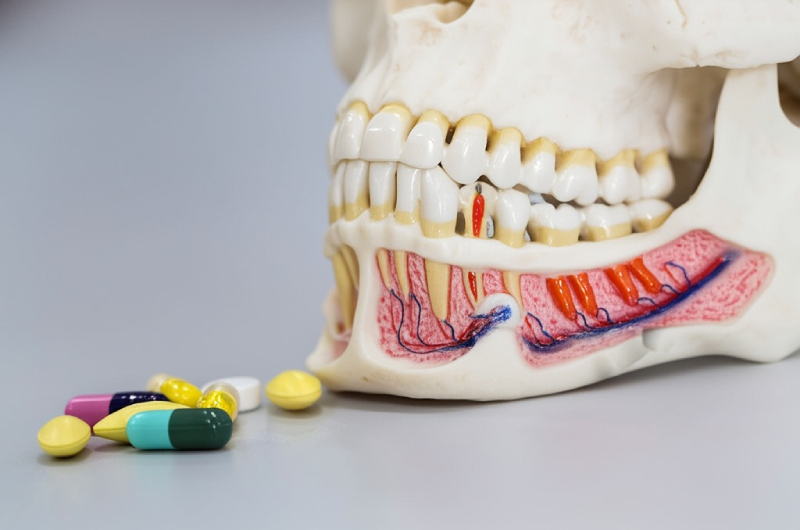
- Root Canal Teeth: These teeth get brittle, and a PFM helps protect them.
- Bridges: PFM is strong for supporting more than one tooth.
- Lasts a Long Time: If a patient wants something that’s proven to stick around, I tell them about PFM.
- Money Matters: PFMs can be easier on the wallet than fancy ceramics.
When I Skip a PFM:
- Front Teeth That Show a Lot: If I want to match a front tooth perfectly, I pick all-ceramic. It looks more real.
- People Who Grind Hard: PFMs are strong but the white part can still break. Sometimes I just go with all metal or a really tough new crown.
- Not Much Room: If there’s not enough space for metal and porcelain together, it’s trouble.
- Metal Allergies: I don’t use PFMs for folks with metal allergies.
- Receding Gums: If gums are going down, a metal edge may start to show. Not a good look.
My tip? Don’t rush it. Take those few minutes to check the bite, look at the gums, and think about how it’ll look.
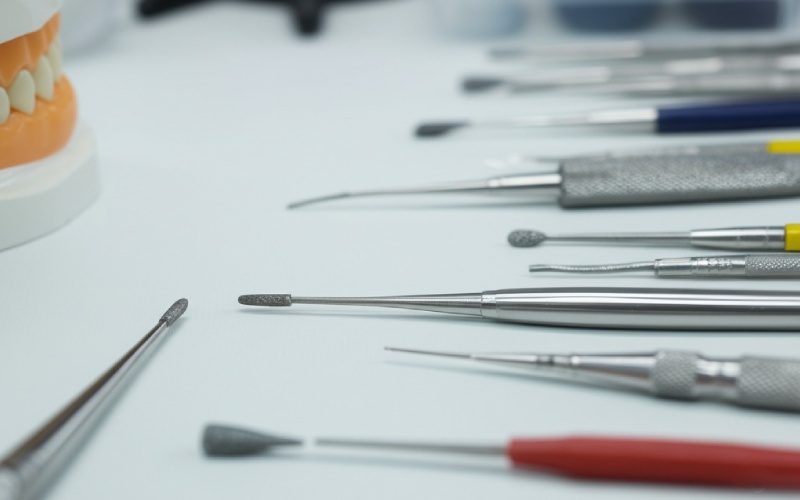
3. Tools I Rely On: Essential Armamentarium for PFM Crown Preparation
When I walk in to do a crown prep, I keep my tray simple. You only need what gets the job done.
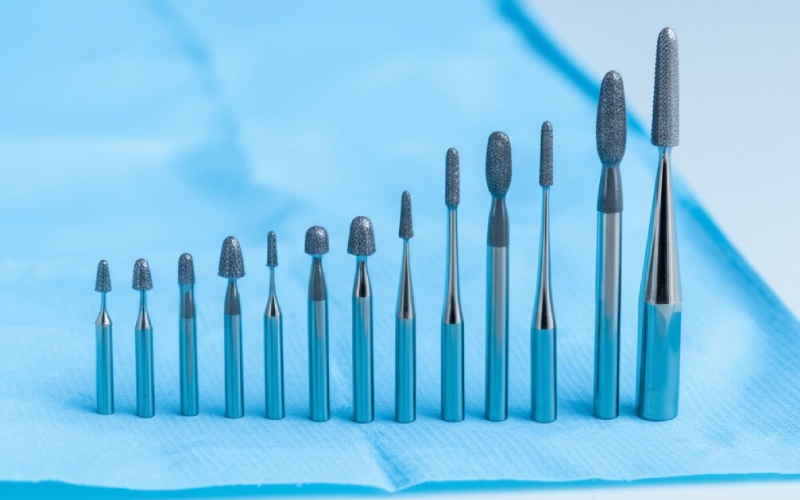
Dental Burs
- Depth-Cutter Burs: I use these to get the same reduction everywhere—guessing never worked for me.
- Flat or Rounded-Tip Tapered Diamond Burs: Pick the one that fits the margin you want.
- Football or Egg Shapes: Great for the inside part of front teeth.
- Fine Diamonds: Good for the last, smooth finish.
Handpieces
- High-Speed with Water: Stops the tooth from getting too hot and lets you cut quickly.
- Low-Speed: Lets you do fine work without rushing.
Seeing Better
- Loupes (Magnifiers): Once I started using these, I never stopped. You see the details so much better.
- Microscope (if you have one): Takes it to another level—great for perfectionists.
Other Stuff
- Periodontal Probe: Checks that you don’t cut too deep by the gum.
- Mirror & Explorer: You’ll always need these.
- Retraction Cord & Blood Stoppers: Gotta see what you’re working on. Bleeding? Stop it.
- Depth Gauge or Calipers: Don’t trust your eyes—measure.
- Occlusal Wax: Shows where it’s too high—easy fix before the lab finds out.
Keeping your tools simple speeds things up and keeps things neat.
4. My Go-To Steps for Tooth Preparation
This is where it happens—the real prep work. You can’t rush it, and you can’t skip steps.
4.1. Pre-op Assessment and Getting the Patient Numb
First, planning. Look at x-rays, check old fillings, look at how the teeth come together. If you’re doing a bridge, wax it up to see how it’ll look. And always get the patient numb and comfortable. A happy patient is a good patient.
4.2. Occlusal Reduction — Creating Space for Strength and Looks
Start with grooves made by depth cutters—1.5–2.0 mm deep on parts that don’t bite, about 2.0 mm where the teeth hit the hardest. That gives enough room for the crown to be strong and still look real. If you cut corners here, you get weak, ugly crowns.
Join those grooves together and smooth out the chewing surface. Don’t forget the bevel—it protects the porcelain from cracking right where the bite hits.
4.3. Axial Reduction — Walls and Taper, the Heart of Retention
Use depth grooves as your guide on the sides—go for about 1.0–1.5 mm on the front. A bit less on the tongue side unless it needs to be stronger.
Taper makes it or breaks it. Walls too straight? The crown won’t go on. Too slanted? It will fall off. I go for just a little angle on each wall, adding up to around 12 degrees total. Look straight at the tooth to spot undercuts, and always check for smooth, blended walls.
On the sides, once you break through, smooth any rough spots and keep an eye on the next tooth, so you don’t nick it.
4.4. Margins and Finish Lines — Details That Make or Break a Crown
Margins matter. On the front, I use a rounded shoulder (about 1.0–1.2 mm) so the white part can come all the way to the edge. On other spots, I use a big chamfer (0.8–1.0 mm) to save more tooth but still support the crown.
Where to put the margin? If you want healthy gums, keep it above the gum line if you can. If it needs to look perfect, you can drop it just under, but don’t mess with the gum’s natural zone.
4.5. Refining — Making Good Preps Great
Once the big cuts are done, switch to a fine bur and smooth everything. Round off any sharp spots—they crack porcelain. I check with my explorer and run over everything with calipers to be sure the cuts are just right.
I always check if the temporary crown comes off easily but doesn’t fall off, so I know the angles are good.
5. Anterior vs. Posterior: What Changes and What Stays
The basics stay the same, but prepping front teeth needs extra care.
5.1. Anterior PFMs
Looks are everything. I take off 1.5–2.0 mm on the front face to get enough room for pretty porcelain. The biting edge gets about 1.5–2.0 mm off and a bevel. On the back, I shape it gently and smooth out the finish.
5.2. Posterior PFMs
Here’s where strength wins. Same careful reduction on the sides, but really give some room where the tooth bites hard. Bridges need extra strong sides and good angles so they don’t come loose.
Treat every tooth by what it needs—don’t use a “one size fits all” plan.
6. Don’t Make These Mistakes: Common Errors and How I Dodge Them
Everyone makes mistakes, but you want to avoid the usual ones.
- Not Enough Cut-Off: The crown ends up fat or the white chips. Use depth cutters and always measure.
- Too Much Cut-Off: One wrong move and you’re into the nerve. Go slow and watch where you’re going.
- Undercuts or Bad Taper: If the crown won’t go on or comes off too easy, fix the angle or smooth the sides.
- Sharp Corners: Porcelain hates sharp lines. Round every angle.
- Feather-Edge Margins: They look neat but break easy and drive the lab nuts. Give a clear, solid edge.
- Cutting Gums Too Much: If you go too deep under the gums, you get angry tissue. Always check first.
My favorite habit? Look with your mirror and poke with your explorer after the prep—fix now, not later.
7. After the Prep: Impressions, Provisionals, and Lab Communication
When the prep is done, you got to keep everything in place and get ready for the real crown.
- Impressions: Doesn’t matter if you go with putty or a scanner—the details count. Move gums back with a cord and keep the area dry. With a scanner, make sure you see every edge clear.
- Temporary Crowns: Don’t let your patient walk out with an open tooth. Temps keep the spot and protect from pain or movement. It needs to stay on, but not so tight you can’t get it off.
- Lab Talk: Write down what the lab needs: margin type, how you want the edge, color, anything special. Take a photo for color if you need. A short chat with your tech saves a lot of trouble down the line.
Work with your lab, not against them—they can catch things you missed.
8. What Really Makes a PFM Crown Last
Prep right, but remember, other things count too:
- Fit at the Edge: Any gap means decay or sore gums. Run your explorer along the margin to double check.
- Patient Brushing: A perfect crown fails if the patient doesn’t clean. I show every person how to floss and brush around a crown.
- Bite: Make sure the teeth hit right and the patient feels comfortable. Listen and adjust as needed.
- Quality Lab and Materials: Great preps can’t fix a bad lab or bad metal. Pick the best lab you can.
When all that happens, your PFMs will last. Some of mine have gone over 20 years!
9. Final Thoughts: Lessons Learned in Mastering PFM Preparation
If prepping for a PFM crown makes you nervous, I get it. But it truly gets easier with a step-by-step system, some practice, and being open to keep learning. If you stick to the basics, respect the tooth, and check every detail, you’ll do great.
Treat every prep like you’re making something really important—because you are. Good crowns let people chew, talk, and smile without worry.
If my notes help you get your own PFMs right, or even just help you not feel alone while fighting for that perfect margin, then I’m happy. Good luck out there!