Implant Overdenture: A Simple Guide from Start to Finish
As a dentist who has helped so many patients go from having loose dentures to a smile they can count on I can tell you this: the implant overdenture is one of the best things we can do in dentistry today. It’s a smart mix of a removable denture and rock-solid implants that can totally change someone’s life. But to get a great result you need to follow a careful plan.
I’ve polished my own process over many years and I want to walk you through it. This isn’t just theory from a book. It’s a real-world guide based on what I know works time and time again.
Table of Contents
What’s an Implant Overdenture?
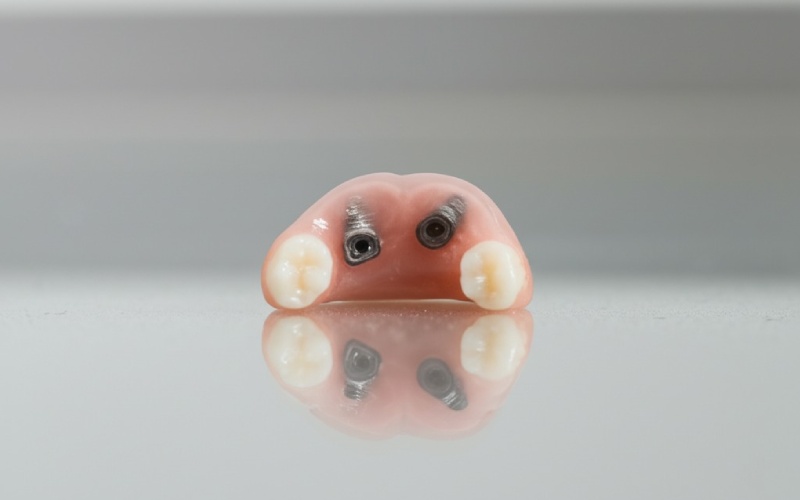
So what is this thing? Think of it this way: an implant overdenture is a removable denture that snaps securely onto dental implants instead of just floating on your gums. It’s like snapping the buttons on a coat. Your denture has special parts inside that “click” onto posts on the implants holding it firm.
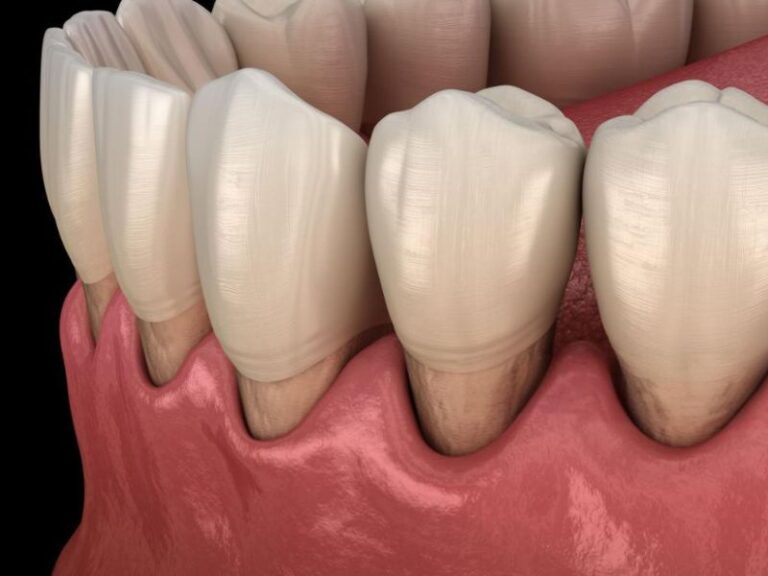
The difference between this and a regular denture is like night and day. I’ve seen patients get their chewing power back and then some. They can finally bite into an apple or enjoy a steak without a second thought. The solid fit means you don’t have to worry about your teeth slipping when you talk or laugh. And here’s the big one: the implants help keep your jawbone healthy preventing the bone loss that always happens with normal dentures.
However it isn’t for everybody. It’s a great choice for people with no teeth in an arch who are fed up with their current loose denture. But if you have serious health problems that make surgery risky not enough bone to work with or if keeping things clean will be a struggle then we might need to look at other options.
Step 1: The Game Plan & Your First Visit
This is the most important step. I can’t say it enough: good planning stops bad results. A mistake here can mess up the whole process.
Your First Chat & Getting the Full Picture
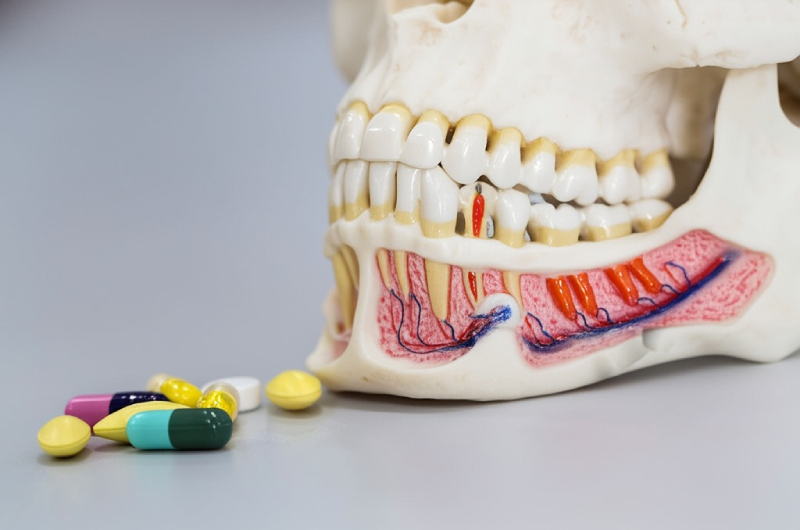
The first thing I do is just sit down and talk with my patient. We go through their whole health story. Do you have diabetes? Do you smoke? What medications are you on? All these little details really matter for healing.
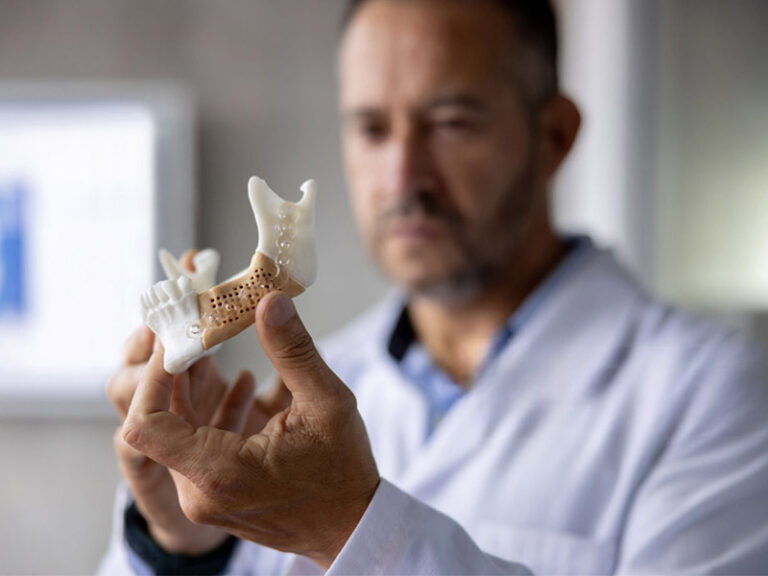
Next I do a full check-up inside and outside your mouth. I look at your gums and your current denture if you have one and see how much space we have to work with. Then it’s time for x-rays. A panoramic x-ray gives a good general idea but for implants a Cone Beam Computed Tomography (CBCT) scan is a must-have. It’s the best tool for the job. The CBCT gives me a full 3D picture of your jaw. I can measure your bone down to the millimeter and see exactly where important nerves are. I use this to plan the entire surgery on a computer before I even touch a tool.
Making Sure It’s Right for You
This is as much about your mindset as your mouth. I need to understand what you’re hoping for. Are your expectations realistic? Do you get that this is a removable set of teeth and not permanent ones? You have to be on board with the plan. You must be ready to keep the implants clean and follow the cleaning rules for the overdenture.
We check out the amount and quality of your bone. If you don’t have enough we’ll talk about things like bone grafting to build a stronger foundation. It’s all about setting ourselves up for success.
Designing Your New Smile
Now for the fun part—designing your case. The main question is always how many implants to use and where to put them.
- For the Lower Jaw: A two-implant overdenture is usually the gold standard. We place two implants where your canine teeth used to be and it gives amazing stability. It’s a great value and patients are almost always thrilled with it.
- For the Upper Jaw: The upper jaw is a different animal. The bone there is usually softer. For an upper denture I almost always plan for four implants. This gives better support spreads the chewing forces out and often lets us make a denture without a plate covering the roof of your mouth. That’s a huge plus for your sense of taste and it gets rid of that gagging feeling.
Next we pick the attachment system. The most common choices are Locator attachments ball attachments or a bar-retained overdenture.
- Locator attachments (from Zest Anchors) are what I use most of the time. They’re small easy for patients to pop in and out and simple to take care of.
- Ball attachments are another solid choice. They’re reliable and have been around for a long time.
- A bar-retained overdenture connects all the implants with a custom-made metal bar. This gives the tightest fit but it’s also more complicated and costs more to make. The steps for a bar-retained case are more involved from start to finish.
Finally I check the vertical space. You need enough room between your gums and the opposite teeth to fit the denture its teeth and all the attachments. Not having enough room to work with is a recipe for a weak denture that will break. This is all part of making the surgical guide that will make sure your implants go in exactly the right spot.
Step 2: The Implant Surgery Day
When you have a solid plan surgery day is way more predictable and a lot less stressful.
Getting Ready for Surgery
My surgical room is set up to be completely sterile. We numb you up with local anesthetic and if you’re nervous we can talk about sedation to help you relax. The goal is a calm controlled and pain-free visit.
Placing the Implants
I use the surgical guide we made during planning. This custom template fits right over your gums and has little holes that guide my drills to the perfect spot angle and depth. It takes all the guesswork out of it.
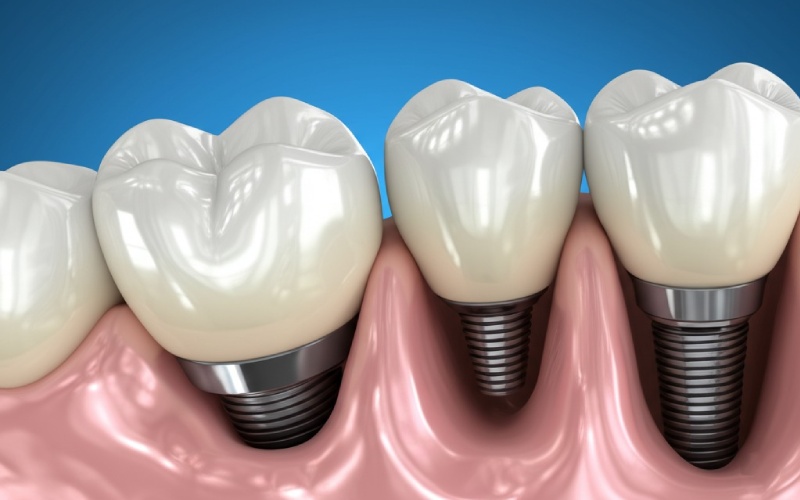
The process is pretty simple. I make a small opening in the gum to see the bone. Then I use a series of drills starting with a tiny one and getting bigger until the hole is the right size for the implant. I only use top-quality implant systems like Straumann Nobel Biocare or Dentsply Sirona because they have a great history of success.
Once the spot is ready I place the implant. The key here is getting a good solid grip from the start. I check this with a special wrench that tells me how tightly the implant is fitting. A solid initial fit is super important especially if we’re thinking about putting your denture on right away.
Healing and Aftercare
After the implants are in I’ll either place a small healing cap that sticks out of the gum or a flat cover screw. Then I’ll stitch you up. Which one I choose depends on if we’re doing the surgery in one or two stages.
You’ll get clear instructions for what to do at home: what to eat how to handle any swelling and how to keep things clean. Now the cool part starts: your bone actually growing onto the implant. This is a natural process where bone fuses to the titanium. We usually wait about 3 to 6 months for this to happen. During this healing time you can often wear your old denture after we’ve adjusted it so it doesn’t press on the new implants.
Step 3: Making and Delivering Your New Teeth
Once we know the implants are fused to the bone we can start making your actual overdenture.
Connecting the Attachments
If we did a two-stage surgery this is when we do a quick and easy procedure to uncover the implants and place healing abutments. This helps shape the gums nicely for the final attachments.
A couple of weeks later we’re ready to put on the final attachments like the Locator abutments. I tighten them into place with a special torque wrench to the exact specs the company recommends. This is a big deal for preventing them from coming loose later on.
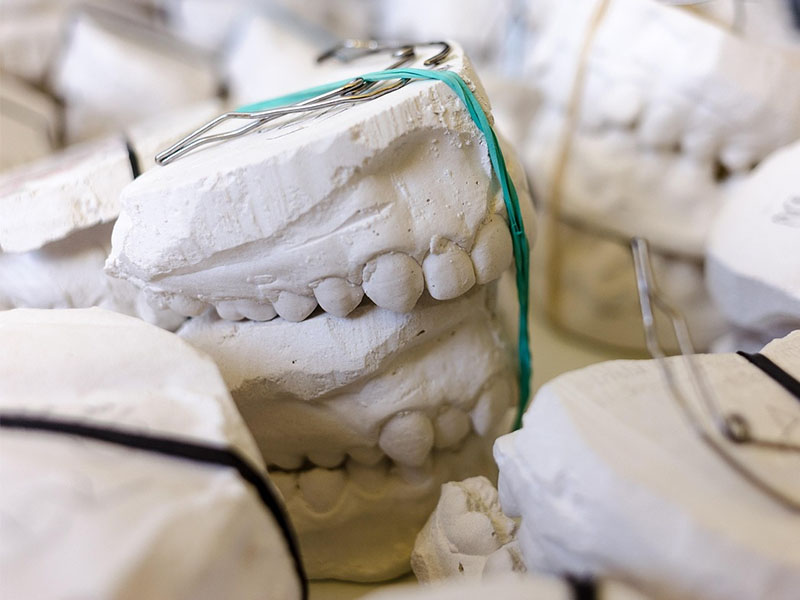
Taking a Super-Accurate Mold
Getting a perfect mold of your mouth is everything. I make a custom tray for every patient. For implants I almost always use the open tray technique. We attach special posts to the abutments and make holes in our custom tray for the screws to stick through. This lets me unscrew the posts while the mold material is still in your mouth locking them perfectly in place. It guarantees we get a flawless master model for the dental lab.
Figuring Out Your Bite & Setting the Teeth
This is where science and art come together. We need to show the lab how your jaws fit together.
- We use wax rims to figure out the right vertical height for your bite—basically how open or closed your mouth should be.
- We find your most natural and stable jaw position.
- We pick out denture teeth that match your face and the look you want.
The lab then sets these teeth in wax for a “test drive”. This try-in appointment is so important. You get to see what your new smile will look like. We check the fit the bite the look and even how you talk. I always tell patients to bring a friend or family member for a second opinion. We can make changes right there in the wax.
Making the Final Denture
If we’re making a bar-retained denture this is when the custom milled bar is made and we try it in to make sure it fits perfectly. For any case once you approve the wax model the dental lab makes the final denture. They replace the wax with a strong denture material usually a tough acrylic. Some newer methods use CAD/CAM computers and materials like PEEK for a super strong but lightweight frame.
The Big Reveal: Your New Smile
This is delivery day! First I make sure the denture fits comfortably on your gums. Then comes the magic moment: putting in the attachments. For a Locator system this means snapping the little nylon clips into the denture.
The patient practices putting it in and taking it out. That first “snap” when the denture clicks into place is always an amazing moment. Then I carefully check your bite and use a special paste to find and fix any little sore spots. Finally I go over everything you need to know about how to care for your denture and your implants.
Step 4: Keeping Your New Smile Healthy for the Long Haul
An implant overdenture isn’t something you can just set and forget. Taking good care of it is the key to making it last for years. The success rates are amazing—over 95% of implants are still going strong after 10 years—but that success depends on a partnership between you and me.
How to Clean Your Implant Overdenture
I give my patients a simple daily routine:
- Cleaning the Denture: Take it out every day and brush it with a soft denture brush and gentle soap. Don’t use regular toothpaste it’s too rough.
- Cleaning Around the Implants: This is the most important part to prevent infections. I suggest using a soft toothbrush or an electric one around the attachments and a water flosser on a low setting to keep your gums healthy.
Regular Check-ups
I have my overdenture patients come back for regular check-ups usually every six to twelve months. During these visits I:
- Check the health of the gums around the implants.
- Check the denture’s fit and stability.
- Look for any worn-out parts. The most common fix is replacing the attachments especially the little nylon rings in a Locator attachments overdenture. These parts are made to wear out and I can replace them in minutes. It’s just normal wear and tear.
- See if we need to reline the implant overdenture if your gums have changed over time.
Fixing Common Problems
Issues can pop up but we can usually handle them.
- Loose Attachments: This is often just a worn-out nylon clip that needs to be replaced.
- Sore Spots: Usually just needs a small adjustment to the denture.
- Denture Cracks: This can happen especially if there wasn’t a lot of room to work with. We can often fix it.
- A Loose Implant: This is a red flag. A healthy implant should not move at all. If I feel any wiggle it needs to be checked out immediately to see what’s going on.
Tips and Tricks for the Best Results
To really get the best outcome you have to consider these things:
- Using Modern Tech: I rely a lot on digital tools. Using a CBCT for planning an intraoral scanner for digital molds and CAD/CAM to make surgical guides and frames gives us an incredible amount of accuracy.
- Spreading Out the Force: You have to think about how chewing forces are spread out. This is why a 4-implant upper overdenture is so much better—it shares the load over a bigger area which protects the implants and the denture. Understanding the physics of how overdentures work is key.
- Knowing Your Materials: You have to know what you’re working with. From the titanium or zirconia in the implants to the PEEK or acrylic in the denture the materials we choose affect how strong and long-lasting everything is.
- Teamwork: I can’t do this by myself. I work closely with my oral surgeon my gum specialist and especially my dental technician. Great communication with the dental lab is an absolute must.
The Bottom Line: How Implant Overdentures Change Lives
When you follow a careful step-by-step plan the implant supported overdenture is one of the most reliable and successful treatments we can offer for people with no teeth. While the initial cost of an implant overdenture is more than a regular one the value you get in return—in comfort chewing and confidence—is priceless.
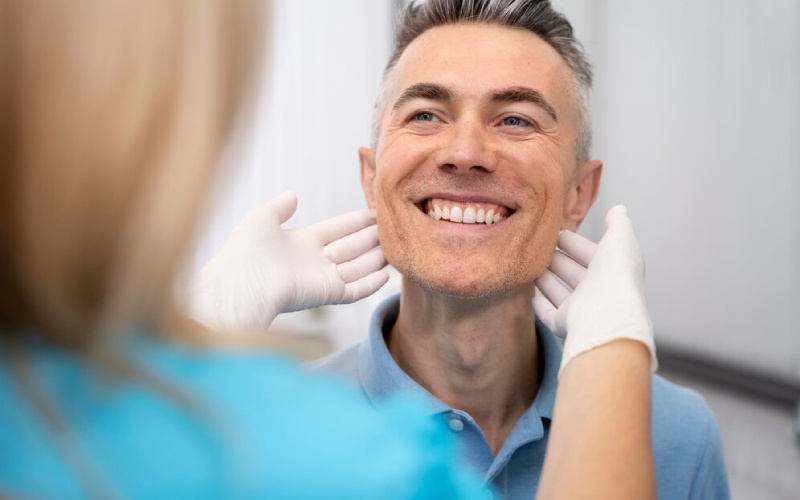
I’ve seen patients who were shy and quiet become social and outgoing again. I’ve seen them eat their favorite foods for the first time in years. The numbers back this up too with patient happiness scores consistently over 90%. But for me the real proof is in the smiles I see at every check-up. We’re not just replacing teeth; we’re giving people their lives back. And that’s a plan worth getting right.