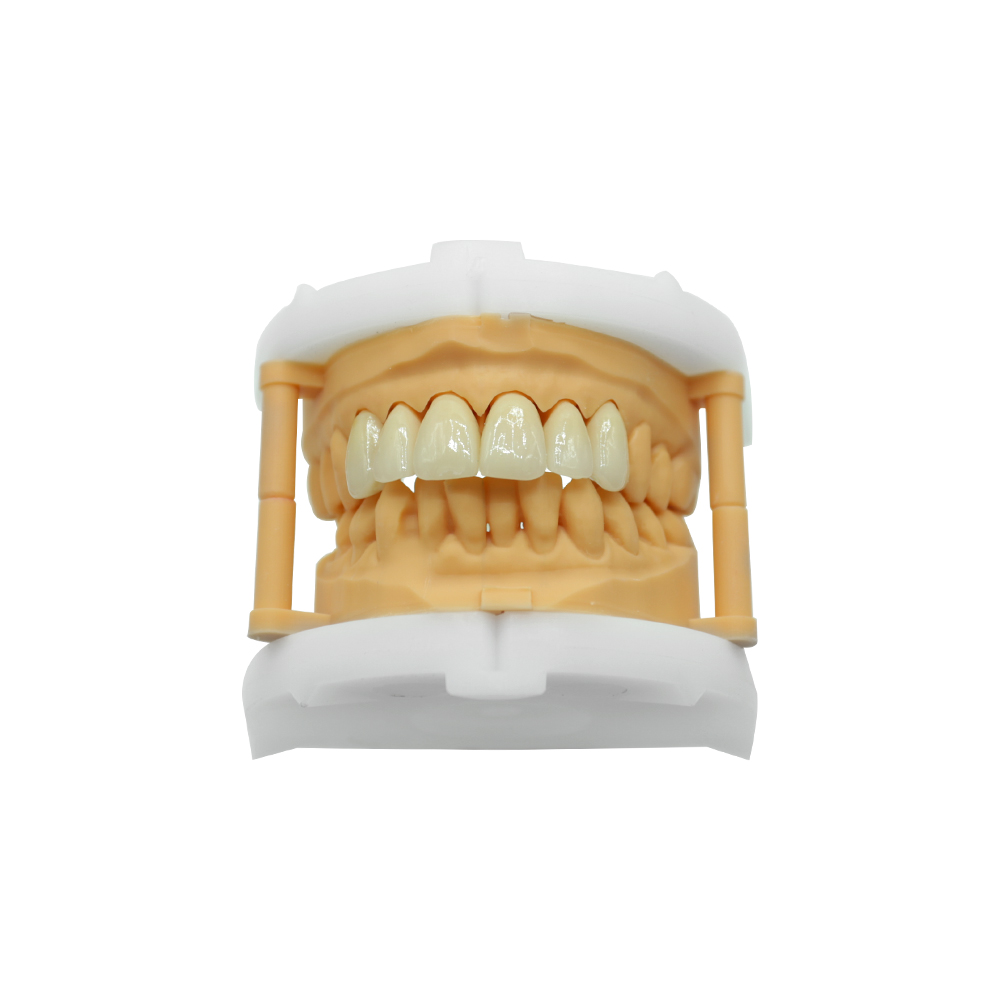
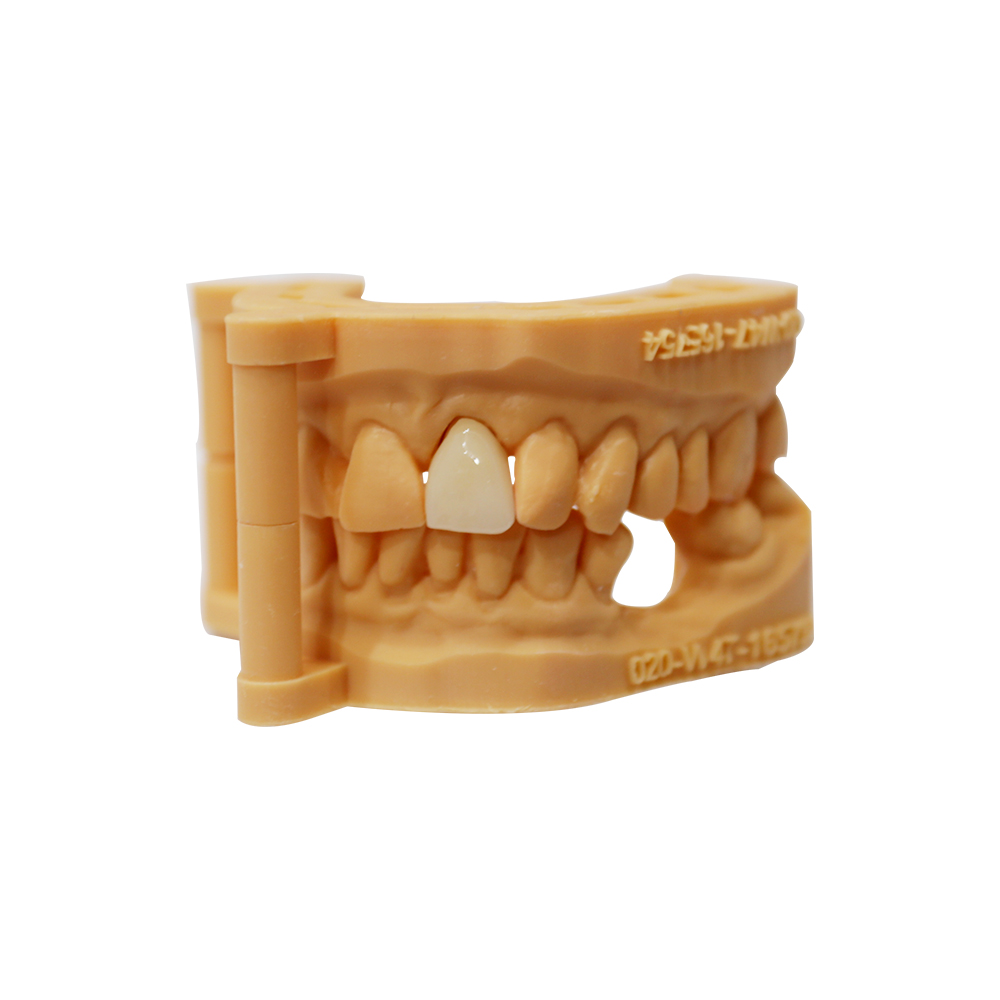
Upper Metal Dentures: A Real Case From Our Lab


🕢 [ Udfyld formularen, så svarer vi inden for 30 minutter! ].
This page walks a prescribing dentist through one of our completed cases — a cast-metal maxillary partial — and shows exactly what we delivered, how. We’re a manufacturing lab. Clinical decisions stay with you.
About ASD Dental Lab
ASD is a direct manufacturing dental laboratory, running since 2012. We’re not a trading company and we don’t farm your case out to a third-party shop. Everything on an upper metal denture case — CAD design, framework milling or casting, finishing, tooth setup, polishing, quality checks, documentation — is done inside our Shenzhen and Huizhou facilities by our own team.
A few numbers to anchor the page:
- About 460 staff on site, including a 55-person Removable Denture department and a 25-person Quality Control team.
- Monthly removable capacity around 4,000 cases in a normal month, up to roughly 6,500 in peak season.
- We hold FDA establishment registration, EU MDR custom-device notification, UK MHRA registration, and ISO 13485.
- Over the years we’ve worked with more than 50 labs, 100 clinics, and 400 individual dentists across the US, Netherlands, Germany, France, Belgium, Austria, UK, Luxembourg, and Switzerland.
Patient Situation
A 62-year-old male presented to the referring clinic with bilateral posterior tooth loss in the upper arch — a classic Kennedy Class I pattern. He’d lost teeth #2, #3, #4, #14, and #15 over the previous decade from a mix of decay and failed endodontic work. His remaining anterior teeth and both maxillary canines were periodontally stable, with no active caries at the time of case data receiving.
He wasn’t a candidate for a fixed bridge across the distal extension — no posterior abutment — and had declined implants because of time and budget. The prescribing dentist concluded that a removable partial with a rigid metal framework was the right design for the span and the tissue support available.
A few points the dentist flagged on the lab slip that shaped the whole case:
- The patient had a mild gag reflex. Palatal coverage had to be kept to the minimum compatible with rigidity.
- No history of nickel or cobalt sensitivity, but he asked for an alloy with documented composition. We’ll come back to this.
- He wore an acrylic transitional partial for about three months before the final impression. He described it as “bulky” and said he could feel his tongue hitting it when he spoke, which the dentist noted on the slip.
- Esthetics: no visible clasp on the anterior teeth. Clasp placement had to stay distal to the premolars where possible.
The Dentist’s Requirements
The dentist specified the following:
- Appliance type. A maxillary cast-metal partial denture — what we call an upper metal denture for short — coded as D5213 on the fee schedule.
- Framework material. A cobalt-chromium alloy with a documented composition sheet. He explicitly asked us to confirm the alloy brand and batch on paperwork — not just a generic “Co-Cr” line.
- Major connector. Anterior-posterior palatal strap (A-P strap) rather than a full palatal plate. The brief said: minimize coverage, keep rigidity.
- Clasp design. Circumferential cast clasps on the second premolars, with mesial rests. No I-bar; the dentist wanted direct retainers he could reactivate at a chairside visit if the appliance loosened over time.
- Try-in. Framework try-in at the office before tooth setup. Then a wax try-in with teeth in position before processing. Two separate appointments.
- Tooth shade and arrangement. Shade A2, with existing midline matched to the patient’s anterior teeth. The dentist attached a smile photo.
- Occlusion. Bilateral balanced occlusion in centric. Group function on working side; no interference on balancing side.
- Deliverables. The finished prosthesis plus the design file (STL), framework try-in record, articulated models, and the material certificate with lot number.
- Timing. The patient had a trip booked. The dentist asked for case completion in roughly four to five weeks from framework design approval.
How We Fabricated the Upper Metal Denture
Case receiving, scanning, and digital design
The practice sent us a digital impression plus the dentist’s prescription. Our case coordinator checked the lab slip for completeness within an hour (standard turnaround for case acknowledgement during business hours). Our CAD design team then surveyed the digital casts for a path of insertion that matched the clasp plan on the slip.
Framework fabrication
We produced the framework in kobolt-krom using our in-house milling and finishing workflow, with a composition on file (approximately 63% cobalt, 30% chromium, around 5% molybdenum, with trace manganese and silicon as per the mill certificate — brand-specific values will vary and should be confirmed against the actual certificate for each case). Published reviews of cast and additively manufactured Co-Cr frameworks note that these alloys deliver a high stiffness-to-weight ratio and are substantially less dense than gold-based alloys, which is a big part of why the A-P palatal strap can be kept thin without flexing in function.
Major connector: palatal strap, not plate
The dentist’s note said “minimize coverage, keep rigidity.” We used an anterior-posterior palatal strap — two broad bands connected across the mid-palate — rather than a complete palatal plate.
Why that choice: an A-P strap can give cross-arch rigidity similar to a plate on many Class I upper cases, while leaving the mid-palate open, which usually helps patients who report a gag reflex or who complain that an acrylic transitional partial felt “crowded.” The University of Michigan patient booklet on dentures is explicit that a broad palatal connector can feel full at first and that excessive posterior extension contributes to gagging; a strap takes some of that pressure off while keeping the structural job intact. The design options and tradeoffs here — complete plate, strap, horseshoe — are covered in detail in the Dalhousie RPD manual.
Clasps and rests
Circumferential cast clasps on #5 and #12, with mesial occlusal rests. The clasp arms sit in a 0.01-inch undercut (gauged on the surveyor) and the retentive terminal is adjustable at chairside — the dentist asked for that specifically. We did not use RPI or I-bar designs on this case because the slip ruled them out, not because they’re wrong in general.
Tooth setup and wax try-in
Replacement teeth were set to the shade and midline specified on the lab slip. We used the smile photo the dentist attached to position the central incisor midline and to check lip support. The wax try-in was returned to the clinic for the appointment the dentist booked.
At that visit, the dentist checks shade, size, arrangement, midline, speech, lip support, and the pressure/looseness of the appliance in situ — this is the moment at which changes are cheap, before acrylic processing, per the workflow described by one US practice (Chickasha Family Dentistry’s step-by-step guide). Minor adjustments were requested and incorporated.
Framework try-in
Before the wax try-in, we scheduled a separate framework try-in. The dentist asked for this on the slip and we agree with the reasoning. The visit checks seating, rest engagement, clasp arm position, major connector adaptation to the palate, and occlusal clearance — before any teeth are set in wax. The Dalhousie manual describes this step as common clinical practice, though it also notes that no authoritative source sets a universal “framework try-in required” rule. We’ll run it whenever the dentist orders it. It costs us an extra ship cycle and we don’t pretend otherwise, but if the framework doesn’t seat right, every downstream step inherits that problem.
Processing, finishing, and delivery
After wax try-in approval, the appliance was processed in PMMA denture base resin, polished, and inspected. PMMA remains the conventional choice for the denture base: it can be adjusted, repaired, and relined relatively readily, as discussed in a peer-reviewed denture materials review. That matters for a dentist who may need to reline the base years from now.
We shipped the finished prosthesis with:
- The articulated final models.
- A design file
- The framework try-in record.
- Material certificate with the alloy composition and lot number.
- A one-page insertion note summarizing clasp activation, rest seating, and the as-delivered occlusal scheme.
Finished Result
The dentist delivered the appliance at insertion appointment. Her notes back to us were: framework seated passively; rests engaged without rocking; clasp arms engaged the planned undercut; no palatal pressure spots at insertion. Two pressure spots at the posterior ridge were adjusted chairside at the 48-hour review. A one-week review was uneventful and the one-month review required a single occlusal adjustment. All of that is consistent with the review schedule described in the practice workflow linked earlier.
What the patient reported, as summarized in the dentist’s follow-up:
- Speech normalized within about two weeks. Early “s” sound difficulty is common and usually improves with practice, as ADA patient guidance notes.
- Chewing was comfortable on soft foods immediately and expanded over the first month. We make no promise about chewing efficiency numbers; the UMich booklet’s general figure of denture efficiency around 5–10% of natural teeth is an educational range, not a prediction for one patient.
- No reported metallic taste, no sores at six-week review.
Specifications (This Upper Metal Denture Case)
| Item | What we used on this case |
| Framework alloy | Cobalt-chromium, approx. 63% Co / 30% Cr / 5% Mo (brand-specific; see mill certificate) |
| Framework process | In-house CAD design, CAM milling, finishing, polishing |
| Major connector | Anterior-posterior palatal strap |
| Clasps | Cast circumferential, mesial occlusal rests on #5 and #12 |
| Denture base | Heat-cured PMMA |
| Replacement teeth | Shade A2, dentist-selected mold |
| Bite registration | Centric relation, bilateral balanced in CO |
| Try-ins | Framework try-in + wax try-in |
| Deliverables | Prosthesis, articulated models, STL design file, framework try-in record, material certificate with lot number, insertion note |
Our In-House Process
Nine steps, all in-house:
- Case data receiving and evaluation
- CAD digital design (with survey for path of insertion)
- 3D model printing
- CAM milling of the Co-Cr framework
- Framework finishing and try-in dispatch
- Tooth setup and wax try-in dispatch
- Processing in PMMA
- Polishing and quality inspection
- Packaging and shipment
Quality, Traceability, and QC
Every case we accept gets a unique case ID that binds together:
- The assigned CAD designer and the technicians who touched each stage.
- The milling and casting equipment IDs used.
- The alloy brand, lot number, and the PMMA material lot.
- Each stage’s QC pass/fail record.
Rework, Remake, and Warranty
This is the one we see dentists ask about and we want to be concrete.
- If the framework fails to seat passively at the framework try-in because of a lab error (design or manufacture), we remake the framework at our cost and reship. We cover the material and the inbound shipping.
- If a cast clasp fractures during the warranty period without evidence of patient abuse or clinical modification, we repair or remake the clasp at our cost. Clasp fracture is a known technical complication of removable partial dentures, documented in a systematic review of RPD complications; within the warranty window we take responsibility for it being within the normal failure band.
- If the dentist modifies the appliance clinically (clasp adjustment, polishing, relining with chairside material), we support the dentist’s call but the warranty on the altered part shifts to the clinic.
- Specific warranty duration, exclusions, and the exact rework fee schedule are case-dependent and documented on the quote, not on this page. Ask the sales manager assigned to your account for the current terms; they’re also happy to put them in a supplier agreement if your DSO or clinic requires one.
Ressourcer
- ADA — Dentures (oral health topics)
- ADA MouthHealthy — Partial Dentures
- Dalhousie University — Removable Partial Dentures Manual (PDF)
- University of Michigan — RPD teaching handout (PDF)
- University of Michigan — Facts You Should Know About Your Dentures (PDF)
- MDPI — Cobalt-Chromium Dental Frameworks review
- PMC — Flexible denture materials review
- PMC — Dental alloy biocompatibility systematic review
- PMC — RPD technical complications systematic review
- NHS Leeds — Removable Partial Dentures
- NHS — Dentures
- CDA-AMC — Longevity of Partial and Complete Dentures
- FDA — Denture Base Resin 510(k) Guidance (PDF)
- ISO 10993-1:2025 — Biological evaluation of medical devices
- ADA — State licensure and dental laboratory registration policy
- Florida Board of Dentistry — Laws and Rules (PDF)
Working With ASD on Upper Metal Denture Cases
If you’re a dentist, clinic, or lab evaluating us for upper cast metal partial denture work, the fastest path is:
- Email the lab slip and digital files (or shipping details for impressions) to your assigned sales manager.
- We respond with a case acknowledgement, any technical clarifications, and a quote inside the business day.
- First case can be a single-case trial; we don’t require batch minimums for the first case. Ongoing volume is a conversation about shipping efficiency, not a gate.
- We can sign NDAs, quality agreements, and complete supplier onboarding questionnaires and audits — including video factory inspections.
Clinical questions always go through your dentist. Lab-side questions — alloy composition, design decisions, documentation, logistics — go through us.