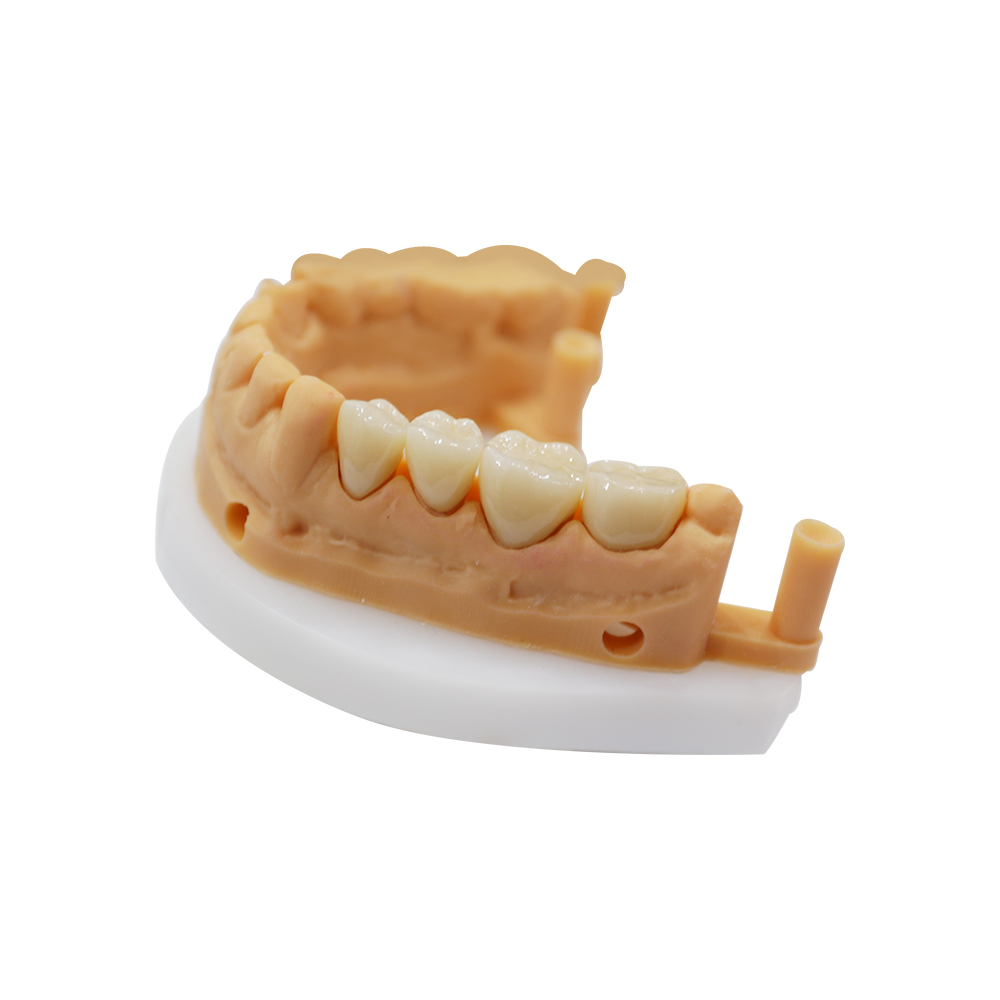
Lower Denture Implants: A Lab-Side Case on Two-Implant Overdentures with Posterior Cantilever Limits


🕢 [ Udfyld formularen, så svarer vi inden for 30 minutter! ].
The clinician handed us an upper impression, a lower master cast, and a one-line note: “two implants in the anterior mandible — please make the denture work.” No third molar to anchor against. Posterior ridge was flat. The patient’s chief complaint wasn’t chewing — it was that the lower denture lifted every time they bit on a crust of bread.
This page is the lab’s view of that case. We walk through what the clinician asked us to handle, the trade-offs we made at the bench, and what the finished overdenture does once it leaves our QC bench.
Patient situation (as it reached the lab)
A long-time complete lower denture wearer, mid-60s, with a flat posterior mandibular ridge on both sides. The patient had been using adhesive paste for several years to keep the lower denture seated during meals. Recent CT showed adequate bone height between the canines but limited bone volume distal to the first molars — the typical posterior deficit that develops after years of edentulous ridge resorption.
The surgeon placed two standard-diameter implants in the anterior mandible. No grafting, no sinus work, no additional fixtures. The patient was medically cleared for routine implant surgery.
Why this matters to the lab: the surgical plan locked in two anterior anchor points and left the posterior ridge unsupported. Every decision we made from that point forward was made inside that constraint.
What the clinician asked us for
The prescribing doctor’s written instructions were short. Reading between the lines, the asks came down to five things:
- Pick the attachment system, and write down why. Locator-style unsplinted attachments were preferred over a bar because the inter-implant distance and vertical space would not have tolerated a bar without a bulky framework, and the patient needed to be able to clean under the prosthesis daily.
- Solve the posterior lift without adding implants. The patient could not afford (medically or financially) a third or fourth fixture. The denture had to seat firmly anteriorly and remain serviceable posteriorly without adhesive.
- Make retention adjustable over time. Inserts wear. The clinician wanted to be able to swap retention at the chair, not send the case back.
- Allow relining without remaking the prosthesis. The ridge will continue to remodel. The denture has to survive that.
- Be honest about what will and won’t happen at try-in. The clinician wanted a written expectation sheet to hand the patient — what symptoms are normal in the first 30 days and what is not.
The five asks are not independent. The second ask pulls against the fourth: extending posterior coverage for retention fights against keeping the prosthesis easy to remove and clean. That tension is the entire engineering problem of a two-implant overdenture in a resorbed mandible.
How we addressed it at the bench
Attachment selection and why
We went with unsplinted Locator-style attachments on both implants. The deciding factors were:
- Inter-implant distance. Within the standard 20–30 mm range that locator systems are designed for. A bar would have required additional vertical space we did not have. The attachment-systems literature is consistent on this: when inter-implant distance and vertical space are constrained, unsplinted attachments outperform splinted ones on chair-side serviceability, even if the prosthesis rotates a bit more during function.
- Hygiene access. Unsplinted attachments let the patient clean around each fixture independently. A bar would have created an underside that traps plaque, especially in older patients with limited dexterity.
- Serviceability. Locator retention inserts are field-replaceable. If retention drops at the 12-month mark, the clinician swaps the insert in the chair in under five minutes. A bar would have meant a lab round-trip for the same problem.
Posterior extension and the lift problem
Two anterior implants cannot, by themselves, resist the rotational forces generated when the patient bites on the posterior denture flange. We extended the denture base fully into the retromolar pad region and refined the peripheral seal along the posterior border to use atmospheric pressure and surface tension as additional retention — the same physics that holds a conventional upper denture in place.
We wrote the clinician a one-paragraph note explaining that the posterior will lift slightly during strong posterior biting. This is not a defect. It is a known geometric consequence of a two-implant overdenture on a resorbed ridge, and the McGill/York consensus statements on overdentures explicitly note the trade-off when only two implants are placed. The patient’s previous adhesive was masking exactly this motion. Telling the patient up front that a small amount of posterior flex will be felt — and that a pea-sized amount of paste on the posterior flange is acceptable — actually improves long-term satisfaction, because the patient stops interpreting normal mechanics as a failure.
Denture base reinforcement around the housings
The highest-stress region on any implant overdenture is the acrylic around the attachment housings. Fracture at this site is one of the most common prosthetic complications in the medium term. We:
- Increased the acrylic bulk around each housing to the maximum the vertical space allowed.
- Avoided placing a relief gap between the housing and the base acrylic (a relief gap is for pickup procedures, not for the definitive prosthesis).
- Used high-impact acrylic rather than standard heat-cure, given the patient’s history of parafunctional loading and the long span of the denture base.
Relining strategy built into the original design
We processed the intaglio surface flat against the master cast, not against the current ridge. The clinician was told that the first soft reline would likely be needed within 6–12 months because the previously loaded ridge would remodel once implants carried part of the load. We left the borders slightly over-extended in the posterior so the clinician could trim down to the relined ridge without redesigning the prosthesis.
A reline at this stage is a planned event, not a repair. The patient was told that on day one.
Try-in expectations and what the patient signed off on
The clinician received a printed expectation sheet that covered:
- Initial tightness and mild cheek/lip soreness for 7–14 days
- A small amount of posterior lift during hard biting — paste is acceptable if it bothers the patient
- A 30-day follow-up for pressure-point adjustment
- A 6-month recall for the first reline assessment
- Insert replacement intervals, with the wear pattern varying by patient
This sheet went home with the patient. It is the single most useful thing we deliver on cases like this — not because it prevents complaints, but because it converts complaints into scheduled maintenance.
What came out the door
The finished case: a maxillary conventional complete denture (unrelated to the implant work, processed on the same appointment for patient convenience) and a mandibular implant-retained overdenture with two Locator-style housings, processed in high-impact acrylic, fully extended into the retromolar pads, with replaceable retention inserts seated at the standard engagement level.
We delivered it in our standard case packaging: the prosthesis in a labeled rigid container, retention inserts bagged separately, the printed expectation sheet, the case timeline, and the lab’s standard digital work order archived under the doctor’s case number. Material batch numbers and certificates of conformity go into the doctor’s file per case — that is a routine part of our QA trail, not an optional add-on.
Standard turnaround for this category of work sits inside our published production window. For a two-implant overdenture with no bar work and no custom abutments, the case typically moves from data-in to QC-out within the same window as our fixed prosthetic cases. If the clinician needs the case faster, the rush policy is published on the doctor portal — rush classification is set by the doctor’s office, not by us.
What we would tell the next clinician reading this
A two-implant overdenture in a resorbed mandible is one of the highest-value, most evidence-supported treatments in implant dentistry. The 2002 McGill consensus statement is still cited two decades later because the data has held up. It is also a case where the prosthetic design — not the surgery — decides whether the patient is happy at year three.
A few things that consistently come up on cases like this:
- Two implants is the standard-of-care floor, not the ceiling. Four implants on the mandible carries different prosthetic trade-offs and a different maintenance profile, and is a separate conversation.
- Patient-reported outcomes are good, but they are not the same as implant survival. The literature tracks both, and the two numbers are not interchangeable. When the clinician reads a “95% success rate” in marketing material, ask whether that is implant survival, prosthesis survival, or a complication-free patient.
- Loading protocol is not a marketing checkbox. Immediate, early, and delayed loading each have different crestal bone loss profiles over 12–24 months, and the right answer depends on bone quality, primary stability, and the prosthetic design.
- Maintenance is the case, not an afterthought. Recall intervals, reline timing, and insert replacement are not billable surprises — they are the predictable life of an overdenture.
We are a full-service dental laboratory with CAD/CAM, milling, printing, and a dedicated implant department plus a removable denture department under one roof. For lower denture implant cases like this one, the lab-side work — attachment selection, base reinforcement, posterior extension design, relining strategy, and the patient-facing expectation sheet — is the part that decides whether the surgical plan works for the patient at year three. We write cases up on this page so that clinicians can see the engineering decisions, not just the finished prosthesis.
For technical questions on a similar case — attachment selection, vertical space constraints, reline protocol, rush classification — your case coordinator can route the question to our implant department’s technical lead. Cases are accepted as digital scans or as physical impressions; both intake paths are described in our case submission checklist.
References (sources cited in this write-up)
| # | Kilde | Link |
| 1 | The McGill consensus statement on overdentures | PubMed |
| 2 | Notes concerning an overdenture on 2 implants as the standard of care | PubMed |
| 7 | Ridge resorption and patient satisfaction in single-implant vs overdenture cases | ScienceDirect |
| 19 | AAOMS MRONJ position paper | AAOMS |
| 30 | Attachment systems for mandibular implant-supported overdentures | ScienceDirect |
| 32 | Loading protocols for implant-supported overdentures | PubMed |
| 33 | Implant loss and crestal bone loss: immediate vs delayed loading | ScienceDirect |
| 52 | Differentiating success from survival in modern implantology | Nature/BDJ |
| 55 | Longitudinal survival of All-on-4 implants in the mandible | JADA |
| 57 | Prosthetic complications and survival of metal-acrylic implant overdentures | ScienceDirect |
| 60 | Recall and maintenance of dental implant patients — clinical practice guideline | JADA |
Oplev hurtigere ekspeditionstider med vores banebrydende teknologi
Anbefalet