20 Zirconia Crowns: Full-Mouth Rehabilitation Case Study
🕢 [ Udfyld formularen, så svarer vi inden for 30 minutter! ].
1 · The patient situation
What the records showed at intake
Both arches were worn down. Enamel loss had moved into visible dentine on several teeth. Anterior incisal edges were chipped. The clinical crowns were shorter than they should have been. Loss of vertical dimension was visible in the lower third of the face.
The patient described a long history of nocturnal clenching and grinding. Several upper posterior teeth had been lost over time and had been replaced by a partial denture the patient had stopped tolerating — the acrylic base sat on tissue that was already tender from the occlusion, and the denture had started to rock. A few of the remaining posterior teeth had been endodontically restored and were structurally reduced around old composite cores.
The lower arch had fared slightly better on the posterior side, but the anterior wear had progressed to the point where the incisal edges were essentially flat, and the lower anteriors had drifted slightly under the uneven anterior guidance.
One constraint from the patient
The anterior segment was the esthetic concern. Orthodontic correction was discussed and declined. That pushed midline, arch form, tooth proportion, and incisal symmetry into the design rather than into pre-restorative movement.
What the patient asked of us
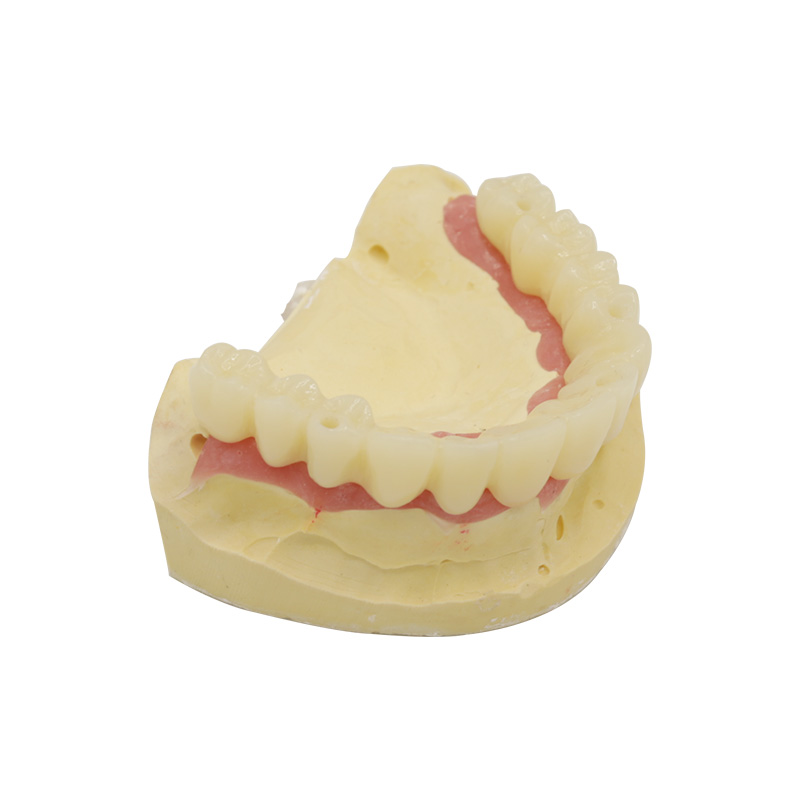
The patient wanted the missing posterior teeth replaced without going back into a removable prosthesis. They wanted the worn anterior teeth to look like they used to. They did not want to be told that the only way to get there was two years of orthodontics. They asked specifically that the work be done in zirconia because a family member had been through a PFM case that had chipped twice in five years.
That last point was the moment the material decision stopped being open. The patient had a comparative anchor, and that anchor was the porcelain-veneer interface.
2 · What the prescribing clinician asked for
Design authority on a case of this type sits with the prescribing clinician, not the lab. Every item below went into the design review as a constraint, not as an option.
- Preserve tooth structure. Don’t over-reduce sound enamel.
- Re-establish and raise the vertical dimension.
- Address anterior alignment in the design — the patient declined orthodontics.
- Material choice follows the occlusal load, not the esthetic wish alone.
- Stage the provisionals — verify the occlusion in stages, not in one shot.
- End up with a stable, reproducible occlusal scheme.
- A protective appliance for the nocturnal load.
- Records complete and traceable, end to end.
The lab-side policies that line up behind this list: the final design decision sits with the prescribing clinician, a full-arch reconstruction must clear design sign-off before production starts, and a practice can set its own acceptance criteria that lock in at design sign-off.
3 · Material Selection for 20 Zirconia Crowns
3.1 Obstacles and responses
| # | Obstacle | Requirement it produced | What we did |
| 1 | Bruxisme — high posterior load, no tolerance for a porcelain-veneer surface | No porcelain-veneered surface in the posterior segment | Posterior segment milled monolithic. With no porcelain layered on this case, there is no porcelain-veneer interface — and that interface is where the chipping concentrates in the literature. A systematic review of zirconia restorations puts veneer chipping on layered zirconia in the 10–25% range over five years; core fracture sits below 3% over the same window. |
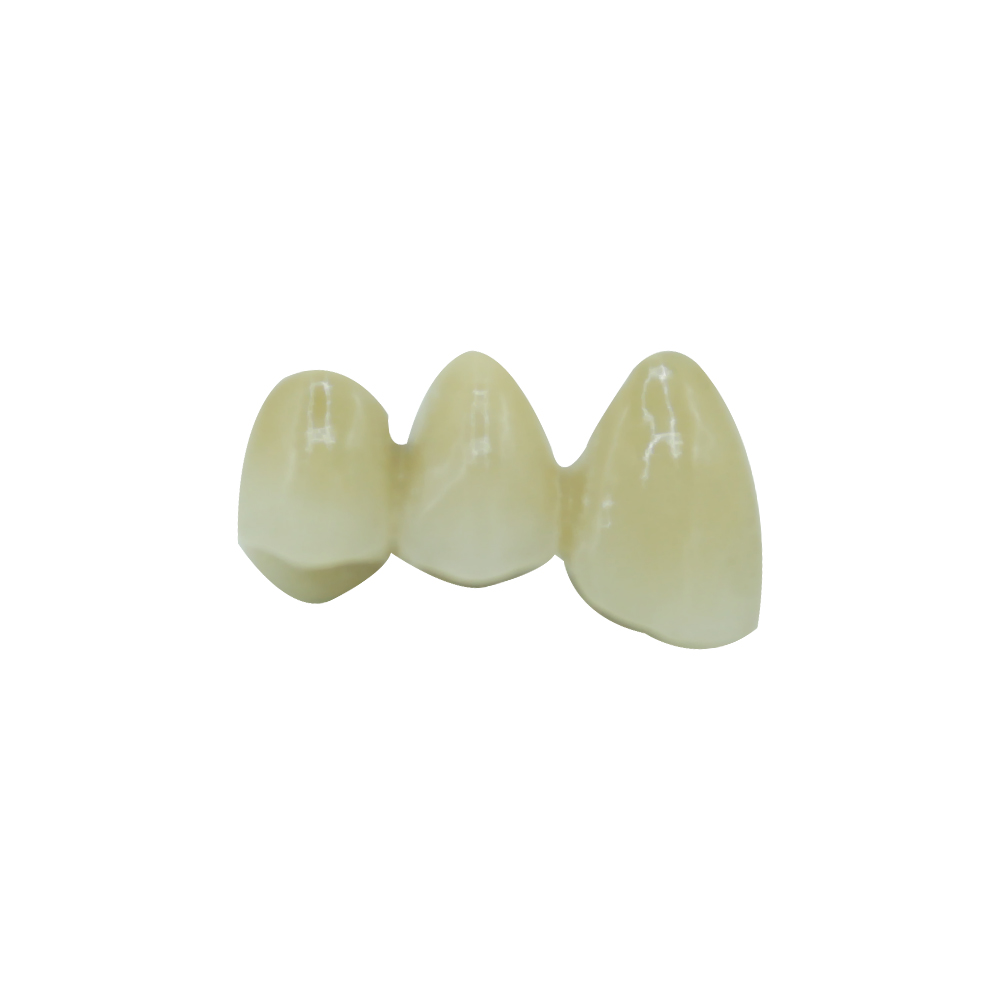
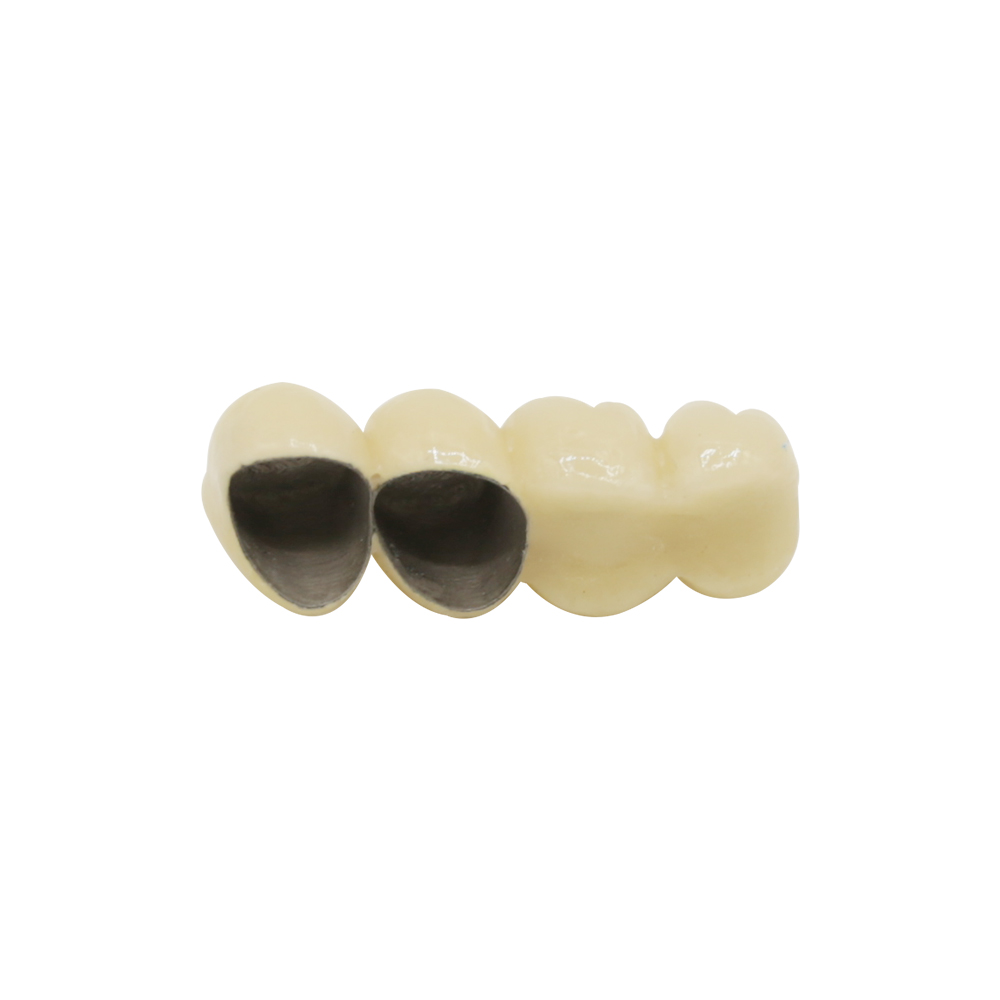
| 2 | Partial edentulism in the upper posterior — had to be replaced with bridges, not another removable | Re-establish a continuous upper posterior arch on fixed restorations | Three bridge spans in the upper posterior were designed within connector cross-section limits (posterior connector 9–16 mm². The remaining 17 units of the 20 were individual crowns. |
| 3 | Wear had eaten clinical crown height — risk to the pulp if we cut to a fixed target | Preserve remaining tooth structure | Prep depth was derived backwards from the minimum material thickness — anterior 0.5–1.5 mm, posterior 0.8–2.0 mm. Not the other way around. |
| 4 | Vertical dimension loss changes lip support | Lip support must not regress | Lip support checked against the reference lines on the prototype and against the confirmed wax-up. |
| 5 | Patient declined orthodontics | Visual alignment inside the design | Midline, arch form, tooth proportion and incisal symmetry resolved on the confirmed wax-up, not on tooth movement. |
| 6 | Multiple endodontically restored teeth with a darker underlying shade | Hit the target shade over a dark stump | Stump shade recorded separately from target shade. Translucency was planned against the recorded stump shade, not the target shade alone. |
| 7 | Existing occlusion can’t be copied — the guidance surfaces are gone | Establish a reproducible occlusal scheme | Facebow record + semi-adjustable articulator, og en PMMA prototype try-in before the final restorations. A changed vertical dimension is verifiable only when both of those conditions are met |
3.2 Why the material split is what it is
The three zirconia options need to be defined before the split makes sense. Industry usage of layered og monolithic is inconsistent, and that ambiguity is what trips readers up.
| Mulighed | Hvad det er | Styrke | Translucency | Where it fits |
| Monolithic | One uniform zirconia block; the whole restoration is the material | Højeste | Uniform | Posterior, bruxism, restricted occlusal space |
| Multilayer (full-anatomy) | One zirconia block, gradient built in — denser cervical, more translucent toward incisal | Høj | Natural gradient | Anterior full-zirconia; strength and layering in one material |
| Veneered | Zirconia core with porcelain built up over it | Core is high; the porcelain is not | Højeste | Anterior with stable occlusion — not first choice under bruxism |
The distinction matters because the veneered option introduces a porcelain layer. That layer — not the zirconia — is where reported failures concentrate. On this case, neither segment needed that interface: anterior used the multilayer gradient, posterior used monolithic. Zero porcelain layered on this case.
3.3 Numbers behind the split
| Anterior | Posterior | |
| Units | 12 | 8 |
| Material specified | Multilayer (full-anatomy gradient) zirconia | Monolithic zirconia |
| Minimum thickness | 0.5–1.5 mm | 0.8–2.0 mm |
| Connector cross-section (where bridges present) | 6–12 mm² | 9–16 mm² |
| Cementation specified | Conventional cementation; if resin cement is used, MDP-containing resin cement is the correct family |
Material guidance draws on ASD Dental Lab — material guidance for full-coverage crowns. The reliability numbers behind the choice (monolithic crowns no chipping exceeding the material grade; layered zirconia porcelain chipping 10–25% over five years) come from peer-reviewed reviews including PMC11857140 and earlier systematic reviews indexed in PubMed.
3.4 An honest note
A zirconia restoration protects the tooth and maintains the restored height. It does not remove a bruxism habit. That is a separate matter, handled by the prescribing clinician and, on this case, by the protective appliance in requirement 7.
On chairside milling: a material that mills predictably in-house has real workflow value for any practice. That is not the deciding factor on a case where the load on the posterior segment is the constraint. Material choice here is driven by load, not by what is convenient to mill.
4 · Zirconia Crown Design and Fabrication Process
The nine stages
| # | Scene | What happens | Logged output |
| 1 | Case data receiving and evaluation | Records checked for completeness før anything else | Intake check record |
| 2 | Scanning | Digital capture of prepared arches and opposing arch | Digital model |
| 3 | CAD design review | Design done against the prescription; sign-off required before production on full-arch | Confirmed design file with version |
| 4 | CAM milling | Milled from the specified zirconia | Milled units |
| 5 | Zirconia processing | Sintering to the fixed programme; fit check on the die | Sintering log; fit check |
| 6 | Finishing, shading, glazing, polishing | Hand finishing, shading, glaze; dedicated zirconia polishing sequence — general-purpose kits don’t restore a milled zirconia surface | Finished units |
| 7 | Multi-stage inspection | Inter-stage inspection at defined control points | Inspection record |
| 8 | Final inspection and release | Independent of production; two-person sign-off on full-arch | Release record |
| 9 | Packing and dispatch | Individual containment; labelled; carrier tracking number issued | Packing list; tracking number |
Turnaround for this case
| Scene | Working days |
| Diagnostic wax-up / guide | 2-3 |
| PMMA prototype (then returned for try-in) | 2–4 |
| Final restoration — full-arch | 5–7 |
The clock starts on the day the case is received. It runs in working days. Time waiting for design sign-off, for a missing record to be supplied, or for a reply from the practice is not counted in the committed turnaround. Customs clearance is separate from the lab turnaround and is not counted in it.
5 · Packing and dispatch
- Each unit placed in its own container, fixed in place so it cannot shift
- Sealed individually, with a printed case label
- Cushioned; cases kept separate from one another
- All into a rigid carton, void space filled
- Screws and small components — where a case has them — sealed separately, labelled with the case number, double-checked by two people against the packing list
Carrier tracking number issued on the day of dispatch.
| Situation | What happens |
| Damage in transit | Within 24 hours with carrier label and an unboxing video. With complete evidence, the case is remade at no charge. |
| Damage after delivery | Rework is chargeable. |
| Loss in transit | Practice files the carrier claim; lab supplies order documents. With complete evidence, priority remake. |
| Forsikring | Not carried by default. Declared-value cover can be arranged. Cover is limited to the processing fee or the declared value, and does not extend to consequential loss. |
6 · After the try-in — what the prescribing clinician reported
The case came back for the final try-in in two phases — anterior first, posterior a week later, once the anterior had been in function for a few days.
On the anterior units the clinician’s note was that the midline and incisal edge position matched the confirmed wax-up within the margin allowed for in the prototype. The lip support came out where it had been planned in the wax-up — that had been a concern going in, because raising the vertical dimension can flatten the upper-lip contour if not checked against reference lines. It didn’t, here. The stump-shade / target-shade plan worked — the darker underlying stumps did not show through the multilayer zirconia at the incisal third, even at the higher translucency end of the gradient.
On the posterior units the clinician’s note was that occlusion was stable on the day of try-in — centric contacts landed where the wax-up had placed them, and no premature contacts needed chairside adjustment on the lateral excursions. The bridge spans seated without force on the prepared abutments, which is the test for connector cross-section having been specified correctly.
Two practical things the clinician flagged for the records on this case:
- Den PMMA prototype try-in was the single most useful step on the case. Without it, the vertical-dimension change would have been assumed rather than verified, and a few chairside adjustments at the final try-in would have run into structural adjustments that the prototype had already absorbed.
- Den not-wax bite record was a deliberate choice that the clinician thanked us for at the final visit. A wax record would have shifted during transport between the practice and the lab, and that would have shown up as occlusal height error at the final try-in — the kind of error that the prototype try-in cannot catch because the prototype is on the same articulator mounting.
Warranty and post-delivery terms for this case are covered in the practice’s standing agreement with the lab. Check the practice agreement for the current warranty period on full-arch zirconia restorations.
What the patient reported after the wear-in
The patient reported that the new vertical dimension felt natural after a few days — speech settled back to its normal pattern within the first week, and the nocturnal clenching pattern the patient had been aware of was no longer producing the morning tenderness on the masseters that they had come to expect. The patient reported that chewing function on the upper posterior bridges was back to where it had been before the teeth had been lost, and that the upper anterior segment was no longer drawing comments about “the wear”. The patient did not report any chips or rough spots on any of the 20 zirconia crowns at the four-week check. The patient was wearing the protective appliance at night.
7 · If you have a case like this
If the case described here resembles one you are planning, the next step is a fee schedule, not a consultation.
Primary CTA: Request fee schedule Secondary CTA: Submit a similar case
How a fee is built (no figures published)
- Unit count is the basis.
- Materiale sets the base rate within that.
- Implant components and design complexity are where additions arise.
- Design, models, components, packing and shipping are included in the quotation.
- Den complete cost is confirmed before production begins.
- If a case needs an additional component or process mid-production, the practice signs it off before it is carried out.
A fee schedule is not on this page. Laboratory fees for a case of this type vary widely by region, material grade and production model. A single number on a marketing page would be misleading without the specification behind it.
8 · Frequently Asked Questions About 20 Zirconia Crowns
Q1. How long does a 20 zirconia crowns full-arch case take?
5–7 working days for the final restoration, after the diagnostic and prototype stages have been confirmed. Working days only; time waiting for sign-off or missing records is not counted in that number.
Q2. What records do you need for a full-arch case?
Master impression or scan of the prepared arch, opposing arch impression or scan, occlusal record (not wax), facebow or articulator record on cases where vertical dimension changes, stump shade separate from target shade, target shade with the shade guide identified, diagnostic wax-up where one exists, clinical photographs for the anterior segment, a completed work authorisation, and the material specified by the practice.
Q3. Why no porcelain on the posterior segment of this case?
Bruxism. A porcelain-veneer interface is where reported failure concentrates on zirconia restorations (PMC11857140). On this case, posterior went monolithic and anterior went multilayer — both options keep zirconia as the only material.
Q4. Can I send a wax bite record?
We would rather you didn’t. Wax deforms with temperature and transport — that turns an occlusal record into a variable we can’t control. A dimensionally stable elastomeric record is the right call on a full-arch case.
Q5. Do you ever use before-and-after photos on case pages?
No. The policy is on the page (see §12). We document cases in numbers, stages and records, not in patient images.
Q6. Can the case be built under my lab’s brand?
Yes — white-label production is available for laboratory clients.
9· References
Regulatory and privacy
- 45 CFR 164.508 — Uses and disclosures for which an authorisation is required
- U.S. HHS, Office for Civil Rights — enforcement actions and resolutions
- ADA — HIPAA resources for dental practices
Failure mode and reliability (peer-reviewed)
- PMC11857140 — Survival and complication rates of zirconia-based restorations
- PubMed 34615842 — Systematic review: monolithic CAD/CAM single crowns
- ScienceDirect S030057121830 — Clinical performance on bruxing patients
- ScienceDirect S0272884216 — Chipping rates on layered zirconia vs PFM
- PubMed 37776245 — Long-term outcomes on extensively restored dentitions
Oplev hurtigere ekspeditionstider med vores banebrydende teknologi
Anbefalet