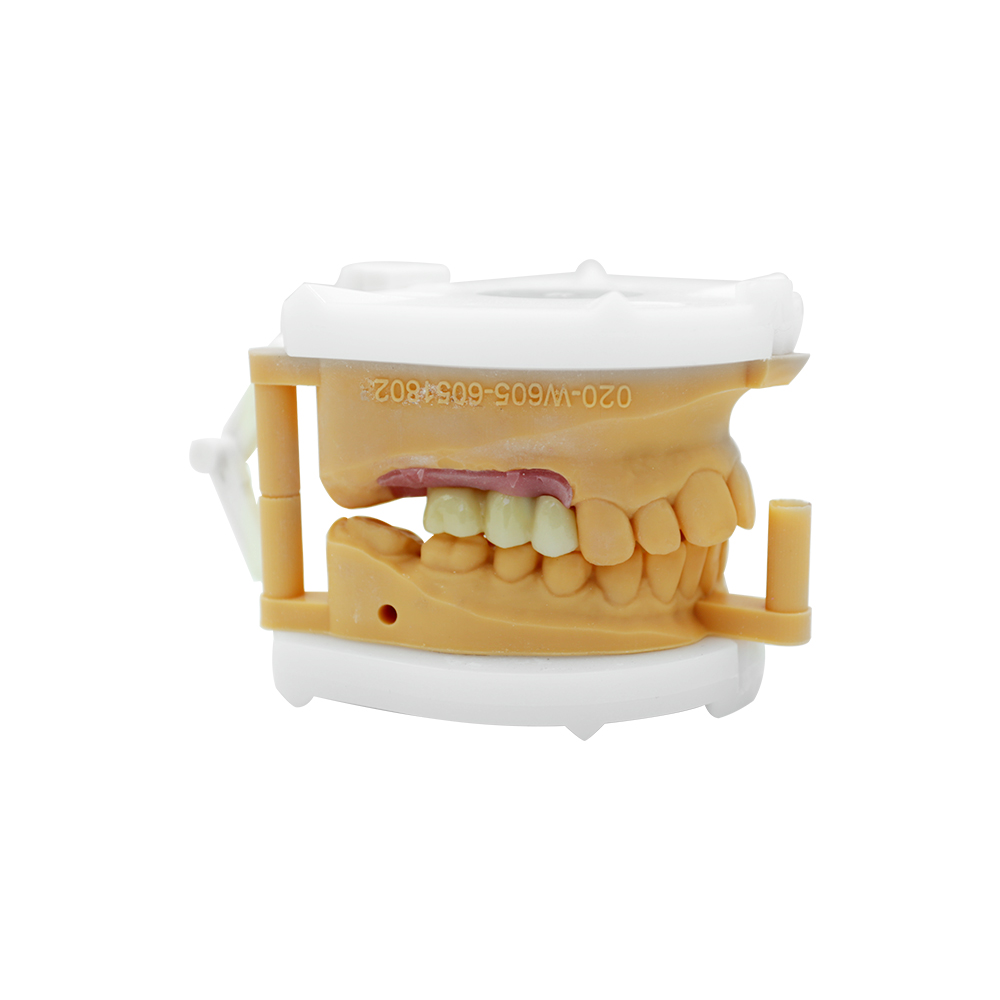
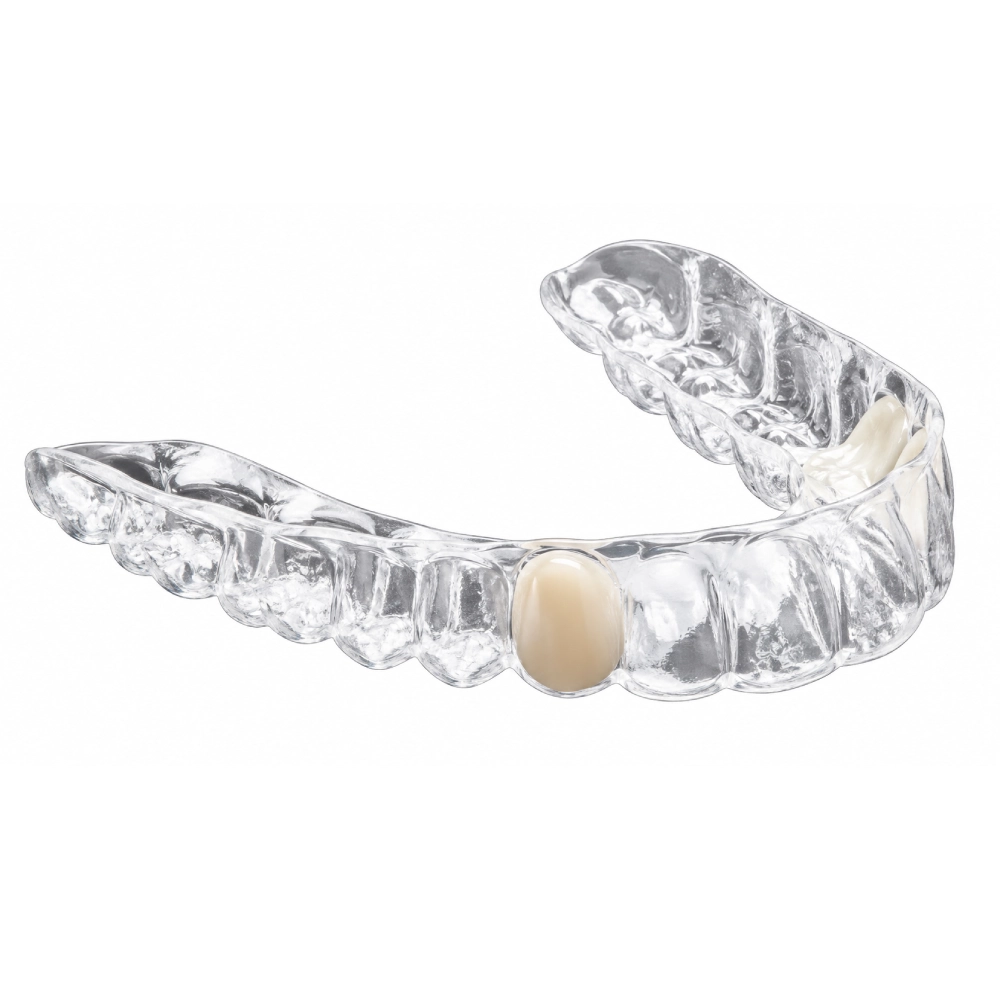
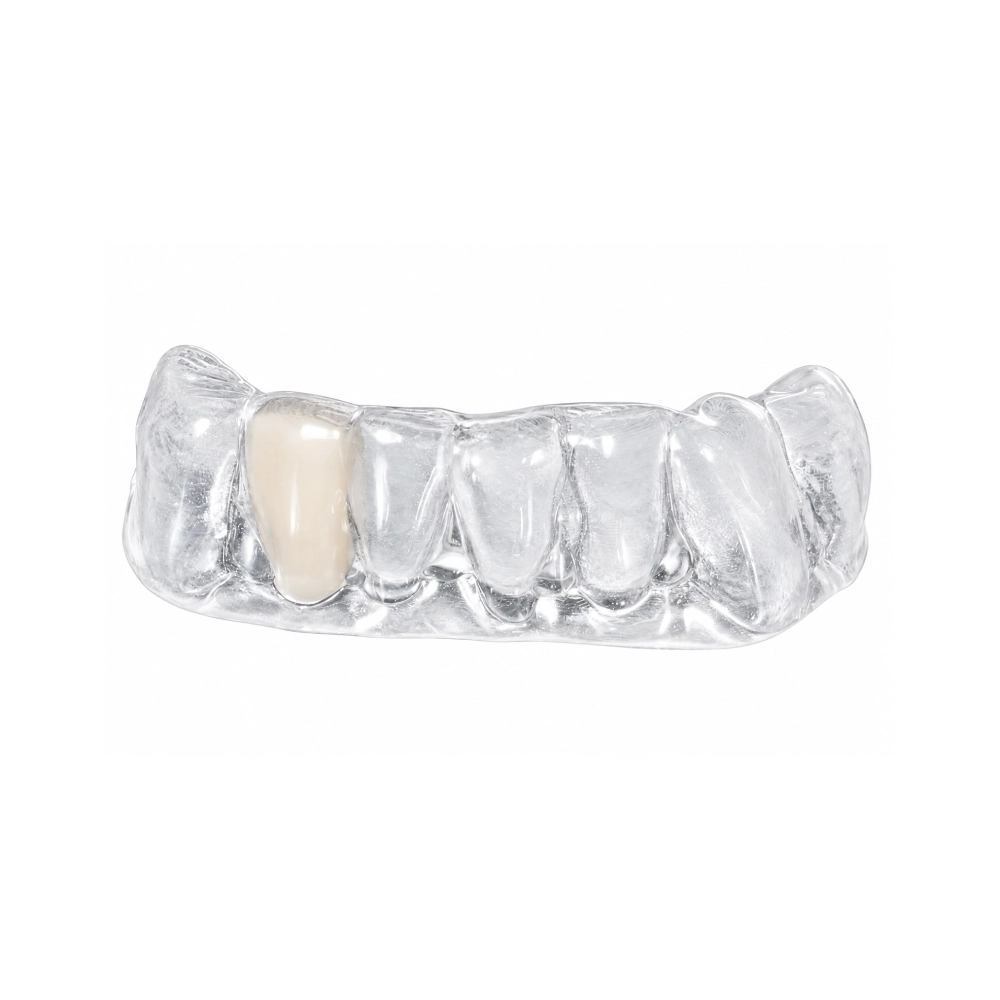
Temporary Tooth After Extraction: Essix Retainer Case Study
🕢 [ Füllen Sie das Formular aus und wir werden innerhalb von 30 Minuten antworten!]
This one came in on a Monday afternoon — a 28-year-old graphic designer needed her upper lateral incisor (#22) out. Failed root canal, vertical root fracture, no saving it. Surgery scheduled for Thursday morning, socket graft going in to prep for an implant down the line.
The catch: she had client presentations starting the following week and couldn’t walk around with a gap in her front teeth. Her dentist wanted a temporary tooth after extraction ready before the surgery so the oral surgeon could seat it right after closing the site.
Healing timeline was looking at 3–6 months for the bone graft to integrate before implant placement, then another 2–3 months until the final crown. So this Essix retainer with a bonded pontic tooth had to hold up for the entire healing phase — cosmetically acceptable, comfortable enough to wear all day, and most importantly, not mess with the graft site.
What the Dentist Sent Us
Scan file came in Monday. We had until Wednesday evening to get the appliance back — surgeon needed time to check the fit and make any adjustments before placing it Thursday morning.
The prescription was straightforward but tight on the surgical requirements:
- Clear Essix-style retainer with a pontic at #22
- Pre-extraction impression taken a week before surgery so we’d be working from stable tissue before swelling kicked in
- Shade A2 to match the adjacent teeth (patient photo included)
- Zero contact on the graft site — pontic sits passively over the tissue, patient bites only on back teeth
- Removable for meals and cleaning
The surgical note was clear: socket preservation with bone graft and resorbable membrane. Standard protocol means any pressure on that site could displace graft material or traumatize sutures, so the appliance design had to account for post-op swelling and tissue changes in the first two weeks.
How We Approached the Design
Dentist sent full-arch STL scans (Medit i700), bite registration, shade reference, and a surgical note that said “2mm relief zone mandatory.”
The tricky part with these cases is the pontic contact profile. You want it to rest gently on the gingiva so it doesn’t look like a floating tooth, but if you model it wrong it’ll press into the socket and undo the surgeon’s work. We went with an ovate profile — gently curved underside that mimics natural emergence but doesn’t load the tissue. The 2mm relief zone carved out around the extraction site gave the swelling somewhere to go without the pontic lifting off or creating pressure points.
Retainer base: 1mm clear co-polyester. Thinner sheets (0.75mm) crack too easily for a 3–6 month wear timeline. Thicker sheets (1.5mm) are too rigid and show through the lips. 1mm is the standard for provisional Essix appliances — holds up to daily handling without being obvious.
Shade matching from a photo is always a judgment call. A2 under natural light can look different under office fluorescents. We pulled the shade slightly cooler to account for the translucent retainer material washing out warm tones. If it looked a touch light in the lab, it’d read closer to the adjacent teeth once seated.
How We Fabricated the Temporary Tooth After Extraction
We model the appliance in CAD, print a physical model on our in-house 3D printers, then thermoform the 1mm sheet over it. The pontic tooth gets hand-positioned and bonded to the retainer base after forming — that’s the only way to control the angle and height precisely. Machine-bonded pontics never sit quite right.
Finishing took about an hour: trim the retainer margins to sit just above the gingival line (any lower and it irritates, any higher and it shows), polish the pontic, adjust the occlusion so posterior teeth meet evenly when the patient closes. Final QC check: retention, shade under different lighting, edges smooth, no pressure on the relief zone.
Timeline from file received to final QC: 48 hours. That gave the dentist Wednesday evening to check it before Thursday morning surgery.
What Happened at Placement
The oral surgeon seated the appliance immediately after suturing. Checked retention, made a couple relief adjustments with a bur where the tissue was puffier than expected, confirmed the patient could remove and reinsert it without forcing.
Patient wore it out of the office. Gap gone, smile back, graft site protected. She could talk normally, no lisp. The Essix held the pontic stable — no movement when she smiled or spoke.
What It Does (and Doesn’t Do)
The appliance serves three functions:
- Ästhetik — fills the space so the patient doesn’t walk around with a visible gap during the healing phase
- Space maintenance — keeps adjacent teeth from drifting into the extraction site before the implant goes in
- Graft protection — pontic sits passively over tissue, no biting force on the surgical area
What it doesn’t do: restore chewing function on that tooth. She was biting on her back teeth only. If she tried to bite into something with the front teeth, the Essix would flex and put pressure on the graft. That’s by design — socket preservation success depends on graft material and membrane placement, not the provisional. The appliance’s job is to not interfere with healing.
Patient Instructions
We sent a care sheet with the appliance. Key points:
She could:
- Wear it all day except meals
- Drink water with it in
- Speak normally (practice for 10 minutes if it felt bulky at first)
- Remove it for meals and cleaning
- Brush it with toothpaste and a soft brush
She couldn’t:
- Bite into hard or chewy food with the front teeth (even with the appliance out)
- Sleep with it the first week while swelling settled
- Use hot water to clean it (warps the plastic)
- Adjust it herself if it felt tight
Die ADA’s guidance on removable appliances emphasizes daily cleaning and regular follow-up — that’s doubly true when there’s an active surgical site underneath.
Follow-Up
Two-week check: sutures out, healing looked clean, Essix was holding up fine. Dentist adjusted the relief zone slightly as the swelling went down — trimmed the pontic base a bit so it wasn’t sitting quite as high.
Three months: implant placed on schedule. Temporary abutment went on, so she kept wearing the Essix over it for another few months until the final crown was ready.
Six months: final crown delivered. Essix retired. It had done its job — held the space, looked normal enough for client meetings, protected the graft site through the critical healing window.
Essix Retainer Production and Quality Control
We run about 4,000–6,500 removable appliances a month (all types), depending on case complexity and seasonal demand. Standard Essix with pontic cases like this one take 18–24 hours from CAD approval to final QC when the design file is clean and the prescription is clear.
Everything happens in-house — scanning, CAD, 3D printing, thermoforming, hand finishing, QC. Our Shenzhen and Huizhou facilities handle the full workflow without outsourcing. We run night-shift CAD designers to overlap with European daytime hours, which cuts a day off the approval cycle when the dentist is in a different time zone.
The material durability question comes up a lot: 1mm co-polyester typically holds up for 3–6 months of daily wear if handled properly. Patients who sleep in it or clench tend to crack it sooner. Patients who take it out for meals and store it in a case usually get the full six months without issues.
The patient got her temporary tooth the day her natural tooth came out. The graft stayed undisturbed. The implant placed on schedule three months later. The Essix did what it was supposed to — held space, looked acceptable, protected the surgical site — and then got retired when the permanent crown was ready.
That’s the workflow. Clean prescription, tight timeline, surgical considerations built into the design, and a material that holds up long enough to get the patient through healing without falling apart halfway through.
Erleben Sie schnellere Durchlaufzeiten mit unserer hochmodernen Technologie
Empfohlen