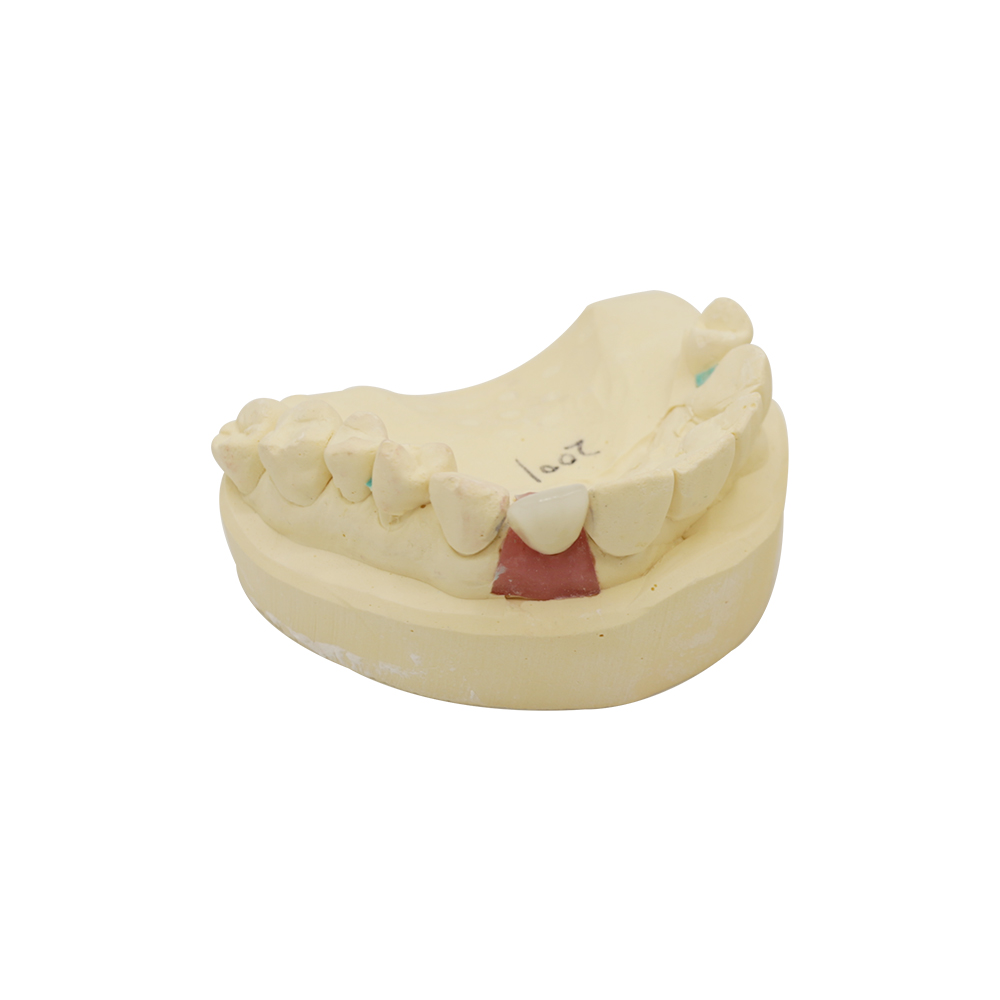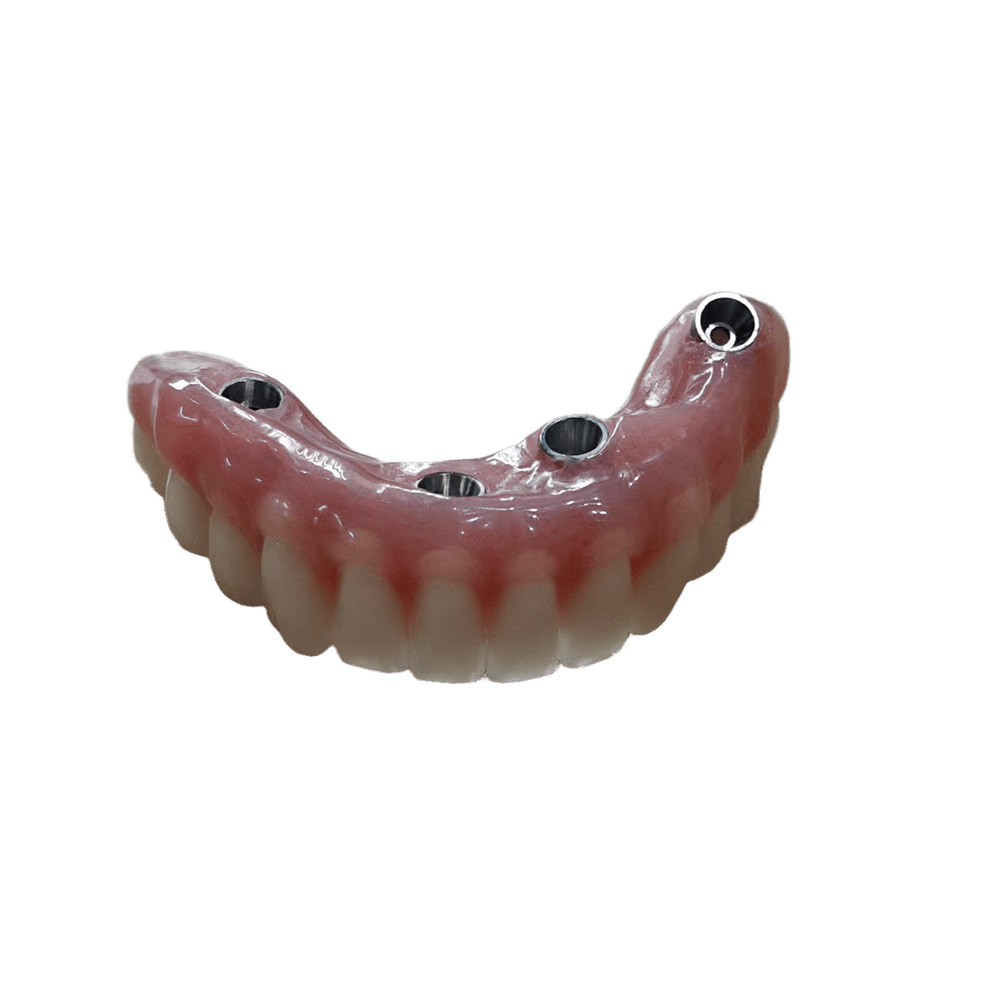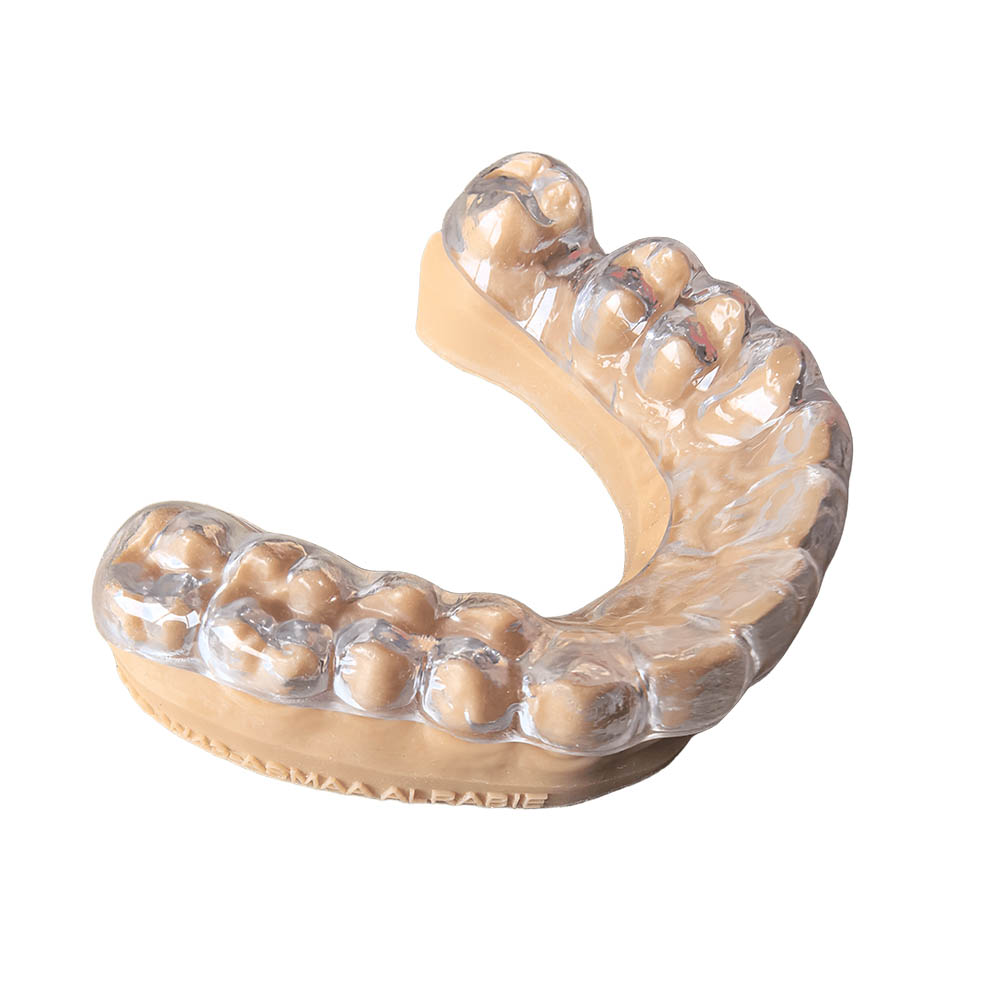
Partial Dentures for Back Molars —— A Real Lab Case from ASD
🕢 [ Füllen Sie das Formular aus und wir werden innerhalb von 30 Minuten antworten!]
What this page is about: We’re ASD Dental Lab, a full-service manufacturing facility in China (founded 2012) with ~460 in-house technicians. This case showcase is for dentists, clinics, DSOs, and other dental labs looking for a lab partner. Not a patient guide.
The Patient Situation
A 50-something patient presented with the lower right first molar and the lower left second molar missing for several years. The remaining dentition included the second premolars and the second molars on both sides, plus a stable anterior segment. No active periodontal disease was recorded at the most recent hygiene visit; the existing restorations on the abutment teeth were intact and the patient reported no recent pain.
The clinical picture was a bilateral bounded posterior situation with at least one missing posterior occlusal unit on each side. The bite had been carried mostly by the anterior teeth and the second molars for years; the patient reported mild awareness of uneven chewing but no functional complaint at presentation. The patient was not a smoker and had no relevant medical history that would change prosthetic planning.
Radiographs and periodontal charting were shared with the laboratory at the start of the case.
What the clinician sent to the lab
The prescription and accompanying records reached the laboratory with the following items.
- arch and the exact teeth missing, drawn on the prescription and confirmed against the study model
- planned design notes — bounded posterior space on both sides, no distal extension
- material preference: cast metal framework preferred over acrylic for longevity, given the bounded span
- clasp type preferences — circumferential Akers on the second premolars, no I-bar on the aesthetic side
- shade and tooth mould selected against the shade guide; photographs of the existing anterior teeth for matching
- definitive (not interim) appliance
- definitive stone casts of both arches plus a bite record
- opposing arch articulated model
- occlusal rests to be cut on the second molars, no surveyed crown requested at this stage
- periodontal status of the abutment teeth documented as stable
- no future tooth addition expected; design approval to be confirmed by the clinician in writing before framework is cast
Where any of these fields would normally be missing, the lab should be told in writing what to do — proceed with stated assumptions, hold the case, or request the missing record. The clinician carries the diagnostic and treatment-planning responsibility; the lab fabricates to the prescription and records it receives.
How the case was built
The whole production path ran inside the in-house facility — case intake, CAD survey and design, 3D-printed framework pattern, casting, acrylic processing, finishing, and final QC were all under one roof. The removable-denture team is sized to keep a posterior RPD on the production schedule without queueing behind crown-and-bridge work. Bounded-span cases on back teeth — the kind where both ends of the gap have a standing abutment — are the bread and butter of the department: design rules are settled, the framework can be cast predictably, and the patient gets a definitive appliance rather than an interim.
Framework design
A Cobalt-Chrome framework was selected. The bounded span on each side called for occlusal rests on the second molars and Akers circumferential clasps on the second premolars, with a mandibular lingual bar as the major connector. Rests were placed along the long axis of the abutment so that occlusal load would transfer vertically rather than torque the tooth, and the lingual bar was kept rigid to unify cross-arch stability. The tissue stops were marked during the digital survey to control acrylic thickness across the bounded saddles.
Two design details mattered for a posterior partial denture like this one. First, because both ends were bounded (no free-end saddle), the framework did not need RPI-style stress release — a conventional rest-and-Akers approach was the cleaner choice. Second, the lower lingual bar was sized to clear the floor of the mouth comfortably at the rest position, so the patient would not feel a bulk under the tongue during adaptation.
Design approval before casting
Before any metal was cast, the digital survey and design file was sent back to the clinician with the clasp type, rest position, connector dimensions, and the planned mesh coverage marked clearly. Casting only started after written approval. This step is the single biggest reason a framework arrives at the try-in fitting the abutments as planned — re-marking after a cast-metal mistake costs a week.
Casting and finishing
The framework was cast in Cobalt-Chrome alloy. After divesting, the framework was seated on the master cast to check passivity of every clasp arm, full seating of rests, and tissue clearance under the major connector. Sprue remnants were trimmed, the internal surfaces were not polished (the intaglio has to stay untouched so the framework does not lose fit), and the external polished surfaces were brought up to a high shine with rubber wheels and a final buffing wheel.
Tooth set-up and wax try-in
The acrylic record base and wax set-up were articulated against the opposing model using the provided bite record. Tooth mould and shade followed the clinician’s selection; the lab also cross-checked mould width against the patient’s existing anterior teeth using the photographs that came with the prescription. At the wax try-in the clinician was asked to check aesthetics, tooth position and midline, tooth form, occlusion, vertical dimension, speech, base stability, and overall patient comfort.
Processing
After try-in approval, the case was processed under a stepped water-bath polymerisation. Powder and liquid were mixed strictly to the manufacturer ratio; the resin was packed at dough stage to limit monomer evaporation; polymerisation used a stepped temperature ramp instead of direct boiling; and the flask was allowed to cool with the bath to room temperature before deflasking. Quick quench was avoided — internal stresses from quenching are a common cause of denture base warping and tooth shift over the first weeks of wear.
Final QC and packaging
Stage-by-stage inspection covered the cast, the wax-up, the tooth set-up, and the final processed appliance. The base was checked for pores or honeycomb with magnifier and strong light transmission at the thick palatal and corner zones. Occlusion was rechecked on the articulator against the original CR record — bilateral posterior contacts at centric, no interference in protrusive or lateral excursions. The intaglio and the borders were masked before the final polish, so that no abrasive touched the fitting surface. The appliance was re-seated on the model after polishing and the fit was re-verified.
Outcome and what to expect over time
When the appliance was returned to the clinician, it seated without force on the master cast; every clasp arm engaged passively; rests were fully seated; the major connector cleared the floor of the mouth at rest. The patient wore it through a normal adaptation period of a few weeks, with the routine clinician-side adjustments any herausnehmbare Teilprothese needs in the first days. Chewing on both sides returned within a couple of weeks for most patients in similar setups; full adaptation to speech changes from the lingual bar typically settles within the same window. Persistent pain, sudden bite change, or a sore spot that does not resolve with a routine adjustment is not a normal part of adaptation and should go back to the clinician for review.
Common failure modes to anticipate
For any posterior RPD, four failure modes are the ones worth flagging at the recall visit:
| Failure mode | Most common cause | Typical handling |
| Abutment caries | Plaque stagnation around clasps and rests | Hygiene coaching, fluoride prevention, design adjustment |
| Framework or clasp fracture | Thin section, metal fatigue, accidental drop | Lab repair for some clasp fractures; remake if the major connector is fractured |
| Loss of retention or stability | Clasp fatigue, abutment contour change, ridge resorption | Clasp adjustment, reline or rebase, surveyed crown, or remake |
| Mucosal soreness | Pressure point, overextension, rocking, or continuous wear | Relieve pressure, treat tissue, correct extension |
A reline is the right call when the framework, denture teeth, occlusion, and vertical dimension are still sound but the tissue-bearing surface has lost adaptation. A remake is the right call when one or more of the following has happened:
- an abutment tooth is lost or the Kennedy classification has changed
- the framework is fractured, distorted, or poorly designed
- occlusal vertical dimension or tooth arrangement is no longer acceptable
- artificial teeth are extensively worn
- the base has been repeatedly repaired, is too thin, porous, or unhygienic
- retention cannot be restored without damaging the design
- severe ridge change makes the original framework and tooth relationship unusable
- persistent tissue injury or inability to keep the appliance clean
Delivery and warranty notes
Production of a bounded posterior Cobalt-Chrome RPD with a wax try-in runs inside the lab’s standard in-house schedule; the digital scan path keeps a record of the design that can be re-opened for any future tooth addition or remake, which is faster and cheaper than reproducing the case from physical models. Warranty terms on a posterior RPD like this one typically cover defects in material and workmanship for a defined window — see the lab’s written warranty for what is and is not included, since coverage varies by failure cause.
Why this is a good fit for partial dentures for back molars cases like this
Two structural points make a herausnehmbare Teilprothese a reasonable posterior choice in a bounded situation like this one. First, the bounded span does not need the rotational stress control that a distal-extension case requires — conventional rests and Akers clasps carry load predictably along the abutment long axis. Second, the cast-metal framework gives the clinician a definitive appliance that can be added to or relined if a neighbouring tooth is lost later; an acrylic-only interim would not give the same service life on a case this size.
Send us a case like this
If you have a posterior RPD case that fits the bounded-span profile above, or a case that needs design discussion before the prescription is finalised, send the study model or intraoral scan, the bite record, the prescription with design notes, and any clinical photos. The removable-denture team is set up to keep posterior RPD work on the schedule, and the digital design file is held on file for any future addition, reline, or remake.