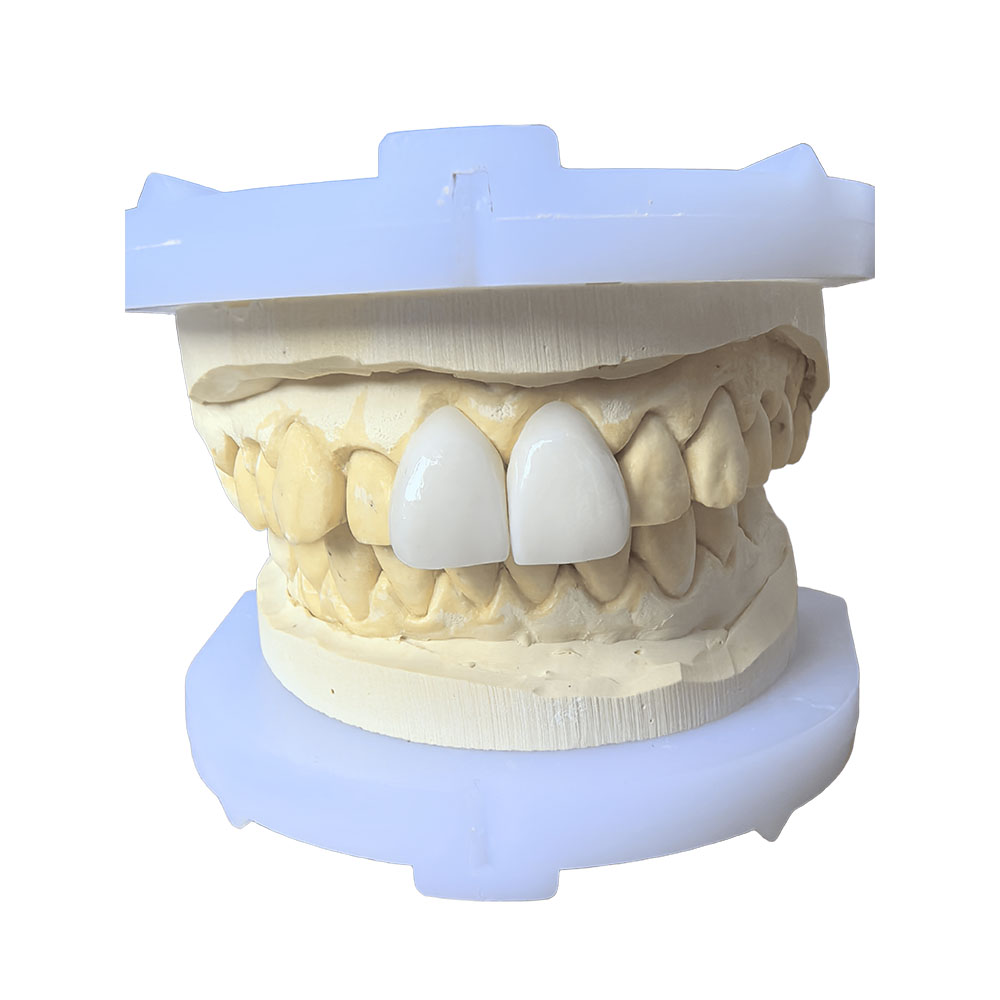
Natural Looking Dentures That Look Real: A Denture Case Study
🕢 [ Füllen Sie das Formular aus und wir werden innerhalb von 30 Minuten antworten!]
Who We Are
ASD Dental Lab is a full-service dental laboratory founded in 2012, running our own manufacturing in Shenzhen and Huizhou, China. We’re a factory, not a trading company.
Everything happens in-house: CAD design, milling, injection molding, wax-up, base processing, try-in mockup, finishing, quality inspection. We don’t outsource cases.
Some numbers, since you’re weighing vendors:
| Founded | 2012 |
| Staff | ~460, including ~55 in our removable denture department |
| QC team | ~25 |
| Case coordination | ~40 |
| Removable dentures | ~4,000 cases/month normal, ~6,500 peak |
| Backup capacity | ~50 trained workers for peak season |
| Who we serve | 50+ labs, 100+ clinics, 400+ dentists |
| Markets | US, Netherlands, Germany, France, Belgium, Austria, UK, Luxembourg, Switzerland |
1. The Patient Situation
Why she came to us
61 years old, had her upper teeth lost progressively over nine years, most of it in the last four. She’d already been through three sets of upper dentures — first delivered in 2016, replaced in 2020, replaced again in 2023. Every time she got used to them, then stopped liking how they looked. By the time she reached us she’d stopped wearing the 2023 set in photos altogether.
Her words, from the consultation:
“My dentures look fake — the teeth are too white and too lined up.” “My upper lip looks pushed out.” “When I smile there’s too much pink showing.” “I don’t relax in conversation anymore.”
Clinical findings
- Maxillary ridge: well-formed, moderate resorption — Applegate class III, height reduced to roughly 8 mm at the crest
- Vestibular depth: adequate for border molding — about 9 mm labial, 7 mm in the distobuccal sulcus
- Smile line: average; displays 3 mm of gingiva above the centrals at full smile
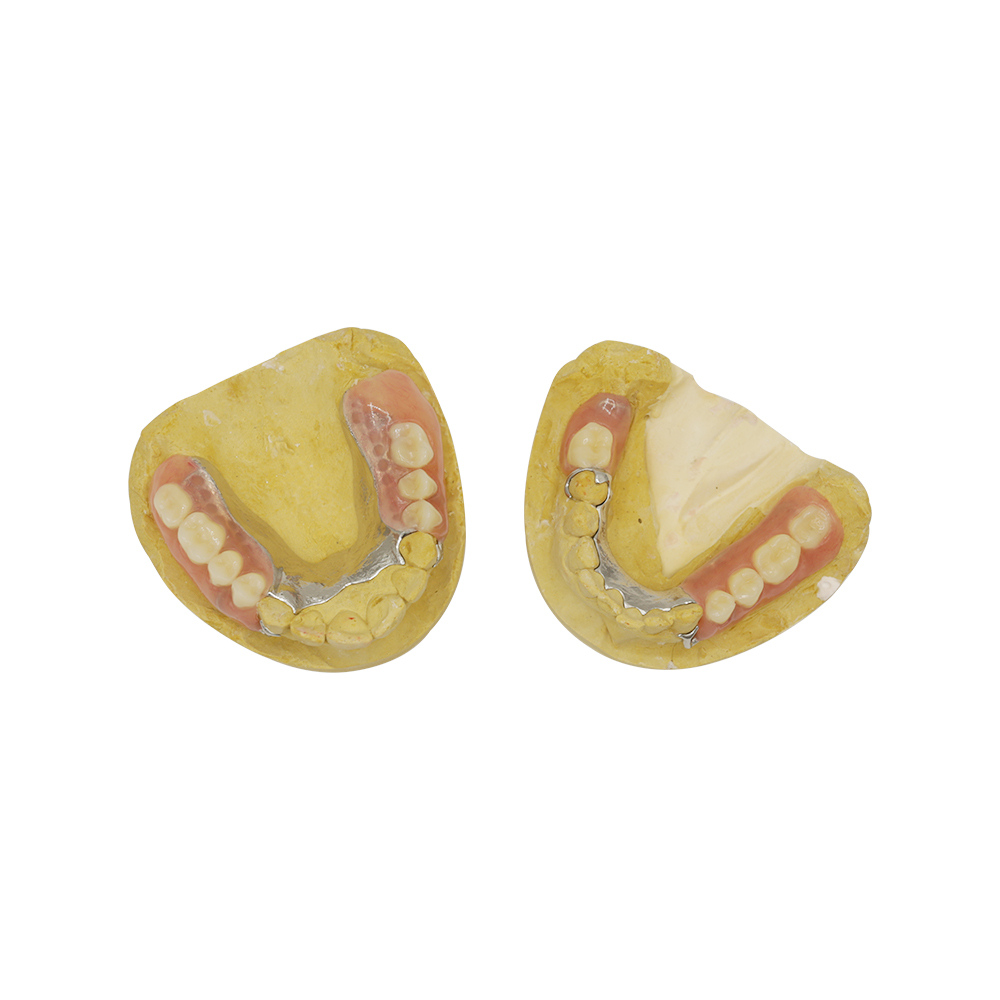
- Lower arch: partially dentate — natural lower anteriors and right first premolar retained, doctor restructured the left posterior segment and planned a cobalt-chromium partial to close the open contacts
- Lip support: upper lip mobile, mildly flattened — philtrum shortened, nasolabial fold shallow
- Old denture condition: received heavily worn, base yellowed from tobacco staining across the palatal third, left posterior flange cracked through, and rocking at the right tuberosity from a poor border extension — the tissue surface showed hyperplasia under that spot
Why the previous sets looked wrong
This matters, because it’s the actual problem you have to solve. Looking at the failed dentures and the photos, three things stood out:
- Teeth too bright. Standard A1/B1 shades read as “false” against a face that isn’t twenty anymore.
- Anterior teeth too uniform. Six centrals and laterals set in a straight line with identical spacing — that straight line is what the eye spots first.
- Gum block too bulky and too smooth. No contour, no papillae, a flat pink surface. It reads as a plastic slab.
2. What the Doctor Asked For
The prescription came in with specifics. This is what was written:
| # | The ask, in the doctor’s terms |
| 1 | Mold & shade — match facial proportions; no oversized or perfectly symmetrical anteriors; shade that reads natural in both indoor and outdoor light; patient explicitly does not want “celebrity white” |
| 2 | Flange — support the lip without pushing it forward. Border extension follows functional muscle movement, not arbitrary extension |
| 3 | VDO — from multiple clinical observations (resting face height, speaking space, existing denture), not one formula |
| 4 | Smile line — incisal edges follow lower-lip curvature; no flat or canted occlusal plane |
| 5 | Gingiva — festooning, papillae, root eminences, surface texture. Not a smooth pink block |
| 6 | Arrangement — controlled rotation and spacing allowed; no six identical centrals and laterals |
| 7 | Try-in — wax try-in appointment required. No final processing until patient und doctor approve position, mold, shade, VDO and flange |
On point 2 — border molding records how the surrounding muscles actually behave[[15]]. Extend past that and you get soreness and a lip that looks inflated.
On point 3 — vertical dimension affects lower-face height, lip support and how much tooth shows[[11]]. Get it from one measurement and the whole face reads wrong.
On point 5 — festooning, stippling and gingival tinting change how light sits on the base[[6]]. That’s the difference between a denture and a piece of pink plastic.
3. How We Handled It
3.1 Impression and border molding
We received the preliminary impression and fabricated a custom tray. The doctor did the border molding chairside, then took the final impression.
What we checked on the master cast before going further:
- Ridge contour and vestibular depth fully captured
- Postdam area clearly defined
- Frenum positions clear of the planned denture extension
- No undercuts that would block seating
This step is unglamorous and it’s where most problems start. An inaccurate functional impression means the flange is either too long (sore spots) or too short (lip collapses).
3.2 Jaw relation and VDO
The doctor recorded centric relation on a wax rim, marked the midline, smile line and canine lines directly on the rim, and sent photos at rest and smiling.
We mounted the casts, transferred the markings, and used the rim as the reference for every tooth position that followed.
3.3 Tooth mold and shade
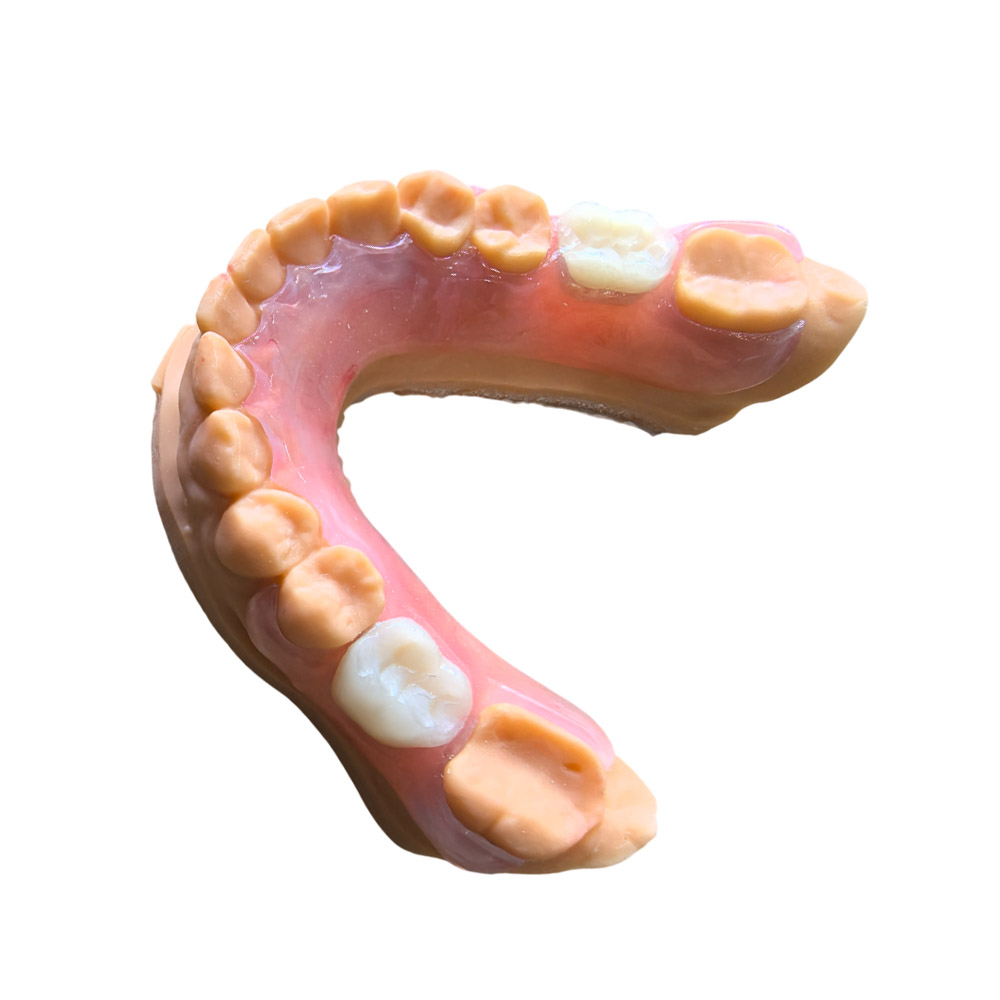
Schimmel: a tapering ovoid form — moderate width, natural curvature. Central incisors sized to the arch space and the lip length the doctor recorded. Canine prominence kept.
Shade: selected from the doctor’s shade tab plus photos, a mid-range rather than the brightest shade. Shade selection involves hue, chroma and value together[[4]] — picking a value off the top of the guide is what produces that “too white” look patients complain about.
What to send us: facial type and arch form, tooth mold from the existing denture if the patient is happy with it, shade (color and translucency), tooth length and width dimensions, plus a photo of the anterior arrangement you want.
3.4 Arrangement
The six anteriors went in with:
- Slight rotation on the laterals
- Centrals a touch forward of the laterals
- Canine prominence preserved
- Contact points varied individually instead of set uniformly tight
- Incisal edges following the lower-lip curve the doctor marked
Posteriors in balanced articulation — enough for function without an over-wide buccal setup.
3.5 Gingival work
The wax-up carried:
- Scalloped gingival margins
- Interdental papillae with natural height variation
- Root eminences matching cervical contour
- Surface stippling
- Pink shade matched to the patient’s actual tissue tone, not a stock “gingiva pink”
3.6 Flange and lip support
Designed off the functional borders:
- Supports the upper lip without projecting it
- Respects recorded muscle attachments
- Fullness at the nasolabial fold without bulk
- Smooth transition from teeth into flange
Flange thickness and extension change lip projection and overall facial appearance[[10]].
4. Try-In
We shipped the wax try-in to the clinic. The doctor seated it and went through the list:
- Mold, shade, arrangement
- Midline against the facial midline
- VDO and lower-face proportion
- Lip support and flange contour
- Smile line and tooth display
- “F,” “V” and “S” sounds
- Occlusion and base stability
The patient approved the setup but wanted less gingival show. We dropped the incisal edge 1.5 mm, which cut the visible pink at full smile from 3 mm to roughly 1.5 mm. Doctor confirmed, then we processed.
5. Processing
Base: injection-molded PMMA. Injection molding cuts polymerization shrinkage and improves base fit over conventional heat-curing[[33]].
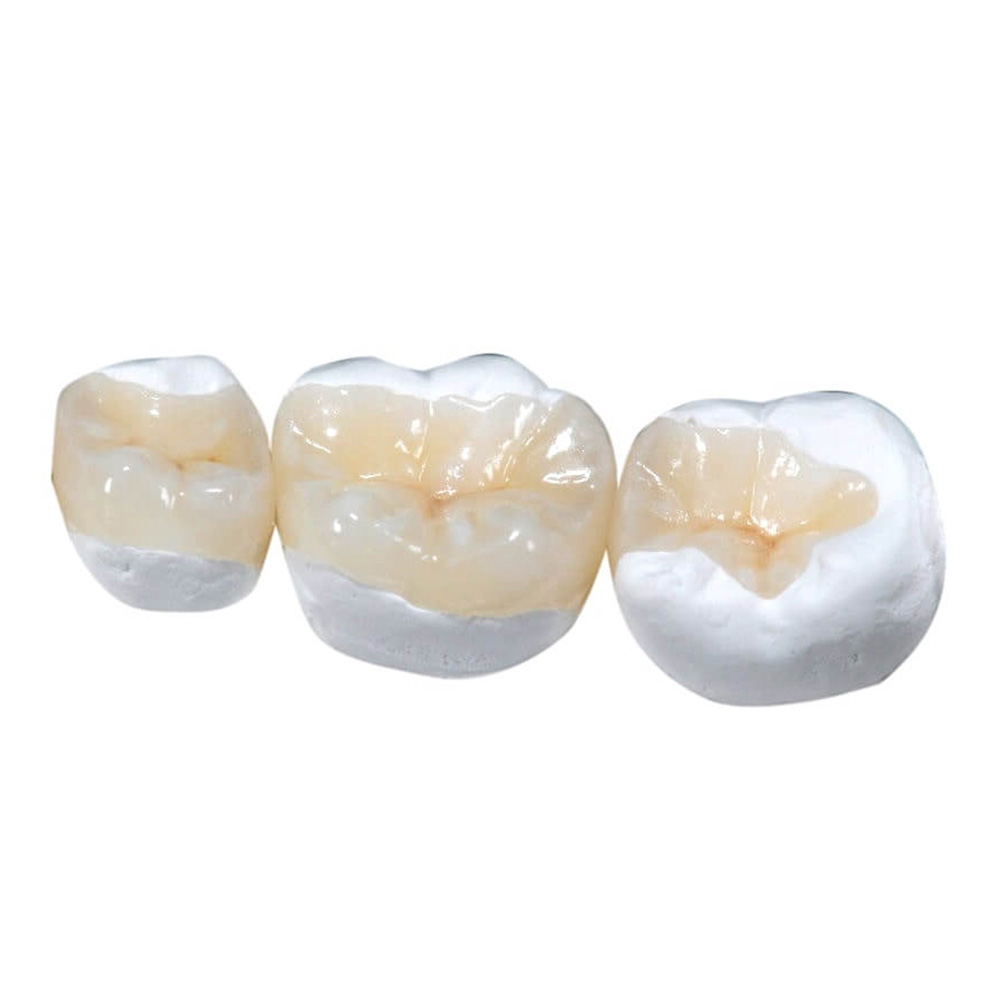
Zähne: cross-linked composite resin. Composite resin teeth generally hold up better on wear and color stability than conventional PMMA teeth[[5]].
Polymerization discipline: manufacturer powder/liquid ratio, filled during the dough stage, step-up water-bath curing rather than straight to boil, cooled slowly in the bath before opening the flask. Fast cooling is what causes bubbles, shrinkage and teeth shifting out of position. For injection bases, pack and press under pressure for the same reason.
Then remount on the articulator against the original jaw record, adjust centric and excursive contacts, and polish — protecting the tissue surface and borders so you don’t polish away the fit.
6. What Ships With It
Every case leaves with:
- The denture — finished, checked, polished
- Duplicate cast — for your records
- Digital design file — stored, so the case can be reproduced
- Material traceability — base resin and tooth lot numbers on record
- Processing notes — technician signature, date, curing protocol
- Design approval trail — for framework cases, the annotated design drawing goes back to the doctor for sign-off before casting or milling
7. Turnaround
Laborzeit: 7 business days for a standard complete denture, measured from receipt of the final impression. That includes the try-in stage — final processing only starts after approval.
Transit: depends on carrier and customs. We confirm the timeline with you per case.
Digital vs. conventional, honestly: digital scanning keeps the file, so a remake doesn’t need a new impression, and it typically saves 1–2 days. Conventional means extra model duplication, model correction, and a box in transit that becomes a problem if it’s lost — then you’re re-taking impressions, and you’re 1–2 days longer plus higher shipping cost.
If a case is tight, tell us at intake rather than at deadline.
8. Maintenance and Limits
The first few weeks. New dentures change tongue space, palate shape, saliva and muscle patterns. Extra salivation, mild soreness, and pronunciation shifts are normal. Speech often settles around 30 days, though individual variation is real.
Ongoing. Complete dentures need regular review for tissue health, ridge change, fit and occlusion[[51]]. Ridges keep resorbing after extractions, so retention fades over time even on a well-made denture. Relining handles tissue change while the tooth setup is still good. Remake territory: worn teeth, wrong VDO, fractured base, or a ridge that has changed substantially.
Relining and repairs — what we need from you: upper and lower models, the old denture, and the wax rim.
9. Quality Control
Everything from wax-up to final polish happens at our own facilities, which is the point — you can’t inspect a process you don’t control.
Checks before shipment:
- Base adaptation on the master cast
- Occlusal contact verification
- Surface finish and polish quality
- No voids, bubbles or discoloration
- Flange extension and border dimensions
- Seating and retention on the cast
Acceptance is against the confirmed prescription and design. Internal defects or multiple voids mean we redo it — bubbles, honeycombing, poor occlusion, lack of fit. We don’t ship those and ask you to decide.
10. Starting a Case
Send us:
- Prescription or lab ticket
- Upper/lower preliminary and final impressions, or scans
- Jaw relation record, facebow transfer if available
- Existing denture for reference
- Shade and smile-line photos
- Framework design drawing with clasp, rest, major connector and mesh dimensions marked, for framework cases
- For implant overdentures: implant brand, model, connection, diameter, quantity, position, and the Locator/Bar attachment details
Questions worth asking us before you send anything — whether we take sketches, photos of an existing denture, diagnostic wax-ups or provisionals as reference (ja), what we can subcontract if you need a single step (design, milling, ceramic build-up, glaze, polish, repair, adding porcelain), and how we handle multi-location practices where several doctors each have their own preferences (we note them per doctor on the case system).
Further Reading
Erleben Sie schnellere Durchlaufzeiten mit unserer hochmodernen Technologie
Empfohlen