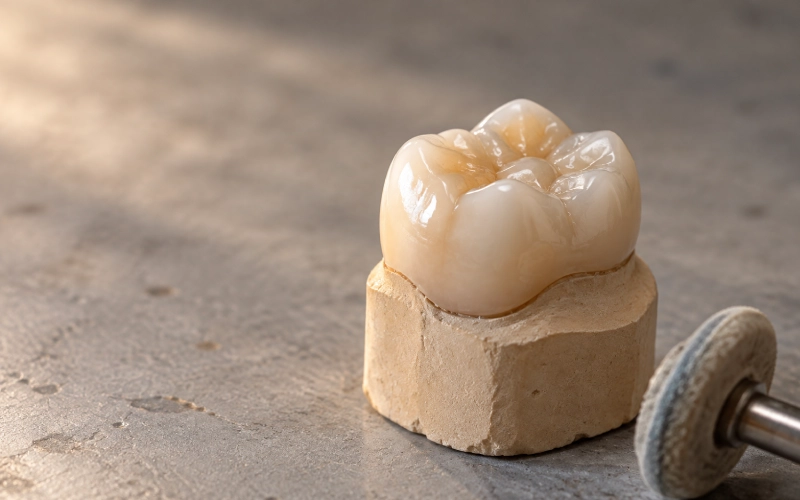
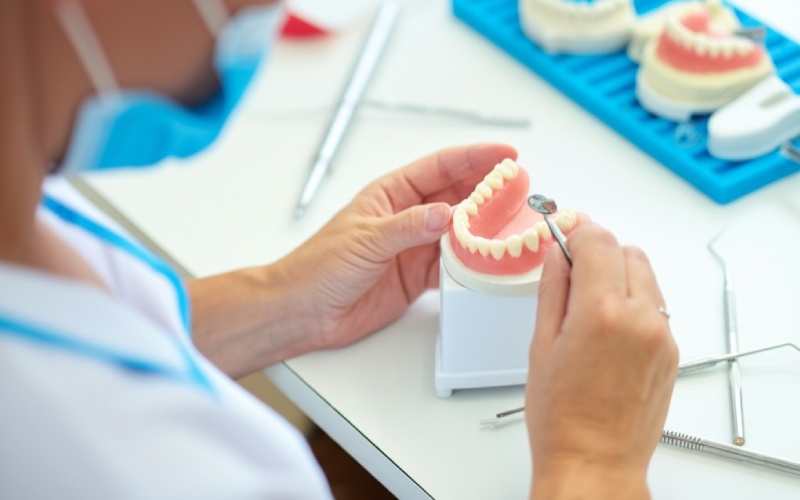
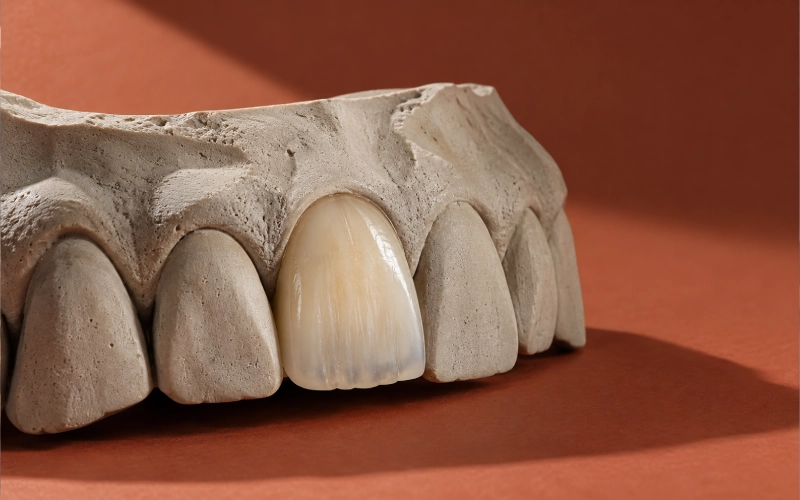
Inlay Molar Case: A Lithium Disilicate Inlay for a Leaking MOD and an Open Contact
🕢 [ Füllen Sie das Formular aus und wir werden innerhalb von 30 Minuten antworten!]
1. The Patient Situation
Mid-forties, no relevant medical history, non-smoker, no parafunctional history.
- The tooth: Maxillary right first molar (#16, FDI 16), vital, no cracks.
- Opposing tooth: Mandibular right first molar (#46) intact and unrestored.
Three Problems Had Piled Up:
- Open contact: Food packing daily between #16 and #15. The proximal contact on the mesial of #16 no longer held floss with a snap. An open contact compounds: every meal pushes food into the gap, the papilla between #15 and #16 stays inflamed, floss tears instead of snapping through, and the gap widens. She wasn’t asking about the food trap — she was asking what kind of crown she’d need.
- Leaking composites: Two old MOD composites on #16, both placed years earlier in a different practice, both showing marginal breakdown and secondary caries on the bitewing. The margins had gone — not dramatically, just the slow leak where filling and tooth no longer meet cleanly. A second direct restoration on the same interfaces that had already failed once was not where she wanted to end up.
- Over-contoured neighbour: Tooth #17 beside it had bulbous contours on its mesial surface from an earlier restoration. An over-contoured neighbour narrows the space on the distal of #16 where a new contact had to be created, and makes it harder to build a contact that floss can still pass. The patient declined re-contouring #17 at the same visit, which meant the inlay had to be built against an unfavourable neighbour.
Underlying Defect & Structural Evaluation:
- The defect underneath: A broad MOD on #16 once the old composites and caries were removed.
- What kept it in inlay territory: No cusp was undermined, all four axial walls were sound, and the pulpal floor was healthy.
- Occlusion: The opposing #46 was left untouched — occlusion at maximum intercuspation was within normal range and there was no excursive interference.
- Longevity expectations: She asked about longevity in working terms: not “how long will it last”, but “what determines how long it lasts”. Bond quality, defect size, isolation, occlusion and maintenance pull at least as hard as the material family.
Anmerkung: Tooth numbers (#16 / FDI 16 with neighbours #15 and #17, opposing #46) describe the kind of segment this case was built on, not a single identifiable patient file. The procedure and handling below hold whether the segment is maxillary right, maxillary left or mandibular.
2. Why This Wasn’t Automatically a Crown
- Fill it again with composite? No. A direct restoration rebuilds contact and contour freehand, in the chair, in a wet field — that exact step failed the first time. It also repeats shrinkage stress across a broad isthmus, where MOD composites tend to go wrong.
- Full coverage? Routine for a molar in this state, and perfectly defensible. But a crown would reduce every surface — including walls and cusps that were still sound. You don’t spend structure you don’t have to.
- Indirect partial coverage — inlay or onlay: An indirect restoration is shaped on a model before it reaches the mouth, so contact, contour and occlusion are established outside the patient. It also lets the lab work to a written target rather than a remembered preference.
The Deciding Question: How Much Tooth Comes Out?
- When the defect sits in the occlusal surface or the proximal box, cusps are intact, enough sound tissue remains and the pulpal wall is healthy, an inlay is the right scope.
- Once a cusp is undermined, cracked or lost, or a large defect follows root canal work, the same material is indicated as an onlay or overlay instead (review of ceramic inlays in posterior teeth, longevity of ceramic onlays). On this tooth no cusp was undermined at preparation, so the inlay was the right scope.
Why Lithium Disilicate
The constraint was visibility — this segment shows. Lithium disilicate is a glass-ceramic, needs resin bonding, and bonds predictably once the surface has been conditioned correctly. Cast gold remains the reference for durability and seal; the clinician simply had a different constraint to satisfy. Long-term outcome tracks bond quality, defect size, isolation and occlusion at least as much as material family (clinical longevity of gold, lithium disilicate and leucite intracoronal restorations).
3. What the Prescribing Clinician Asked Us For
Every line below is something we were asked to own. A requirement without a reason is just a preference.
| Item | Requirement |
| R1 | Material named at product level — lithium disilicate, monolithic, high translucency — not just “ceramic” |
| R2 | All cusps left uncovered |
| R3 | Finish line named on the prescription — shoulder or shallow chamfer — and how far it sits below the margin; the margin drawn by hand on the scan, not left to software auto-detection |
| R4 | Contact tightness called as light / normal / tight, plus where the contact sits vertically on the proximal surface |
| R5 | Occlusion onto the existing fossae, in maximum intercuspation, with no excursive interference |
| R6 | A target shade plus a reference photo, with translucency and surface texture stated |
| R7 | Either a scan or an impression is acceptable |
| R8 | The contact and finish-line spec written into the clinician’s file, not remembered |
| R9 | A stated rework position, including the line between “adjust it in the chair” and “send it back” |
| R10 | Call before proceeding if the prescription is unclear, contradictory, or unbuildable at the geometry supplied |
| R11 | Patient identified by a case number rather than a name |
4. Molar Inlay Design and CAD/CAM Fabrication
Prescription
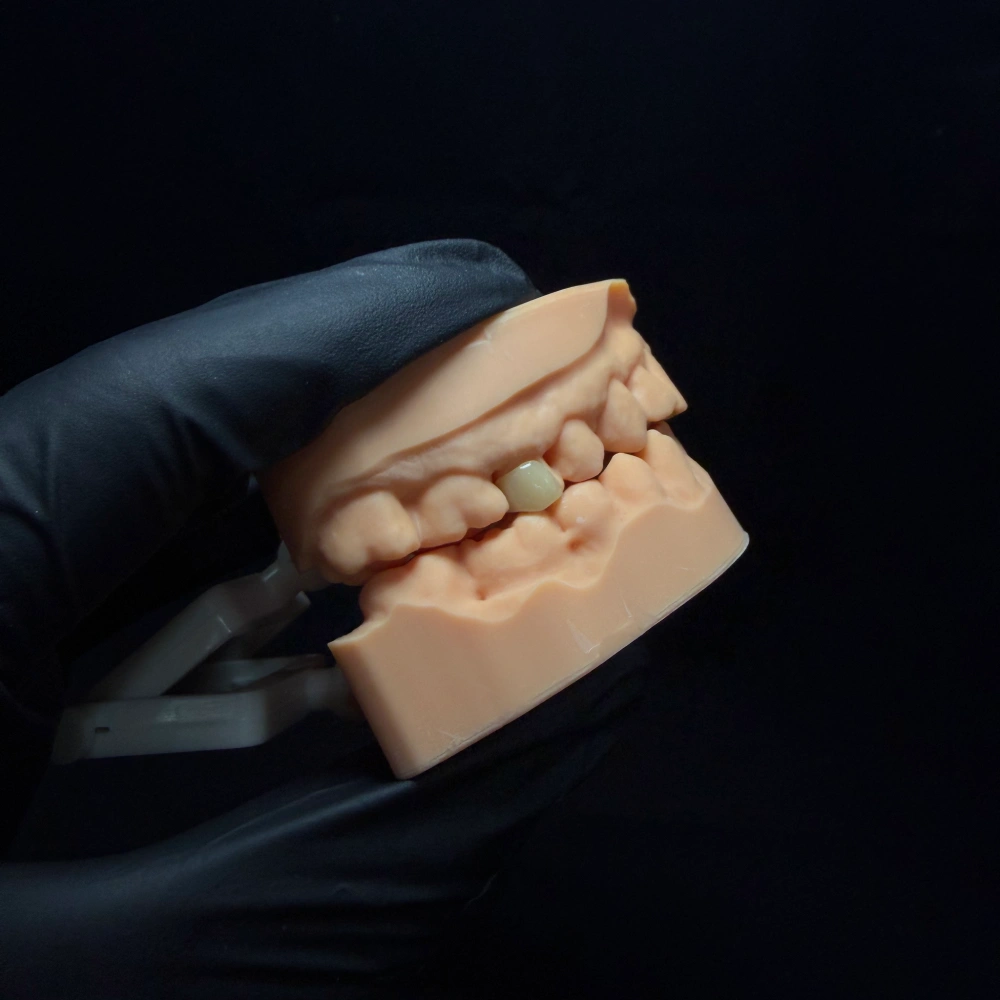
Maxillary right first molar (#16), broad MOD inlay; vital; lithium disilicate, monolithic high-translucency A2 with stain and glaze; all cusps uncovered; finish line shallow chamfer, margin hand-drawn on the scan; proximal contact light with floss resistance, contact height noted (distal contact built against the over-contoured mesial of #17 with height marked on the lab slip); contacts in maximum intercuspation on existing fossae, no excursive interference; match adjacent units; adhesive cementation planned; return design targets with the unit.
That’s the format we like: one tooth, one material, one shade, and every target written down. Everything in it is something we can design against and something the clinician can check the delivered unit against. A scan or impression on its own is not an instruction: the lab needs the clinical intention, the material, the shade, the occlusion and the design expectation (Dental Laboratory / Dentist Relationship, American College of Prosthodontists).
Intake Workflow
- Data quality: The case, prescription, scan and tooth were matched; the case number was checked. Scan validated for noise, missing data, bite errors; finish line checked for clarity.
- Material check: Assessed whether the specified material could be built at the thickness and geometry supplied.
- Stop and call: If the prescription and data didn’t match, the case was paused and the clinician contacted.
- Margin line: Design built off the finish line drawn by hand, not one the software guessed at.
- Thickness and fit space: Minimum thickness from the material’s own requirement.
- Contacts and occlusion: Designed to the written spec, not to a remembered preference.
Fabrication
Records check → scanning → CAD design review → CAM milling → sintering → hand finishing, staining, glazing, polishing.
- Product-level design targets for a bonded ceramic inlay: Around 1.5–2.0 mm pulpal depth, 2.0 mm isthmus, 1–1.5 mm axial reduction, 10–12° convergence (ceramic inlay considerations in posterior teeth). If the preparation as scanned couldn’t carry them, that’s a conversation, not a compromise.
- In-house control: No step was subcontracted: design review, milling, sintering and finishing all ran inside our own facilities — two production sites, a team of roughly 460, no third-party lab in the chain.
Inspection
Every finished unit is checked:
- Marginal fit: Continuous margin, no lift, no chipping.
- Internal surface: No burrs, nodules or porosity, seats without force.
- Contacts: Tightness in the specified range.
- Occlusion: Centric, protrusive and lateral; premature contacts removed.
- Shape and finish: Contour, anatomy, polish, no cracks or chips.
- Shade and material identity: Checked against the reference photo on file.
Contacts, occlusion and margins are checked again after glazing, because glazing and sintering can move a fit. The inspection is done by a dedicated QC role that doesn’t build the case. A unit that doesn’t pass is remade automatically. Every case is traceable: the case number carries the technician, equipment, material batch and inspection result at each step.
Rework Policy & Standards
- First-pass final-inspection pass rate: 95%
- Overall rework rate: 2–3%, tracked per client by our lab manager.
| Category | Policy / Scope |
| Reworked at no charge | Open margin · open contact · high bite · a unit that won’t seat · wrong shade · a visible flaw · poor shape |
| Not a lab-side rework | You changed the shade · you changed the material · you asked us to do our best from an impression we’d already flagged as unclear |
| Adjust it in the chair | A bite that’s slightly high, or a contact that needs a light touch-up — as long as the main body, the base, the margin and the seating aren’t altered |
| Send it back | Anything that affects seating, marginal fit, occlusion or retention and can’t be corrected in the mouth — a cracked or chipped unit, a unit that won’t seat, an open margin |
| What to send with it | A unit that seats well but cracked can be remade from the existing data. Seating, margin or occlusion problems are quicker with a new model, scan or impression |
| Rework lead time | Reworked units go to the front of the queue; normally runs 3–5 days |
5. Molar Inlay Try-In and Fit Verification
At the chair, before anything is cemented:
- Seat it without forcing it. A unit that needs pressure isn’t seated.
- Check the margin. Continuous and uniform, no lift, no gap. If it won’t seat fully, the order worth checking is margin first, then contact, then the preparation.
- Pass floss through the contact. If the contact is too tight or too loose, the fastest way to show us is an X-ray of the contact — that plus the case number is enough for us to start.
- Check occlusion in maximum intercuspation and in excursions.
- Check shade, contour and how it looks in the segment.
- If you adjust it, repolish it. Grinding a unit down thins it; a thin ceramic edge is where fractures start. A ground glass-ceramic also needs its surface restored.
Troubleshooting: If Something Feels Off
| What you feel | What it usually means |
| Contact too tight | The contact face is over-contoured, or there’s an undercut on the neighbouring tooth that wasn’t blocked out. |
| Bite too high | The opposing tooth has over-erupted, or the bite record was inaccurate. |
| Margin won’t close | The margin wasn’t clean on the impression or scan, the die was over-trimmed, or the material moved. |
When the contact target and the finish line are written down, “too tight” stops being a matter of opinion and becomes a measurable miss.
6. After the Unit Leaves the Bench
Pre-dispatch Check
- Seating: Went onto the die of #16 without force, no rock or rebound.
- Marge: Continuous under magnification, no lift, no chipping.
- Contact: Tightness in the light range with floss resistance, sitting at the vertical position named on the prescription; distal contact on #16 checked against the over-contoured mesial of #17 with the height mark from the lab slip.
- Occlusion: Contacts in maximum intercuspation landed on the existing fossae of #16, no excursion to remove; opposing #46 required no adjustment on delivery.
- Surface: No cracks, porosity or chips; stained, glazed and polished.
- Paperwork: Batch information and design targets went out with the unit.
The Route Back (Handling Inquiries & Revisions)
- Send a photo and the case number.
- Design changes are cheap before approval: one design plus two revisions are included.
- Adjust vs. Return: A slightly high bite is a chairside adjustment. A crack, a unit that won’t seat or an open margin is a return.
- Requirements for a complaint: Case number, product, reason, and photos.
- Turnaround: Serious complaints get an initial internal read within 3–4 hours, and a final report with a solution within 24 hours. Any change to the case is formally recorded and signed.
Try-in and Cementation Reads
(Procedural and representative criteria typically verified for this profile of restoration)
- Contact read: Floss snapped through both contacts on #16 with the resistance named on the prescription; mesial contact (vs #15) and distal contact (vs over-contoured #17) sat at the vertical positions written on the lab slip.
- Occlusion read: No high spot in maximum intercuspation on #16; no interference in protrusive or lateral excursion against #46; opposing #46 needed no chairside adjustment.
- Margin read: Continuous and uniform around #16, no lift, no gap, no chip; bitewing X-ray taken at try-in showed the margin sitting flush against the tooth on both proximal boxes.
- Typical Patient Feedback: “The floss goes through like the other side” (snap is restored, food impaction resolved, interdental papilla protected); “It feels like a normal tooth” within the first few closure cycles; blends smoothly into the arch.
- Clinical Verification: The try-in confirmed margins closed, contact snapped at specified resistance, bite landed correctly, and shade matched.
- Outcome on this case: The try-in read came back inside spec on every metric — proceeding directly to adhesive cementation without triggering any rework. Post-cementation reads confirmed continuous margins on bitewings, ideal occlusion, and no entries added to the rework log.
7. Molar Inlay Frequently Asked Questions
Q: What do you need from us to start a molar inlay case?
A: The prescription plus the records.
1. Minimum required: A case identifier, practice/contact details, tooth and surfaces, restoration type, material, shade with reference photo, finish line, contact/occlusion targets, and delivery date.
2. Aufzeichnungen: A scan or an impression with a bite record. Either route works, provided the margin and proximal boxes are clear and readable.
Q: When should it be an onlay instead of an inlay, and what if the material prescribed won’t work?
A: When a cusp is undermined, cracked or lost, when a large defect follows endodontic work, or when a broad MOD has compromised marginal ridges leaving thin cusps, it requires an Einlage — we will alert you before milling, not after. If the material cannot perform at the prepared thickness/margin geometry, we pause and discuss preparation modifications or alternate material options, recording all decisions in writing.
Q: What’s your position on rework?
A: Factory-side defects (open margin, open contact, high bite, failure to seat, incorrect shade, visible flaws, improper contours) are remade free of charge. Mid-process prescription changes require a new case ticket. Minor occlusal/contact adjustments belong chairside. All rework units receive priority queue placement (3–5 days turnaround).
Q: Do you publish patient photos or names?
A: No. Cases are identified strictly by case numbers. Photos, models, and case assets are never used for marketing or educational purposes without prior written authorization from both the practice and the patient.
8. Send Us Your Next Molar Inlay Case
If you have a molar case like this:
- Send the prescription and the scan/impression together.
- You will receive a data check confirmation within one working day, followed by a guaranteed return date upon acceptance.
- Unsure whether the defect warrants an inlay or an onlay? Include a clinical note.
- Prefer to review CAD proposals? Request a design hold — design review periods do not count against standard production turnaround.
Disclaimer & Case Notes
This case is representative, compiled from clinical practice principles and our laboratory’s documented quality protocols. It does not represent an identifiable single patient file. Specific tooth references (#16, #15, #17, #46) serve as segment illustrations. Quality metrics, bench procedures, and remake policies reflect our current standard laboratory operations.
Erleben Sie schnellere Durchlaufzeiten mit unserer hochmodernen Technologie
Empfohlen