Denture Repair Case Study: A Lower Complete Denture Broken, Super-Glued, and Rebuilt From Clean Fragments
🕢 [ Füllen Sie das Formular aus und wir werden innerhalb von 30 Minuten antworten!]
Representative case. This page walks through a typical denture repair workflow at our denture repair laboratory, written up the way a referring dentist sees it on the return paperwork.
1. Snapshot
| Field | What came in |
| Gerät | Lower complete Kunststoffprothese, worn ~6 years |
| Damage class | Mid-line fracture of the denture base, five fragments after a home repair attempt |
| Submitting practice | General dental clinic (US east coast) |
| Patient profile | Male, 81, lower full-arch denture only, upper is natural dentition |
| Prescription received | Repair-first, with written sign-off to re-plan if fragments do not reseat cleanly |
| Lab turnaround quoted | Same-day in-lab, 24-hour return shipping after arrival |
| Material in-house | Heat-cured PMMA, matched to the original base shade |
2. Patient Situation
The patient had been wearing the lower complete denture for about six years. He bit into a seeded roll at breakfast and heard it crack. The denture came out in two pieces along the mid-line — a clean parasagittal break, which is the single most common pattern we see on lower Vollprothesen and usually points to flex-fatigue rather than a one-off impact.
Before the clinic was called, the patient did what a lot of patients do: he ran down to the drugstore, bought a cyanoacrylate repair kit, and tried to put it back together on the kitchen table. The super glue grabbed on one side but not the other. A second attempt broke a thin tongue of acrylic off the lingual flange. By the time the clinic saw the appliance, there were five fragments, one of them (a sliver of the right posterior flange) could not be found at home.
Clinically, the dentist flagged three things on the intake visit:
- The patient had worn the broken halves for one day with the super-glued joint, and had a shallow ulcer on the lingual sulcus opposite the repair line.
- There was generalised mandibular ridge resorption consistent with six years of wear.
- The upper arch is dentate; occlusal load on the lower is uneven, which is probably why this denture gave out along the mid-line in the first place.
The patient was clear about what he wanted: his old denture back, this week, because he was going to his granddaughter’s wedding on the following Saturday. He was open to a new denture later but did not want to lose eating function in the meantime.
3. Dentist’s Requirements
The dentist filled out our denture repair laboratory work order with seven line items. We print the full prescription here because the “medical requirement” column is what dentists tell us most case pages leave out, and most repair failures start with a vague prescription — not a vague technician.
- Reset to original vertical dimension of occlusion. Do not open the bite to try to “cover” the lost fragment; use the opposing dentition and the pre-fracture wear pattern as the reference. Any opening > 0.5 mm needs a call back to the clinic.
- Do not grind the fracture surfaces. Reduce the acrylic only to clear cyanoacrylate residue, nothing further. The dentist specifically asked for a passive reseat of the two main halves on a cast, with any gap filled by new PMMA rather than by removing original material.
- Reinforcement is case-dependent. Add a cast metal mesh only if the index on the cast shows the mid-line gap is wider than 1.5 mm after the two halves are reseated. Otherwise, keep the repair in PMMA alone and note the decision in the return paperwork.
- Rebuild the missing right posterior flange with new heat-cured PMMA, shade-matched to the existing base; do not use cold-cure for this part. Polish the lingual contour so the sulcus ulcer is not re-irritated.
- No new teeth added. The dentist examined the artificial teeth and confirmed none were lost. Any tooth movement during the repair must be flagged and photographed, not corrected silently.
- Return by air, insured, with a signature. The practice gave the patient a Thursday insertion appointment and committed to the wedding on Saturday. Non-negotiable date.
- Record every judgement call in the return paperwork. If a decision was made in-lab (shade, reinforcement, re-indexing), the dentist wanted it written on the slip, not assumed.
The dentist also included the information our denture repair service asks for on every broken-denture case: a new PVS impression of the lower arch und eine wax bite in centric relation.
4. How We Fulfilled These Requirements
Our in-house removable department handled the whole file. Nothing left the building. The sequence below is the same one we run on every full or Teilprothese repair; the headings line up with our internal work order so a dentist can match them later against our return paperwork.
4.1 Intake and triage, same day of arrival
The parcel arrived mid-morning. The case coordinator photographed the box on opening, logged five fragments against the shipper’s manifest, and matched them against the dentist’s note that one flange sliver was missing. The PVS impression and bite record were checked for pulls, bubbles and distortion on the ridge crest; both were clean. The old denture, impression and bite record were routed to the technician on duty by lunchtime.
The glued joint was imaged under oblique light before anything was touched. Cyanoacrylate reads as a thin opaque line against the pink of the base.
4.2 Indexing on the master cast
The lower PVS was poured in Type IV stone and left to bench-set. Once set, the two main fragments were seated passively on the cast with sticky wax, with the three small fragments nudged into place last. This is the step the dentist’s prescription was really about: if the two halves do not reseat cleanly on an accurate ridge impression, you have one of three underlying problems:
- The fracture surfaces have been contaminated or shaved (patient had tried super glue, so this was the live risk).
- The ridge has resorbed under the broken halves so they no longer approximate.
- The bite is being driven open by a technician trying to “make it fit.”
4.3 Removing residual cyanoacrylate without reducing original acrylic
Residual super glue was cleared with a fine round bur under magnification, taking off only the glue line. We do not solvent-strip at this stage; the acetone family softens the base and we would be fighting our own repair later. The dentist’s “don’t grind” line translates in-lab as “clear the glue, index on the cast, and let the new PMMA bridge the gap.”
4.4 Rebuilding the missing flange
A wax key was built up to replace the lost posterior-right flange, carved against the cast and the opposing cast of the upper natural dentition. Flasking, boil-out and packing used heat-cured PMMA matched to the original base shade off a reference tab. We cure heat-cured on repairs when the dentist asks for it — it is denser, more fatigue-tolerant, and more honest for a six-year-old denture that already failed under flex-fatigue once.
4.5 Finishing, occlusal check and polish
After deflasking, the repair joint and the new flange were worked back through pumice, pink polish and a dry mop. The occlusion was checked on the articulator against the dentist’s bite record — not re-mounted “to improve things.” The lingual flange opposite the original fracture line was eased by a hair to reduce the risk of re-irritating the sulcus ulcer the patient had developed; the easing was noted on the return slip, per requirement 7.
4.6 Pre-shipment inspection and quality log
Final checks before the box went out:
- Edge seal of the repair joint under 2× magnification, both buccal and lingual.
- Base thickness at the mid-line not reduced below the surrounding wall.
- No porosity visible against transmitted light.
- Teeth all present, in original positions, verified against the intake photos.
- Full denture cleaned and disinfected before packaging.
- Each unit boxed individually in a foam-lined container and air-cushion-wrapped so a drop or crush in transit will not reopen the joint.
Every one of those checks maps to a tick-box on our denture repair laboratory’s internal QC sheet, and that sheet goes back in the parcel.
4.7 Return paperwork — written, not implied
We print one page back with the repair and include it with the appliance:
- What was broken on arrival (with a photo).
- What we did (indexing, PMMA, no mesh, flange rebuild, lingual ease).
- What we did nicht do (did not grind fracture surfaces beyond glue removal; did not re-mount; did not alter teeth).
- Shade used, cure cycle, polish grade.
- Which prescription line each decision maps to.
If a repair comes back a month later and the responsibility is unclear, this sheet is what we read first.
5. Final Outcome
The dentist received the repaired denture 36 hours after we signed it off at the finishing bench. The insertion visit took longer than a routine try-in because the clinic was walking the patient through what to expect — a six-year-old denture is still a six-year-old denture, and the dentist was honest with the patient about the long-term plan. At the end of the appointment:
- The patient wore the repaired lower denture out of the chair.
- The lingual ulcer was reviewed and dressed; the eased flange was comfortable at seat.
- The occlusion checked within 0.3 mm of the dentist’s pre-fracture reference on articulating paper.
- A follow-up was booked for two weeks later to re-check tissue response and to open the conversation about a replacement timeline — a conversation the dentist was going to have anyway, repair or no repair.
- He made the wedding.
6. What the Clinic Did Before the Case Was Shipped
The clinic did five things that make a repair case realistic to turn around at this speed. These are the things a denture repair service relies on from the referring practice, and the five we most often see missing on cases that have to be queued or re-sent:
- All fragments bagged in a sealed, labelled poly bag. Including the small ones. Including, where possible, a note on which are definitely missing — one honest “lost at home” line beats an hour of us searching the parcel.
- Patient told to stop wearing the broken appliance. The super-glued attempt here was the exception; the clinic caught the ulcer the next day and the patient stopped. A denture that keeps being worn broken builds new wear facets that confuse the reseat on the cast.
- No attempt to sand, re-glue, boil-reshape or home-reline the appliance in the practice. The one piece of patient advice we ask clinics to give: if a patient reaches for a drugstore repair kit, the kit is a temporary measure that often makes the lab repair harder — a note the drugstore repair-kit alternatives page explains in patient-facing language.
- Fresh impression of the broken arch, in PVS or an accepted alternative, plus a bite record in centric relation. This is the single most important element.
- A written prescription that lines up with the specific damage. The seven-item slip above is longer than a routine prescription, and that is on purpose: dentures that break along the mid-line, dentures that lose teeth, dentures that fracture a flange, and dentures with a broken clasp are four different repair plans. The slip tells us which one.
7. Reading the Root Cause Before Quoting the Repair
Not every denture that breaks is a repair case. Before we quote in-house, every case gets a short root-cause read on the day it arrives:
- Mid-line fracture on a lower complete denture → usually flex-fatigue plus ridge resorption. Repair is realistic. Patient should be on the schedule for a long-term plan.
- Repeated fracture of the same joint within 12 months → the base is tired; a repair will likely fail again inside a year. We say so, with the dentist deciding whether to proceed on the patient’s timeline.
- Fracture through a tooth → repair possible if the tooth is intact and the socket in the base is clean.
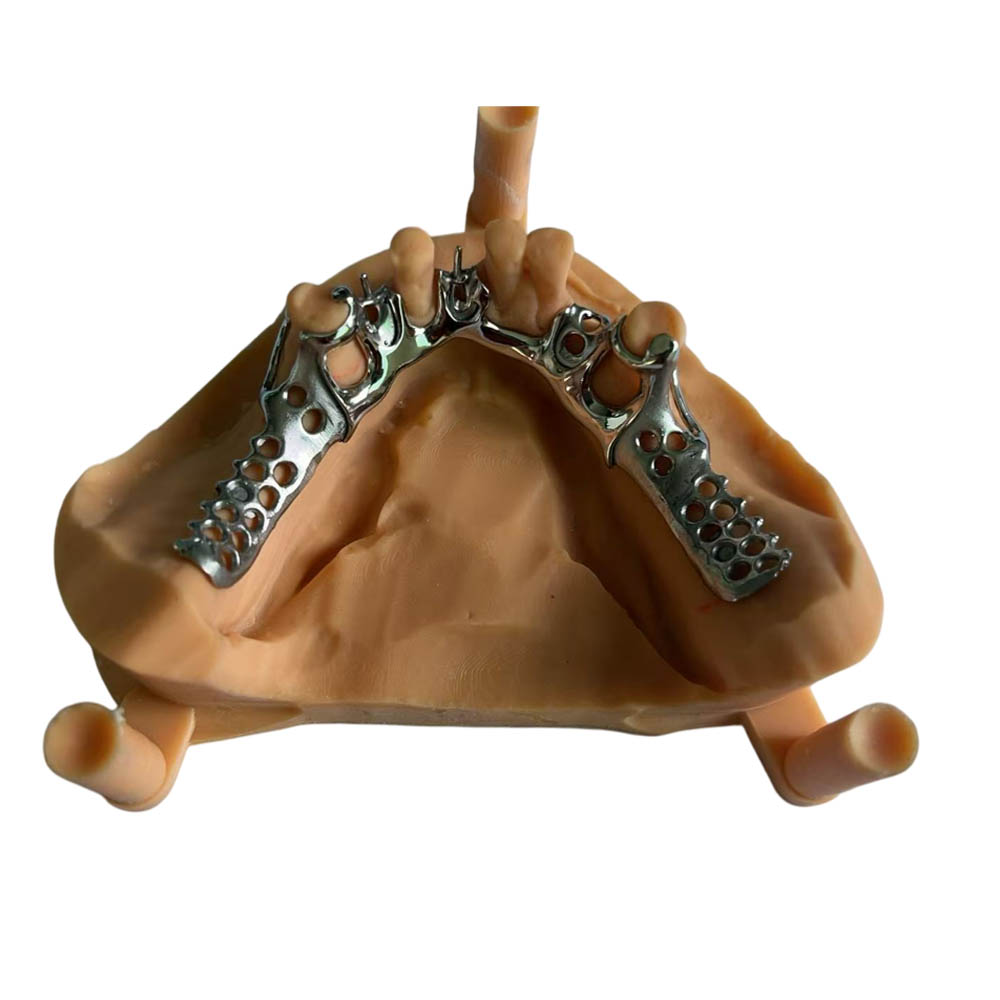
- Clasp arm snapped on a Co-Cr framework → a different repair pathway (laser weld or soldered joint, framework-dependent).
- Loose teeth with no visible fracture → check base-tooth bond; a straight “bond the tooth back” without checking why it debonded sends the appliance back to us in a month.
8. Scope, Capacity, and What We Say “No” To
Our removable department runs roughly 4,000 cases a month at normal volume, with capacity scaling to around 6,500 cases in peak season — the slack is why we can say “same day in-lab” on a case like this instead of “sometime next week.” All production — intake, scan or model, CAD review, print or flask, set-up, press, finish, QC, pack — stays inside our own facility. Subcontracting out of this file is not part of how we run the department.
The small number of denture repair cases we decline, we are open about:
- Fragments missing beyond a thin flange that cannot be rebuilt with original anatomy as a reference. We will tell the referring dentist to plan a remake.
- Fracture through a metal framework in a hybrid case where the metal is non-identifiable or the alloy composition is unknown.
- Appliances that have been home-relined with hard acrylic bought online. The home reline material almost never bonds back; we flag these and ask the clinic to decide.
- Flexible (nylon) partials past the useful limit of a reheat/weld. The limits here are well known; a short reference in-house keeps our quotes consistent.
9. How to Submit a Denture Repair Case
Short version of our denture repair service checklist:
- Call or message the removable team first if the damage is unusual (framework fracture, repeated repair, home reline). Five minutes on the phone saves a wrong-ship.
- Bag the appliance and every fragment in a sealed, labelled poly bag. Lost fragments: note them.
- Fresh impression of the affected arch plus a bite record. For complete dentures, both arches if practical.
- Written prescription — damage type, requirements line by line, hard dates, patient contact flag.
- Clean the appliance of debris; do not try to clean cyanoacrylate off at the practice. Leave that for the lab.
- Use the courier label we send or your own insured carrier. Signature required.
- Email the case photos to the removable team as soon as the parcel ships; it lets us start CAD review and material staging before the box arrives.