E.max Crowns for Front Teeth: Six-Unit Case Study
🕢 [ Попълнете формуляра и ние ще ви отговорим в рамките на 30 минути! ]
Case study — Six upper anterior units, edge-to-edge occlusion, two non-vital discoloured stumps
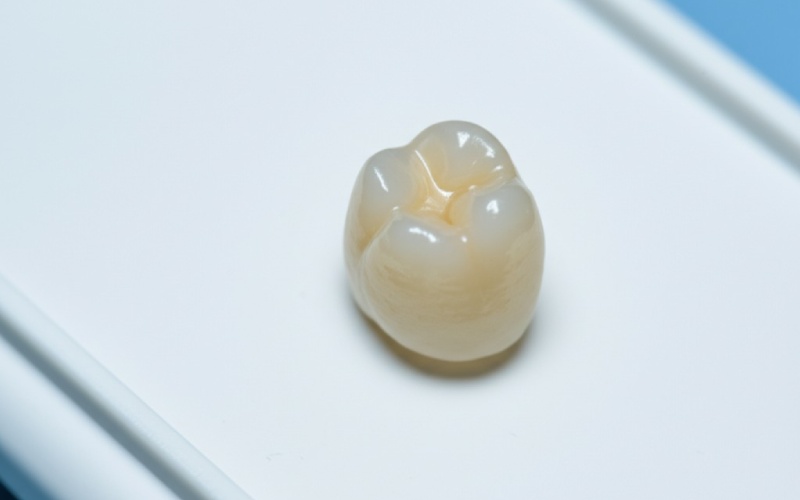
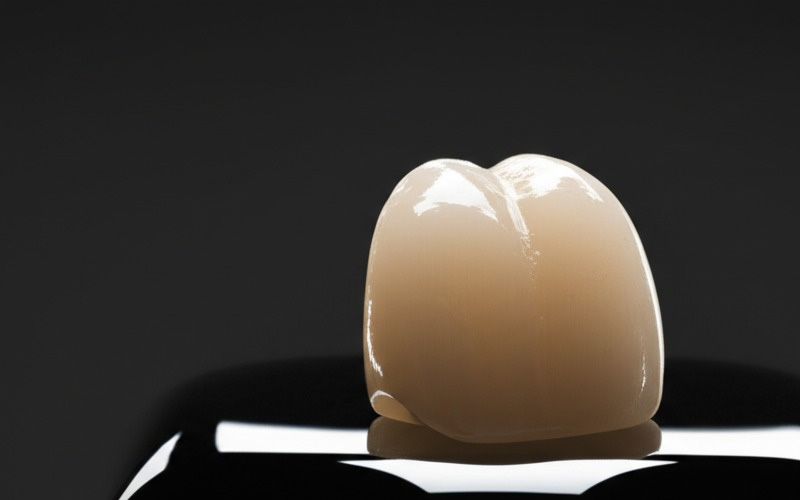
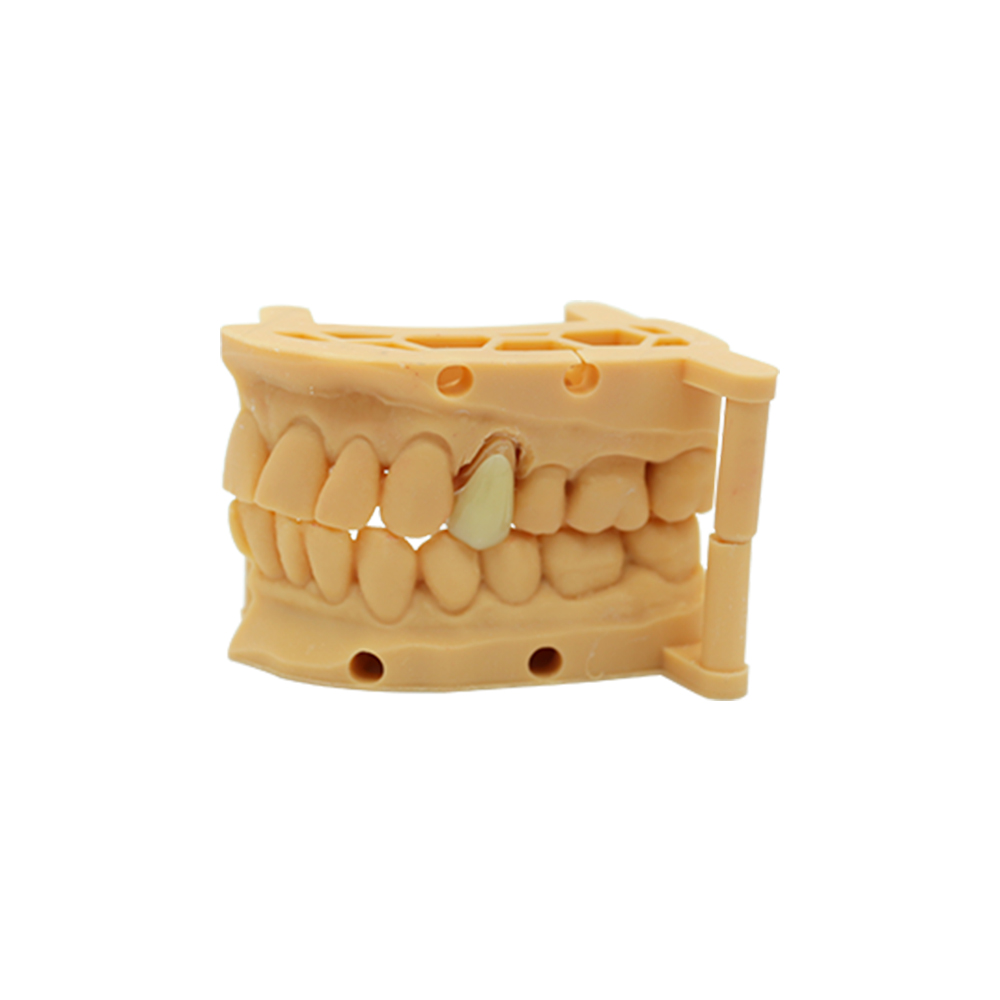
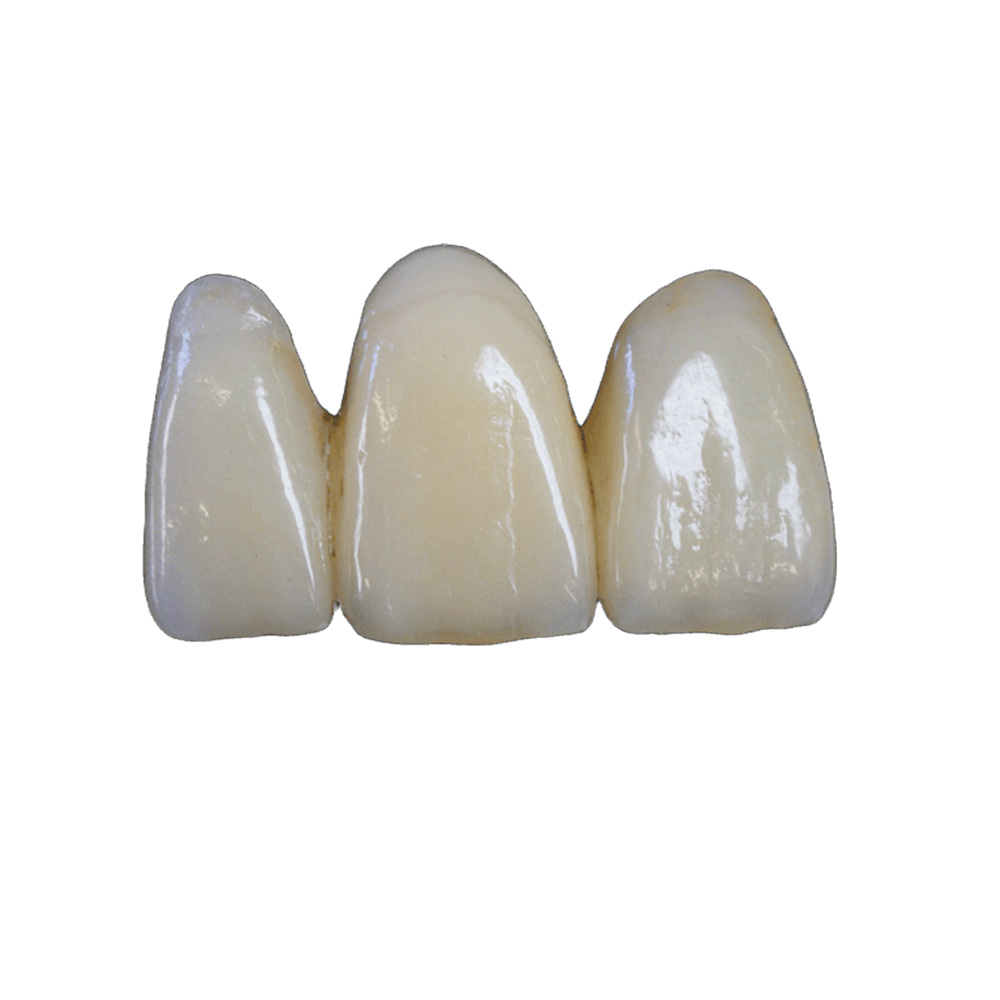
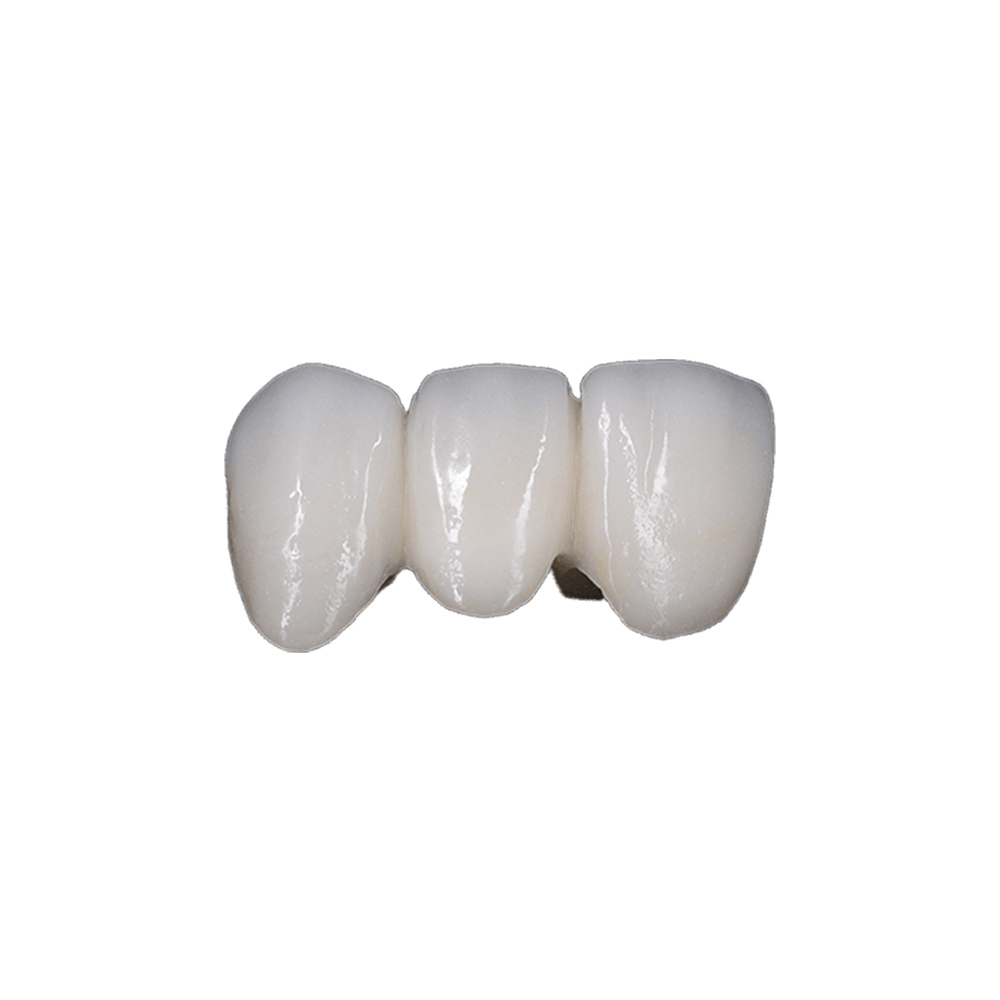
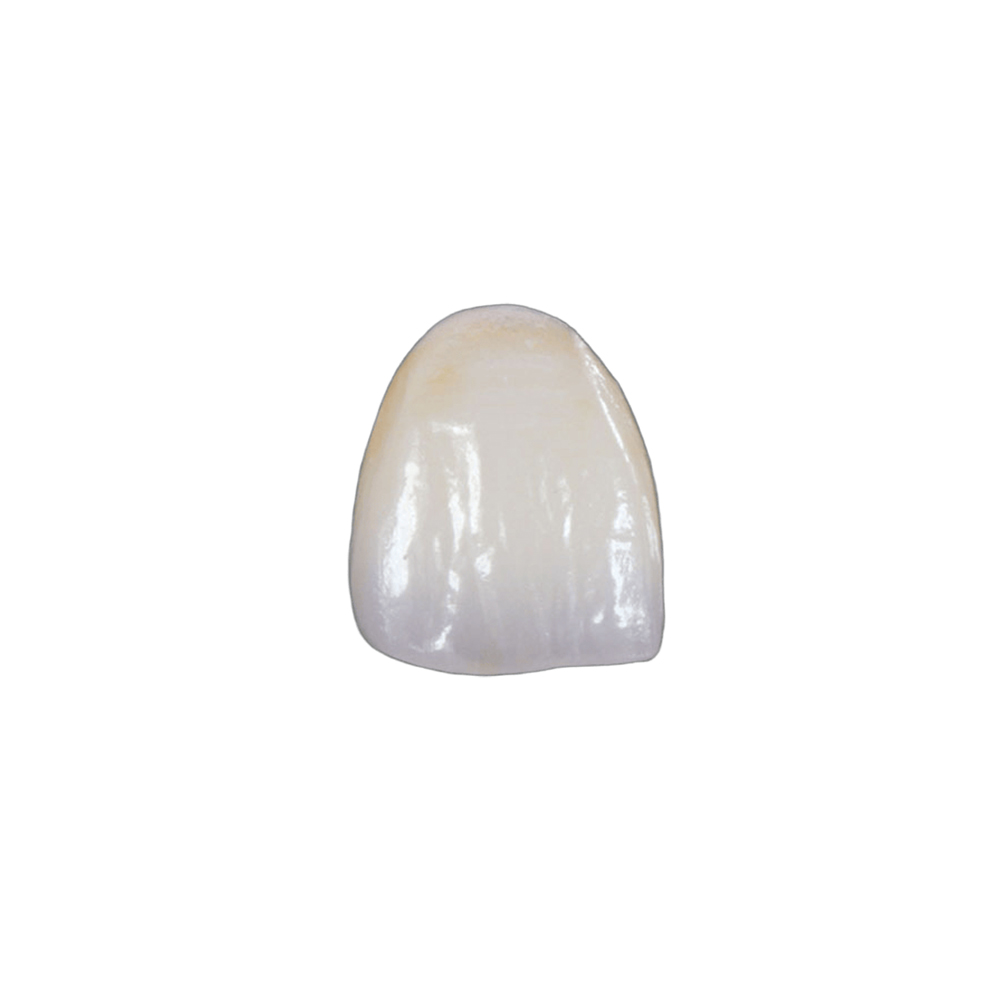
This case study explores how ASD Dental Lab fabricated six E.max crowns for front teeth with challenging shade and occlusal requirements. The case involved two discolored, endodontically treated central incisors, an edge-to-edge bite, and a combination of pressed and CAD/CAM lithium disilicate restorations to achieve coordinated anterior aesthetics.
The Patient
She came in at 52 with a complaint she had been carrying for a long time: the upper front teeth had darkened and nobody could tell her why. Two of them had been root canal managed more than a decade earlier, and the rest had been rebuilt so many times that nobody could say how many layers were in them.
What we were looking at on examination:
- Two non-vital central incisors with staining well below the enamel line. The discolouration was in the dentine, not on the surface — it had darkened from the inside out over the years since endodontics.
- Ageing composite restorations across the other four units, lifting and leaking at the margins. Several had discoloured the tooth structure underneath, so this was not a case of replacing one failed filling. It was a case of removing material that had been sitting against dentine for years.
- Worn, chipped incisal edges. The lower incisors were wearing through rather than the upper, which told us the anterior relationship was carrying load in a way that was not intended.
- An edge-to-edge bite. Upper and lower incisors met directly, with no overjet at all. This is the single most important thing in the record, because it changes everything downstream.
- Ground surfaces on the palatal aspects of the lower incisors and a history of night grinding that she described as getting worse over the last few years.
She asked for fixed teeth. She had been offered and declined orthodontic correction more than once — she did not want braces at her age, and she was not interested in anything she had to take out. What she wanted was to stop thinking about her smile.
Two things got ruled out before we ever started:
Veneers were not viable. With discoloured non-vital stumps underneath, a veneer would show exactly what it was covering — the ceramic is thin by design and the substrate is the problem. On top of that, after a decade of composite rebuilding, there was not enough sound enamel left to hold a veneer reliably.
So six full-coverage crowns — which is why this became an e.max case rather than a veneer case. The requirement was not “cover a tooth.” It was disguise a dark core while making six teeth look like they grew there.
Why e.max, and What We Told the Doctor First
Lithium disilicate was the right call for the anterior zone because of one property above all: translucency. It takes light the way natural enamel does. An opaque zirconia block does not, and that difference is visible the moment the patient smiles across a room.
That same property is the whole risk of this case, and we said so before we cut anything. A translucent material over a dark core is only as good as the information about the core. The 14-year prospective data in The Journal of Prosthetic Dentistry shows anterior full crowns on this material holding at 100% survival with zero failures — but that cohort was not full of discoloured endodontically managed teeth. Strength was not going to be the variable here. Shade was.
The other hard constraint was the bite. With an edge-to-edge relationship and grinding on record, there was no room to flare the teeth away from contact without producing something that looked wrong. Every fabrication decision that followed was made inside that constraint.
What the Doctor Sent Us
This case did not arrive as a shade number and a note. It arrived as a complete set of inputs, and that is the reason it was accepted for fabrication.
Shade communication
- Stump shade, photographed immediately after preparation — before the dentine dehydrated and started reading lighter than it actually is.
- Target shade with the shade tab in frame, in even light, against a neutral background.
- Polarised photographs of the prepared teeth, to strip out the specular reflection that makes a photograph useless for reading chroma.
- Because the two central incisor stumps were non-vital and dark, a layered approach with an opaque backing was specified for those units, with hand-layered ceramic over the top.
Material and route, specified per unit
- Press on the two central incisors, where the aesthetic demand was highest.
- CAD-milled on the laterals and canines.
- Transparency grade set per unit rather than globally — HT, LT or MO depending on what each tooth was sitting on.
A request we were happy to accept
- The doctor asked us to flag any preparation that could not achieve minimum ceramic thickness before we started, so it could be dealt with at the chairside rather than discovered after delivery.
- A contralateral mirror design was used as the starting form, with a wax-up for the patient to preview the planned contour before anything was milled.
E.max Crown Design and Fabrication for Front Teeth
Before milling. Our CAD team painted the digital die using the submitted stump shade before any design work started. That one step decides how much ceramic thickness you have to work with and how much of it has to be doing the hiding — and you only get it right if the substrate colour was right.
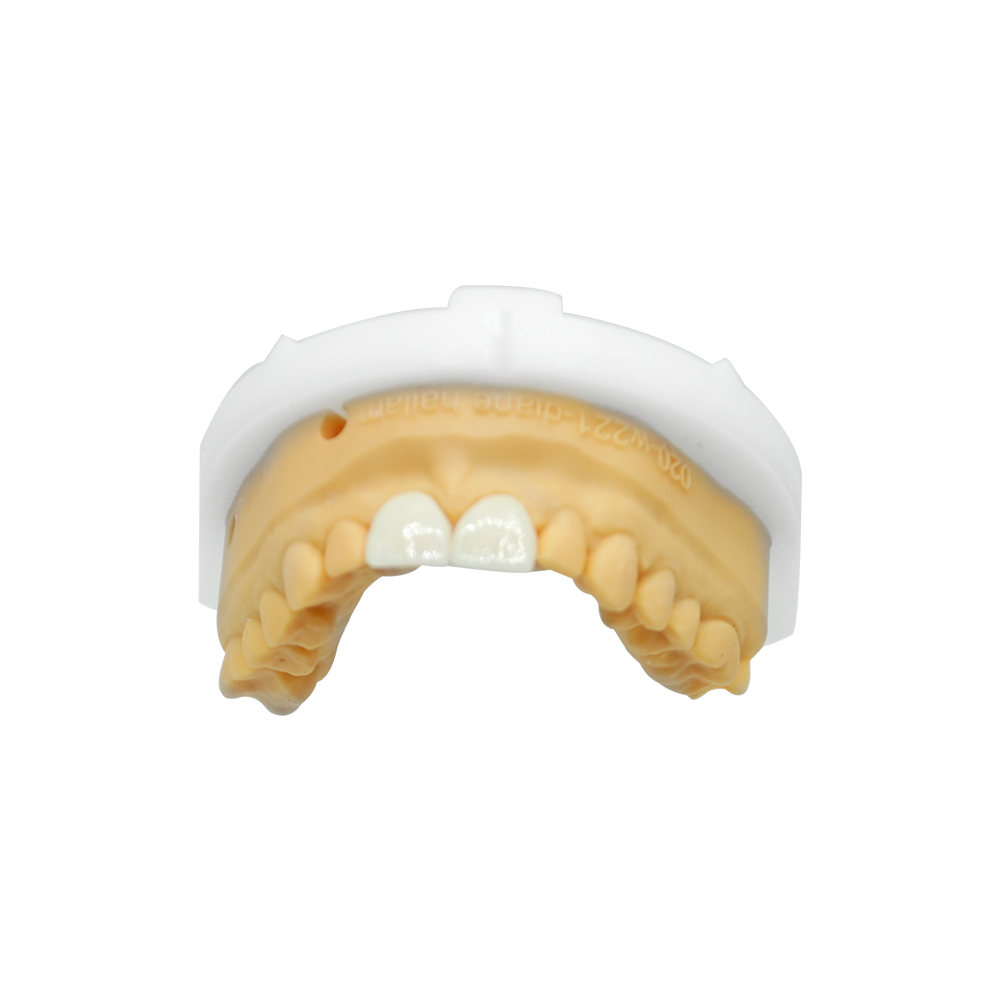
The two central incisors (Press). Wax pattern from the digital design, invested and burnt out, pressed at 920°C, then built up by hand and glazed. These were the two teeth the patient would look at most, and the two teeth where the dark cores were worst.
The four remaining units (CAD/CAM). Designed in Exocad, mirrored from the contralateral side, milled from pre-crystallised blocks and fired at 850°C, then stained and glazed. Same material, same shade targets, faster route — and on teeth that are not the centre of the patient’s smile, that is the right balance.
Press gave us the tighter margin - 38±12 µm against CAD’s 45±12 µm in comparative work, both comfortably inside the clinically acceptable range — and it also left room for the hand characterisation those two teeth needed.
One prep came back flagged. It was below the 1.5 mm incisal reduction we needed. It went back to the chairside and got the additional reduction before we started. That is the entire reason we ask for shade photographs и a thickness check before accepting a case.
Final checks. Every crown inspected on the master die under magnification. Every restoration compared against the shade tab and the submitted photographs under daylight-equivalent light before it left us.
E.max Crown Shade Matching and Try-In Adjustments
Try-in is where a shade becomes a fact, and this is the part of the record worth reading.
The crowns went on, and the first thing that showed up was value on the centrals. Over cores darker than the digital die had predicted, the two central incisors came through slightly brighter and flatter than the surrounding teeth — the layered depth we had built did not fully survive contact with the real substrate. This was visible to the patient in a mirror, not just to a technician looking for something to criticise.
The second thing was contour at the incisal edges. The mirror design was a reasonable starting point but it was slightly too flat across the central incisors. In a smile line, a flat incisal edge reads as one straight line and gives the whole anterior zone away.
| Checked at try-in | What we found | What we did |
| Value (brightness) of the two centrals | Brighter than intended over the darker-than-predicted cores | Reduced the value and rebuilt the translucent depth over the opaque layer |
| Incisal edge contour on the centrals | Slightly too flat for the smile line | Reshaped the incisal edge to round off and match the patient’s natural line |
| Match between the two centrals | Small discrepancy in chroma between left and right | Repaired at chairside with stain and re-glazed |
| Margin seal and contact points | Sound across all six units | No change |
| Occlusion on try-in | Contacts were light on the centrals, as planned | Confirmed; clinician to manage the parafunction component on the front-office side |
The corrections were made without a second full manufacturing round. That is the practical value of a lab working from polarised photographs instead of a description — the information needed to make these adjustments was already on file.
The Feedback
From the patient
Her first comment after the try-in adjustment was about the edges, not the colour. She said the teeth had stopped looking “put on” — which, in anterior work, is the thing she was actually trying to fix. Her concern before starting had been that people would be able to tell. What she noticed instead, on looking at herself in a mirror, was that the six teeth now read as one group with her own remaining teeth at the sides.
She mentioned the lightness twice, unprompted. It was the thing she had been told to expect her whole life — that a front tooth done properly always looks slightly too clean compared to everything around it — and that was no longer what she was seeing.
From the doctor
The clinician’s read after the try-in session was that the deciding factor was the shade information supplied at submission, not the material. Her words to us were essentially that the stump shade and the polarised photographs are what made a predictable result possible — with a dark anterior case like this, everything downstream depends on that data being right, and there is no substitution for it when you are designing.
Her working notes highlighted two things for the next case of this type:
- The stump shade is not optional on this material. Zirconia is forgiving about a missing substrate colour because it is opaque. Lithium disilicate is not. Same data requirement, different consequence.
- The edge-to-edge relationship has to be stated explicitly at ordering, not assumed. It changes the incisal reduction, it changes the contour design, and it changes what the patient should be told about maintenance.
Her closing comment was the one we keep: that a lab is not measured on whether it supplied a crown, but on whether it told you something you needed to know before you cut into a prepared tooth. That is the standard we want to be held to.
Where the Case Ended Up
All six anterior units were delivered. The posterior unit that had originally been planned in e.max went to zirconia — the doctor made that call with the material-indication argument in front of her, and it was the right one for a single high-load position.
No remakes, no chipping, no shade complaints after the try-in adjustment. The case was finished in a single adjustment round, which for a six-unit anterior case with two discoloured endodontically managed stumps is a good outcome.
Evidence Base
The outcomes referenced on this page are supported by peer-reviewed literature:
- Anterior survival: A prospective study in The Journal of Prosthetic Dentistry (Margvelashvili-Malament et al., 2025) tracked 551 full crowns and 111 partial coverage restorations over 14 years, reporting 100% survival for anterior full crowns (n=264, zero failures). All six documented failures occurred in posterior teeth.
- Ten-year data: A separate 10-year study (Malament et al., 2019) tracked 1,960 lithium disilicate restorations at 99.6% overall survival. Failures were concentrated in molars (5 of 7), with an annual failure rate below 0.2%.
- Marginal fit: Press fabrication produced significantly tighter margins (38±12 µm) than CAD (45±12 µm), p=0.006, though both sit inside the clinically acceptable range.
- Failure attribution: The primary cause of debonding is inadequate dentin bonding-interface quality, not material fracture. Chipping risk rises below 1.5 mm ceramic thickness — which is why we flag under-reduced preps before milling.
- Shade accuracy: CAD/CAM restorations showed lower colour difference (ΔE00) than Press in controlled studies, while Press allows greater surface characterisation for complex anterior work.
About ASD Dental Lab
ASD Dental Lab is a full-service dental laboratory and direct manufacturing facility founded in 2012, operating plants in Shenzhen and Huizhou, China.
We complete the entire production workflow in-house — CAD design, CAM milling, ceramic and metal work, and fixed restorations — without outsourcing cases to third-party labs. That integrated model is what lets a shade correction or a contour change happen in days instead of weeks: the people who scanned the case are the people who design it and the people who mill it.
We have provided dental restoration services to more than 50 dental laboratories, more than 100 dental clinics, и over 400 dentists across the United States, Netherlands, Germany, France, Belgium, Austria, United Kingdom, Luxembourg, Switzerland, and other markets.
Clients are welcome to visit our Shenzhen and Huizhou facilities for factory tours, production-line inspections, video audits, and manufacturing-capability discussions.
Order E.max Crowns for Front Teeth from ASD Dental Lab
If you have an anterior case where the substrate is the problem — endodontically managed units, discoloured cores, an edge-to-edge bite, a grinding history — and you want a lab that reads the shade inputs properly and flags the variables back to you преди anything is milled, send us an inquiry.
We will review the case parameters, tell you where the preparation or the shade information falls short, and confirm the fabrication route before we touch a block.
Clinical details have been altered and all identifying information removed. This case is presented as an anonymised composite of documented anterior restorative patterns, not as a one-to-one record of a single patient. Production timelines, batch documentation, and quality-assurance protocols vary with case complexity — contact us for case-specific details.