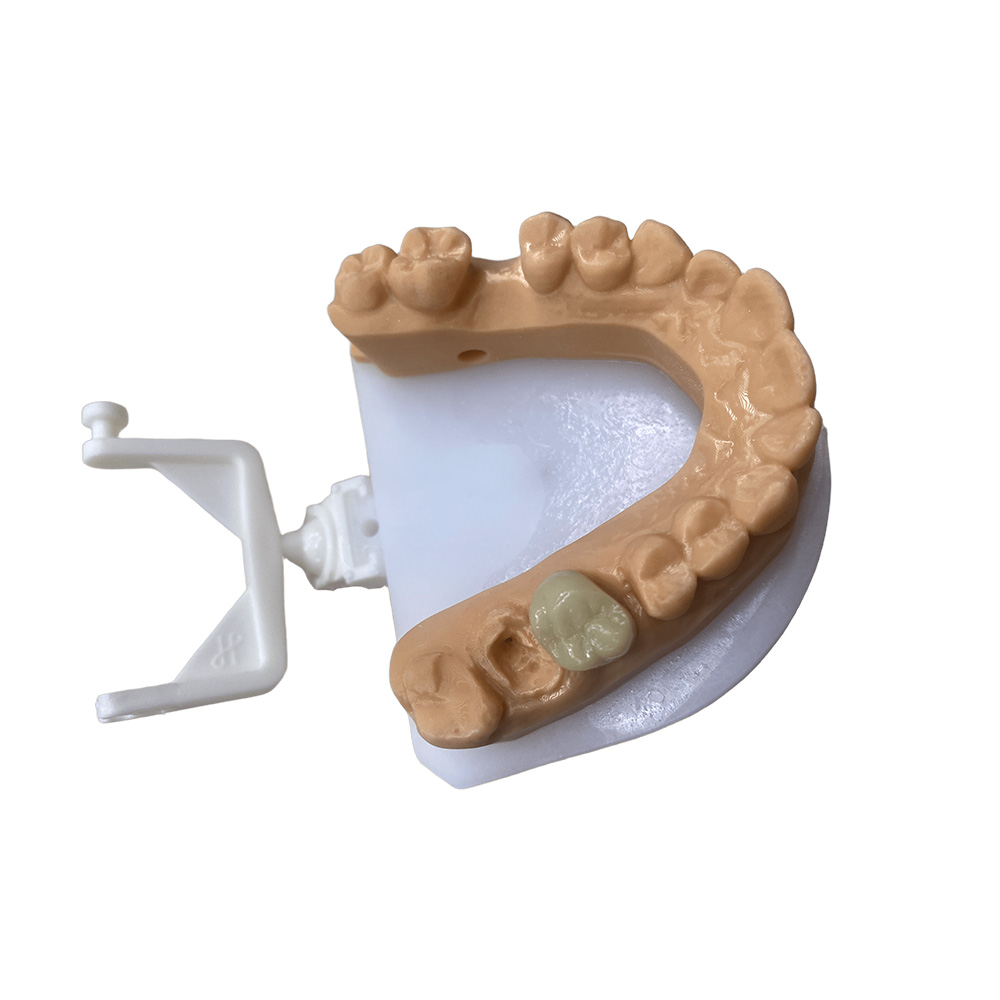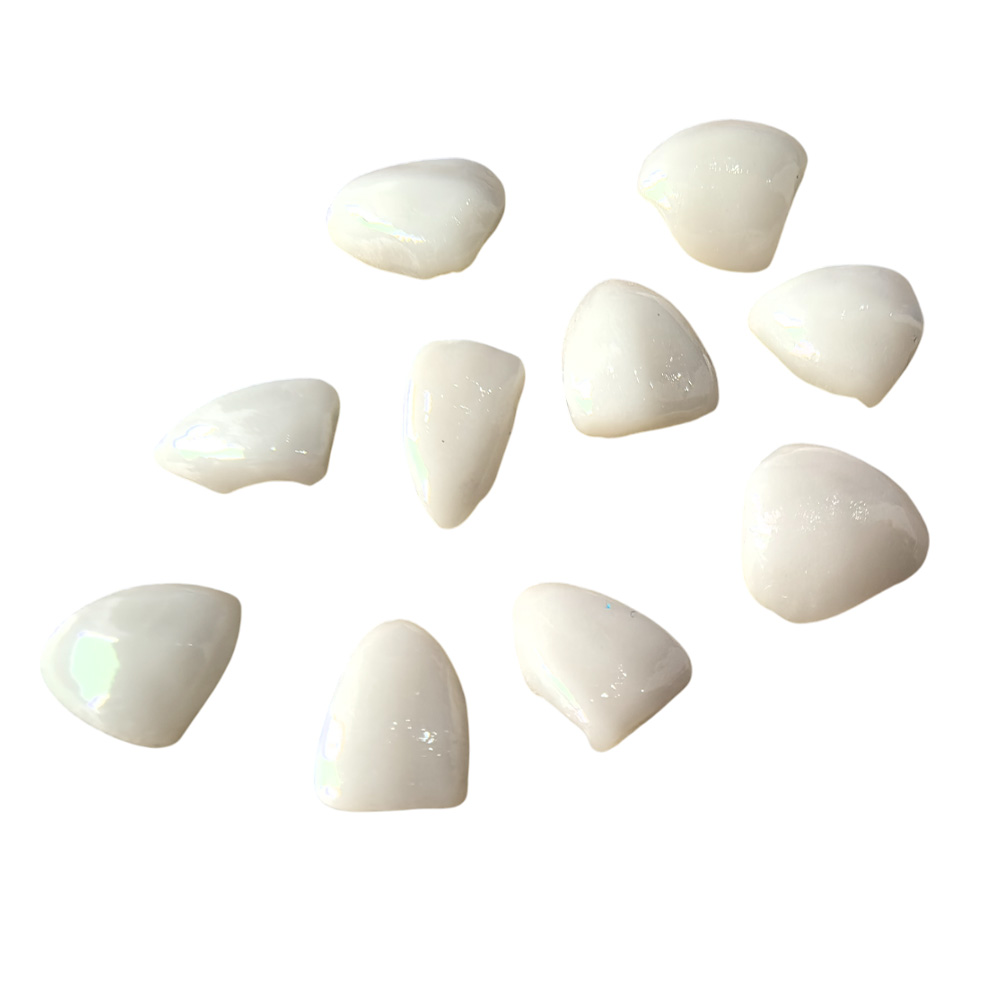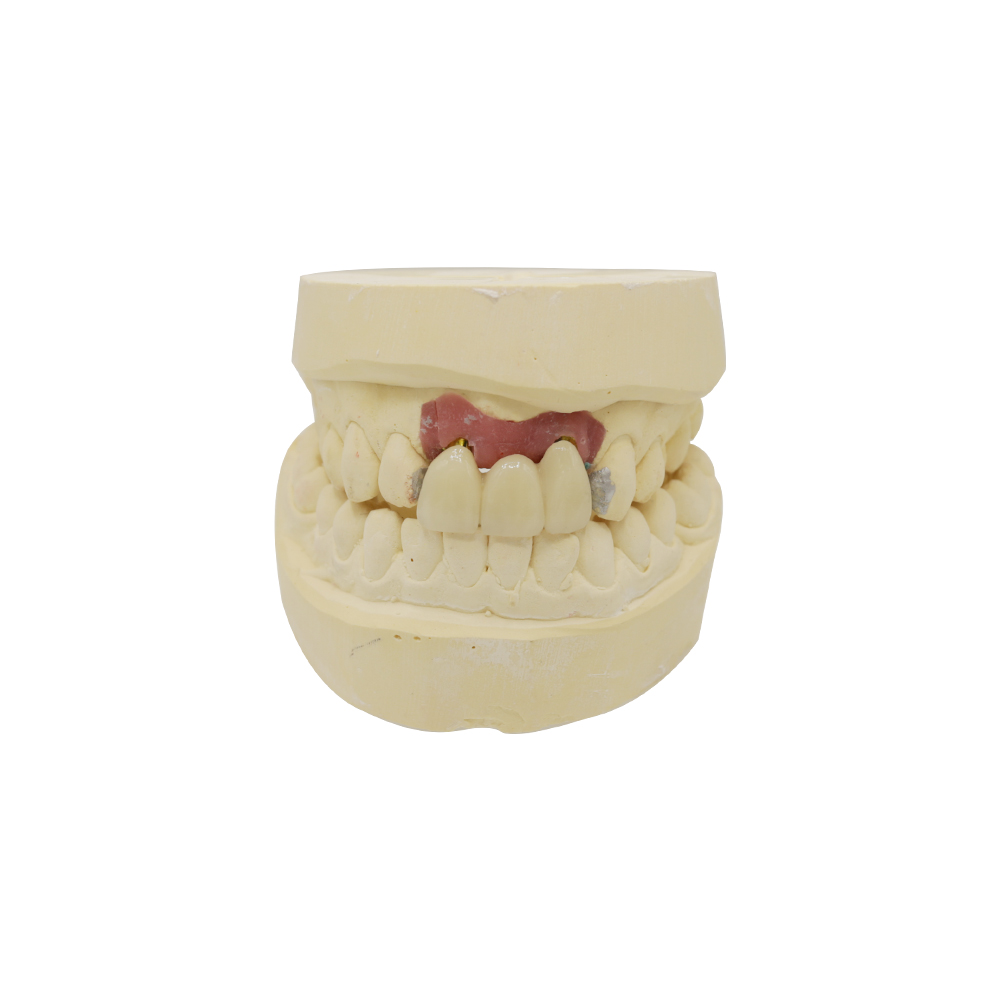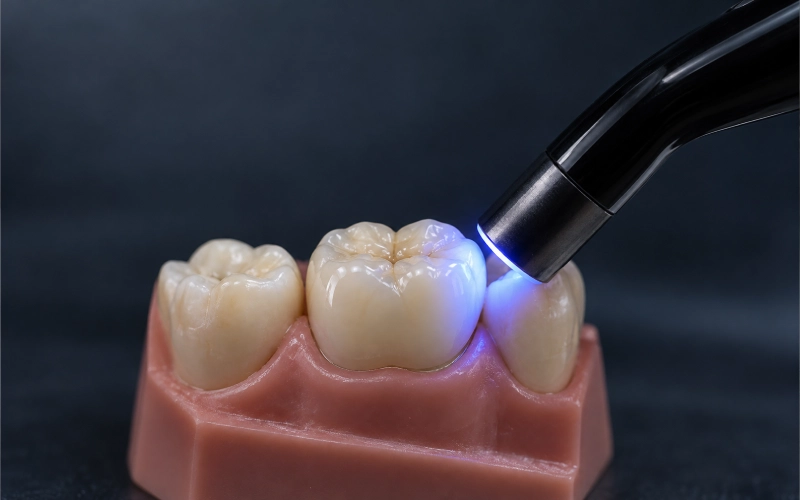
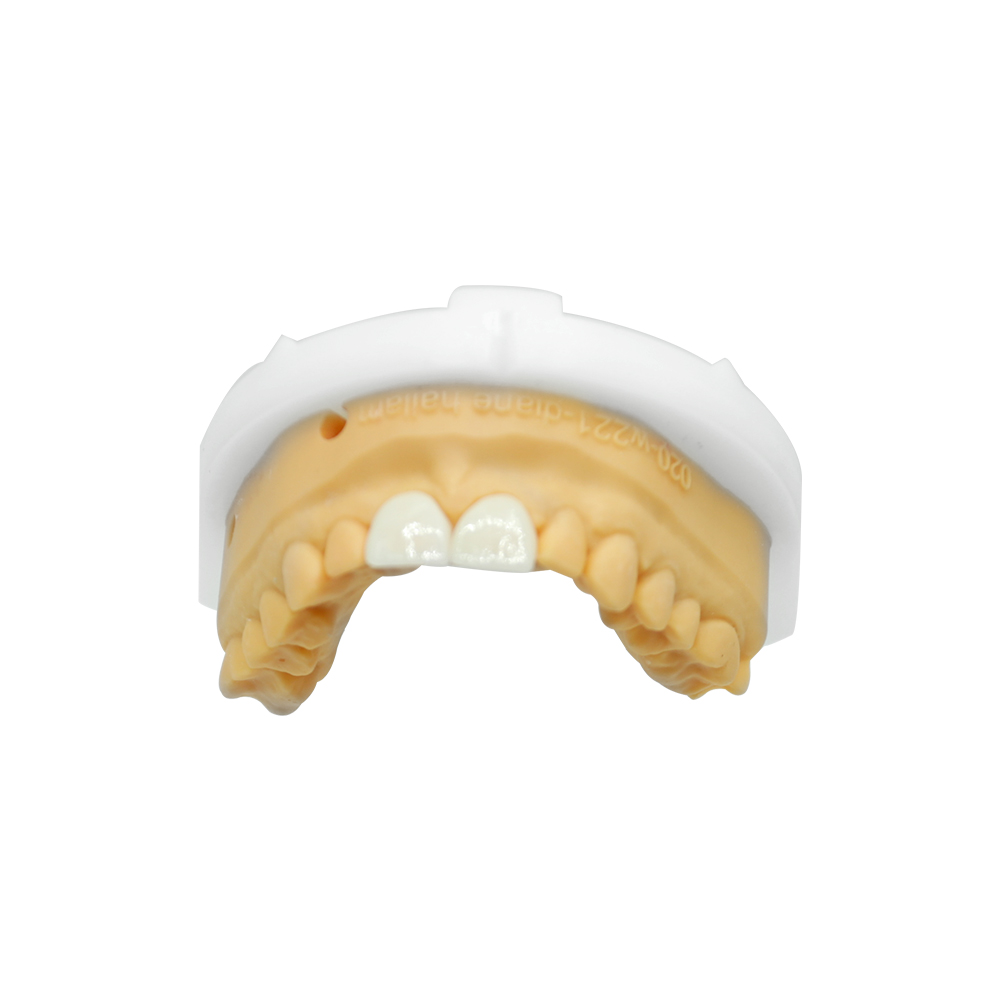
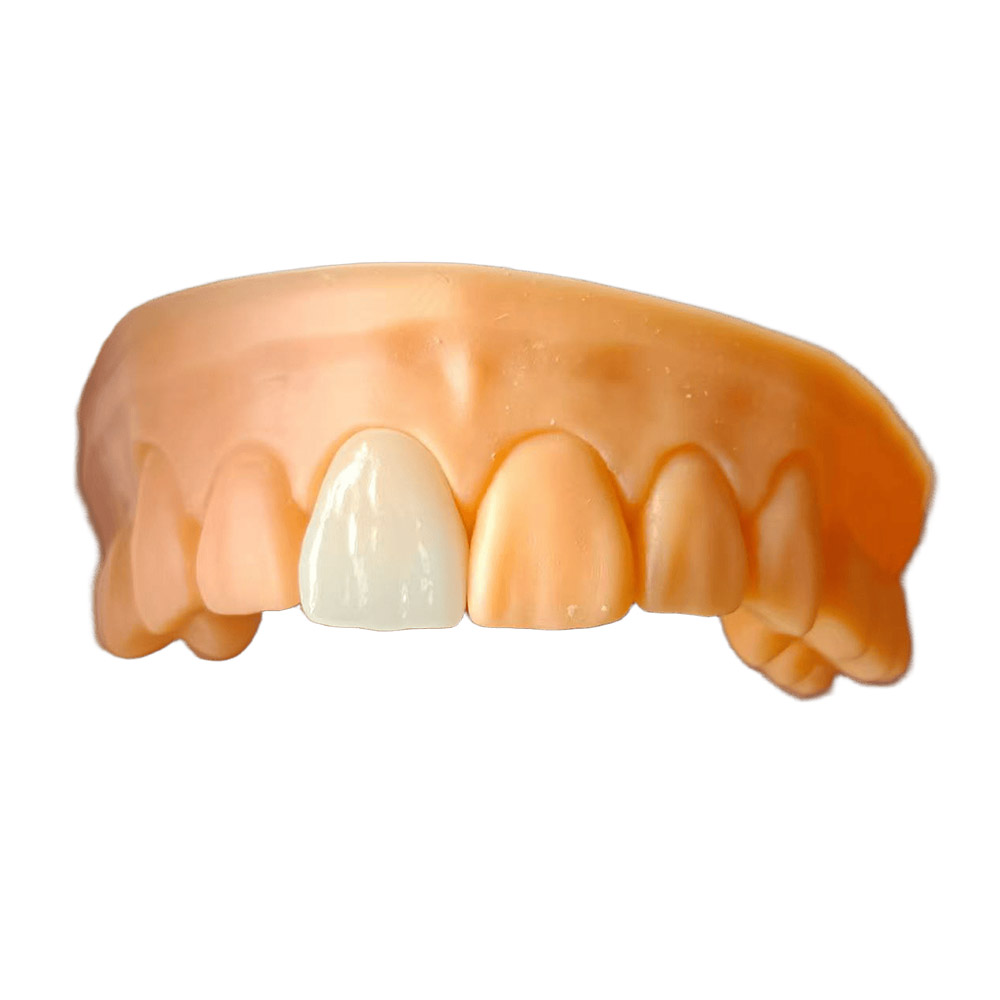
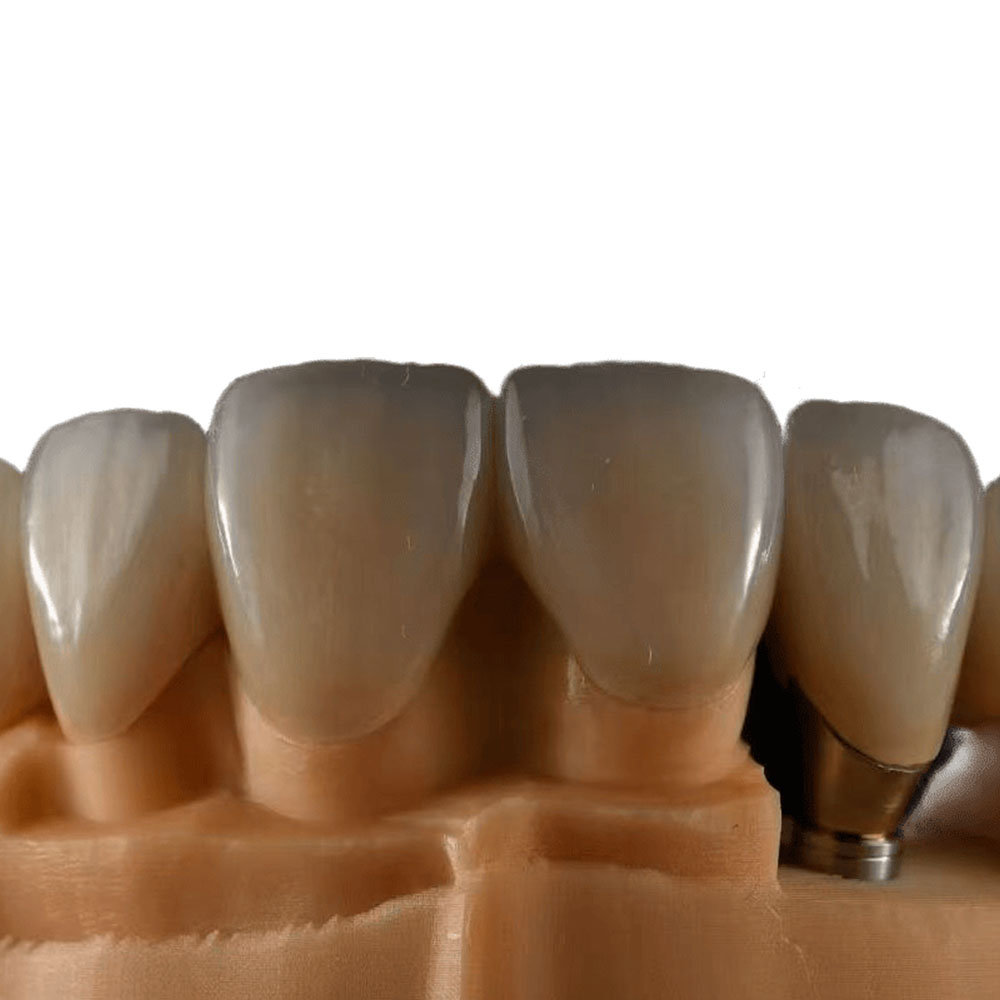
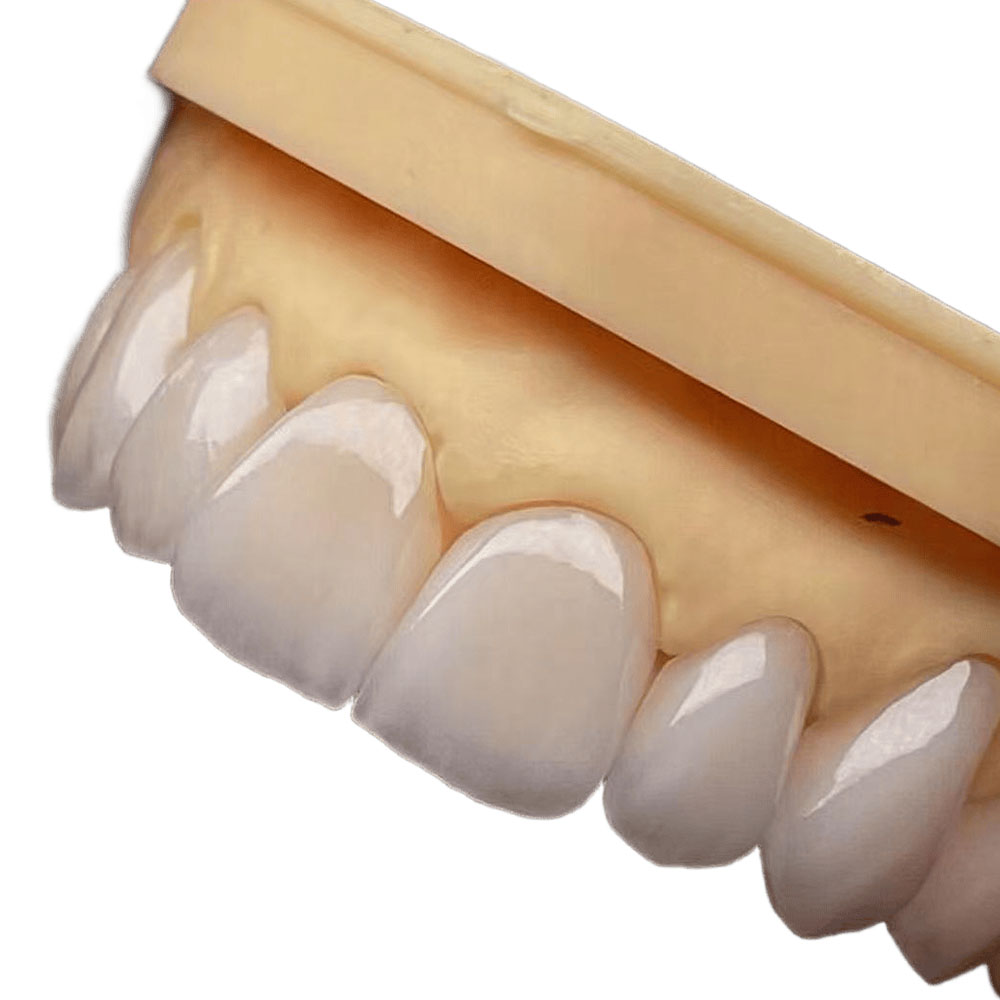
Natural Veneers Case: Front Four Upper Incisors
🕢 [ Попълнете формуляра и ние ще ви отговорим в рамките на 30 минути! ]
This is a real case handled by our ceramic department. We work directly with dentists, clinics and labs—ASD’s been a full-service manufacturing facility since 2012. No middlemen, all nine steps done inside our own shops in Shenzhen and Huizhou.
Patient Situation
Mid-30s patient with spacing between the four upper front teeth (central and lateral incisors).
Chief concern: “They don’t look natural when I smile—gaps on both sides and the left central turned slightly inward.”
Clinical snapshot:
- Teeth structurally sound, no caries, periodontal exam within normal limits
- Diastema centrally (~1.2 mm) and lateral spacing bilaterally
- Minor rotation of #9
- Mild tooth-to-tooth shade variation (A2 to B1 range)
- Gingival architecture symmetrical, tissue healthy
- Occlusion stable; no bruxism or heavy grinding noted
Why veneers? Three options got ruled out first:
- Ортодонтия — Patient declined treatment timeframe (18+ months typical for adult orthodontics). Preferred not to wear appliances.
- Direct composite bonding — Dentist considered this but felt the extent of closure needed would require adding significant bulk, risking a less natural contour and surface texture over time.
- Full coverage crowns — Excessive tooth reduction for an entirely cosmetic case with healthy tooth structure.
The dentist prescribed four ceramic laminate veneers to close spacing, correct the rotated incisor, and deliver uniform translucency without removing unnecessary enamel.
What the Dentist Asked For
Clinicians we work with typically send us:
- Tooth position and prep design
The doc mapped where each veneer margin sits—whether feather-edge, chamfer, or lingual wrap. For this case: facial margin at gingival crest, no palatal coverage, minimal incisal overlap. Preparation depth specified in the prescription: 0.5 mm facial mid-body, 0.7 mm incisal edge. - Shade mapping
Not just a single tab number. We got a three-zone breakdown: cervical third (A3), mid-body (A2), incisal third (B1 with slight opalescence). Dentist noted “match adjacent canines at cervical; keep translucency gradient natural.” - Surface texture and shape guidance
“Reproduce subtle perikymata) lines on facial surface; avoid high-gloss finish. Round mesial-incisal angles slightly; patient’s right central had sharper geometry.” - Try-in protocol
Requested bisque-bake trial (unglazed ceramic) with neutral try-in paste first, then adjust if needed before final glaze. Dentist wanted to see the result on the patient’s face under clinic lighting before committing. - Occlusal clearance check
“Verify passive fit in maximum intercuspation and excursive movements—no prematurities.”
How We Built It
Material choice: Feldspathic porcelain
We picked feldspathic over lithium disilicate (e.max) for three reasons:
- Translucency and opalescence
Feldspathic layering gives you natural depth because you’re stacking dentin, enamel and incisal modifier layers separately. You can’t fake that optical quality with monolithic pressed ceramic in the same thickness range. - Thin cross-section
Final thickness ranged 0.5–0.8 mm. Feldspathic handles this geometry better—pressed литиев дисиликат at that thickness gets fragile unless you over-prep, which defeats the “minimal prep” goal. - Shade control
When you’re trying to mask slight discoloration or match a specific hue gradient, hand-layered ceramic lets the technician adjust opacity zone by zone. Press-and-stain workflows leave less room for correction.
Manufacturing workflow (in-house, nine steps)
- Digital model scan and design
Received STL files from the clinic’s intraoral scanner. CAD designer verified margin fit and planned wax-up virtually. - Refractory die fabrication
Printed master model, duplicated onto refractory dies for layering. - Dentin layer application
First firing—A3 cervical, transitioning to A2 mid-body. Kept it thicker at the cervical to mask prep line. - Enamel and incisal build-up
Second layer: enamel porcelain over the mid-body, then incisal translucent modifier at the edge. This is where you get the light diffusion that makes it not look like a bathroom tile. - Contour refinement (cut-back)
After second firing, we carved back the incisal third slightly and re-layered with opalescent porcelain. This mimics the natural enamel rod structure—you see that blue-white halo at the edge when light hits it. - Surface texture (characterization)
Added subtle vertical growth lines with a fine brush before glaze. Over-polishing feldspathic makes it look like plastic; leaving micro-texture keeps it realistic. - Bisque trial (unglazed)
Shipped unglazed veneers for try-in. Dentist used water-soluble try-in paste, checked shape and shade on the patient under natural and operatory lighting. - Adjustment and final glaze
Got approval photos back—dentist happy with everything except slightly wanted more rounded line angles on #8. We recontoured, applied gloss glaze, final firing. - QC and shipment
Visual inspection (no bubbles, margin integrity intact), fit check on the working cast, packaged with shade reference tab.
Delivery timeline for this case: 9 business days from digital file receipt to final shipment. No remakes.
What We Delivered
Four feldspathic porcelain laminate veneers with documented attributes (what you see here is what actually shipped):
| Зъб | Thickness (mm) | Shade zones | Margin design | Бележки |
| #7 | 0.6 facial, 0.8 incisal | A3 / A2 / B1-opal | Feather-edge facial, no palatal | Slight mesial undercontour to close diastema |
| #8 | 0.5 facial, 0.7 incisal | A3 / A2 / B1-opal | Feather-edge facial, minimal incisal overlap | Adjusted line angles post-bisque |
| #9 | 0.6 facial, 0.8 incisal | A3 / A2 / B1-opal | Feather-edge facial, no palatal | Corrected rotation; added 0.3 mm labial bulk |
| #10 | 0.6 facial, 0.7 incisal | A3 / A2 / B1-opal | Feather-edge facial, no palatal | Lateral incisor, matched #7 symmetry |
Shade verification method:
Dentist confirmed zones under Vita Classical guide + visual comparison to adjacent canines. No spectrophotometer reading provided.
Try-in paste used:
Neutral (translucent). Dentist reported shade held true after bonding with resin cement (shade: Clear).
Cementation protocol (per dentist’s notes):
Hydrofluoric acid etching 90 seconds, silane coupling agent, light-cure resin cement. Margins sealed, excess removed under magnification.
Follow-up timeline:
- 2 weeks post-bonding: No sensitivity, patient satisfied with appearance. Margins intact.
- 6 months: Routine hygiene visit. No chipping, staining, or gingival inflammation.
- 14 months (most recent): Veneers still in service. Minor surface glaze wear noted on #9 incisal edge (expected with normal function). No fractures, debonding, or color mismatch reported.
Why This Matters for Your Cases
This isn’t about showing off one perfect result. It’s about the decisions that went into it—and those decisions are repeatable.
What made the outcome work
- The dentist gave us a shade map, not just a shade tab.
Cervical / mid-body / incisal zones separately documented. That’s what lets you layer porcelain with intention instead of guessing. - We delivered bisque for try-in before final glaze.
Caught the line-angle tweak at try-in. If we’d skipped that step, it’s either a remake or a patient who’s 90% happy. - Material matched the force environment.
Light occlusion, no grinding, thin prep. Feldspathic worked. If this were a heavy bruxer or a case needing 1.5 mm thickness, we’d have pushed for monolithic lithium disilicate instead and told you why. - Thickness documented, not assumed.
You know exactly what got delivered. If something chips two years out, you’re not wondering whether it was under-supported.
Case Specifications Summary
| Parameter | This case | General guidance |
| Material system | Feldspathic porcelain, hand-layered | Feldspathic for thin aesthetic cases; lithium disilicate for higher strength needs |
| Thickness range | 0.5–0.8 mm | Thinner than 0.5 mm risks fracture; thicker than 1.0 mm often over-contours |
| Shade documentation | 3-zone map (cervical/mid/incisal) | Single-tab shades often fail to match gradient |
| Try-in protocol | Bisque + neutral paste | Lets you adjust before final glaze; skipping it = higher remake risk |
| Bonding surface prep | HF etch 90s + silane | Standard for glass-ceramic; zirconia needs different surface treatment |
| Documented follow-up | 14 months | Industry studies track 5–10 years; short-term cases show immediate fit, not long-term survival |
| Fabrication timeline | 9 business days | Includes bisque try-in round-trip; final-only cases can ship faster |
About ASD Dental Lab
We’re a full-service dental manufacturing facility in Shenzhen and Huizhou, China—been doing this since 2012. About 460 employees, including ~100 CAD designers, 70 ceramic and metal technicians, 80 implant-department staff, and a 25-person QC team. Every step from digital design to final polish happens in-house. We don’t outsource cases to third-party labs.
What we make:
Цирконий crowns and bridges, all-ceramic laminate veneers, implant restorations, metal-ceramic work, removable dentures. Digital workflow capable—send us STL files or traditional impressions, either works.
Monthly capacity (normal season):
~8,000 zirconia single crowns, ~2,000 zirconia bridge cases, ~4,000 removable denture cases. During peak season that scales up roughly 50%.
Who we work with:
Dental labs (we’re your overflow or white-label production), clinics, DSOs, individual dentists. We ship to the U.S., Netherlands, Germany, France, Belgium, Austria, UK, Switzerland, and a few other markets. If you’re evaluating Chinese labs, you’re welcome to visit the Shenzhen or Huizhou facility. Video calls and production-line tours also available.
Case coordination:
We keep a 40-person case-coordination team to handle communication, file troubleshooting, and prescription clarification. English-speaking support.
Quality stance:
Ние remake fabrication errors at no charge. Prep or impression issues are a different discussion—we’ll tell you up front what caused the problem. We don’t do dental diagnosis or treatment planning; that stays with the licensed clinician.
Ready to submit a case?
Свържете се с our case-coordination team. We’ll walk through your shade documentation, prep photos, and prescription format. First case usually takes a bit longer because we’re matching your workflow to ours, but after that it’s pretty smooth.