Case Study: A Dental Implant for One Tooth — Screw-Retained Zirconia Crown, Delivered in 3 Working Days
🕢 [ Попълнете формуляра и ние ще ви отговорим в рамките на 30 минути! ]
Who this page is for. We’re a direct-manufacturing зъботехническа лаборатория. This page is written for the clinician who prescribes a dental implant for one tooth. If you landed here searching for your own care, the information below describes how a lab fabricates a single tooth dental implant restoration for your dentist. Clinical placement itself is handled by the surgeon, not by a laboratory.
Case snapshot
| Field | Стойност |
| Prescription | Final crown on an osseointegrated single implant |
| Site | #11 (upper right central incisor) — anterior esthetic zone |
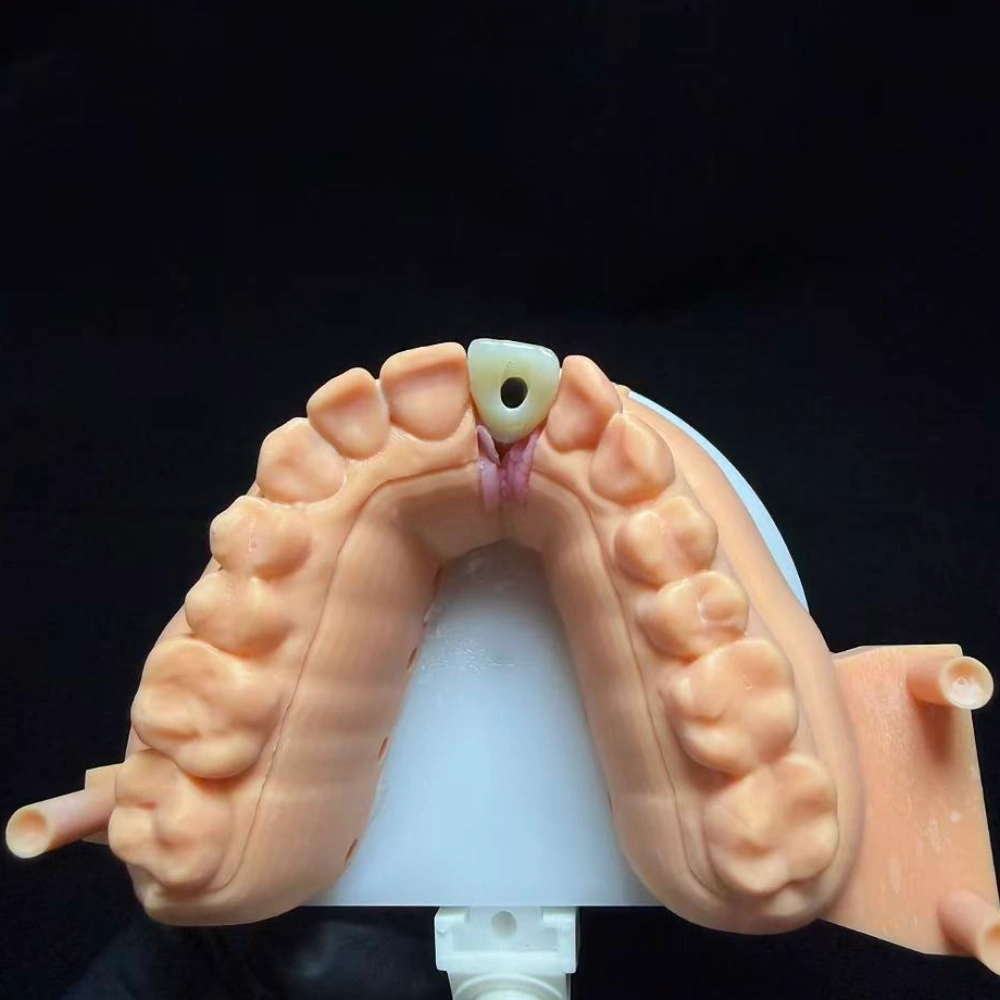
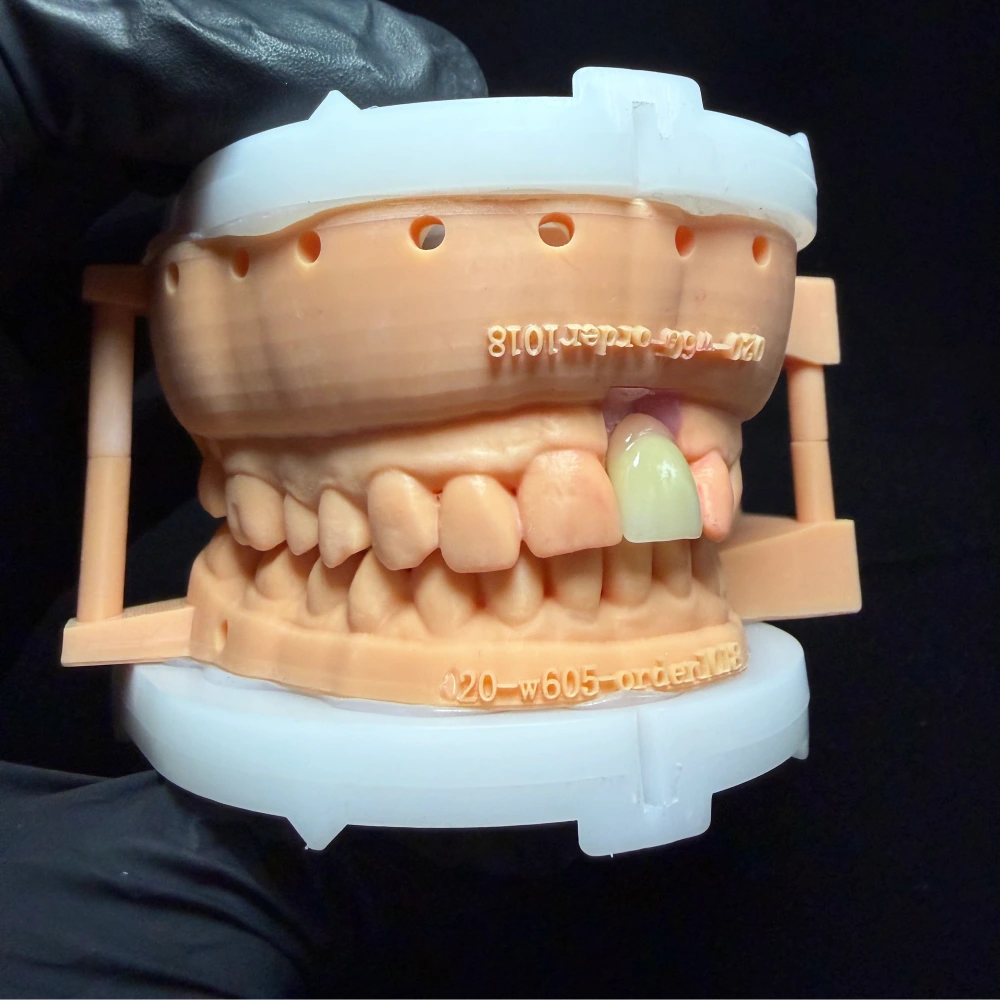
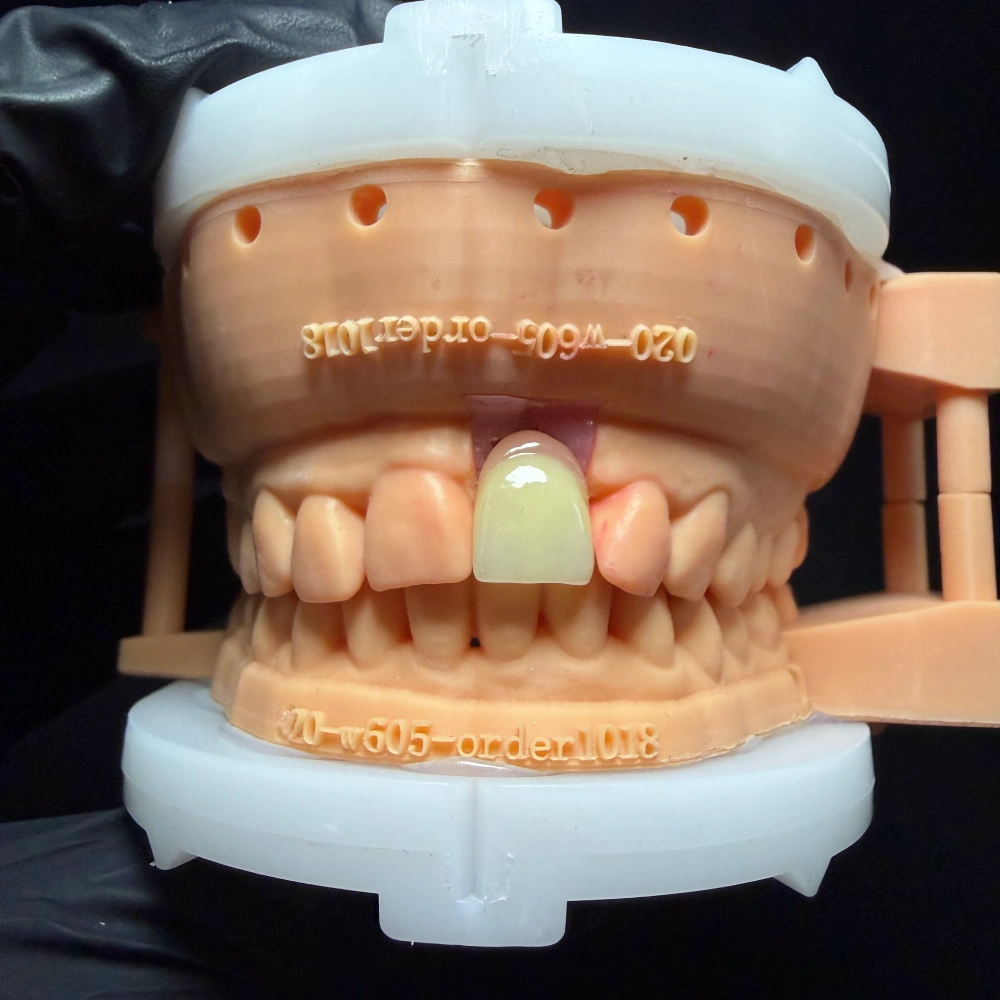
| Final restoration | Monolithic multilayer zirconia single crown, screw-retained |
| Abutment type | Custom zirconia-on-titanium base, prescriber-approved contour |
| Задържане | Screw-retained via angled screw channel (ASC) |
| Deliverables | 1 crown · 1 custom abutment · 1 Ti-base · 1 verification jig · 1 printed working model |
| Records received | STL (prep arch), STL (opposing), STL (bite), implant scan body file, intra-oral photos, shade map |
| Design iterations | 1 initial design + 2 free revisions |
| Lab turnaround | 3 working days from the moment complete records are confirmed |
| Rush option | Available at no extra charge within our monthly volume policy |
| Materials disclosure | Brand, origin, lot number and material certificate provided per case |
| Compliance scope | ISO 13485 lab system; FDA establishment registration + device listing; MDR custom-device declaration; MHRA UK registration |
| Case status | Composite / template — not a specific patient record |
1. The patient situation
This is what the prescribing dentist told us before the restoration brief was finalised. We don’t speak to patients and we don’t collect patient-identifying information in our work order.
- The site was an upper right central incisor that had been missing for an extended period. A soft-tissue placeholder had been in use between extraction and restoration.
- The adjacent teeth were sound. The patient was unwilling to have them reduced — so a conventional three-unit bridge was off the table from the start.
- Smile line was moderately high; the labial gingival margin on the restored side sat slightly apical to the contralateral tooth.
- The dentist had already placed the имплант and let it integrate. By the time the restorative file reached us, bone-level stability had been confirmed on the dentist’s side and the healing abutment had been in place long enough for a soft-tissue cuff to form.
- Shade target was A2 at the body with a slight increase in value at the incisal third to blend with the mirror-image tooth. The patient wanted the restoration to be unremarkable, not conspicuously brighter than the neighbour.
What the dentist said about the decision: not grinding down adjacent teeth was the deciding factor for choosing a dental implant for one tooth over the alternatives. That maps cleanly to the clinical consensus — the AAOMS description of the implant components describes a single implant crown as replacing one tooth independently of the neighbours.
2. The dentist’s prescription — what we were asked to deliver
The brief arrived on our standard Rx form with the following line items. We treat the prescription as a checklist, not a paragraph. Every item below was signed off before we touched the file.
| # | Requirement | Why the prescriber wrote it this way |
| R1 | Screw-retained final crown | Keeps the restoration retrievable. Easier to re-torque, re-contour or replace later without destroying the restoration. |
| R2 | Angled screw channel (ASC), palatal emergence | On an upper central, the implant long-axis would place a straight channel on the labial face. The prescriber specified an ASC so the access opening falls on the palatal/cingulum surface. |
| R3 | Custom abutment, zirconia on titanium base | Thin gingival biotype on the labial. A metal collar would risk a greyish show-through at the margin. The systematic review of esthetic outcomes in the anterior maxilla is cited by the prescriber as the reason for this choice. |
| R4 | Shade A2 body, slight incisal brightness, match the contralateral tooth | Specified using chairside photographs with a shade tab and polarising filter. |
| R5 | Emergence profile shaped to the current soft-tissue cuff, not a generic cone | The dentist sent an intra-oral scan of the healing abutment plus a scan of the removed healing cap. We used both to carry the subgingival contour forward. |
| R6 | Occlusion: light centric contact, no lateral or protrusive guidance | Deliberately out of protrusive and lateral excursion. Protects the restoration from shear load during function. |
| R7 | Hygiene access ≥ 2 mm around the emergence profile and at the interproximal spaces | So interdental brushes can reach. The prescriber specified it; we designed to it. |
| R8 | Verification jig delivered with the case | Chairside check for passive fit before the final crown goes into service. |
3. How we met each requirement
The headers in this section mirror the Rx line items above. Each paragraph describes a technical action we performed. All records sit in the case file; the case is traceable to the technician, the mill, the lot number and every QC checkpoint.
3.1 Screw retention and angled screw channel (R1 + R2)
We ran the implant library check first. The scan body file was matched to the exact system and platform shown on the implant packaging label the prescriber had sent. Platform, connection and diameter were verified against the manufacturer’s digital library before any design work began. The access channel was then rotated through an angled screw channel geometry within the manufacturer’s permitted maximum angulation. The access opening ended up on the palatal surface at the cingulum, well away from functional contacts.
3.2 Custom zirconia abutment on a titanium base (R3)
The custom abutment was designed with the manufacturer’s digital interface, then milled from a pre-sintered zirconia blank. The titanium base was prepared with a controlled sandblast on the bonding surface only; the implant-interface aspect was masked and left untouched. We bonded the zirconia superstructure to the Ti-base with an MDP-primed resin cement under dual-cure, cleared the excess before full set, and then verified that no residue entered the implant interface under magnification.
3.3 Emergence profile from the soft-tissue cuff (R5)
The two intra-oral scans — one with the healing abutment in place, one after its removal — were superimposed on the implant platform. We transferred the actual emergence contour the soft tissue had been shaped to, rather than drawing an idealised cone from zero. This matters: the anterior-maxilla esthetic review и soft-tissue esthetic review with and without immediate provisionalisation both point to the subgingival contour as a prime driver of papilla and midfacial soft-tissue stability.
3.4 Shade, incisal effects and surface texture (R4)
Shade was built in layers, not painted in with surface stain alone. The ceramist worked from the shade-tab photograph, the contralateral tooth photograph and a cross-polarised shot of the natural dentition. The body was taken to the prescribed A2 with a slightly higher value in the incisal third. Surface texture was duplicated from the mirror tooth under a standard-light inspection booth. We did not use the restoration as a vehicle for a brighter smile — the prescriber did not ask for one.
3.5 Occlusion: light centric, free excursions (R6)
The crown was designed with reduced centric contact relative to the adjacent natural teeth and no participation in protrusive or lateral guidance. On a single-implant case this is a loading decision, not an aesthetic one — the meta-analysis of loading protocols for single-implant crowns is the current reference for how the restorative platform behaves under function.
3.6 Hygiene access and emergence angle (R7)
We held an interproximal clearance of ≥ 2 mm around the emergence to let interdental brushes seat without binding. The buccolingual emergence angle was kept inside the range the prescriber had marked on the design preview. Nothing was pushed to the limit of “possible” — only to what the prescription allowed.
3.7 Verification jig and passive fit check (R8)
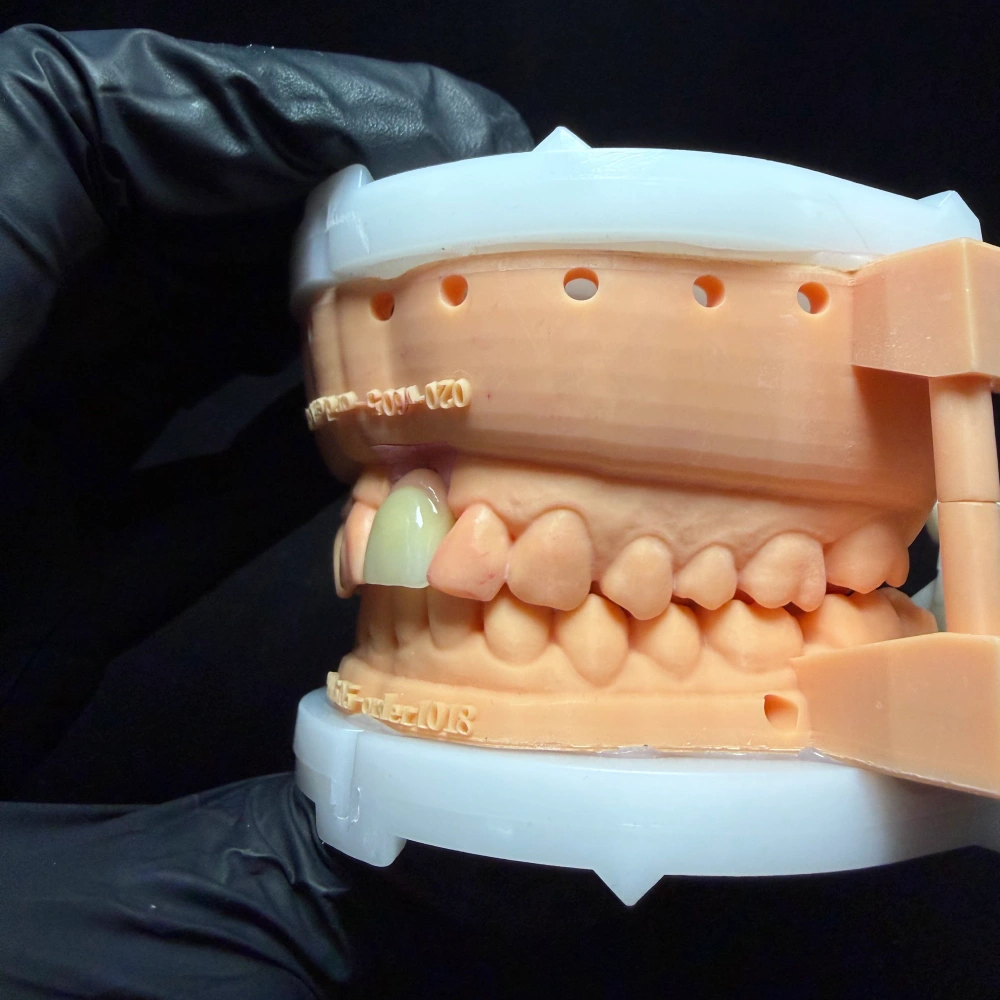
A verification jig was CAD/CAM-produced from the same digital data as the final crown. We tested the jig on the printed working model first: the restoration was set in place without screw torque and had to seat under its own weight, with no rocking and no visible marginal step. If it hadn’t, the case would have been remade on our side before it ever shipped. It did, and the jig travelled with the box so the chair-side team can run the same check in the mouth.
4. The finished restoration — what the dentist opened
A single tooth implant crown ships as a kit, not a single part. For this case the box contained:
| Deliverable | Цел |
| 1 final корона от цирконий (monolithic multilayer, hand-characterised) | The restoration itself |
| 1 custom abutment (zirconia superstructure + Ti-base, pre-bonded) | Prescribed component for the specified platform |
| 1 prosthetic screw (sealed sachet, lot-labelled) | For final seating by the prescriber at manufacturer-recommended torque |
| 1 verification jig | Chairside passive-fit check before the crown is seated |
| 1 printed working model with soft-tissue mask | For bench verification and future reference |
| Case documentation pack | See section 6 below |
5. Quality control before the box is sealed
Three QC gates, all run by staff independent of the production technicians:
- Intake QC — the file passes a format and completeness check before design starts. Missing bite record, incomplete prep margin, or a scan-body mismatch pauses the case and triggers a written query to the prescriber.
- Mid-process QC — after milling and after sintering, on a separate bench. The internal fit, the marginal integrity and the interface geometry are inspected under magnification.
- Final QC — on the printed working model, the restoration seats passively, the proximal contacts hold shim-stock in a way that matches the prescription, and the occlusal clearance matches the prescribed centric relationship. A separate QC technician — not the one who built the restoration — signs the release.
6. Documentation that travels with the case
Every box ships with a documentation pack sized to the restoration. For this case it contained:
- Case summary sheet — case ID, prescription summary, final shade, materials used, retention mode and torque reference.
- Material disclosure — brand, country of origin, lot number and material certificate for the zirconia blank and for the titanium base.
- Regulatory references — for the restorative components we produce, the device category is defined under 21 CFR 872.3640 and the FDA’s Class II special controls for endosseous dental implants and abutments. We hold current FDA establishment registration + device listing, EU MDR custom-device notification, MHRA UK registration and an ISO 13485-certified quality system. These are regulatory registrations and declarations, not product approvals — we’re careful about the wording.
- Custom-device declaration — included as standard for EU and UK destinations.
- Design-approval record — a signed copy of the design preview the prescriber approved. For this case there was one initial design and two free revisions.
Case records are retained for 3 months by default. If a longer retention window is needed for a specific clinic policy or audit cycle, we extend it on written notice.
7. Our service commitments for cases like this
These are promises we’re prepared to put on the Rx cover sheet. They apply to anyone commissioning a dental implant for one tooth case through our lab.
- One point of contact. A named case coordinator is assigned at the time the account is set up. The coordinator is the person who answers the Rx, chases missing records, and sends design previews — not a shared inbox.
- Response time. Within our working hours (09:30–18:00 Beijing time, Monday to Friday), technical queries receive a first response within 1 hour. Across time zones, the longest we’ve allowed a first response to sit is 12 hours, and the typical overnight window is 7–8 hours.
- Design preview before milling. The prescriber sees a design screenshot or STL preview and signs it off before the restoration is cut. One design and up to two revisions are included at no extra charge.
- Standard turnaround. 3 working days from the moment the file is complete, for a single-unit implant restoration of the type described here.
- Rush path. If the restoration needs to go faster, the rush route is open at no extra charge within our monthly volume policy for established accounts. The rush path does not skip QC — only the queue.
- Shipping transparency. When the box ships, a tracking number goes out the same day with an attached ETA. If a shipment stalls at customs or at a hub, the coordinator reaches out proactively; the prescriber does not have to chase.
- Rework. If the restoration returns with a lab-side issue — short margin, open contact, high occlusion, misseat, incorrect shade, or a visible surface defect — the rework is free, prioritised, and typically completed in 3–5 working days. Changes to the prescription itself (new shade target, new material, new preparation) are treated as a new case.
- Escalation. If a second rework still doesn’t resolve the issue, we open a cross-department root-cause review (intake / design / mill / ceramics / QC) and we offer a credit or refund path rather than drag the restoration through a third attempt.
- Privacy. Patient names are not required on our work order; a clinic-side case ID is enough. Files travel over encrypted channels. We can co-sign an NDA or a data-processing agreement.
- White-label handling. Our outer packaging carries no visible branding by default. If a referring laboratory needs private-label documentation or packaging, we match the label scheme.
8. Compatibility and workflow — the technical fit
За single tooth dental implant restoration case to flow smoothly on our side:
- Implant systems. We routinely restore cases on most of the major commercial implant systems. The precise library version is matched to the implant packaging label on arrival. Original-manufacturer components and validated compatible components are both available; the prescriber chooses, and the choice is recorded in the case file.
- Scanner support. We accept files from the common intra-oral scanner platforms, including Trios, iTero, Medit, Primescan, Shining 3D, Dexis, DS Core and Panda. We also accept STL, PLY, OBJ and DCM; and we can take exocad or 3Shape native design files for CAM-only work.
- File transfer. Native platform integrations (3Shape Communicate, Medit Link, DS Core, iTero’s export route) or encrypted file transfer (we also accept WeTransfer). Patient-identifier fields can be left blank on the file; the clinic’s case ID is what we route on.
- CAD-only or CAM-only. Both are available. If the prescriber or a referring lab wants to send a completed design and only have us mill, sinter and finish, that path exists. If the prescriber wants a design-only service, we return the file and keep records for the agreed retention period.
- CBCT. For a standard single-crown case like this one, a CBCT is not required at the restorative stage. If the dentist chooses to share one, we treat it as reference material only; we do not perform diagnostic reading.
9. Send a case
The B2B route for prescribing a single tooth implant crown through our lab:
- Set up the account. Email the sales team for an account form. The form captures prescriber details, clinic address, preferred shipping lane, invoicing cycle, and the destination country for regulatory routing.
- Submit the first case. Upload the records through your preferred scanner platform or send them via the account coordinator. We confirm receipt and completeness within the first-response window.
- Approve the design. Sign off the preview, then we mill.
- Receive the case. Tracked shipment, documentation pack inside, response channel open the whole way.
If you’d rather audit the lab before you prescribe — a video walk of the production floor, a document pack review, or an on-site visit — the sales coordinator arranges it. We publish the fact that factory visits and video audits are available because audit transparency is a legitimate reader request for anyone commissioning restorative work.
Who we are, in one line
A direct-manufacturing dental laboratory. We produce single-unit implant restorations, bridges, All-on-X frameworks, dentures and ceramic restorations in-house, without outsourcing cases to third-party labs. We’re a lab — placement, diagnosis and chairside care sit with the prescribing dentist.
Who this page is not for
Patients searching for their own care. If you’ve landed here while deciding whether to have a dental implant for one tooth, your dentist is the right person to answer that question. The Cleveland Clinic patient page. Mayo Clinic surgery overview и AAOMS patient explanation are three honest places to start reading.